
Some Office users are complaining that whenever they try to print documents with their home or work printers, the reference field disappears completely and all the reference text reads “Error Reference Source Not found“. This is reported to occur with Word. This problem is not exclusive to a certain Windows or Office version since is reported to occur on Windows 7, Windows 8.1 and Windows 10 with various Office versions including Office 2010, Office 2013 and Office 2016.

What is causing the Error Reference Source Not Found an error?
We investigated this particular by looking at various user reports and the repair strategies that are commonly being used to either fix or circumvent this particular issue. Based on our investigations, there are several potential different culprits that are known to trigger this error message:
- Cross-referenced bookmark has been deleted – In most cases, the error message appears when a cross-referenced bookmark has been deleted. If this scenario is applicable, you will be able to resolve the issue by unlocking the affected fields and update them to a healthy state manually or by using a third-party tool. Additionally, you can lock the fields prior to printing the document.
- Corrupted Office installation – There are some reports of people saying the issue can also occur due to a corrupted Office installation. Whenever this occurs, healthy cross-reference fields are triggering this error message. In this case, you can resolve the issue by repairing the Office installation.
If your situation is similar and you’re struggling to resolve this exact issue, this article will provide you with several troubleshooting steps that will help you fix the problem. Down below, you’ll discover a collection of methods that other users in a similar situation have successfully used. In fact, every method featured below is confirmed to be effective by at least one user.
In order to remain as efficient as possible, we advise you to follow the methods in the order that they are presented because they are ordered by efficiency and difficulty. One of them is bound to resolve the issue since we tried to cover every possible scenario.
Method 1: Locking the fields before printing (temporary fix)
If you’re looking for a temporary fix that will allow you to print the document in quickly and without the Error Reference Source Not Found by locking the field prior to printing the document. Several users that tried to resolve the very same issue have reported that this issue was effective in allowing them to circumvent the issue.
Note: Keep in mind that this fix is only a workaround and doesn’t fix the underlying problem that is triggering the error message. If you’re looking for a viable fix (not a workaround), move down to the next method below.
Here’s a quick guide on locking the fields prior to printing the documents:
- Open the document in your Word application.
- Select the whole document by pressing Ctrl + A or by using your mouse.
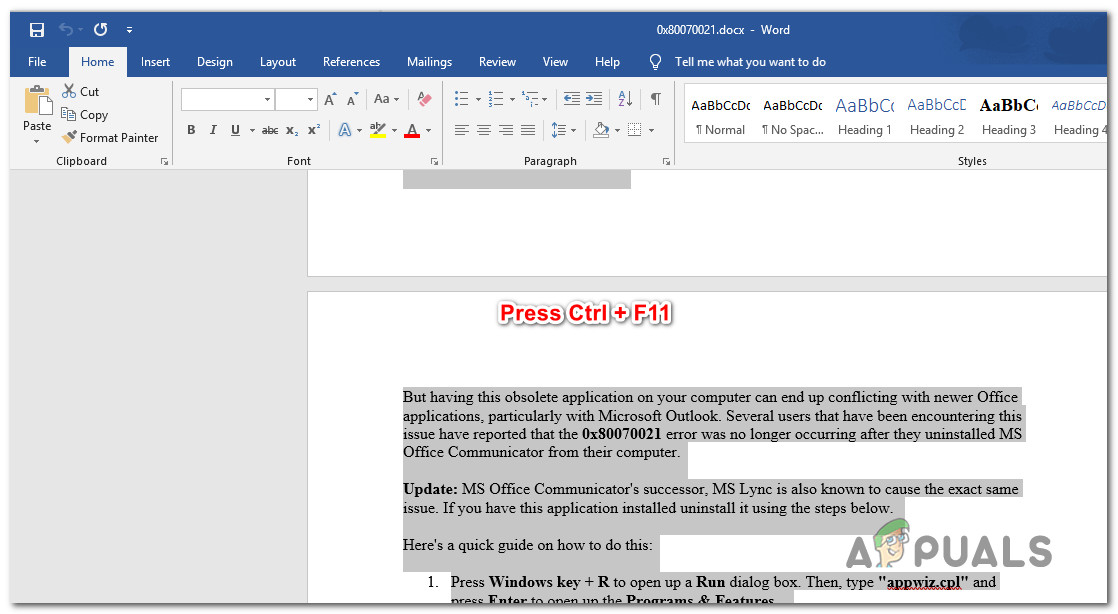
- Once the whole document is selected, press Ctrl + F11 to lock the cross-reference (REF) fields.

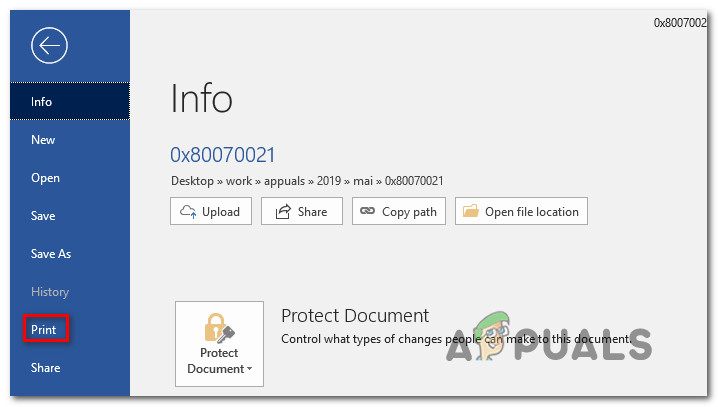
Selecting the whole documents and locking the REF fields - When the cross-reference fields have been locked, go to File (using the ribbon-bar at the top) and click on Print.

Printing the Word document - Once the document is physically printed, see if the Error Reference Source Not Found message has been resolved.
If you’re still seeing the same message or you’re looking for a permanent fix, move down to the next method below.
Method 2: Removing all broken references manually
If you’re dealing with cross-reference (REF) fields, chances are you’re struggling with the issue because the bookmarks have been deleted from the document. In this case, the most efficient fix is to unlock the fixes and then update them until they no longer contain errors.
Here’s a quick guide on how to do this:
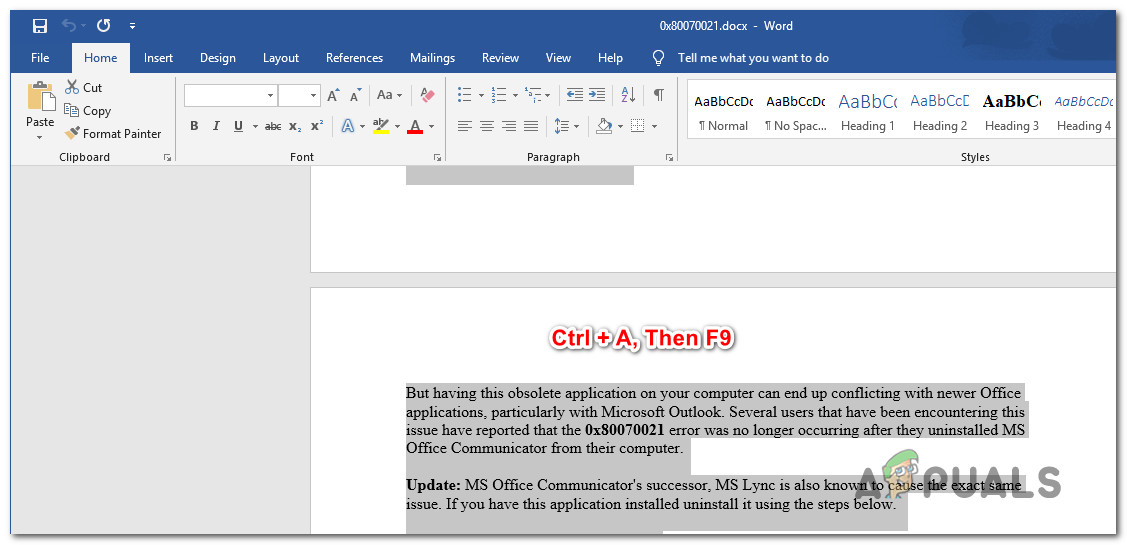
- First, select all text by pressing Ctrl + A. Once the whole text is selected, press F9 to unlock the fields.

Unlocking the fields of the text documents - Once the fields have been unlocked, take the time to revise all text that is referenced to the broken content.
- After you’ve done this, save the changes and go to File > Print and print out the document to see if the error has been resolved.
Printing the Word document
If the Error Reference Source Not Found error message is still occurring or you’re looking for a different fix, move down to the next method below.
Method 3: Using the Kutools for Word tool
If you’re looking to install a Word add-in, there’s a much more convenient way of deleting your corrupted Cross-References fields. If you have a whole lot of broken fields, these solutions should be preferred since it makes it very easy to correct the issue.
To use this shortcut, you’ll need to install Kutools for Word – it includes groups of tools that will make your job easier. Here’s a quick guide on using Kutools for Word to fix the Cross-References errors:
- Visit this link (here) and click on the Free Download button to download the Kutools for Word installer.
- Double-click on the installation executable and follow the on-screen prompts to install the add-in on your Word application. When the install is completed, restart your computer.
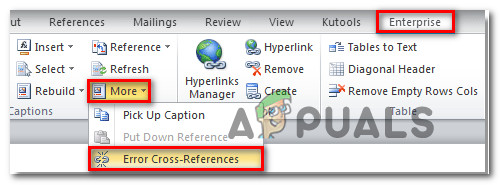
- At the next system startup, open Word and go to the newly appeared menu Enterprise > More and click on Error Cross-References.

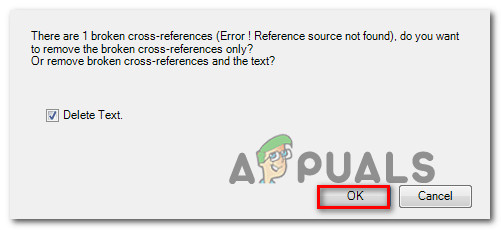
Using the Kutools for Word - After a short while, you will get a dialog box telling you how many errors where found. Decide whether you want to delete the text or not and click Ok to resolve the Cross-References errors.

Deleting cross-references errors - In a couple of seconds, all your broken references will be resolved.
If this didn’t allow you to resolve the issue, move down to the final method below.
Method 4: Repairing the Office installation
As it turns out, this particular issue can also occur if files from the Office installation have become corrupted. Several affected users have reported that the issue was resolved after they repaired the Office installation. After doing so and restarting their computer, printing the document no longer triggered the Error Reference Source Not Found message.
Here’s a quick guide on repairing the Office installation:
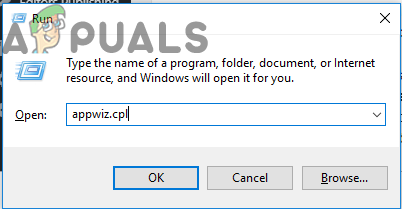
- Press Windows key + R to open up a Run dialog box. Then, type “appwiz.cpl” and press Enter to open up the Programs and Features screen.

Typing in “appwiz.cpl” in the Run prompt - Inside the Programs and Features screen, scroll down through the list of applications and locate your office installation.
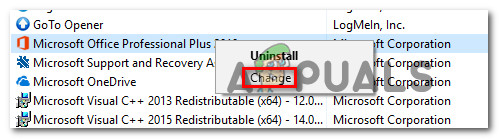
- Once you see it, right-click on it and choose Change.

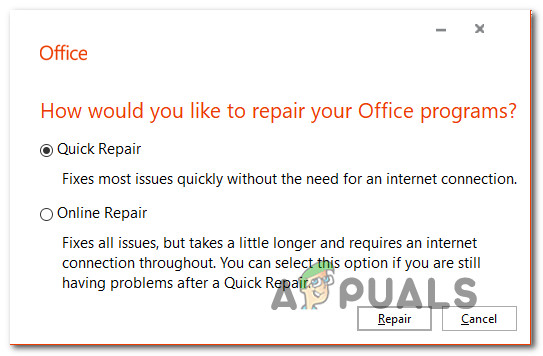
Changing the Office installation - At the repair prompt, choose Quick Repair and click the Repair button. Then, wait for the process to complete.

Repairing the Office installation - Once the repair sequence completes, restart your computer and see if the issue is resolved at the next startup.
- If the issue is still not resolved, use the Online Repair method instead.

Kevin Arrows
Kevin Arrows is a highly experienced and knowledgeable technology specialist with over a decade of industry experience. He holds a Microsoft Certified Technology Specialist (MCTS) certification and has a deep passion for staying up-to-date on the latest tech developments. Kevin has written extensively on a wide range of tech-related topics, showcasing his expertise and knowledge in areas such as software development, cybersecurity, and cloud computing. His contributions to the tech field have been widely recognized and respected by his peers, and he is highly regarded for his ability to explain complex technical concepts in a clear and concise manner.
“Error! Reference Source Not Found” message will occur when you delete one caption or other content that is “referenced” somewhere else in the Word document. Some users may need to delete these error references from the document. This tutorial will give you some advice to remove all error references in Word.
- Remove all error reference manually
- Remove all error reference with Kutools for Word
Quickly remove all «Error! Reference source not found.» references in bulk in Word
Boring to remove the «Error! Reference source not found.» error references one by one manually? Kutools for Word‘s Error Cross-References feature will free your from finding these error references and remove them in bulk with only one click!
Kutools for Word: a powerful add-in contains 100+ tools, and it can boost 80% work efficiency in your Word daily working! Get It Now!
Remove all error reference manually
However when a referenced caption or content is deleted in document, you may not see the error message (Error! Reference Source Not Found) on your screen until you try to print the document, or if you save it and re-open it. Then how can we remove all such error reference in Word? You can do as following instructions.
1. Press Ctrl + A keys together to select the whole document, and then press F9 key to unlock the fields. You can see error reference like this:
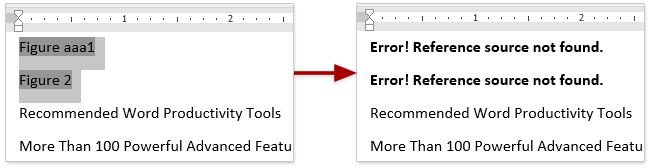
2. Select the error message, and press the Backspace or Delete key to remove these error references one by one.
It’s quite easy to remove an error reference with this method. However, it will be very awful and tedious to remove dozens of error reference one by one manually.
Remove all error reference with Kutools for Word
Actually there is a more convenient and quicker method to remove all error references in Word. You do not need to update the field. Kutools for Word’s Remove all error reference utility allows you to remove all error reference with one click.
Kutools for Word: a powerful add-in contains 100+ tools, and it can boost 80% work efficiency in your Word daily working! Get It Now!
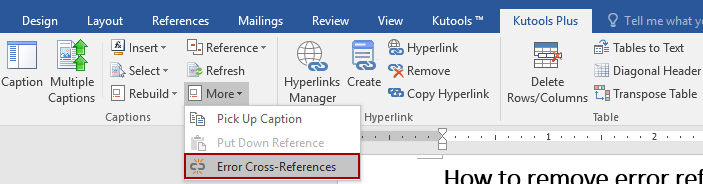
1. Click Kutools Plus > More > Error Cross-Reference. See screenshot:
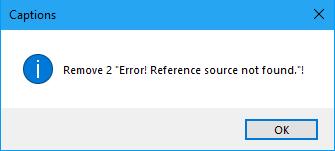
2. In the Captions dialog, please click the OK button to go ahead.

3. Now, a dialogue popping up to tell you how many “error! Reference source not found.” Will be remove in your document. Click OK to finish the removing.
Recommended Word Productivity Tools


Kutools For Word — More Than 100 Advanced Features For Word, Save Your 50% Time
- Complicated and repeated operations can be done one-time processing in seconds.
- Insert multiple images across folders into Word document at once.
- Merge and combine multiple Word files across folders into one with your desired order.
- Split the current document into separate documents according to heading, section break or other criteria.
- Convert files between Doc and Docx, Docx and PDF, collection of tools for common conversions and selection, and so on…
Comments (0)
No ratings yet. Be the first to rate!

Некоторые пользователи Office жалуются, что всякий раз, когда они пытаются распечатать документы на домашнем или рабочем принтере, поле ссылки полностью исчезает, а весь текст ссылки гласит: «Ссылка на ошибку Источник не найден«. Сообщается, что это происходит с Word. Эта проблема не является исключительной для определенной версии Windows или Office, поскольку, как сообщается, возникает в Windows 7, Windows 8.1 и Windows 10 с различными версиями Office, включая Office 2010, Office 2013 и Office 2016.

Что вызывает ошибку «Источник ссылки на ошибку не найден»?
Мы исследовали эту особенность, просмотрев различные отчеты пользователей и стратегии восстановления, которые обычно используются для устранения или обхода этой конкретной проблемы. На основании наших исследований известно, что существует несколько потенциальных виновников, вызывающих это сообщение об ошибке:
- Закладка с перекрестными ссылками удалена — В большинстве случаев сообщение об ошибке появляется после удаления перекрестной закладки. Если этот сценарий применим, вы сможете решить проблему, разблокировав затронутые поля и обновив их до работоспособного состояния вручную или с помощью стороннего инструмента. Кроме того, вы можете заблокировать поля перед печатью документа.
- Поврежденная установка Office — Есть несколько сообщений о том, что проблема также может возникать из-за поврежденной установки Office. Когда это происходит, исправные поля перекрестных ссылок вызывают это сообщение об ошибке. В этом случае вы можете решить проблему, восстановив установку Office.
Если ваша ситуация похожа и вы не можете решить именно эту проблему, эта статья предоставит вам несколько шагов по устранению неполадок, которые помогут вам решить проблему. Ниже вы найдете набор методов, которые успешно использовали другие пользователи в аналогичной ситуации. Фактически, каждый из представленных ниже методов подтвержден как минимум одним пользователем.
Чтобы оставаться максимально эффективными, мы советуем вам следовать методам в том порядке, в котором они представлены, потому что они упорядочены по эффективности и сложности. Один из них обязательно решит проблему, поскольку мы постарались охватить все возможные сценарии.
Метод 1: блокировка полей перед печатью (временное исправление)
Если вы ищете временное решение, которое позволит вам быстро распечатать документ без Источник ссылки на ошибку не найден заблокировав поле перед печатью документа. Несколько пользователей, которые пытались решить ту же проблему, сообщили, что эта проблема была эффективной, позволяя им обойти ее.
Примечание: Помните, что это исправление — это всего лишь обходной путь и не устраняет основную проблему, которая вызывает сообщение об ошибке. Если вы ищете жизнеспособное решение (а не обходной путь), перейдите к следующему методу ниже.
Вот краткое руководство по блокировке полей перед печатью документов:
- Откройте документ в приложении Word.
- Выберите весь документ, нажав Ctrl + A или с помощью мыши.
- После выбора всего документа нажмите Ctrl + F11 для блокировки полей перекрестных ссылок (REF).

- Когда поля перекрестных ссылок заблокированы, перейдите к файл (используя ленту вверху) и нажмите Распечатать.
- После физической печати документа проверьте, не Источник ссылки на ошибку не найден сообщение было решено.


Если вы по-прежнему видите то же сообщение или ищете постоянное исправление, перейдите к следующему способу ниже.
Метод 2: удаление всех неработающих ссылок вручную
Если вы имеете дело с полями перекрестных ссылок (REF), скорее всего, вы столкнулись с проблемой, потому что закладки были удалены из документа. В этом случае наиболее эффективное исправление — разблокировать исправления, а затем обновлять их до тех пор, пока они не перестанут содержать ошибки.
Вот краткое руководство, как это сделать:
- Сначала выделите весь текст, нажав Ctrl + A. Как только весь текст выделен, нажмите F9 разблокировать поля.
- После того, как поля будут разблокированы, найдите время, чтобы проверить весь текст, который ссылается на неработающий контент.
- После этого сохраните изменения и перейдите в Файл> Печать и распечатайте документ, чтобы увидеть, была ли устранена ошибка.

Если Источник ссылки на ошибку не найден сообщение об ошибке все еще появляется или вы ищете другое решение, перейдите к следующему способу ниже.
Метод 3: использование инструмента Kutools for Word
Если вы хотите установить надстройку Word, есть гораздо более удобный способ удалить поврежденный Перекрестные ссылки поля. Если у вас много неработающих полей, предпочтительнее использовать эти решения, поскольку они позволяют очень легко исправить проблему.
Чтобы использовать этот ярлык, вам необходимо установить Kutools for Word — он включает в себя группы инструментов, которые упростят вашу работу. Вот краткое руководство по использованию Kutools for Word чтобы исправить ошибки перекрестных ссылок:
- Перейдите по этой ссылке (здесь) и нажмите на Скачать бесплатно кнопку, чтобы загрузить установщик Kutools for Word.
- Дважды щелкните исполняемый файл установки и следуйте инструкциям на экране, чтобы установить надстройку в приложение Word. Когда установка будет завершена, перезагрузите компьютер.
- При следующем запуске системы откройте Word и перейдите во вновь появившееся меню Предприятие> Подробнее и нажмите на Ссылки на ошибки.
- Через некоторое время вы увидите диалоговое окно, в котором будет указано, сколько ошибок было обнаружено. Решите, хотите ли вы удалить текст или нет, и нажмите Хорошо решить Перекрестные ссылки ошибки.
- Через пару секунд все ваши неработающие ссылки будут устранены.


Если это не позволило вам решить проблему, перейдите к последнему способу ниже.
Метод 4: восстановление установки Office
Как оказалось, эта конкретная проблема также может возникнуть, если файлы из установки Office были повреждены. Несколько затронутых пользователей сообщили, что проблема была решена после восстановления установки Office. После этого и перезагрузки компьютера печать документа больше не вызывала Источник ссылки на ошибку не найден сообщение.
Вот краткое руководство по восстановлению установки Office:
- Нажмите Клавиша Windows + R открыть Бегать диалоговое окно. Затем введите «Appwiz.cpl» и нажмите Войти открыть Программы и особенности экран.
- Внутри Программы и особенности прокрутите список приложений и найдите офисную установку.
- Увидев его, щелкните его правой кнопкой мыши и выберите Изменить.
- В запросе на ремонт выберите Быстрый ремонт и щелкните Ремонт кнопка. Затем дождитесь завершения процесса.
- После завершения последовательности восстановления перезагрузите компьютер и посмотрите, будет ли проблема решена при следующем запуске.
- Если проблема все еще не решена, используйте Онлайн-ремонт вместо этого.
Download PC Repair Tool to quickly find & fix Windows errors automatically
In Microsoft 365, when you update a field that has a broken link to a bookmark, you may notice that Word displays Error! Bookmark Not Defined or Error! Reference source not found – in this post, we will offer the most suitable solution to the Microsoft Office issue in view.

Some Windows 10/11 PC users reported that they also encounter this error when they try to print documents with their home or work printers.
The most likely culprits to this error includes;
- Cross-referenced bookmark has been deleted.
- Corrupted Office installation.
If you’re faced with this Error! Reference source not found issue, you can try our recommended solutions below in no particular order and see if that helps to resolve the issue.
- Lock the fields before printing
- Manually remove all broken references
- Delete corrupted Cross-References fields using Kutools
- Repair Office installation
Let’s take a look at the description of the process involved concerning each of the listed solutions.
1] Lock the fields before printing
This is more of a workaround than a solution.
To lock the fields prior to printing the documents on your Windows PC, do the following:
- Open the document in Word application.
- Press Ctrl + A keyboard shortcut to select the whole document content.
- Next, press Ctrl + F11 to lock the cross-reference (REF) fields.
- Now, go to File menu on the ribbon-bar at the top.
- Click Print or press Ctrl + P.
Once you have the document physically printed, see if the Error! Reference Source Not Found error message has been resolved. If not, try the next solution.
2] Manually remove all broken references
If the bookmarks have been deleted from the Word document, you’ll encounter this issue. In this case, you can manually remove all broken references.
- Open the document in Word application.
- Press Ctrl + A keyboard shortcut to select the whole document content.
- Next, press F9 to unlock the fields.
- Now revise all text that is referenced to the broken content.
- Once done, save the changes and go to File > Print and print out the document.
Now see if the issue is resolved. Otherwise, try the next solution.
3] Delete corrupted Cross-References fields using Kutools
This solution requires you to install a Word add-in, and then delete your corrupted Cross-References fields. Using the Kutools add-on is a much more easy and convenient way If you have a whole lot of broken fields.
To delete corrupted Cross-References fields using Kutools, do the following:
- Download the Kutools for Word installer.
- Install the add-on for Word application.
- Restart your computer when installation is complete.
- On boot, open Word.
- On the Menu bar, click the newly appeared menu Enterprise > More.
- Click on Error Cross-References.
- On the dialog box that appears, click OK.
It will now take a couple of seconds for all your broken references to be resolved.
4] Repair Office installation
If nothing has worked so far for you, you can repair the Word application or repair the entire Office installation. If repairing didn’t help, you can uninstall Office and then reinstall Microsoft 365.
That’s it!
How do I fix error source not found in a PDF?
When you try to print or save as PDF, the referenced fields are updated. So, to fix the issue, navigate to File > Options > Display and uncheck the option Update fields before printing and see if that works. If it does not work, you may need to manually find out where the error messages occur and re-create the cross-references.
How do you fix not a valid bookmark self reference?
Not a valid bookmark self-reference error message suggests that you are inserting a cross-reference to the paragraph where the cross-reference resides.
Hope you find this our guide helpful!

Obinna has completed B.Tech in Information & Communication Technology. He has worked as a System Support Engineer, primarily on User Endpoint Administration, as well as a Technical Analyst, primarily on Server/System Administration. He also has experience as a Network and Communications Officer. He has been a Windows Insider MVP (2020) and currently owns and runs a Computer Clinic.
- Remove From My Forums
-
Question
-
When i send my document to the printer all references disappear and the text reads «Error Reference Source Not Found«. The problem is neither related to my computer nor to the printer as it keeps appearing in various computers
and printers. Also it is happening only to the specific word document.What can i do to print the document properly?
Answers
-
The message typically occurs because a cross-referenced bookmark or heading has been deleted. You should now unlock the fields, update them via Ctrl-A, F9, then review the document wherever those messages occur and either:
• revise the text so that it longer refers to the deleted content;
• delete the errant cross-references and create new ones pointing to the correct headings; or
• recreate the bookmarks at the locations the cross-references should be referring to.
Cheers
Paul Edstein
[MS MVP — Word]-
Marked as answer by
Friday, May 18, 2012 6:58 AM
-
Marked as answer by
Recently, I have been escalated to work in a legacy project. This application is a plugin to Enterprise Architect that extracts the content to a .doc file. The point is, I tried to reference dll from different places, without success.
The error:
The type or namespace name 'Word' does not exist in the namespace 'Microsoft.Office.Interop' (are you missing an assembly reference?)
The places I have tried reference:
C:Program Files (x86)Microsoft Visual Studio 10.0Visual Studio Tools for OfficePIAOffice14Microsoft.Office.Interop.Word.dll
C:WindowsassemblyGAC_MSILMicrosoft.Office.Interop.Excel15.0.0.0__71e9bce111e9429cMicrosoft.Office.Interop.Word.dll
I am using Vistual Studio 2010 and I have Office 2013 installed in my machine, but also tested in a machine with Office 2010.
Appreciate any help.
Update:
Everywhere in the code the word ‘Word’ is underlined and the compilation error is above.
using System;
using System.Collections.Generic;
using System.Text;
using System.Windows.Forms;
using Word = Microsoft.Office.Interop.Word;
using Office = Microsoft.Office.Core;
namespace EATec.Helpers
{
/// <summary>
/// Classe que manipula documento Word via Interop
/// </summary>
public class MSWordHelper
{
     private static object format = Microsoft.Office.Interop.Word.WdOpenFormat.wdOpenFormatAuto;
     private static object wrap = Microsoft.Office.Interop.Word.WdFindWrap.wdFindContinue;
    public static Microsoft.Office.Interop.Word.Document OpenDoc(object fileName)
    {...
    }