
In MS Word, two images will typically appear one above the other. You cannot easily move or keep two images side by side because working with pictures is quite tricky in MS Word. However, don’t worry. In this post, we will guide you on how to put two pictures side by side in MS Word in four ways.
1. Using Drag and Drop
One of the easier ways to keep two pictures side by side in Word is by using the drag and drop functionality.
Drag and Drop on PC and Web
Note: The screenshots are taken on the PC version of Microsoft Word but they are the same on the web as well with a minor difference in the user interface.
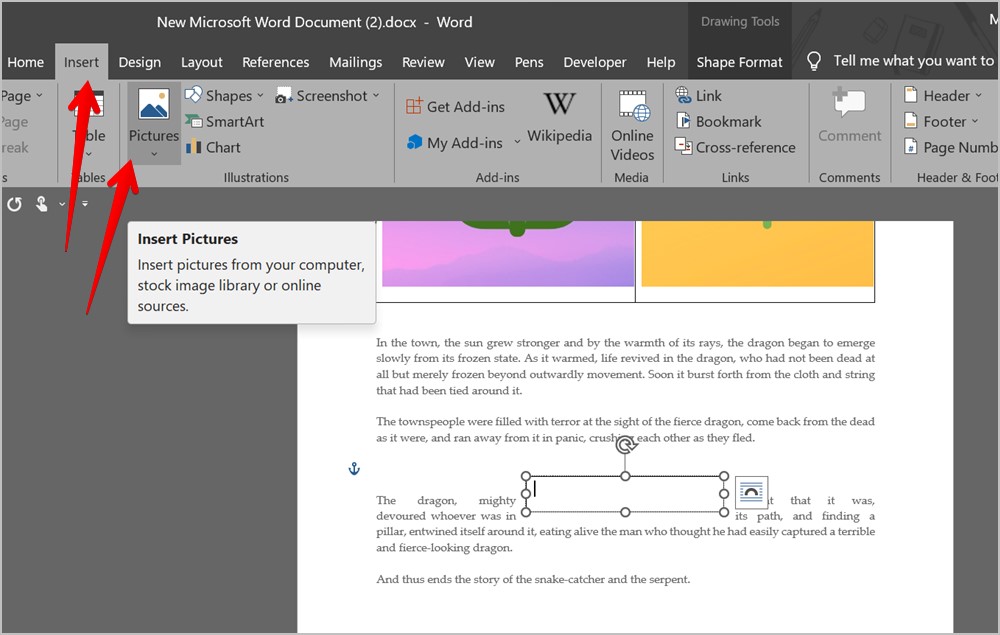
1. Insert the first image in your Word document by going to Insert > Pictures.
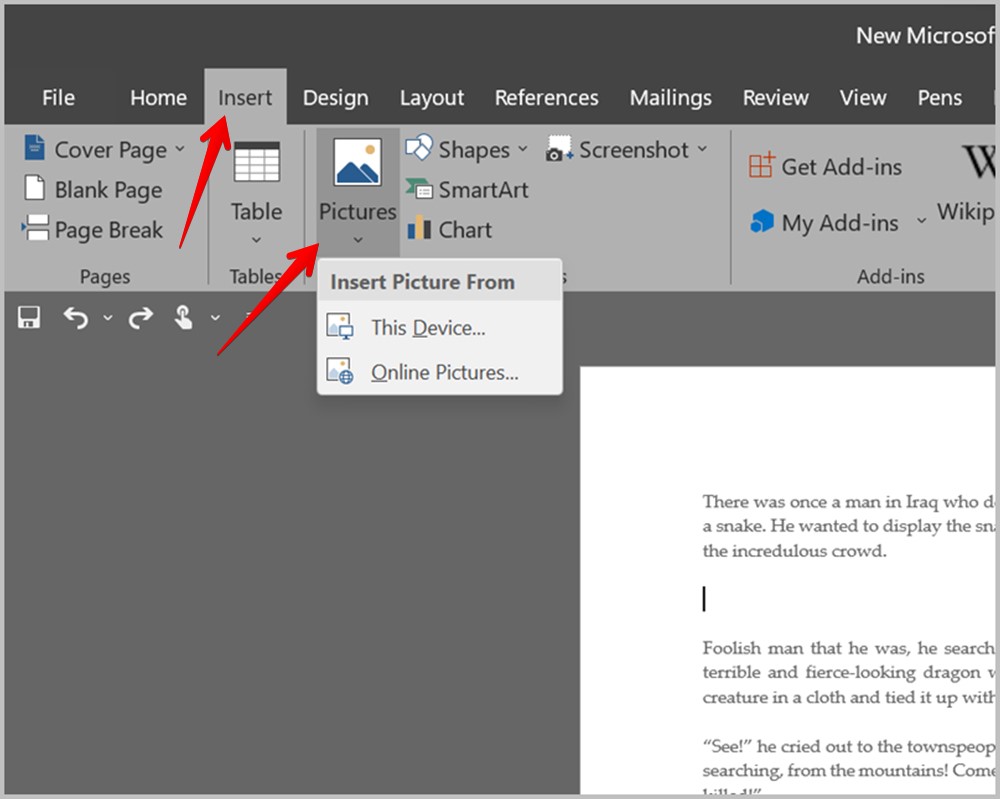
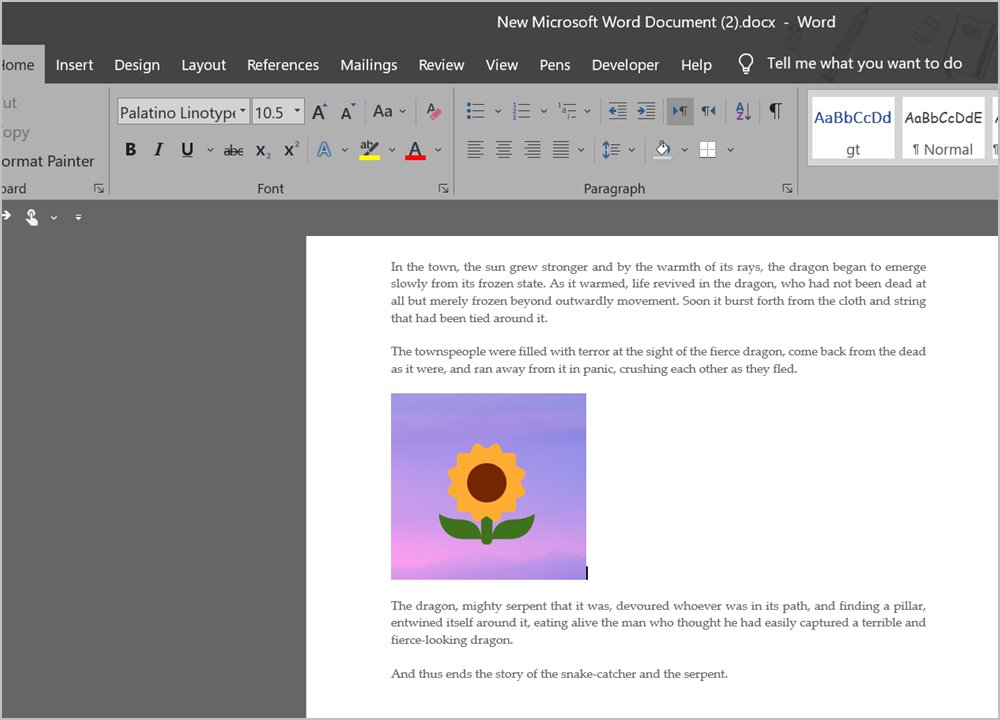
2. Now, keep the cursor at the bottom-right corner of the first picture and add the second picture from Insert > Pictures.
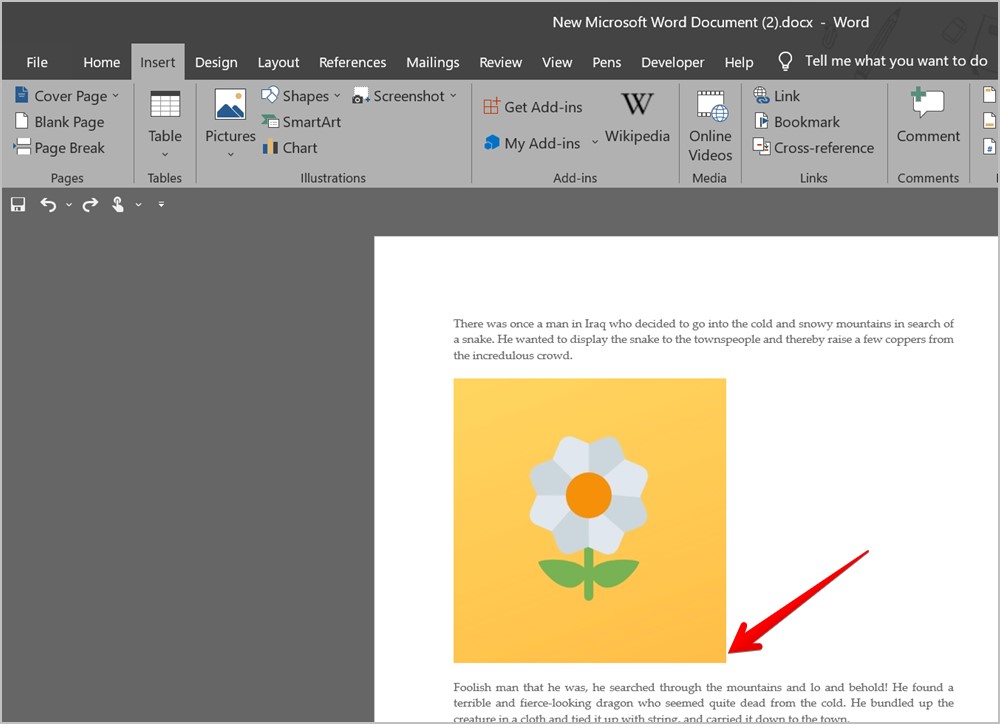
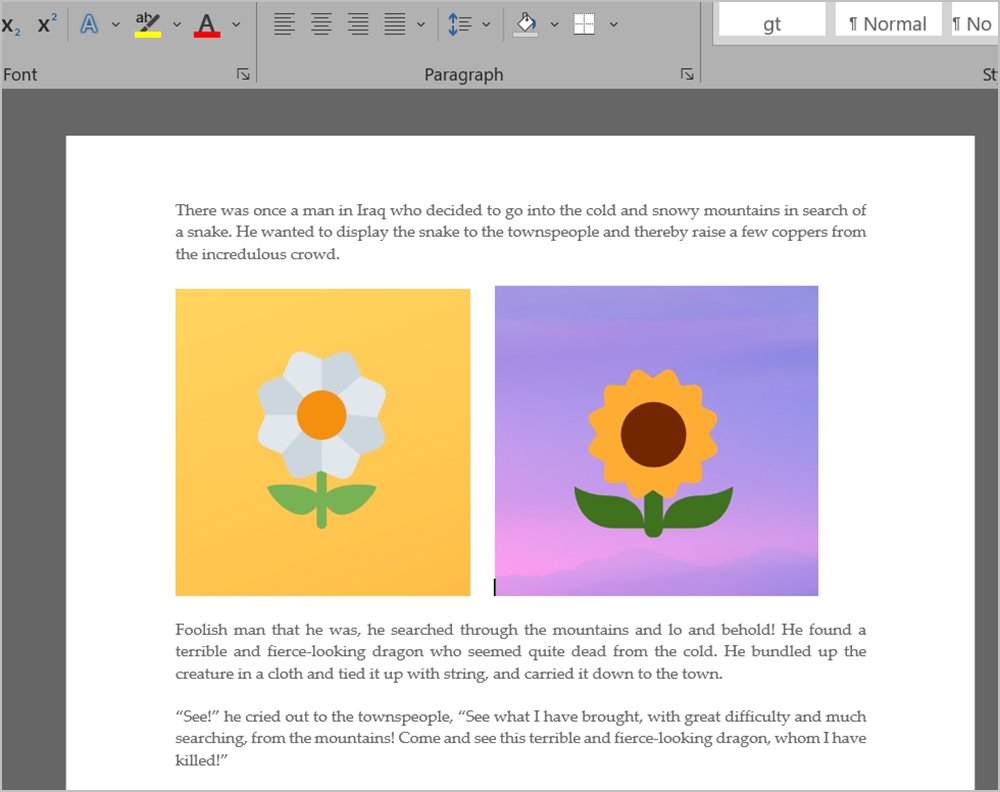
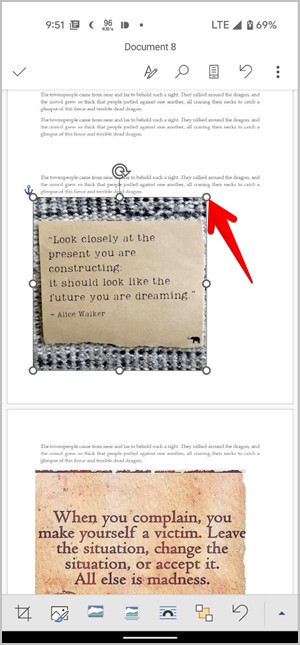
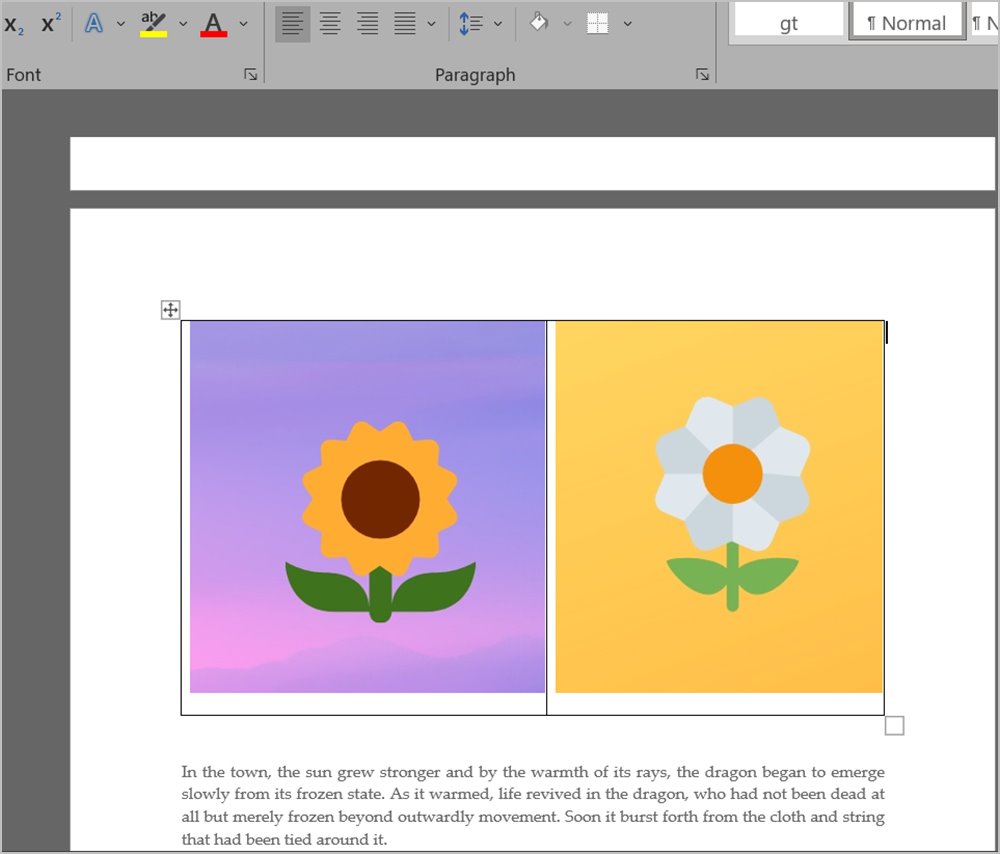
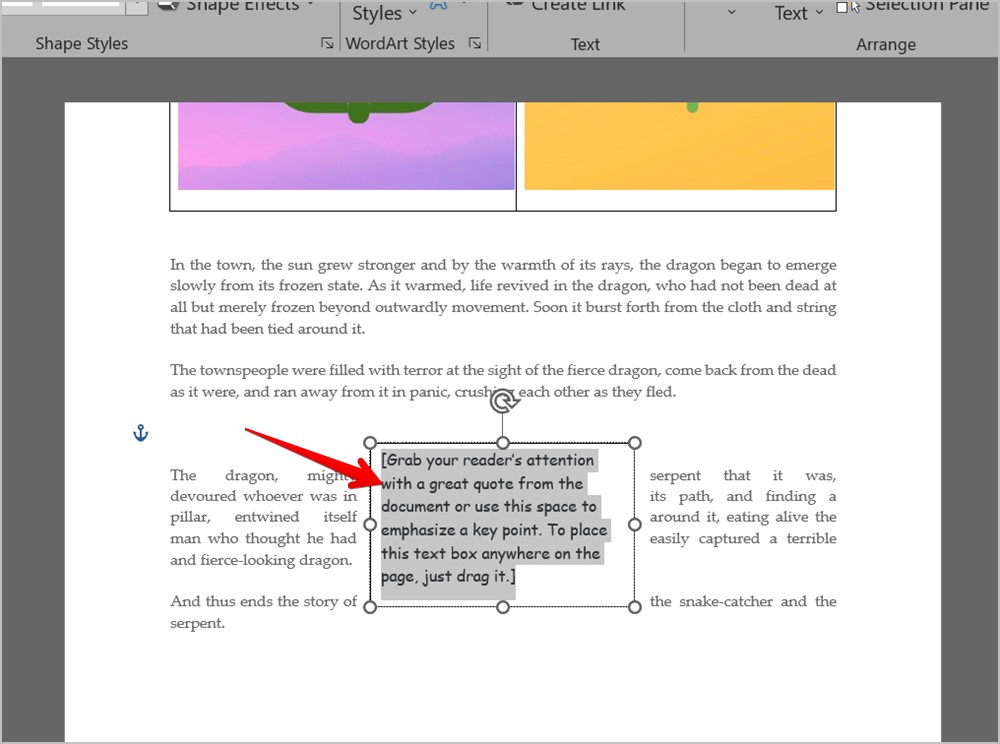
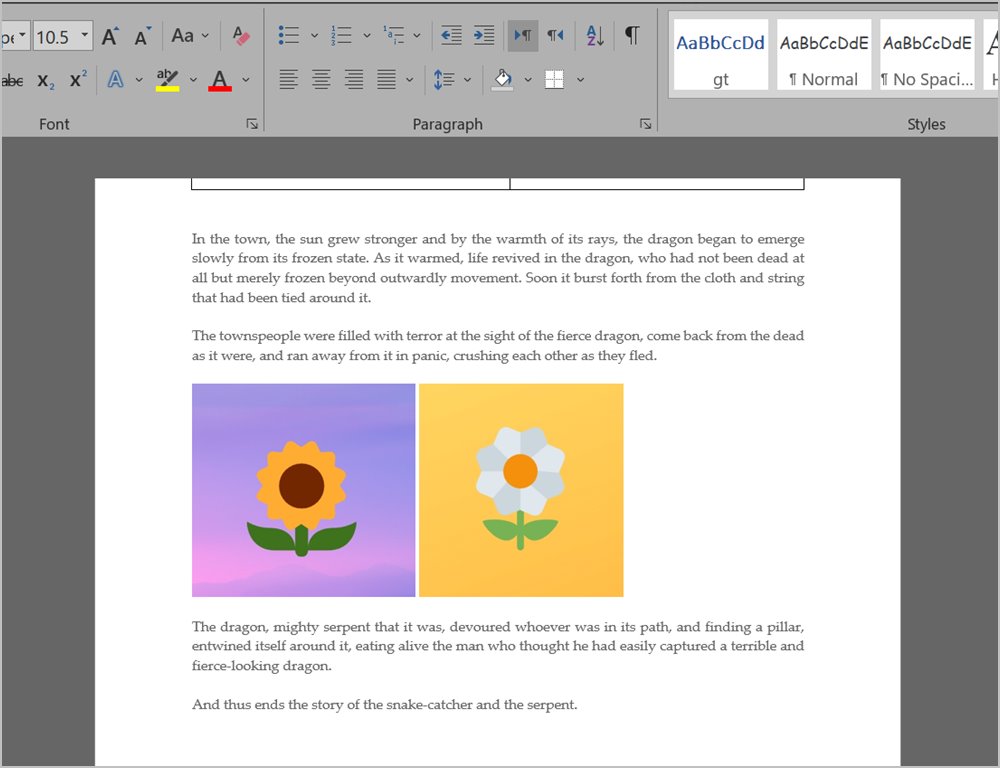
3. The two pictures will show up one above the other. Now, click on the second picture to select it. A four-sided arrow will show up on the image. Hold the mouse button and drag the second image to the right side of the first image.
4. If nothing happens, click on the first image and make it smaller using the top-right corner edge until the second image automatically appears next to the first image.
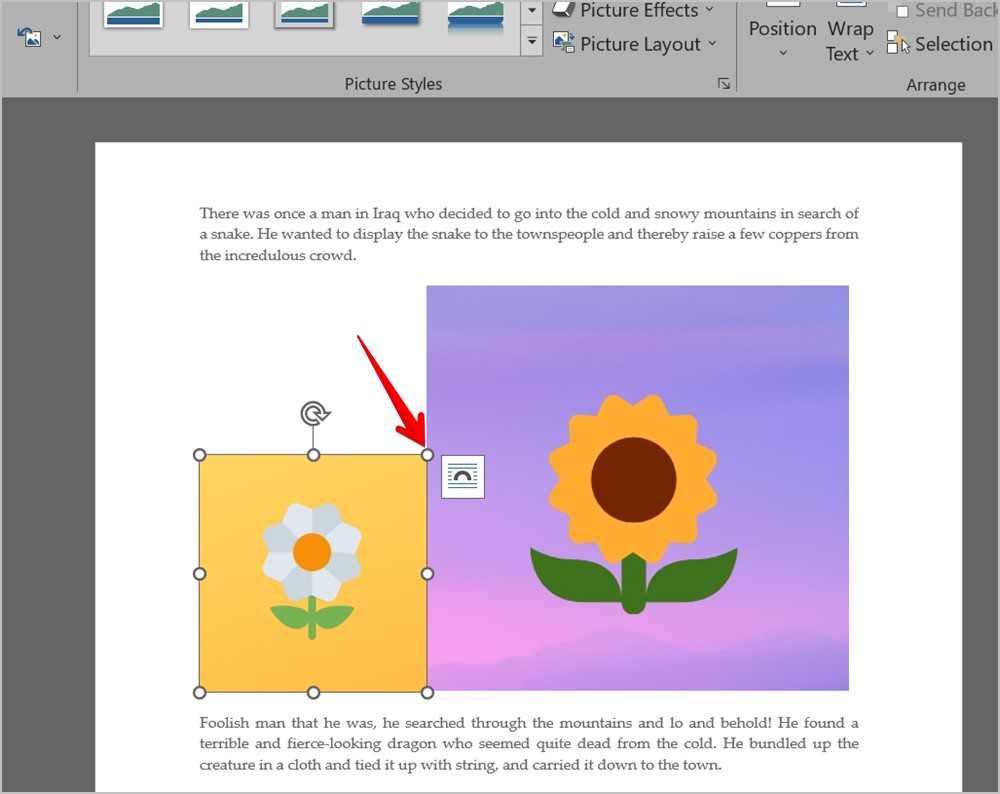
Note: If the above step displaces your text, double-click on the first image to open the Picture Format tab. Then, click on Wrap text and select In line with text. Do the same for the second image as well.
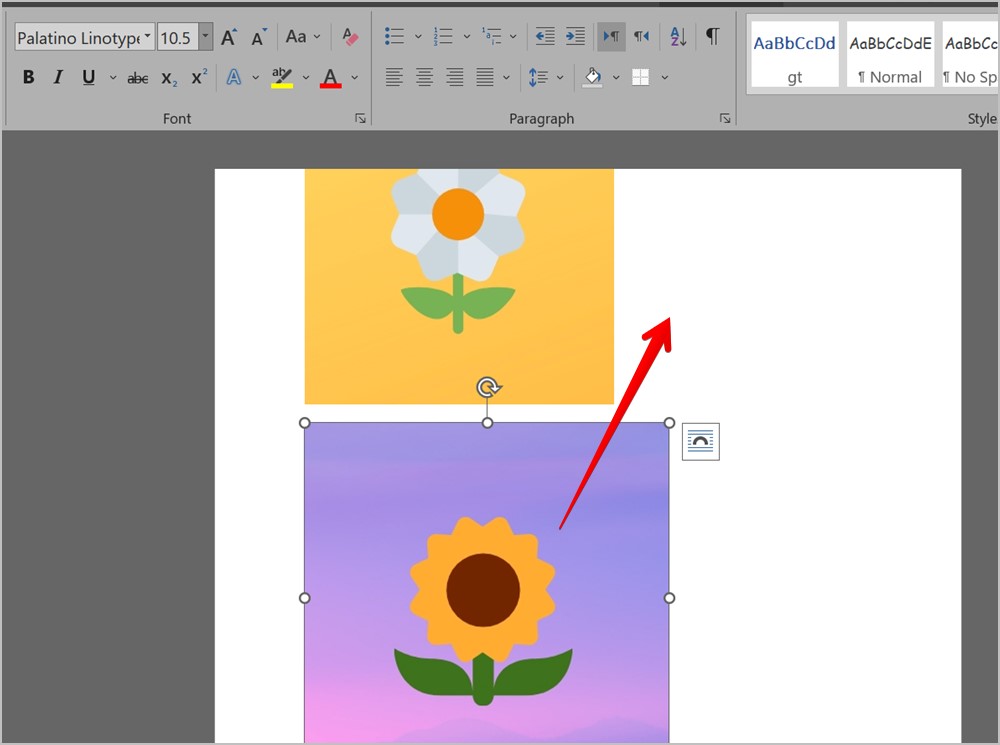
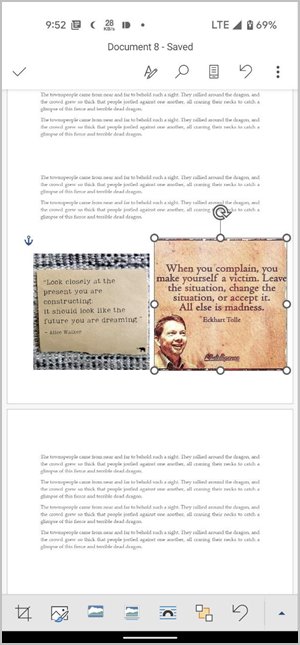
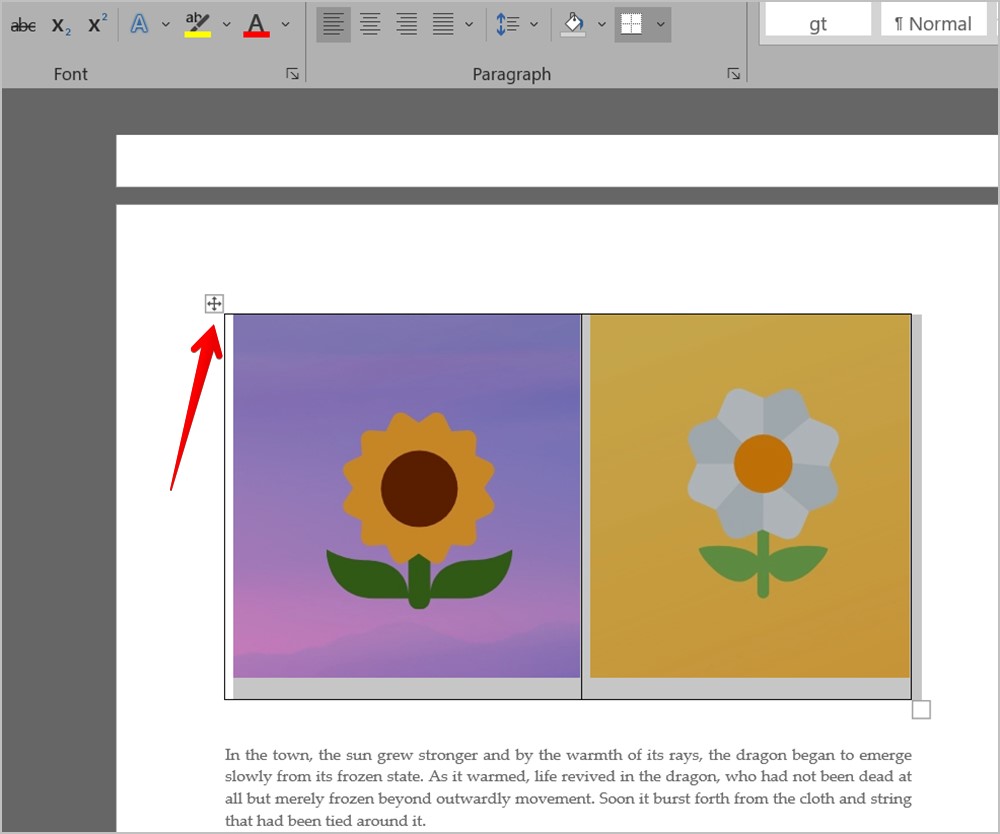
5. You might notice that the two images are not of the same size. Click on the second image and resize it until the two images are of the appropriate size. You can also resize the first image.
6. When the two images are of the desired size, place the cursor at the end of the line above the images.
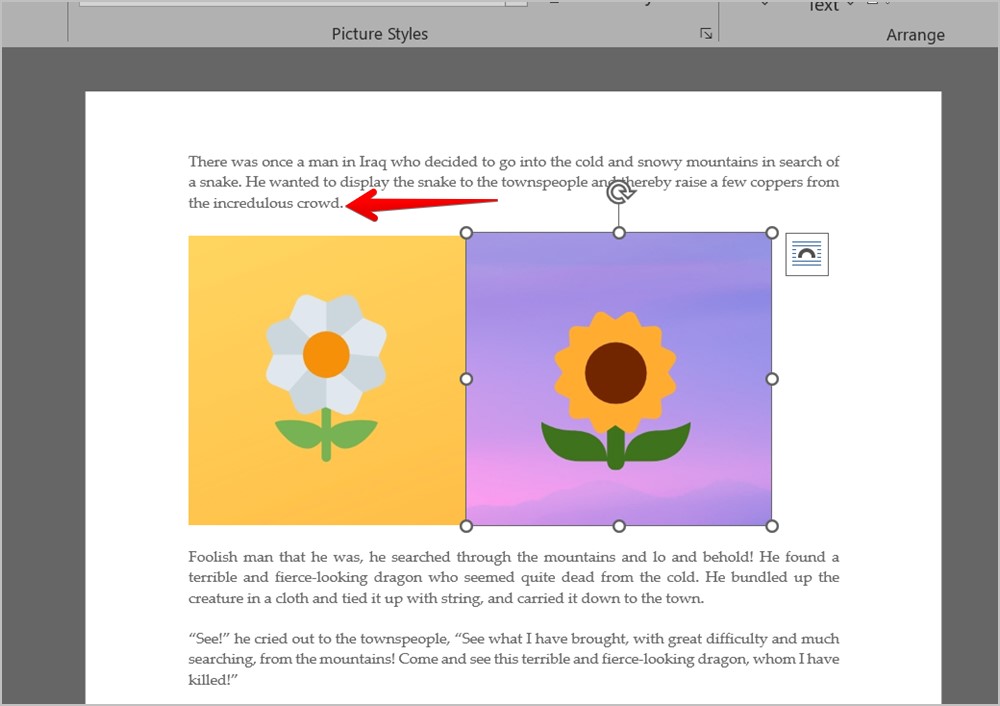
7. Now, move the cursor twice using the right arrow button on your keyboard. The cursor should show up between the two images. Press the Spacebar key multiple times to add some space between the two images placed next to each other.
Drag and Drop on Android and iPhone
1. Open the Word document where you want to add the images.
2. Tap on the Edit icon at the top to start editing the document.
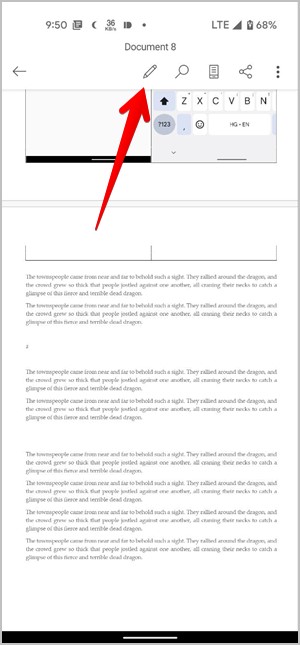
3. Place the cursor where you want to add the image.
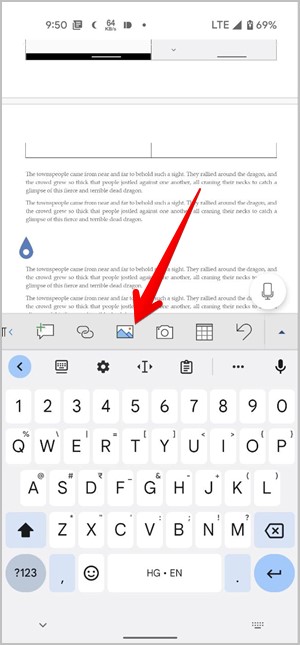
4. Swipe left on the toolbar at the bottom until you see the Picture icon. Tap on it. Select the first image. Similarly, add the second image.
5. After adding both the images, tap on the first image to select it. Then, make it smaller using the corner edges.
6. Now, touch and hold the second image and drag it next to the first image. You might have to resize both images to align them neatly.
2. Using Table
If the above method doesn’t work or seems cumbersome, then you should try putting two pictures side by side using a table. Basically, you need to add a table with two columns and one row. Then, insert an image in each column and finally remove the table border.
Note: This method works on Word mobile apps as well. The steps are similar to that of a PC. All you need to do is select Table and Pictures from the toolbar at the bottom of the document.
Here is the step-by-step guide for the same:
1. Open the Word document on Windows, macOS, or the web version.
2. Keep your cursor in a new line and at the place where you want to add images.
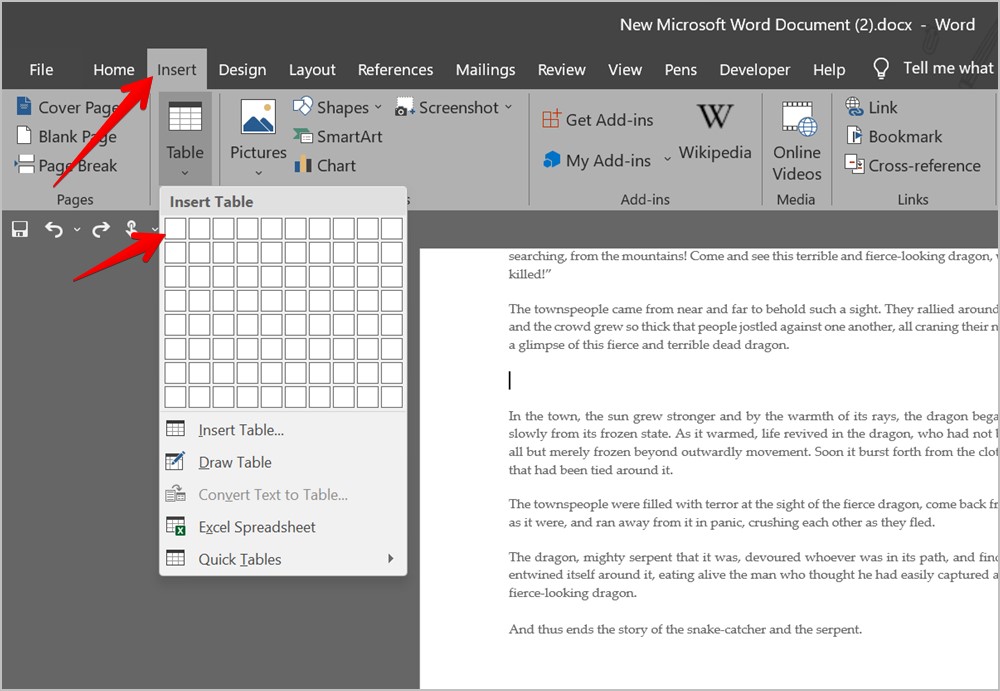
3. Click on Insert > Table. Select 2*1 table.
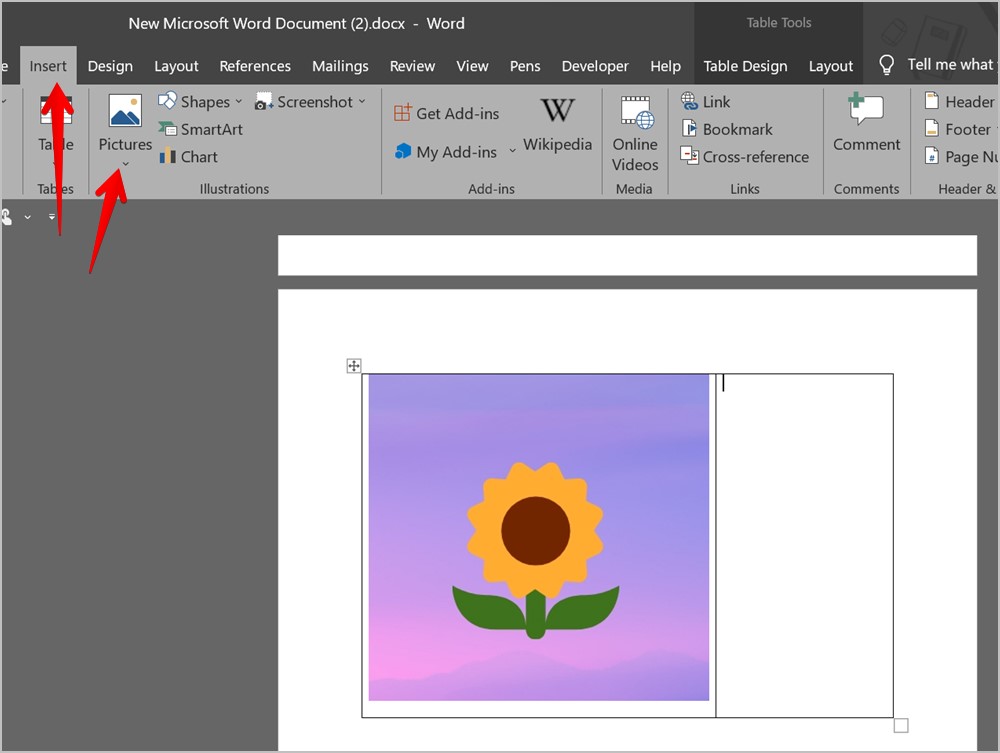
4. Place the cursor in the first column and add the first image by going to Insert > Pictures.

5. Then, place the cursor in the second column and insert the second image from Insert > Pictures.
6. Resize both the images using respective corner edges to the desired size.
7. Now, you need to remove the table border. For that, hover your mouse over the table and click on the four-sided icon that appears at the top to select the table.
8. On PC, click on the Border style icon and choose No border from the list.

On the web version, click on the Border selection icon in the top bar and choose No border from the menu.
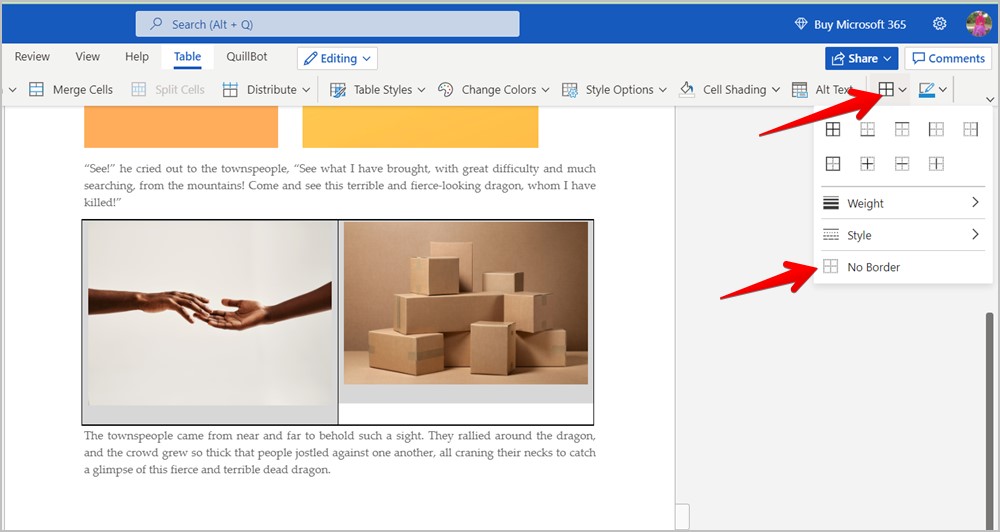
That’s it. Now, you have two images side by side in your Word document.
Pro Tip: Learn how to import tables from websites into Google Sheets.
3. Using Text Box (Windows, macOS)
Similar to adding a table to keep two images side by side, you can also add two text boxes and put images in them. Follow these steps for the same:
1. In the Word document, place the cursor where you want to add the images. Try to add it in a new line.
2. Click on the Insert tab in the menu bar. Go to Text box and select Simple text box.
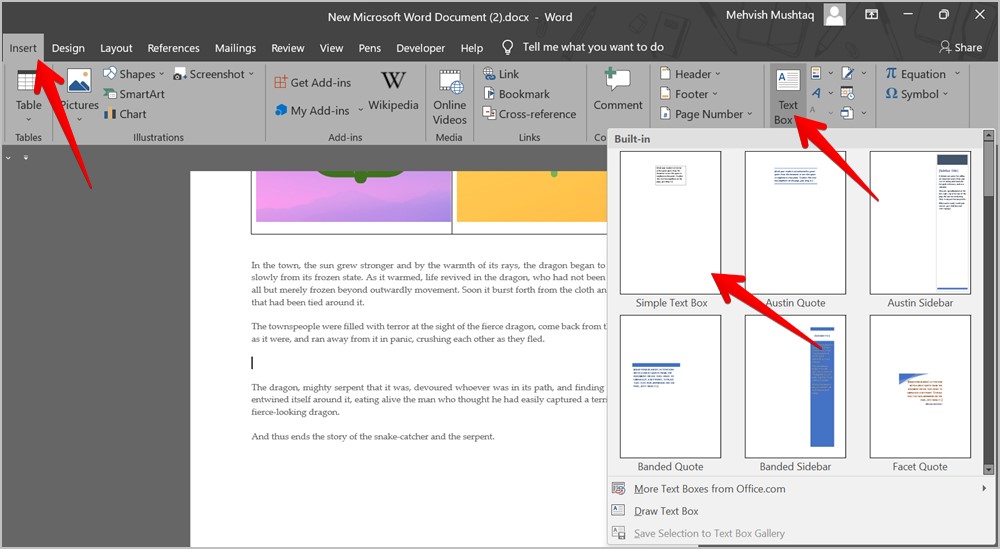
3. Delete the text from the text box using the Delete button.
4. Now, go to Insert > Pictures and add the desired image.
5. Drag the image to wherever you want to keep it on the page.
6. Now, repeat steps 2-5 to add the second image and keep it next to the first image. Resize the images to suit your needs.
Note: Delete any extra text box that might show up.
4. By Creating a Collage
If you don’t like any of the above methods, you can first create a collage using online tools or any software and place images next to each other. Then, insert the collage into your Word document just like you would add any regular image.
Some of the online collage makers that you can try are:
- Ipiccy.com
- Fotor.com
- Fotojet.com
You can even create a collage on your Samsung Galaxy phone or put two pictures side by side on Android and transfer that photo to a computer.
Know MS Word
I hope you were able to put two pictures side by side using the above methods. There are other things that you can do in Word but they might appear tricky. For instance, learn how to add a signature and how to create watermark templates in MS Word
Mehvish
Mehvish is a tech lover from Kashmir. With a degree in computer engineering, she’s always been happy to help anyone who finds technology challenging. She’s been writing about technology for over six years, and her favorite topics include how-to guides, explainers, tips and tricks for Android, iOS/iPadOS, Windows, social media, and web apps. You can also find her work on Make Tech Easier, Guiding Tech, and Nerds Chalk
Microsoft Word enables you to create a document — complete with text, tables and images — that shows off various aspects of your business, such as a new product or sales initiative. When you go to insert images into the document, by default they are set to appear in between the text that’s already there, making it difficult to move the images around and align them as you like. By changing how the images align with the text, along with a few other settings, you will be able to place them side by side in the document.
-
Click on the first of the two images that you want to align.
-
Click the «Format» tab, then click «Wrap Text» in the Arrange group. Choose «Square,» «Tight,» «Through» or «Top and Bottom» if you want the image and your text to be separate or choose «Behind Text» or «In Front of Text» if you aren’t concerned with your images and text overlapping each other.
-
Click the second image and repeat the process of changing the way text interacts with the image.
-
Click and drag down the top-right corner of each image until both images will fit side by side on the page. Word will not allow them to align next to each other if they are too big for the page unless you chose either the «Behind Text» or «In Front of Text» option.
-
Click «Align» in the Arrange group and choose «Grid Settings.»
-
Place a check mark next to «Snap Objects to Other Objects,» then click «OK.»
-
Click and drag the first image to where you want it on the page. Release the mouse button.
-
Click and drag the second image next to the first, where you want it to align. As the sides come close to each other, Word will automatically snap the second image into place next to the first. Release the mouse button when the images are aligned next to each other as you need them to be.
How to Place Pictures Side by Side in Word.
Images, drawings, and other graphic elements add color and make text documents more interesting. You can also add photos to line up next to each other so you can compare and contrast them or make a newsletter. One method is to add the graphics using the “Insert Image” tool on the same line. However, creating whitespace between the two is difficult and time consuming. Another method is to create a table with no rows and insert the images next to each other.
Add an image
Step 1:
Open a Word document. Move the cursor to where you want to place the two images. Click the «Insert» tab and click «Picture.»
Step 2:
Find the first photo you want to add to the document in the «Insert Image» dialog box. Select the thumbnail or file name and click «Insert» to place it on the left side of the document.
Step 3:
Resize the image so there is room for the next one. To do this, select it until the image manipulator appears. They are circles and squares on the edge of the photo. Hold the left mouse button on one of them and drag it to change its size. To do it proportionally, hold down the “Ctrl” key while dragging.
Step 4:
Place your cursor in the lower right corner of the image. Click on the “Insert” tab and then on “Image”. Select the second photo you want to add to the text. If it seems too big, resize it to fit on the same line as the first photo.
use a table
Step 1:
Open a Word document. Move the cursor where you want to place the graphics. Click the «Insert» tab and click «Table.» Choose a three for one table by selecting the white box from the drop down menu.
Step 2:
Right-click the table, then click Borders and Shading. Click the “Borders” tab and then “None” to set the table borders. Click “OK” and the borders of the table will continue to appear on the screen in blue lines to guide you as you add the graphics.
Step 3:
Click on the left cell of the table and on the “Insert” tab. Click on “Image” and select the graphic that should appear on the left side.
Step 4:
Skip the middle cell and add an image in the right cell. The middle becomes a space between the two cells. You can make one bigger or smaller by holding the left mouse button on one of the rows and dragging. You can adjust the size of the image by selecting it and dragging the image handle up, down, left, or right.
Table of Contents
- 1 How do I put text and pictures side by side in Word?
- 2 How do you put text over an image in CSS?
- 3 What are pictures called?
- 4 How do you say picture in English?
- 5 What is Peck and kiss?
- 6 Why is it called a pecking order?
- 7 What does pecking order theory say?
How do I put text and pictures side by side in Word?
Choose “Behind Text” or “In Front of Text” if you aren’t concerned with images and text overlapping each other. Click the second image and repeat the process of changing the way text interacts with the image. Click and drag down the top-right corner of each image until both images will fit side by side on the page.
How do I put text and images side by side in HTML?
Use CSS to place your images with precision In web design terms, this effect is known as floating the image. This is achieved with the CSS property float, which allows text to flow around the left-aligned image to its right side (or around a right-aligned image to its left side).
What is the text below a picture called?
Photo captions, also known as cutlines, are a few lines of text used to explain and elaborate on published photographs. Captions can also be generated by automatic image captioning software.
How do you put text over an image in CSS?
Answer: Use the CSS position property When creating a photo gallery or something like that you might need to place some caption text or description over the image. You can use the CSS positioning methods in combination with the margin property to position or place the text over an image (i.e. the element).
What are the example of picture?
The definition of a picture is a photo, drawing, painting or other image captured of a person, thing or scene. An example of picture is a poster of Elvis. An example of picture is a photograph of the Grand Canyon. An example of picture is the image on a television screen.
What is the meaning of picture?
1 : a design or representation made by various means (such as painting, drawing, or photography) 2a : a description so vivid or graphic as to suggest a mental image or give an accurate idea of something the book gives a detailed picture of what is happening.
What are pictures called?
A photograph (also known as a photo) is an image created by light falling on a photosensitive surface, usually photographic film or an electronic image sensor, such as a CCD or a CMOS chip. The process and practice of creating such images is called photography.
What is another name for picture?
What is another word for picture?
| portrait | sketch |
|---|---|
| effigy | likeness |
| representation | |
| portrayal | diagram |
| photograph | depiction |
How can I find the meaning of a picture?
Get information about an image
- On your Android phone or tablet, go to images.google.com or open the Google app .
- Search for an image.
- Tap the image to get a larger version.
How do you say picture in English?
Here are 4 tips that should help you perfect your pronunciation of ‘picture’:
- Break ‘picture’ down into sounds: [PIK] + [CHUH] – say it out loud and exaggerate the sounds until you can consistently produce them.
- Record yourself saying ‘picture’ in full sentences, then watch yourself and listen.
What is the meaning of features?
A feature is a distinctive trait or a special attraction. Feature can also mean to give special attention to something. The word feature has several other senses as a noun and a verb. A feature is a unique quality or characteristic that something has.
What is the meaning of Peck?
intransitive verb. 1a : to strike, pierce, or pick up something with or as if with the bill. b : carp, nag. 2 : to eat reluctantly and in small bites peck at food. peck.
What is Peck and kiss?
The main difference between Kiss and Peck is that the Kiss is a touch with the lips, usually to express love or affection, or as a greeting and Peck is a unit of volume. The word came from Old English cyssan (“to kiss”), in turn from coss (“a kiss”).
What does a peck kiss mean?
PECK. The peck is considered is reminiscent of many people’s first kisses, and it is typically a quick, playful exchange as both people keep their lips closed. For people who are kissing for the first time or just started dating, Phil explained that a peck is ‘all about testing the waters’.
What is a pecking order?
Pecking order, Basic pattern of social organization within a flock of poultry in which each bird pecks another lower in the scale without fear of retaliation and submits to pecking by one of higher rank.
Why is it called a pecking order?
Order in the Coop He believed that this acceptance of hierarchy is inherited, not learned. From this avian system of hierarchy, we get the term “pecking order,” which Schjelderup-Ebbe coined. In the decades that followed, his research on chickens would grow immensely influential.
What is another word for pecking order?
In this page you can discover 15 synonyms, antonyms, idiomatic expressions, and related words for pecking-order, like: class structure, chain of command, social pyramid, corporate-ladder, dominance, food-chain, grouping, hierarchy, line of dominance, ranking and social hierarchy.
Where does the saying pecking order come from?
The concept of dominance, originally called “pecking order”, was described in birds by Thorleif Schjelderup-Ebbe in 1921 under the German terms Hackordnung or Hackliste and introduced into English in 1927.
What does pecking order theory say?
The pecking order theory states that a company should prefer to finance itself first internally through retained earnings. If this source of financing is unavailable, a company should then finance itself through debt. Finally, and as a last resort, a company should finance itself through the issuing of new equity.
Where is the pecking order?
The pecking order of a group is the way that the positions people have are arranged according to their status or power within the group. He knew his place in the pecking order.
How do you find the pecking order?
The pecking order is, literally, determined by pecking. Bigger, stronger, and more aggressive chickens bully their way to the top of the flock by pecking the others into submission with their pointy beaks. First they strut about, fluff their feathers, and squawk, but if that doesn’t get the point across, they peck.
In Word, I can add two figures side by side, however, when I insert captions to each of them, the figure number doesn’t change, both of them have the same figure number. How can I solve this problem?
![]()
YowE3K
23.8k7 gold badges26 silver badges40 bronze badges
asked Jan 5, 2018 at 15:11
![]()
You can put the figures into a borderless two-column table. Your pictures are actually put in an invisible table. Then you can add captions to each of the pictures and Word will provide different figure numbers.
answered Jan 5, 2018 at 15:17
![]()
0