
When you open a Word document, Microsoft provides several details about the current page. A bar at the bottom of the screen carries these details, and this bar is the Status Bar.
We will show you in simple, easy step-by-step instructions how to:
- Use the default information available in the status bar
- Customize the status bar to your needs.
Let us begin.
Method #1: Use the Default Information in the Status Bar
This is information that will show in any MS Word document by default, except if the status bar has been customized, as we will show you how to do in Method #2.
Step #1: Open any Word document
Open a Word document.
Navigate to any page.

Step #2: Page status
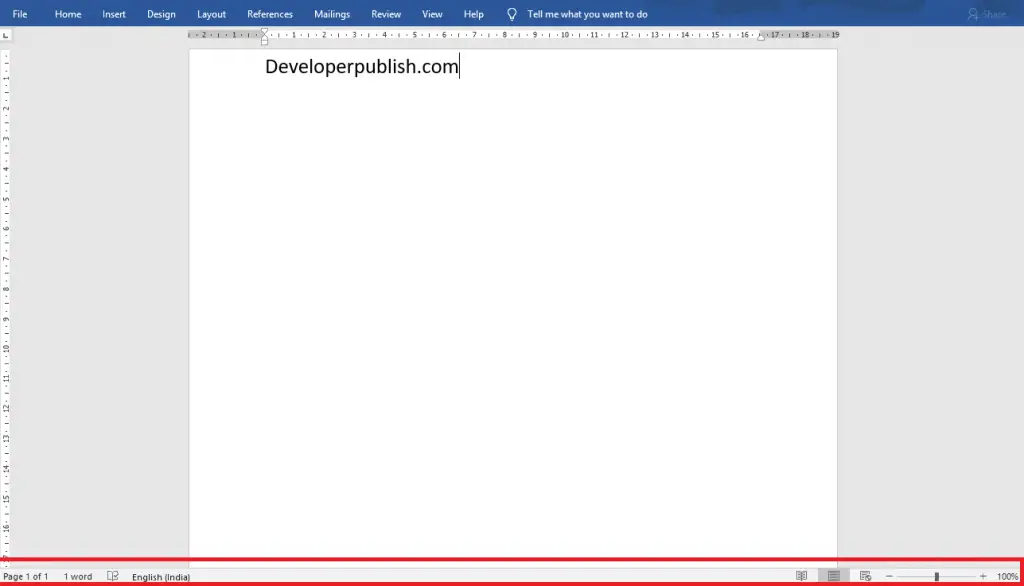
Starting from the left, the first item shows the page status.
It shows the current page in the total number of pages in the format Page x of y. Here, x is the current page number, and y is the total number of pages.

Click on Page x of y.
A Navigation pane opens on the left, showing thumbnails of pages.
Click on the page you want to go to.

Click on the X mark on the top right of the Navigation pane to exit.
Step #3: Number of words
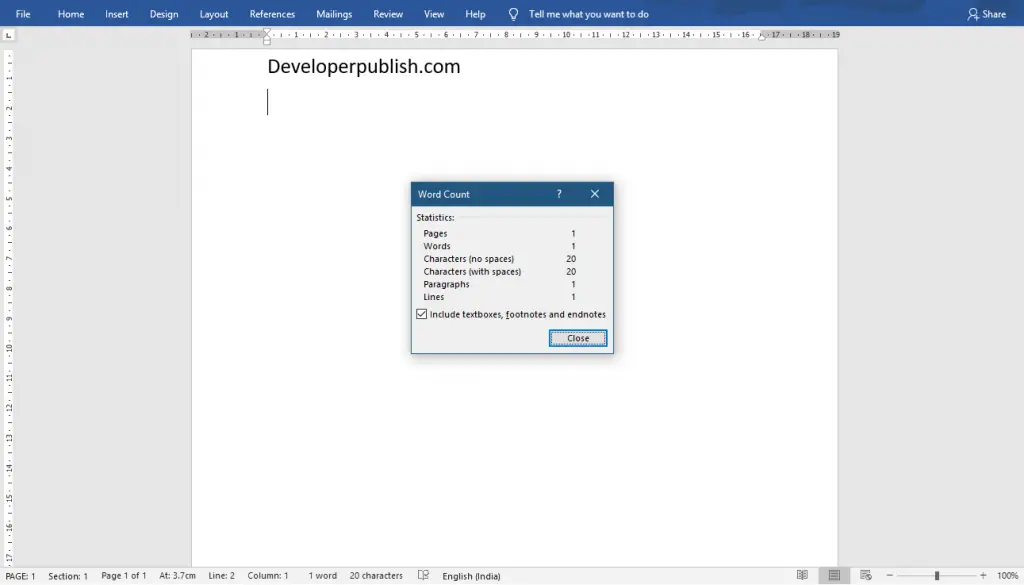
The second item from the left shows the number of words in the document.

Click on this number.
A window will open, showing the document’s statistics.

Click on the Close button to exit.
Step #4: Proofing errors
The third item from the left shows up if Word has found proofing errors in the document.

Click on the Proofing Errors icon.
A Proofing dialog box opens on the right side.
Word shows the spelling errors it has found.
It also suggests corrections for those errors.

Click on the X mark on the top right of the Proofing dialog box to exit.
Step #5: Language
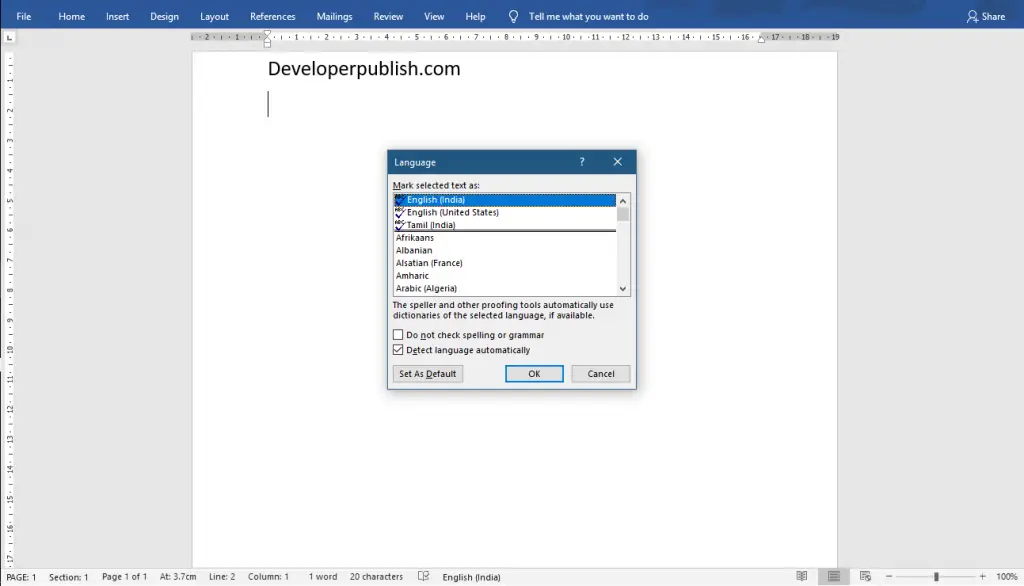
The fourth item from the left shows the language currently in use.

Click on the Language item.
A Language dialog box will open.
You can change to another language for the document or selected text.

Click on the OK button to exit the language dialog box.
Step #6: Focus
The fifth item from the left is a Focus icon.

Click on the Focus icon.
The ribbon at the top disappears.
The status bar at the bottom disappears.
The background outside the document becomes black.
This allows you to concentrate on your document as you work on it.

Press the ESC button on the keyboard to exit the Focus state.
Step #7: Document mode
The sixth item from the left is a bunch of three icons.
They control the view of the document.

Default is the Print Layout, represented by the second icon in the group.
On its left is the Read Mode icon.
On its right is the Web Layout icon.
Click on the Read Mode icon.
A thin menu replaces the top ribbon.
The status bar changes to show screen numbers in place of page numbers.
The screen scrolls from left to right, or vice versa.

Click on the Web Layout icon to change the view.
The status bar changes to exclude the page numbers.

Click on the Print Layout icon to return to default.
Step #8: Text Size
The last item on the status bar is the text size adjustment slider.
Click and hold the slider.
Drag it towards the — mark.
The text size reduces.
Drag the slider towards the + mark.
The text size increases.
You can change the text size from 10% to 500%.
The current text size shows up on the right.

Method #2: Customize Your Status Bar
Step #1: Open the customize menu
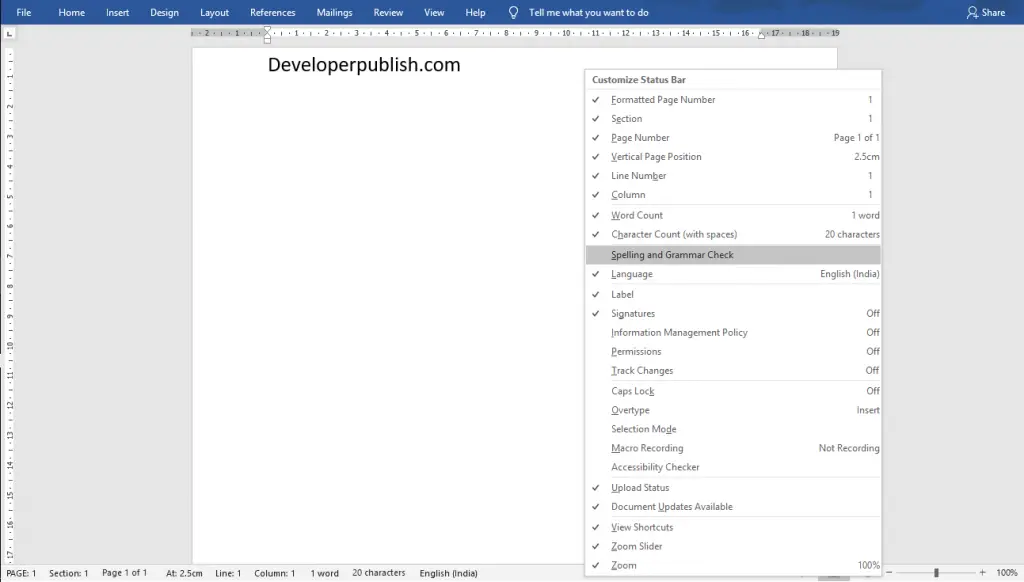
Right-click anywhere on the status bar.
A Customize Status Bar menu will open.
Only items with a tick mark currently appears on the status bar.

Step #2: Customize the status bar
Click the tick-box to select the items you want to see in the status bar.
Click to deselect the items you want to remove.

The status bar immediately reflects your choice.
![]()
Click anywhere outside the Customize Status Bar menu to close it.
Conclusion
We have shown you the meaning of the default information available in the status bar.
We have also shown you how to customize the information shown in the status bar according to your needs. Having this information at your fingertips is convenient and easy to use. The page and search functionality especially, (Step #2), is handy for lengthy manuscripts.
This article helps you to know about the status bar in Microsoft Word and what are the uses and features present in the status bar.
The Status Bar appears at the bottom of the Microsoft Word window helps in knowing the updates of the current page number working on, the number of words used in your Word document, languages, and so on.
Exploring Status Bar
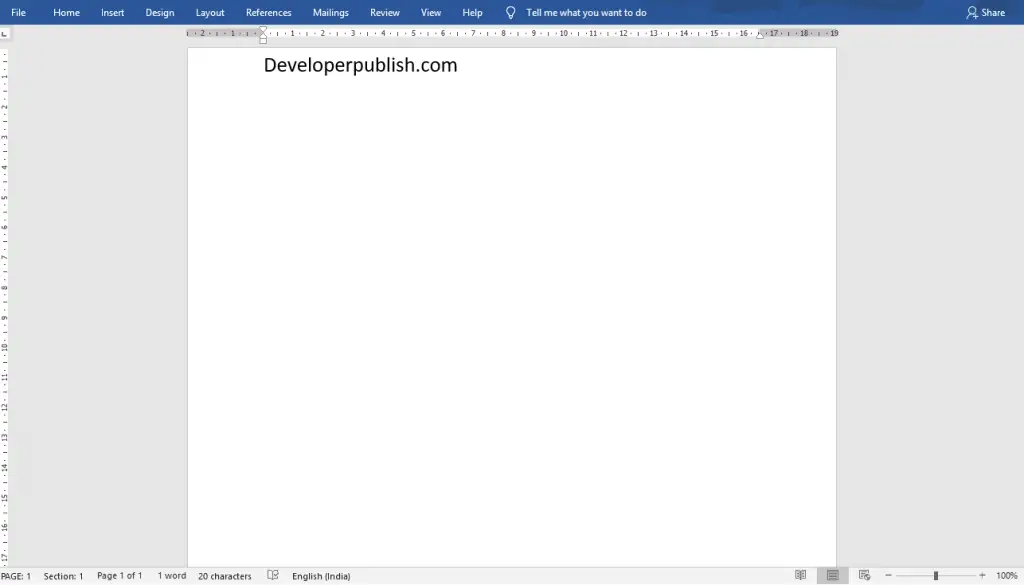
- The Formatted Page Number shows the number of formatted pages in your Word document.
- Section Number reflects the number of sections included in the Word document.
- Also, you can get the Vertical Position from the top of the Word document.
- The line shows the Line Number of the current page.
- Similarly, Column shows the column number on the page.
- Also, you can able to know the number of words used in the document.
- To get the Word Statistics, click on the Word option in the Status Bar.
- You can also able know about the Languages and can change to your desired languages by simply clicking on the Language feature in the Status Bar.
- The Read Mode icon helps in reading your Word document.
- Also, you can switch between Print Layout and Web Layout for a better output.
- Use the Zoom option to zoom in and zoom out the Word document.
How to Customize the Status Bar in Word?
- To get started, Right Click anywhere on the Status Bar.
- Now, you will get a Customize Status pop-up menu.
- Turn on or off the feature you need to include or exclude by clicking on the pop-up menu.

The Status Bar in Word is available at the bottom of the document window and displays information about your document, such as what page you are currently viewing, how many words are in your document, and whether any proofing errors were found.
You can easily customize the Status Bar by adding more information to or removing information from it. To do this, right-click anywhere on the Status Bar. Items that have check marks next to them display on the Status Bar. These items may not display at all times, depending on the current circumstances. For instance, if you’re not sharing the document with other authors, the “Number of Authors Editing” will not display on the Status Bar even if you have it selected in the “Customize Status Bar” popup menu.

Additional information about different parts of your document displays in the Status Bar. For example, when you hover your mouse over a hyperlink…
…the URL for the hyperlink displays in the Status Bar. Additionally, if you copy and paste content from a webpage into a Word document, and you hover your mouse over a pasted image, the URL for that image displays in the Status Bar.
NOTE: You can press “Ctrl” and click on a hyperlink to open the link in a browser window and also avoid automatically creating hyperlinks.
The icons on the right side of the Status Bar provide information about, and allow you to change, how you are using Word. For example, you can change the viewing mode (Read Mode, Print Layout, and Web Layout) and the zoom level.
Experiment with the various options available for the Status Bar to see how to customize it to best suit the way you work and improve your productivity.
READ NEXT
- › How to Turn on and Use Text Predictions in Microsoft Word
- › How to Create a Custom Table With a Macro in Microsoft Word
- › How to Check the Word Count in Microsoft Word
- › How to Count Characters in Word
- › Android’s Nearby Share Has (Unofficially) Arrived on Mac
- › Save Hundreds on Elegoo’s New PHECDA Laser Engraver Through Kickstarter
- › The New Winamp Is Here, but It’s Not What You’d Expect
- › How to Get a Refund on the PlayStation Store
How-To Geek is where you turn when you want experts to explain technology. Since we launched in 2006, our articles have been read billions of times. Want to know more?
The status bar is the area at the bottom of the Word window that indicates information about the current document. It displays information about what page you are on, as well as your line number on the page and character number on the line. It also shows information about which editing toggles you have turned on.
What is difference between taskbar and status bar?
Answer: The taskbar is for starting tasks, while the status bar shows information. Explanation: The taskbar is often at the bottom of the desktop, while the status bar may be at the bottom of a program’s window.
What is toolbar and status bar?
A toolbar offers easier access to tasks typically conducted within the application whereas in the status bar it is displayed at the lower side of the web browser screens and other application windows.
How do I hide the status bar on my computer?
Just follow these simple steps:
- Right-click on an empty area of the taskbar. (If you’re in tablet mode, hold a finger on the taskbar.)
- Click taskbar settings.
- Toggle Automatically hide the taskbar in desktop mode to on. (You can also do the same for tablet mode.)
What is status bar used for?
A status bar is a horizontal window at the bottom of a parent window in which an application can display various kinds of status information. The status bar can be divided into parts to display more than one type of information.
Why did my status bar disappeared on WMR?
Per the IRS, the WMR tracker graphic may disappear or not be shown if your return falls under IRS review after it is received (Status Bar 1: Return Received) because additional information is needed for your return. An explanation or instructions (see IRS Tax or error codes) will be provided depending on the situation.
How do I turn on status bar?
On the Accessibility settings screen, scroll down to “Services section” and tap on Material Status Bar. 2.4. On the next screen, turn ON the Permissions for Material Status Bar by moving the toggle to ON position.
How do you hide status bar?
Open Internet Explorer. Click View in the menu bar at the top. If you don’t see the “File Edit View” menu options, press the Alt key . Select the Toolbars option. Check or uncheck the Status bar option to view or hide the status bar.
What’s this about the status bar?
A status bar is a graphical control element used to display certain status information depending upon the application or device. It is usually displayed as a horizontal bar at the bottom of the application window on computers, or along the top of the screen for tablets and smartphones. The status bar can also be divided into sections of information and sometimes has extra functionalities such as access to tools and shortcuts.
Where is the toolbar located on a computer screen?
The Windows operating system allows you to move your main desktop toolbar to any of the four sides of your computer monitor. By default, this toolbar will be placed at the bottom of your screen. Right click the toolbar in its current location on your Windows desktop. Make sure that the phrase “Lock the taskbar” is not checked.
The Word status bar is located at the bottom of the interface and is used to display relevant information about the current document, such as document page number, column number, word count, etc.
It allows users to understand document-related information in real-time without causing interference to users. However, many people don’t pay much attention to the status bar, but it is actually very practical. Today the author will introduce you to the usage of the status bar.

1. Know About the Status Bar
a) Page Information
It is located on the leftmost side of the status bar. You can see how many pages the document has, and what page is the current position. You can click on the page to quickly open Navigation.

b) Words Information
It is located on the right side of the page number information, it shows the total word count of the current document, as shown in the figure below. Click the word count information in the status bar to quickly open the “Word Count” box to view the number of pages, words, paragraphs, and lines of the document.

c) Language Option
Click on the Language status to quickly open Language option box.

d) Insert/Overtype
Sometimes when we edit in Word, we often have the situation : Entering text in the middle of the existing text will replace the following text. This is because you have turned on the “Overtype” function, we only need to click “Overtype” in the status bar, update it to “Insert”, and then enter the text, there will be no typing overwriting. (If there is no status bar, right-click the status bar to display it).

e) Record Macro
Click the “Record Macro” button to quickly open the “Record Macro” dialog box.

f) Switch Layout
You can change the document layout or mode in the status bar.

g) Zoom Level
It is the far right of the status bar, you can quickly adjust the display ratio of the document. You can also click to quickly open the Zoom Dialog box.

2. Customize Status Bar
You can customize the status bar according to your habit. Just right-click the blank part of the status bar.

Copyright Statement: Regarding all of the posts by this website, any copy or use shall get the written permission or authorization from Myofficetricks.