
If you find yourself needing to expand or reduce Excel’s row widths and column heights, there are several ways to adjust them. The table below shows the minimum, maximum and default sizes for each based on a point scale.
|
Type |
Min |
Max |
Default |
|---|---|---|---|
|
Column |
0 (hidden) |
255 |
8.43 |
|
Row |
0 (hidden) |
409 |
15.00 |
Notes:
-
If you are working in Page Layout view (View tab, Workbook Views group, Page Layout button), you can specify a column width or row height in inches, centimeters and millimeters. The measurement unit is in inches by default. Go to File > Options > Advanced > Display > select an option from the Ruler Units list. If you switch to Normal view, then column widths and row heights will be displayed in points.
-
Individual rows and columns can only have one setting. For example, a single column can have a 25 point width, but it can’t be 25 points wide for one row, and 10 points for another.

Set a column to a specific width
-
Select the column or columns that you want to change.
-
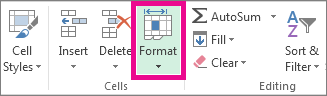
On the Home tab, in the Cells group, click Format.

-
Under Cell Size, click Column Width.
-
In the Column width box, type the value that you want.
-
Click OK.
Tip: To quickly set the width of a single column, right-click the selected column, click Column Width, type the value that you want, and then click OK.
-
Select the column or columns that you want to change.
-
On the Home tab, in the Cells group, click Format.
-
Under Cell Size, click AutoFit Column Width.
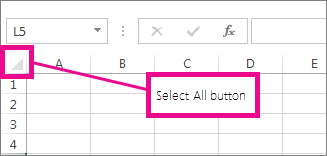
Note: To quickly autofit all columns on the worksheet, click the Select All button, and then double-click any boundary between two column headings.
-
Select a cell in the column that has the width that you want to use.
-
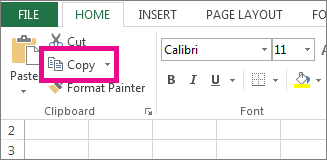
Press Ctrl+C, or on the Home tab, in the Clipboard group, click Copy.
-
Right-click a cell in the target column, point to Paste Special, and then click the Keep Source Columns Widths
button.
 button.
The value for the default column width indicates the average number of characters of the standard font that fit in a cell. You can specify a different number for the default column width for a worksheet or workbook.
-
Do one of the following:
-
To change the default column width for a worksheet, click its sheet tab.
-
To change the default column width for the entire workbook, right-click a sheet tab, and then click Select All Sheets on the shortcut menu.
-
-
On the Home tab, in the Cells group, click Format.
-
Under Cell Size, click Default Width.
-
In the Standard column width box, type a new measurement, and then click OK.

Do one of the following:
-
To change the width of one column, drag the boundary on the right side of the column heading until the column is the width that you want.
-
To change the width of multiple columns, select the columns that you want to change, and then drag a boundary to the right of a selected column heading.
-
To change the width of columns to fit the contents, select the column or columns that you want to change, and then double-click the boundary to the right of a selected column heading.
-
To change the width of all columns on the worksheet, click the Select All button, and then drag the boundary of any column heading.
-
Select the row or rows that you want to change.
-
On the Home tab, in the Cells group, click Format.
-
Under Cell Size, click Row Height.
-
In the Row height box, type the value that you want, and then click OK.
-
Select the row or rows that you want to change.
-
On the Home tab, in the Cells group, click Format.
-
Under Cell Size, click AutoFit Row Height.
Tip: To quickly autofit all rows on the worksheet, click the Select All button, and then double-click the boundary below one of the row headings.
Do one of the following:
-
To change the row height of one row, drag the boundary below the row heading until the row is the height that you want.
-
To change the row height of multiple rows, select the rows that you want to change, and then drag the boundary below one of the selected row headings.
-
To change the row height for all rows on the worksheet, click the Select All button, and then drag the boundary below any row heading.
-
To change the row height to fit the contents, double-click the boundary below the row heading.

Top of Page
If you prefer to work with column widths and row heights in inches, you should work in Page Layout view (View tab, Workbook Views group, Page Layout button). In Page Layout view, you can specify a column width or row height in inches. In this view, inches are the measurement unit by default, but you can change the measurement unit to centimeters or millimeters.
-
In Excel 2007, click the Microsoft Office Button
> Excel Options> Advanced. -
In Excel 2010, go to File > Options > Advanced.
 > Excel Options> Advanced.
Set a column to a specific width
-
Select the column or columns that you want to change.
-
On the Home tab, in the Cells group, click Format.
-
Under Cell Size, click Column Width.
-
In the Column width box, type the value that you want.

-
Select the column or columns that you want to change.
-
On the Home tab, in the Cells group, click Format.
-
Under Cell Size, click AutoFit Column Width.
Tip To quickly autofit all columns on the worksheet, click the Select All button and then double-click any boundary between two column headings.

-
Select a cell in the column that has the width that you want to use.
-
On the Home tab, in the Clipboard group, click Copy, and then select the target column.
-
On the Home tab, in the Clipboard group, click the arrow below Paste, and then click Paste Special.
-
Under Paste, select Column widths.

The value for the default column width indicates the average number of characters of the standard font that fit in a cell. You can specify a different number for the default column width for a worksheet or workbook.
-
Do one of the following:
-
To change the default column width for a worksheet, click its sheet tab.
-
To change the default column width for the entire workbook, right-click a sheet tab, and then click Select All Sheets on the shortcut menu.
-
-
On the Home tab, in the Cells group, click Format.
-
Under Cell Size, click Default Width.
-
In the Default column width box, type a new measurement.

Tip If you want to define the default column width for all new workbooks and worksheets, you can create a workbook template or a worksheet template, and then base new workbooks or worksheets on those templates. For more information, see Save a workbook or worksheet as a template.
Do one of the following:
-
To change the width of one column, drag the boundary on the right side of the column heading until the column is the width that you want.
-
To change the width of multiple columns, select the columns that you want to change, and then drag a boundary to the right of a selected column heading.
-
To change the width of columns to fit the contents, select the column or columns that you want to change, and then double-click the boundary to the right of a selected column heading.
-
To change the width of all columns on the worksheet, click the Select All button, and then drag the boundary of any column heading.
-
Select the row or rows that you want to change.
-
On the Home tab, in the Cells group, click Format.
-
Under Cell Size, click Row Height.
-
In the Row height box, type the value that you want.
-
Select the row or rows that you want to change.
-
On the Home tab, in the Cells group, click Format.
-
Under Cell Size, click AutoFit Row Height.
Tip To quickly autofit all rows on the worksheet, click the Select All button and then double-click the boundary below one of the row headings.
Do one of the following:
-
To change the row height of one row, drag the boundary below the row heading until the row is the height that you want.
-
To change the row height of multiple rows, select the rows that you want to change, and then drag the boundary below one of the selected row headings.
-
To change the row height for all rows on the worksheet, click the Select All button, and then drag the boundary below any row heading.
-
To change the row height to fit the contents, double-click the boundary below the row heading.
Top of Page
See Also
Change the column width or row height (PC)
Change the column width or row height (Mac)
Change the column width or row height (web)
How to avoid broken formulas
Change the column width or row height in Excel
You can manually adjust the column width or row height or automatically resize columns and rows to fit the data.

Note: The boundary is the line between cells, columns, and rows. If a column is too narrow to display the data, you will see ### in the cell.
Resize rows
-
Select a row or a range of rows.
-
On the Home tab, select Format > Row Width (or Row Height).
-
Type the row width and select OK.
Resize columns
-
Select a column or a range of columns.
-
On the Home tab, select Format > Column Width (or Column Height).
-
Type the column width and select OK.
Automatically resize all columns and rows to fit the data
-
Select the Select All button
at the top of the worksheet, to select all columns and rows. -
Double-click a boundary. All columns or rows resize to fit the data.
 at the top of the worksheet, to select all columns and rows.
Need more help?
You can always ask an expert in the Excel Tech Community or get support in the Answers community.
See Also
Insert or delete cells, rows, and columns
Need more help?
Want more options?
Explore subscription benefits, browse training courses, learn how to secure your device, and more.
Communities help you ask and answer questions, give feedback, and hear from experts with rich knowledge.
Adjusting the column width is one of the important activities while working with Excel. It is one of the important activities performed by a user while preparing the reports, creating dashboards, developing summary tables, and using worksheets to do calculations on data. Microsoft Excel facilitates a set of options for changing the width of the column. However, columns in Excel worksheets cannot automatically adjust the width based on the data.
- A column in Excel has a default width of 8.43 characters, less than one inch. Excel presents different ways, including dragging through a mouse, using the shortcut menus on the ribbon, and double-clicking on the right side edge of the column heading.
- The present article discusses the various effective ways to adjust the width of columns manually by covering the following topics.
Table of contents
- Column Width in Excel
- Explanation
- How to Adjust Column Width in Excel?
- Examples
- Example#1 – Adjusting the Excel Column Width by Using the Mouse
- Example#2 – Setting the Width of the Column to a Certain Number
- Example#3 – Use of Autofit to Adjust the Column Width in Excel
- Example#4 – Setting the Default Width for Columns in Excel
- Things to Remember
- Recommended Articles
Explanation
- In an Excel worksheet, a user can set the width of a column in the range from 0 to 255, and one character width is equal to one unit. For a new Excel sheet, the column width equals 8.43 characters, equal 64 pixels. It will hide a column if its width is equal to zero.
- When a user inputs data into the columns of the excel sheet, they do not automatically adjust the size of the column. If the value presented in a cell is big to fit with the default width of the column, it overlaps with the next cells by crossing the border of the cell.
- The text string cell overlaps the cell border, whereas the numeric string displays in #####. Therefore, we need to apply various commands to adjust the column width to avoid these problems.
In Excel, a different type of command is available to format the width of a column. These include column width, AutoFit column width, and default width.
- Column width: This command sets the width of the column to a certain number of characters.
- Autofit column width: This command helps fit the content to the widest column width.
- Default width: Adjusts column width to the default widthTo autofit the column width to the entire column in Excel, select the entire column and drag the column according to the data. read more.
You are free to use this image on your website, templates, etc, Please provide us with an attribution linkArticle Link to be Hyperlinked
For eg:
Source: Excel Column Width (wallstreetmojo.com)
How to Adjust Column Width in Excel?
- Presenting the data in a readable format adjusting the column width.
- Matching the width of a column in excel to another column.
- Unhide data that is not visible to the readers.
- Setting the specific width to a column to fit with the content produced.
- Application of proper formatting to the cells and their data.
- Precisely controlling the column width by changing the different fonts and their size.
Examples
Below are examples of Excel column width.
You can download this Column Width Excel Template here – Column Width Excel Template
Example#1 – Adjusting the Excel Column Width by Using the Mouse
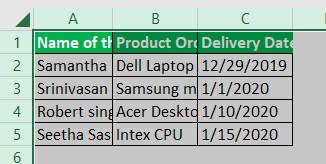
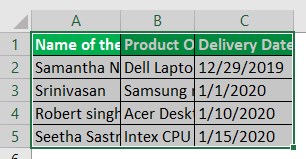
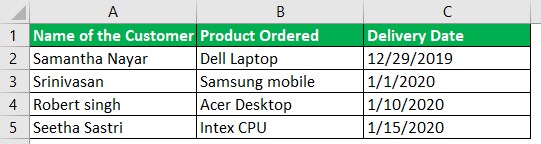
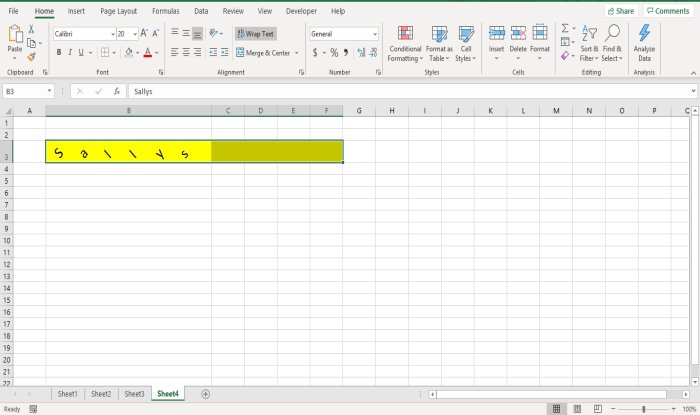
This example illustrates the adjustment of the column width for the following data.
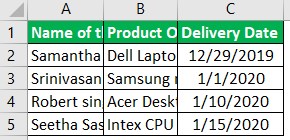
As shown in the figure, data in two columns is not readable. Therefore, we must follow the following steps.
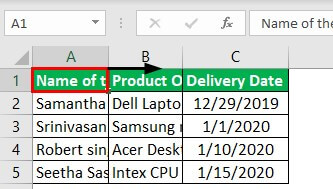
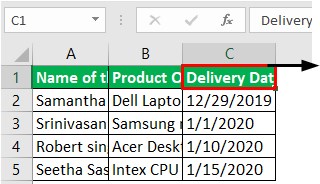
Step1: To adjust the width of only one column, we must drag the border of the column to the right side until the required column width is reached.
Step2: Next, drag the column B width until the desired width is reached.
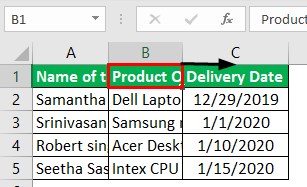
Step3: Next, we need to drag the column C width until the desired width is reached.
We can adjust the width of all columns by selecting the three columns.
Step4: After that, we must select three columns by pressing “CTRL+A” or clicking the ‘All Button’ and drag on any column header shown in the screenshot.
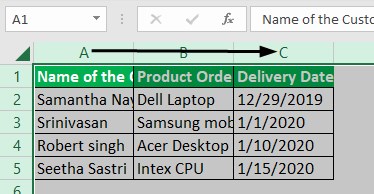
Consequently, it may show the result as follows:
Example#2 – Setting the Width of the Column to a Certain Number
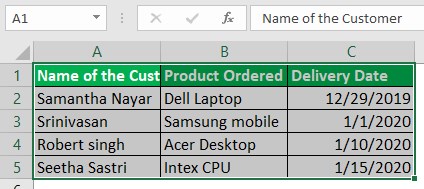
The following data is considered for this example.

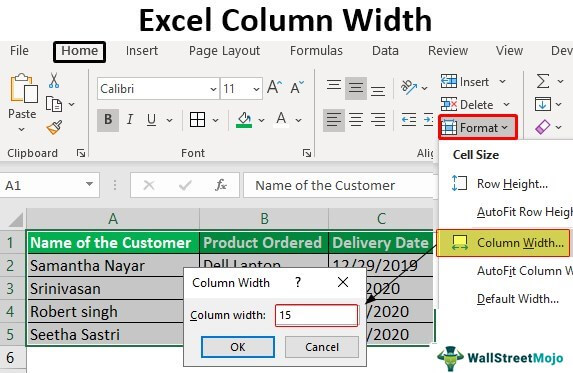
We must follow the steps to set the width of a certain number of columns in Excel:
- We must first select the single or more columns to adjust the width.

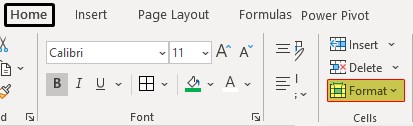
- Then, go to the “Format” option under the “Home” tab and click on “Format.”

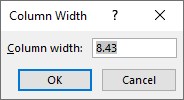
- Next, select the “Column width” from the list of options. It opens the “Column width” dialog box.

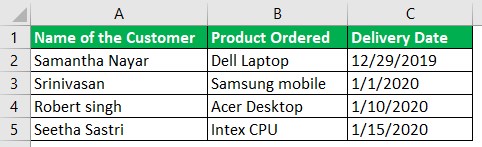
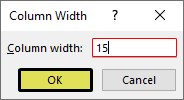
- Enter the desired value in the column width box (for example, 15) and click “OK.”
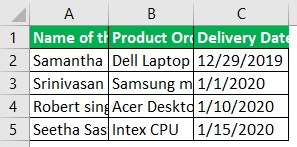
- The result is obtained as follows:

This method results in the same width for the columns selected.
Example#3 – Use of AutoFit to Adjust the Column Width in Excel
This example illustrates the procedure to AutoFit the width of all columns to contents. The following data is considered for this example.
Step1: To AutoFit the single column, first, we need to double-click on the right border of the column.
Step2: To apply the AutoFit to two columns, double-click on the boundary presented by selecting the two columns.
Step3: To apply the AutoFit to all columns, select the columns by pressing “CTRL+A” or selecting the all button.
Step4: Go to the “Format” option under the “Home” tab and click on “Format.”

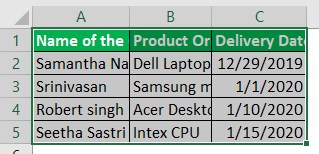
Step5: Select the “AutoFit Column Width” from a list of options as shown in the screenshot.
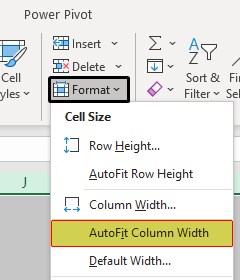
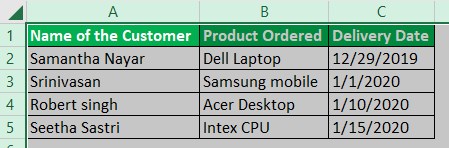
It AutoFits the width of all columns, as shown in the screenshot.
Example#4 – Setting the Default Width for Columns in Excel
This example illustrates how to change the default column width for a worksheet or complete worksheets in a workbook. The following data is considered for this example.

Step1: First, we must select the single or more worksheets to adjust the default width. For this example, we are considering only one worksheet.
Step2: Go to the “Format” option under the “Home” tab and click on “Format.”
Step3: We need to select the “Default Width” from a list of options, as shown in the screenshot.

It opens the “Standard column width” dialog box.
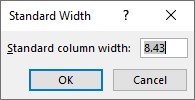
Step4: After that, we must enter the desired width into the “Standard column width” box as 20.
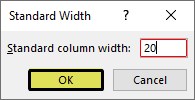
Then, the result is obtained as follows:
Things to Remember
- “AutoFit” of column width does not affect width if the width of the column is sufficient for the content.
- When a user wants to modify the default width of an Excel file, save the empty workbook as a template in Excel.
Recommended Articles
This article is a guide to Excel Column Width. Here, we learn how to adjust the column width in Excel by using the mouse and AutoFit to adjust the column width, along with examples and a downloadable Excel template. You may learn more about Excel from the following articles: –
- Column Total in Excel
- How to Add Columns in Excel?
- Move Columns in Excel
- How to Track Changes in Excel?
Download PC Repair Tool to quickly find & fix Windows errors automatically
The height of rows and the width of columns in Excel are usually automatic, but you can change the row’s height and column width manually. The row height in spreadsheets increases and decreases according to the data’s size entered into the rows; Excel will automatically increase and decrease the rows. Setting the rows’ height is used for specific reasons, such as a cell with an orientation text.
In this tutorial, we will explain how to:
- Change the height of a row.
- Change the width of a column.
What are Rows and Columns in Excel?
- Rows: On the excel Spreadsheet, rows run horizontally. The rows are identified by row numbers which run vertically on the left side of the spreadsheet.
- Columns: On the Excel spreadsheet, columns run vertically and are identified by alphabetical column headers that run horizontally on the spreadsheet’s top.
1] Change the Height of a row
There are two options to change the height of a row.
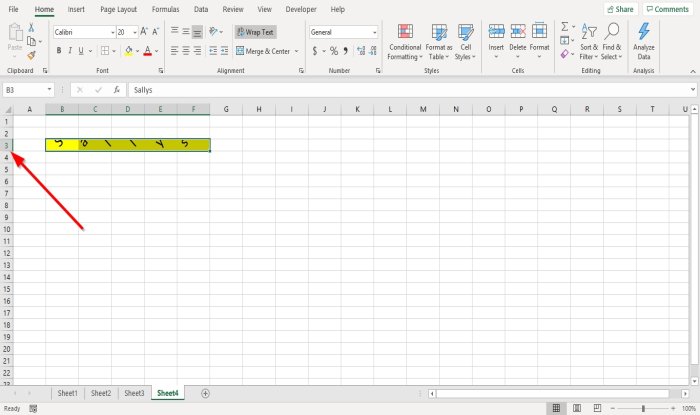
Option one is to go to where row number three is, place the cursor on the bottom border of the number three-row, hold and drag the cursor down.
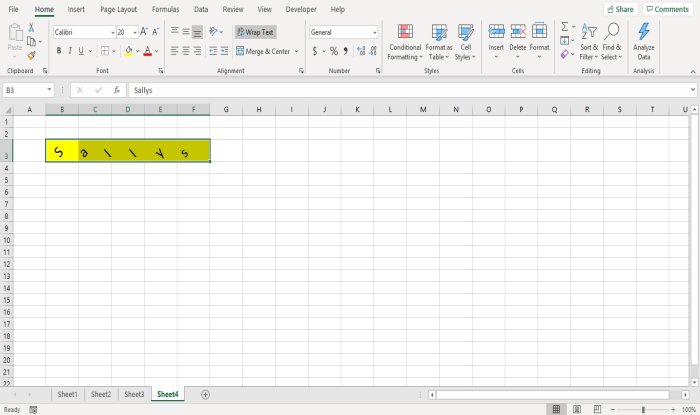
You will see the result.
Option two is to click row three.
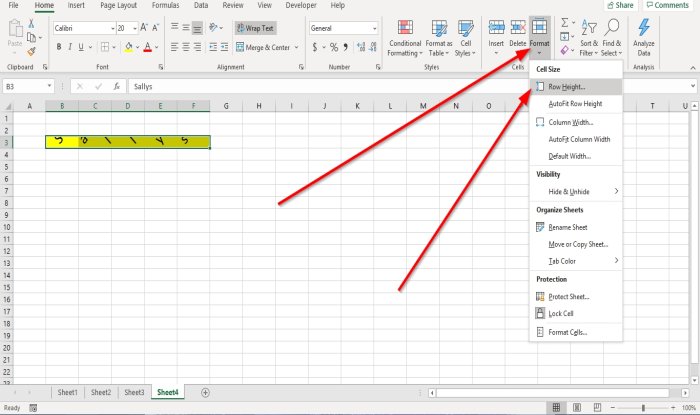
Then go to the Home tab in the Cells group and click Format.
In the drop-down list, select Row Height

A Row Height dialog box will appear.
Inside the dialog box, place the number of height you want the row to be, then click OK.
2] Change the Width of a column
There are two methods to change the width of the column.
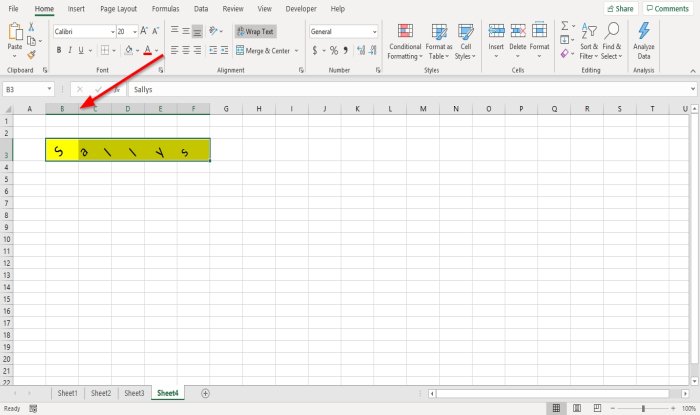
Method one is to go to the right border of column B.
Drag the right border of column B, and you will notice that the column width gets wider.

Method two is to click column B.
Then go to the Home tab in the Cells group and click Format.
In the drop-down list, select Column Width.
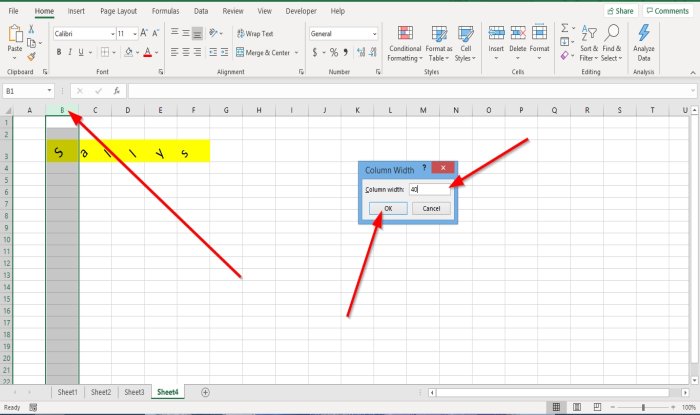
A Column Width dialog box will appear; enter the width number you want the column to be and click OK.
I hope this helps; if you have questions, please comment below.
Read next: How to add or remove Borders to Cells in Microsoft Excel.

Shantel has studied Data Operations, Records Management, and Computer Information Systems. She is quite proficient in using Office software. Her goal is to become a Database Administrator or a System Administrator.
I was recently asked if there is a wat to set column width in inches in Excel. This was for a template this person was creating where they wanted the Excel cells to of a specific size (in inches)
This may not be a regular day-to-day problem, but it’s something that can definitely make your head spin.
Now before you go into doing crazy calculations, let me tell you that there is a simple way to quickly set the row and column width to inches
(or centimeters).
It’s just hidden away and you need to know the exact steps to do this (which I will give in this tutorial)
By default, Excel has a default row height and column width in points (which is not in inches or centimeters).
Below are the steps to make sure Excel uses inches as the unit to measure column width and row height:
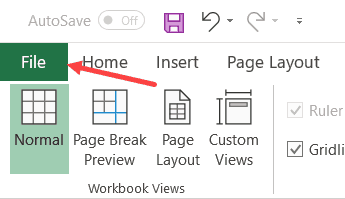
- Click the File tab

- Click on Options

- In the Excel Options dialog box, click on Advanced in the left pane

- Scroll down and come to the Display section.

- Click on the ‘Ruler Units’ drop-down and select ‘Inches’

- Click OK


The above steps have set inches as a way for you to change and measure row height and column width.
But you can’t just go now and change the row height or column width.
If you right-click on any column header and then click on the Column width option, you will see that it still uses the default unit to show column width (and the same happens with row height).
Then how can you set column width in Inches?
Below are the steps to do this:
- Click the View tab

- In the Workbook Views group, click on the ‘Page Layout’ option.

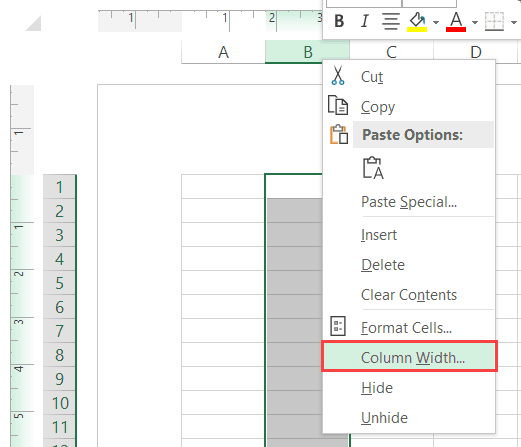
- Right-Click on the column header (on the column for which you want to change the width and set in inches)
- Click on Column Width option

- Specify the width in inches

- Click OK.


The above steps would set the column width in inches. You can follow the same steps to set the row height in inches as well.
Once done, click on the View tab and then click on Normal to get the regular worksheet view.
In case you want to set the column width in centimeters, you can do that as well. Just change the display setting to centimeter (in the Excel Options dialog box) and then use the above steps.
Note: While Excel tries to make the column width you specified, in some cases, you may find that the width is not exactly what you specified, but still very close to it. For example, if you specify 4 centimeters, it may give you 3.98 centimeters. This is something you can’t get around.
You may also like the following Excel tutorials:
- How to Remove Dashes (-) in Excel?
- How to Compare Two Columns in Excel (using VLOOKUP & IF)
- How to Hide Columns Based on Cell Value in Excel
- How to Paste in a Filtered Column Skipping the Hidden Cells
- How to Split One Column into Multiple Columns in Excel
- What does Pound/Hash Symbol (####) Mean in Excel?
- How to Show Ruler in Excel? (Ruler Grayed Out)
- How to Copy Row Height in Excel
- Autofit Column Width in Excel (Shortcut)