
I am using Word 2003 but can use a higher version if necessary. I have a document that I need to embed an image onto at a specific position on every page.
I see an option for adding a background image but I see no option to display the image only once per page at a specific position.
Is there a way to do this?
![]()
Chenmunka
3,22813 gold badges28 silver badges37 bronze badges
asked Jan 11, 2011 at 23:30
![]()
Edit the page’s Header and Footer and embed it in that view.
It doesn’t have to be in the same region of the page as either the header or footer, but if you associate it that way, it will repeat on each page.
answered Jan 11, 2011 at 23:35
1
I used the (PNG) image as a texture and it repeated just fine in Office 2010.
answered Aug 30, 2015 at 7:33
![]()
PrasadPrasad
1012 bronze badges
1
April 2023 Community Newsletter
Welcome to our April 2023 Community Newsletter, where we’ll be highlighting the latest news, releases, upcoming events, and the great work of our members inside the Biz Apps communities. You can subscribe to the News & Announcements and stay up to date with the latest news from our ever-growing membership network who quickly discover that «Community is bigger on the inside».
LATEST NEWS
Microsoft Business Applications Launch Event — On Demand
Sign up below for an in-depth look into the latest updates from across Microsoft #PowerPlatform and #Dynamics365. Find out about new features, capabilities, and best practices for connecting data to deliver exceptional customer experiences, collaborating using AI-powered analytics, and driving productivity with automation. Guest speakers include Charles Lamanna, Emily He, Georg Glantschnig, Julie Strauss, Jeff Comstock, Lori Lamkin, Mike Morton, Ray Smith, and Walter Sun.
Watch Now: Business Applications Launch Event
Power Platform Connections — Episode Nine
Episode Nine of #PowerPlatform Connections premieres today at 12pm PST, as David Warner II and Hugo Bernier chat to Principal Program Manager Vesa Juvonen, alongside the great work of Troy Taylor, Geetha Sivasailam, Michael Megel, Nathalie Leenders, Ritesh Ranjan Choubey, Clay Wesener, Tristan DEHOVE, Dian Taylor, and Cat Schneider.
Click the link below to subscribe and get notified, with David and Hugo LIVE in the YouTube chat from 12pm PST. And remember to use the hashtag #PowerPlatformConnects on social to have your work featured on the show!
App in a Day — Free Workshop
Looking for a way to build a solution to quickly meet your business needs? Register below for a FREE «App in a Day» workshop to find out how to create custom business applications without writing code!
Microsoft Power Platform In a Day workshops
UPCOMING EVENTS
Directions Asia
Find out more about Directions 4 Partners Asia 2023, which will be taking place in Bangkok on 27-28th April 2023, featuring key speakers Mike Morton, Jannik Bausager and Dmitry Chadayev.
This event is for SMB focused Dynamics partners and their employees to receive product knowledge about Business Central, Power Platform and #DynamicsSales, and to be inspired and motivated by best practices, expert knowledge and innovative ideas.
If you want to meet industry experts, gain an advantage in the SMB-market, and acquire new knowledge about #MicrosoftDynamics Business Central, click the link below to buy your ticket today!
Click here to Register
Iberian Tech Summit
Come take a look at the Iberian Technology Summit which will be held at the Real Marina Hotel & Spa in Olhão, Portugal, between 28-30th April 2023.
The Iberian Technology Summit is the first of its kind with a clear goal to achieve — cross the borders of peninsula and help to empower the community of professionals, workers and businesses to grow stronger together.
Congrats to Kaila Bloomfield, Adam B., Ana Inés Urrutia de Souza and the team for putting together this great event. Click below to find out more details.
Click here to Register
Power Platform Conference 2023
We are so excited to see you for the Microsoft Power Platform Conference in Las Vegas October 3-5th, 2023! But first, let’s take a look back at some fun moments and the best community in tech from MPPC 2022 in Orlando Florida.
Featuring guest speakers such as Heather Cook, Julie Strauss, Nirav Shah, Ryan Cunningham, Sangya Singh, Stephen Siciliano, Hugo Bernier and many more, click the link below to register for the 2023 #MPPC23 today!
www.powerplatformconf.com
COMMUNITY HIGHLIGHTS
Check out our top Super and Community Users reaching new levels! These hardworking members are posting, answering questions, kudos, and providing top solutions in their communities.
Power Apps:
Super Users: @BCBuizer , @WarrenBelz,
Community Users: @mmollet, @Amik, @RJM07
Power Automate:
Super Users: @Expiscornovus , @grantjenkins, @abm
Community Users: @Nived_Nambiar
Power Virtual Agents:
Super Users: @Expiscornovus, @Pstork1,
Community Users: @nikviz, @DaniBaeyens
Power Pages:
Super Users: @ragavanrajan
Community Users: @OOlashyn, @gospa, @Fubar
LATEST PRODUCT BLOG ARTICLES
Power Apps Community Blog
Power Automate Community Blog
Power Virtual Agents Community Blog
Power Pages Community Blog
Check out ‘Using the Community’ for more helpful tips and information:
Power Apps, Power Automate, Power Virtual Agents, Power Pages
How to Layer Objects in Word
- Select the object.
- Click the Format tab.
- If necessary, expand the Arrange group.
- Click the Bring Forward or Send Backward list arrow.
- Select a layering option.
Contents
- 1 How do I overlap a group of pictures in Word?
- 2 How do I put multiple pictures into one on Microsoft Word?
- 3 How do you stack in Word?
- 4 How can I layer pictures?
- 5 What is the shortcut to group pictures in Word?
- 6 Can you overlay pictures in Word?
- 7 How do I insert a picture into another picture in Word?
- 8 How do you combine images and text in Word?
- 9 How do you repeat headers in Word?
- 10 Are there layers in Word?
- 11 How do you stack photos?
- 12 How do you overlay pictures?
- 13 How do you hang two pictures staggered?
- 14 Why can’t i group a picture and a text box in Word?
- 15 How do you group two pictures in Word on a Mac?
- 16 What is CTRL G?
- 17 How do I paste a picture onto another picture?
- 18 Which new tab appears when you insert an image in a Word document?
- 19 Why can’t I repeat header rows in Word?
- 20 Why is repeat header row not working in Word?
How do I overlap a group of pictures in Word?
Group shapes, pictures, or objects
- Press and hold CTRL while you select the shapes, pictures, or objects that you want to group. The Wrap Text option for each object must be other than In line with Text.
- Go to Drawing Tools or Picture Tools, on the Format tab, in the Arrange group, select Group. , and then select Group.
How do I put multiple pictures into one on Microsoft Word?
Click once on the first image, press and hold down the “Ctrl” key and then click once on each other image. When they’re all selected, click the “Insert” button and the to-be-merged pictures open together on the page, but not yet merged.
How do you stack in Word?
Try it!
- Select what you’d like to move up or down in a stack. Note: Press Ctrl and hold to move multiple objects at once.
- Select Home > Arrange.
- Select one of the following options: Bring Forward: Moves your selected object one layer up. Send Backward: Moves your selected object one layer down.
How can I layer pictures?
With these layer apps you can change the background and achieve the effect of double exposure.
Moreover, you can add text to photos, use different effects and overlays with the help of these editors.
- Adobe Photoshop Mix – Our Choice.
- Pixlr.
- PhotoLayers.
- Multi-Layer Photo Editor.
- PicsArt.
- Canva.
- Snapseed.
- Aviary.
What is the shortcut to group pictures in Word?
To group objects:
- Hold the Shift (or Ctrl) key and click the objects you want to group.
- Click the Group command on the Format tab, then select Group.
- The selected objects will now be grouped.
Can you overlay pictures in Word?
Allow pictures to overlap
Select the Layout Options icon. Select See more. On the Position tab, in the Options group at the bottom, select the Allow overlap check box. Repeat for each picture for which you want to enable overlapping.
How do I insert a picture into another picture in Word?
How to overlay pictures in Word
- Go to the Insert tab.
- Select the Pictures option and choose an image source.
- Right-click on both pictures > Wrap Text > Square.
- Click on one image and drag it on top of another.
How do you combine images and text in Word?
Press and hold Ctrl while you click the shapes, pictures, or other objects to group. 2. Then right click and select Group. By doing this, we can group shapes, pictures, or other objects at the same time as though they were a single shape or object.
Repeat table header on subsequent pages
- In the table, right-click in the row that you want to repeat, and then click Table Properties.
- In the Table Properties dialog box, on the Row tab, select the Repeat as header row at the top of each page check box.
- Select OK.
Are there layers in Word?
A Word document consists of layers: The text layer that contains only text. A header/footer layer that can contain text. Watermarks, and foreground and background layers that contain graphics, text boxes, and shapes.
How do you stack photos?
Create an image stack
- Combine the separate images into one multi-layered image.
- Choose Select > All Layers.
- Choose Edit > Auto-Align Layers and select Auto as the alignment option.
- Choose Layer > Smart Objects > Convert to Smart Object.
- Choose Layer > Smart Objects > Stack Mode and select a stack mode from the submenu.
How do you overlay pictures?
How to Use Photoshop Overlays
- Step 1: Save and Unzip. Save the Overlay file to an easy-to-find location on your computer.
- Step 2: Open a Photo. Find a photo that you think needs a Photoshop Overlay effect.
- Step 3: Add the Photoshop Overlay.
- Step 4: Change Blending Mode.
- Step 5: Change the Color of the Overlay.
How do you hang two pictures staggered?
Hanging two pictures staggered? This is optimal with larger pieces. Try staggering them by hanging one lower than the other, so that top and bottom don’t match. Grouping larger and smaller pieces asymmetrically helps to create interest and energy.
Why can’t i group a picture and a text box in Word?
Right click on the picture and select “Wrap Text”. If it is set to “In Line with Text” you cannot group it with a text box. However, if you set it to “Tight”, you can now Group Pictures and Text Box. Now you can reset the Grouped item to “In Line with Text” if you want.
How do you group two pictures in Word on a Mac?
Group shapes, pictures, or other objects
- Press and hold command while you use the mouse or touchpad to select the shapes, pictures, or other objects that you want to group.
- Click the Shape Format tab or the Picture Format tab, and then click Group > Group.
What is CTRL G?
Updated: 12/31/2020 by Computer Hope. Alternatively known as Control+G and C-g, Ctrl+G is a keyboard shortcut often used to advance through Find results or move to a specific line in a document, spreadsheet, or text file. Tip. On Apple computers, this keyboard shortcut is performed using Command + G .
How do I paste a picture onto another picture?
Open the “Select” menu, choose “All,” open the “Edit” menu and select “Copy.” Open the destination image project, click the “Edit” menu and choose “Paste” to move the image. Photoshop will add the second image in a new layer instead of overwriting existing layer content.
Which new tab appears when you insert an image in a Word document?
Answer: Format tab appears when you insert an image in a word document.
It is possible to set all rows in the table to be header rows, but if you do, Word will choke and not repeat any rows on secondary pages. You can check this by selecting the entire table and then, on the Layout tab of the ribbon, clear the Repeat Header Rows tool.
Look for separate tables
If the tables present as one table but are actually separate tables then Word won’t repeat the headers because each separate table is expected to have its own header. The fix? Simply join the tables together and the Repeat Header Rows feature should work a treat.
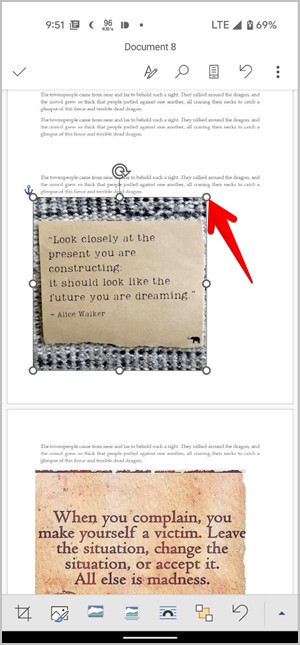
In MS Word, two images will typically appear one above the other. You cannot easily move or keep two images side by side because working with pictures is quite tricky in MS Word. However, don’t worry. In this post, we will guide you on how to put two pictures side by side in MS Word in four ways.
1. Using Drag and Drop
One of the easier ways to keep two pictures side by side in Word is by using the drag and drop functionality.
Drag and Drop on PC and Web
Note: The screenshots are taken on the PC version of Microsoft Word but they are the same on the web as well with a minor difference in the user interface.
1. Insert the first image in your Word document by going to Insert > Pictures.
2. Now, keep the cursor at the bottom-right corner of the first picture and add the second picture from Insert > Pictures.
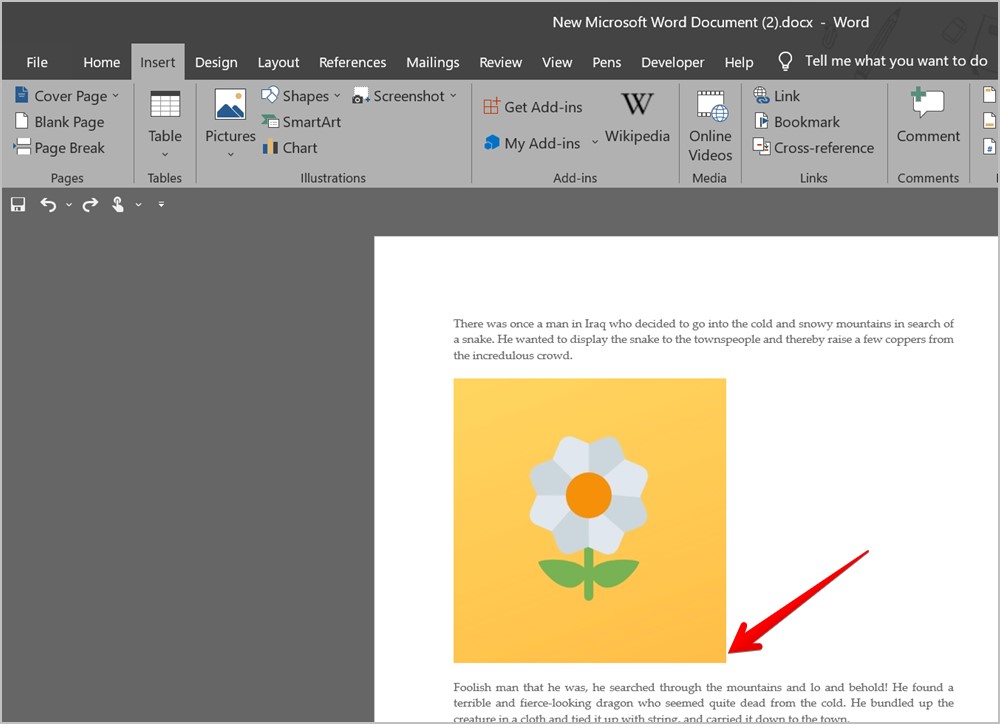
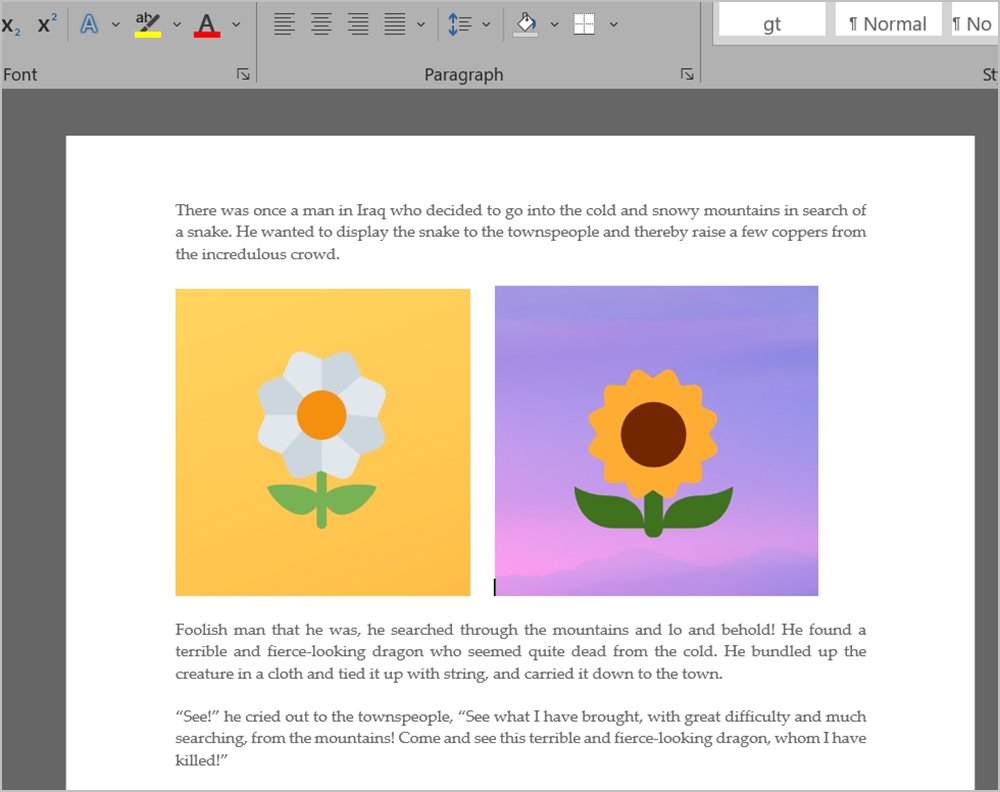
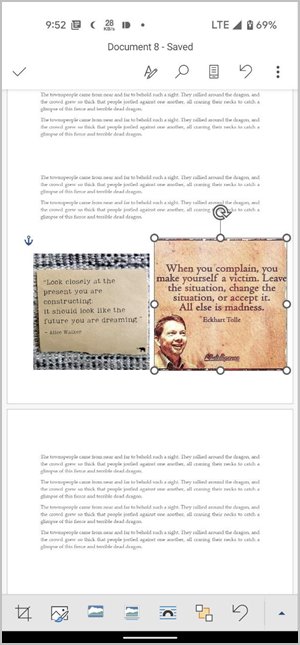
3. The two pictures will show up one above the other. Now, click on the second picture to select it. A four-sided arrow will show up on the image. Hold the mouse button and drag the second image to the right side of the first image.
4. If nothing happens, click on the first image and make it smaller using the top-right corner edge until the second image automatically appears next to the first image.
Note: If the above step displaces your text, double-click on the first image to open the Picture Format tab. Then, click on Wrap text and select In line with text. Do the same for the second image as well.
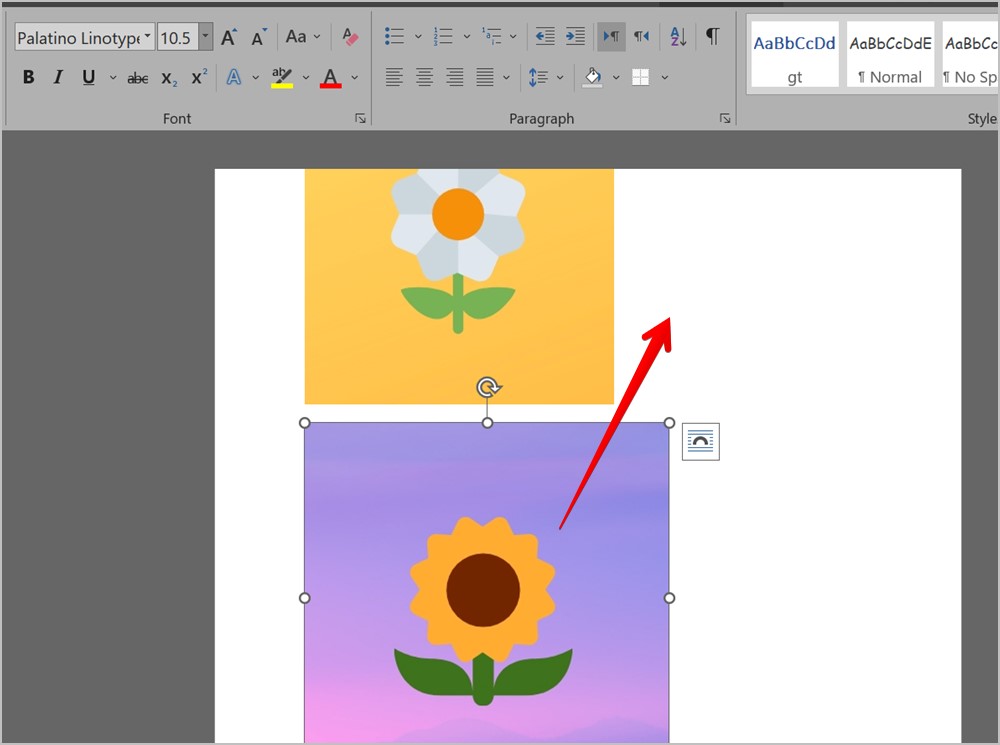
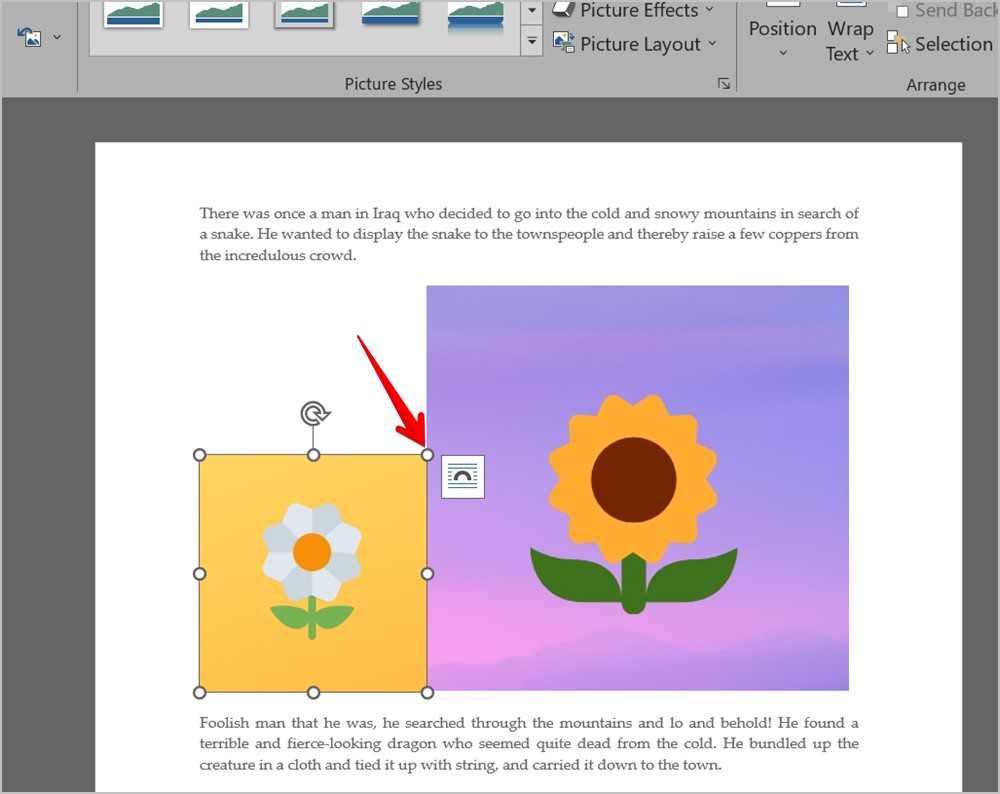
5. You might notice that the two images are not of the same size. Click on the second image and resize it until the two images are of the appropriate size. You can also resize the first image.
6. When the two images are of the desired size, place the cursor at the end of the line above the images.
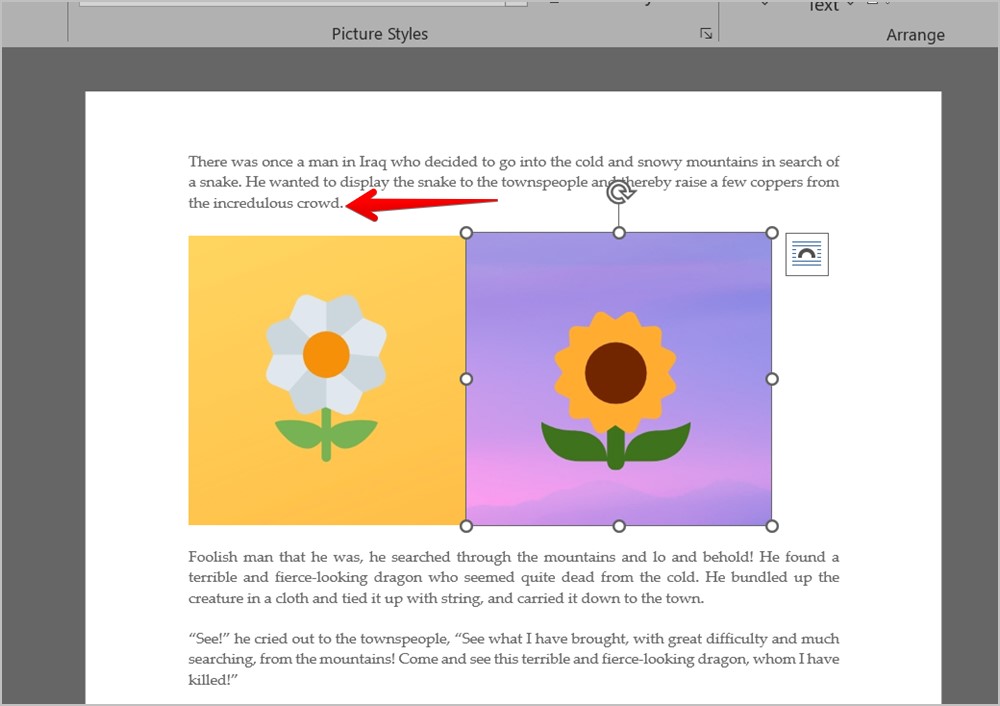
7. Now, move the cursor twice using the right arrow button on your keyboard. The cursor should show up between the two images. Press the Spacebar key multiple times to add some space between the two images placed next to each other.
Drag and Drop on Android and iPhone
1. Open the Word document where you want to add the images.
2. Tap on the Edit icon at the top to start editing the document.
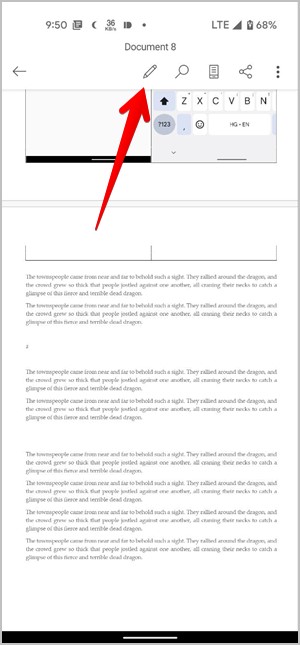
3. Place the cursor where you want to add the image.
4. Swipe left on the toolbar at the bottom until you see the Picture icon. Tap on it. Select the first image. Similarly, add the second image.
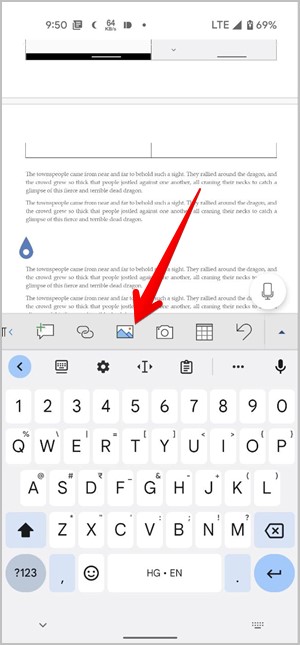
5. After adding both the images, tap on the first image to select it. Then, make it smaller using the corner edges.
6. Now, touch and hold the second image and drag it next to the first image. You might have to resize both images to align them neatly.
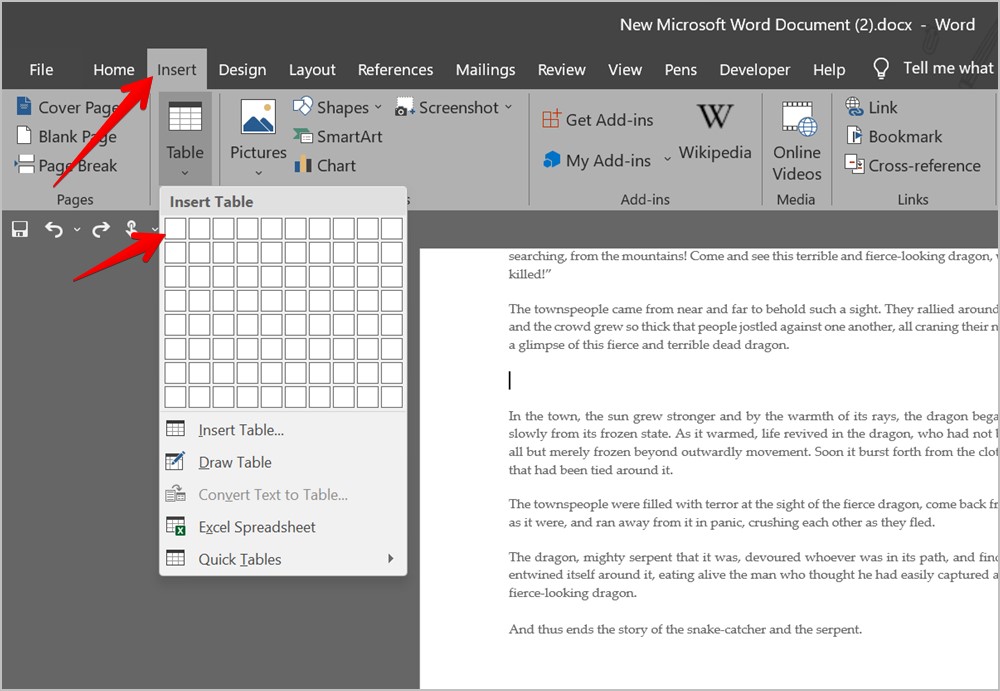
2. Using Table
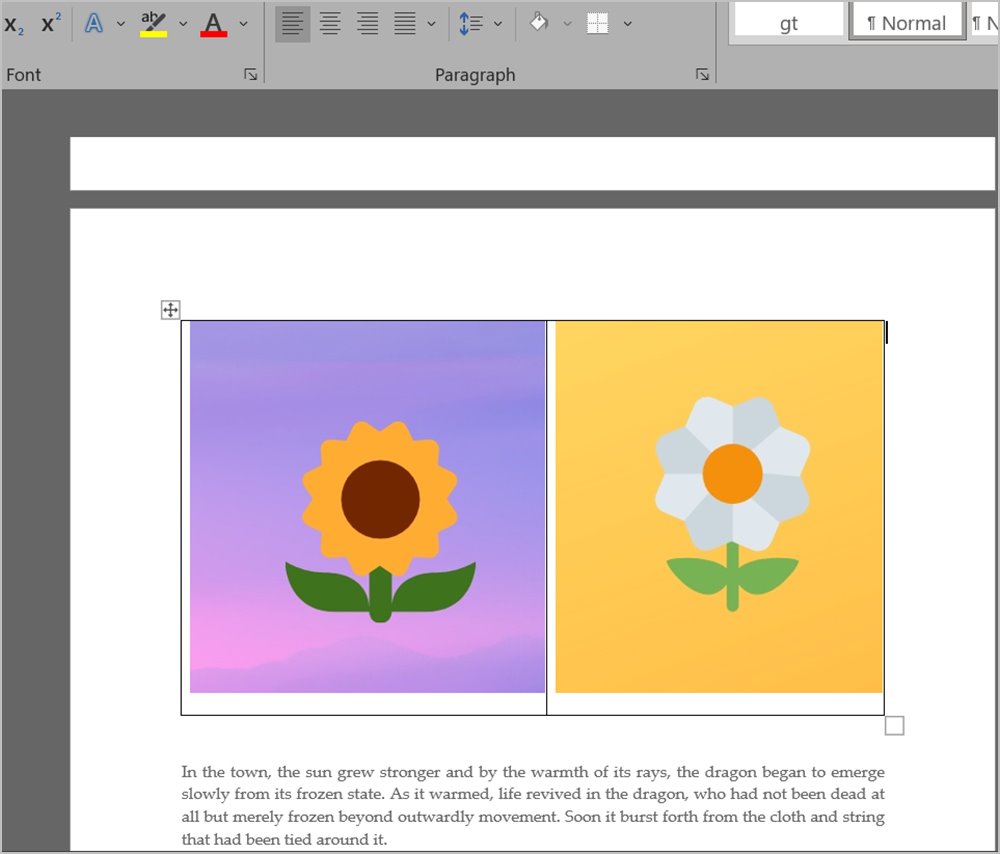
If the above method doesn’t work or seems cumbersome, then you should try putting two pictures side by side using a table. Basically, you need to add a table with two columns and one row. Then, insert an image in each column and finally remove the table border.
Note: This method works on Word mobile apps as well. The steps are similar to that of a PC. All you need to do is select Table and Pictures from the toolbar at the bottom of the document.
Here is the step-by-step guide for the same:
1. Open the Word document on Windows, macOS, or the web version.
2. Keep your cursor in a new line and at the place where you want to add images.
3. Click on Insert > Table. Select 2*1 table.
4. Place the cursor in the first column and add the first image by going to Insert > Pictures.

5. Then, place the cursor in the second column and insert the second image from Insert > Pictures.
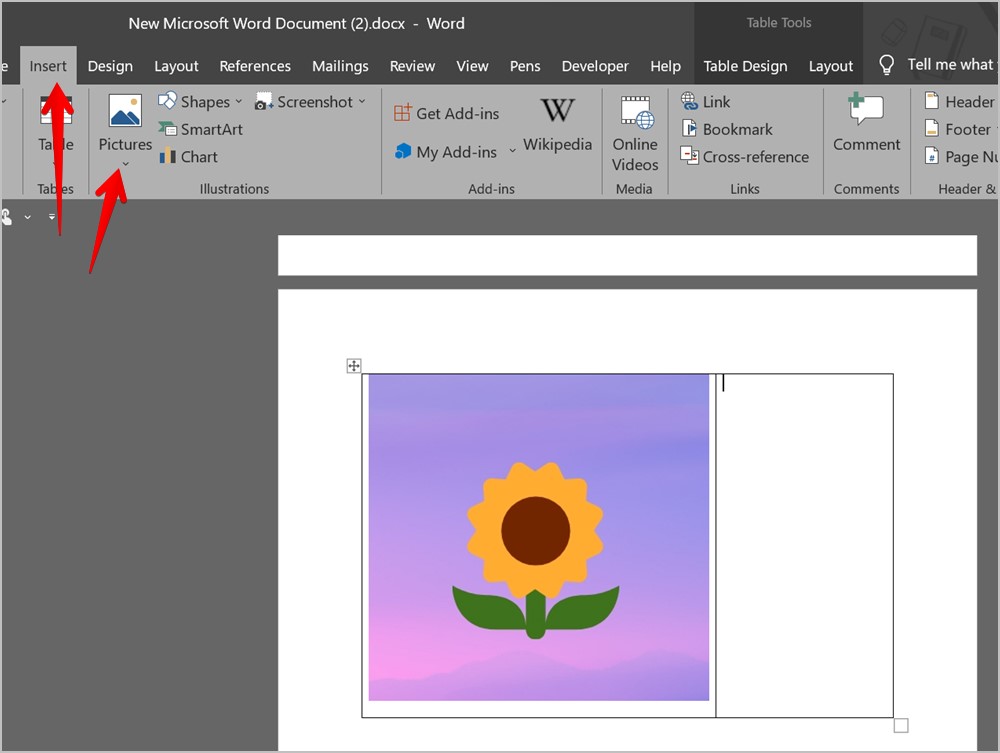
6. Resize both the images using respective corner edges to the desired size.
7. Now, you need to remove the table border. For that, hover your mouse over the table and click on the four-sided icon that appears at the top to select the table.
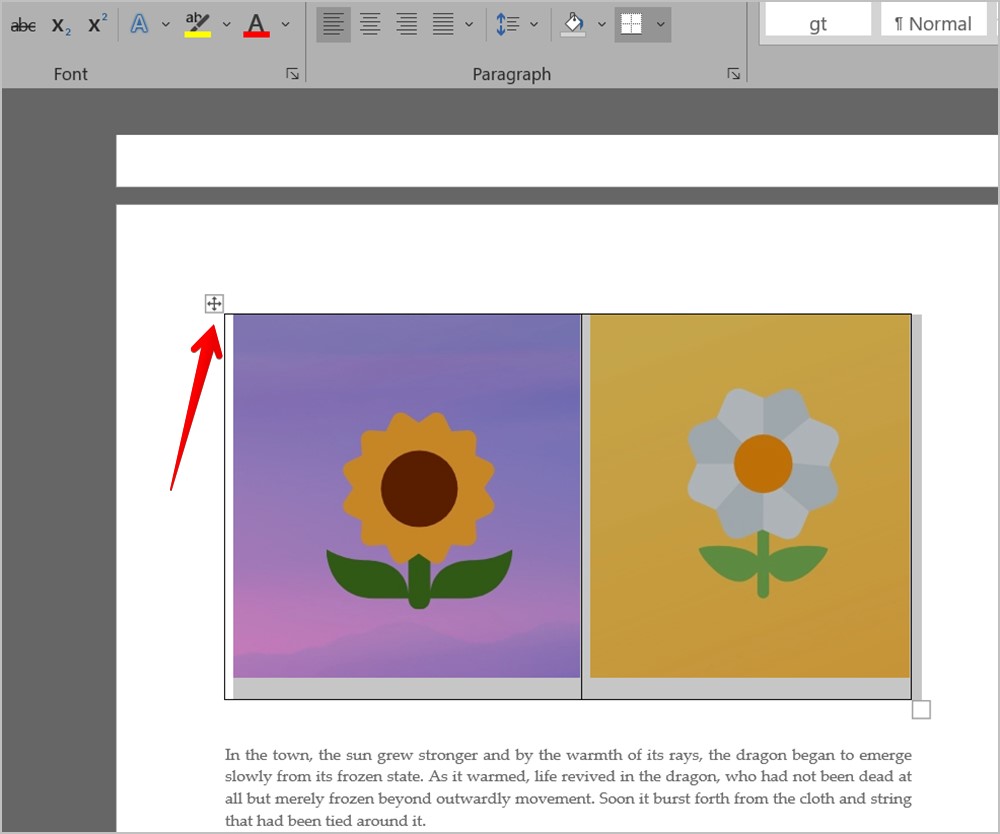
8. On PC, click on the Border style icon and choose No border from the list.

On the web version, click on the Border selection icon in the top bar and choose No border from the menu.
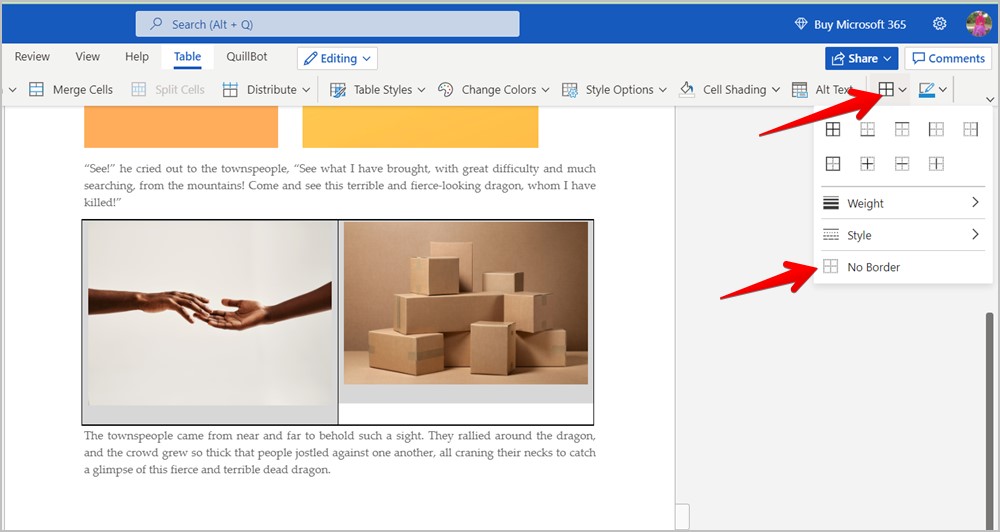
That’s it. Now, you have two images side by side in your Word document.
Pro Tip: Learn how to import tables from websites into Google Sheets.
3. Using Text Box (Windows, macOS)
Similar to adding a table to keep two images side by side, you can also add two text boxes and put images in them. Follow these steps for the same:
1. In the Word document, place the cursor where you want to add the images. Try to add it in a new line.
2. Click on the Insert tab in the menu bar. Go to Text box and select Simple text box.
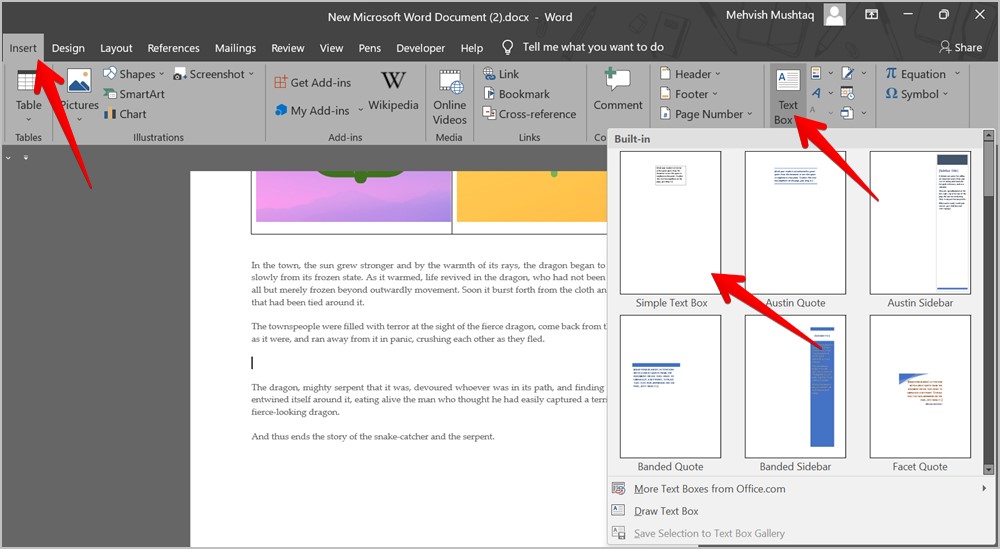
3. Delete the text from the text box using the Delete button.
4. Now, go to Insert > Pictures and add the desired image.
5. Drag the image to wherever you want to keep it on the page.
6. Now, repeat steps 2-5 to add the second image and keep it next to the first image. Resize the images to suit your needs.
Note: Delete any extra text box that might show up.
4. By Creating a Collage
If you don’t like any of the above methods, you can first create a collage using online tools or any software and place images next to each other. Then, insert the collage into your Word document just like you would add any regular image.
Some of the online collage makers that you can try are:
- Ipiccy.com
- Fotor.com
- Fotojet.com
You can even create a collage on your Samsung Galaxy phone or put two pictures side by side on Android and transfer that photo to a computer.
Know MS Word
I hope you were able to put two pictures side by side using the above methods. There are other things that you can do in Word but they might appear tricky. For instance, learn how to add a signature and how to create watermark templates in MS Word
Mehvish
Mehvish is a tech lover from Kashmir. With a degree in computer engineering, she’s always been happy to help anyone who finds technology challenging. She’s been writing about technology for over six years, and her favorite topics include how-to guides, explainers, tips and tricks for Android, iOS/iPadOS, Windows, social media, and web apps. You can also find her work on Make Tech Easier, Guiding Tech, and Nerds Chalk
Whether you want to illustrate your next corporate communication document with product photos, employee images, blueprints or other pictures, they may seem difficult to place on the page when they’re first opened in your Microsoft Word document. This is because Word’s default action is to create a solid space around each picture, preventing them from being dragged, layered or merged. You can quickly get around this and design striking graphics using Word’s picture editing tools.
-
Start Microsoft Word and click the Insert tab.
-
Click the Picture button on the tab and navigate to where the first picture to merge is located. Double-click the image, which opens the picture on the Word page. Repeat the browsing process until all images are on the Word page. If all the pictures to merge, or multiple ones, are located in the same folder or place on your network, save time by taking advantage of Word’s multi-click feature. Click once on the first image, press and hold down the “Ctrl” key and then click once on each other image. When they’re all selected, click the “Insert” button and the to-be-merged pictures open together on the page, but not yet merged.
-
Click any of the pictures to open the pink Picture Tools tab. Click the “Wrap Text” button below the tab on the ribbon. Although these are pictures, not text, this feature works the same way.
-
Click the “Square” button on the “Wrap Text” drop-down menu. The image will move slightly.
-
Repeat the “Square” process for each of the to-be-merged pictures; they may start to overlap each other.
-
Click one of the images and drag it so it overlaps another, beginning the merge. To bring the bottom image out from below, click the Picture Tools tab and select “Bring Forward.” Clicking the “Send Backward” button works the opposite way.
-
Drag and align the pictures so they create your merge. One striking approach is to create a horizontal merge where the pictures, all in a row, look as if they are morphing into each other.