
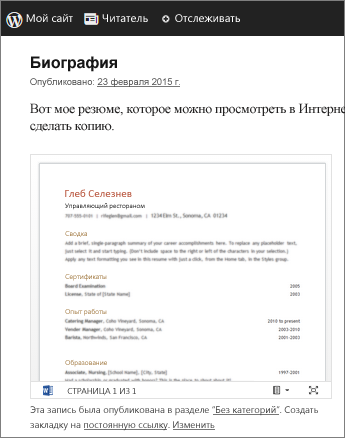
Если документ Word, хранится на OneDrive, вы можете внедрить его в блог или на веб-сайт, как это делается с видео. При обновлении документа Внедренное представление автоматически отображает ваши изменения.
После открытия документа для редактирования в Word в Интернете выполните следующие действия, чтобы скопировать код внедрения.
-
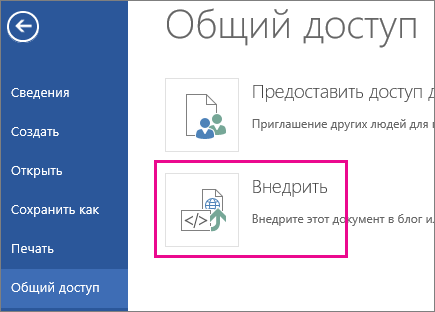
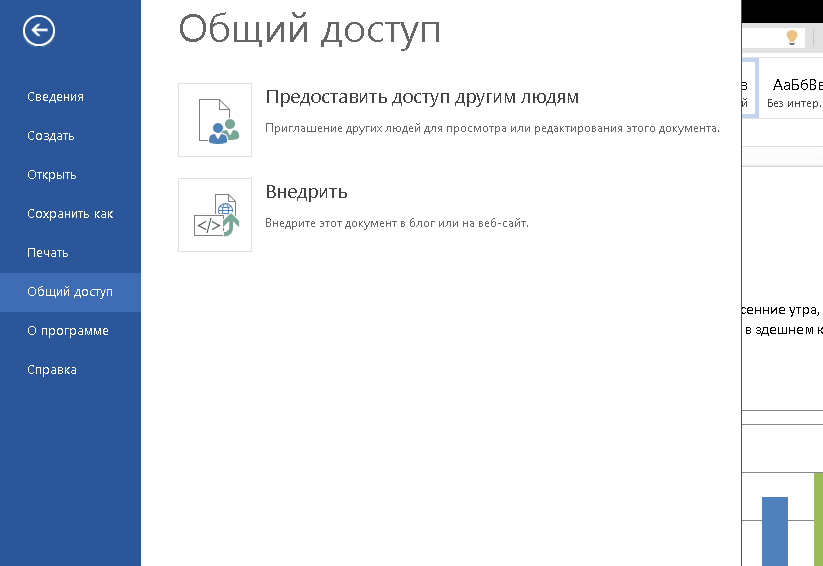
Выберите Файл > Общий доступ и щелкните Внедрить.

-
Нажмите кнопку Создать.
-
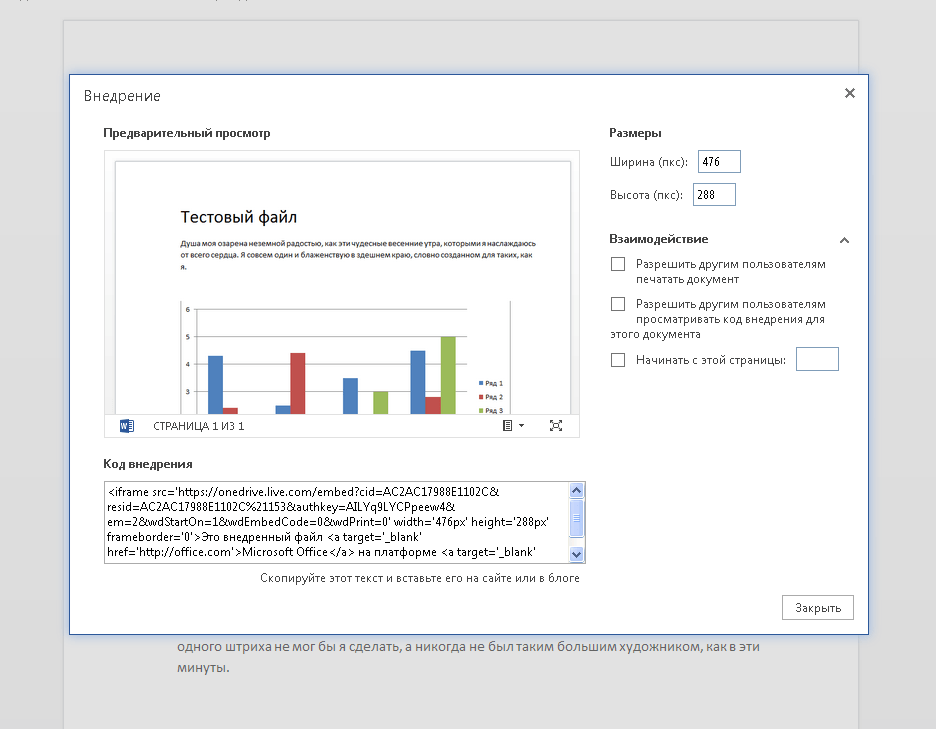
Щелкните стрелку Развернуть рядом с пунктом Взаимодействие и укажите, что пользователи смогут делать с внедренным документом. Например, если вы не хотите, чтобы они могли печатать документ, снимите флажок Разрешить другим пользователям печатать документ.
Предварительный просмотр показывает, как будет выглядеть документ, внедренный на веб-страницу.
-
Щелкните правой кнопкой мыши поле Код внедрения и выберите команду Копировать.
-
Начните создавать запись в редакторе блога. Когда нужно будет внедрить документ, перейдите в режим редактирования HTML-кода и нажмите клавиши CTRL+V (или ⌘+V на Mac), чтобы вставить код внедрения.

Примечание: В редакторе блога может быть команда для быстрого перехода в режим редактирования HTML-кода. Например, в TypePad перейдите в раздел Blogs (Блоги), щелкните имя блога и нажмите кнопку Compose (Создать). В WordPress перейдите в панель управления блогом и выберите Posts (Записи) > Add New (Добавить). Кроме того, в WordPress вы можете не волноваться о том, что код внедрения содержится в контейнере iframe. Вообще в WordPress запрещена вставка объектов iframe в записи, но для контейнеров с документами Office в Интернете сделано исключение.
Нужна дополнительная помощь?
![]()
Download Article
![]()
Download Article
This wikiHow teaches you how to embed a Word document in your website. On Google Sites, you can embed an image of the Word document directly into the page, while WordPress and self-hosted sites will require you to upload the Word document and then place a link to it in your webpage’s text.
-
1
Open Google Drive. Go to https://drive.google.com/ in your web browser. This will open your Google account’s Drive contents if you’re logged in.
- If you aren’t logged in, enter your email address and password first.
- You may need to click Go to Google Drive before proceeding.
-
2
Click NEW. It’s a blue button in the upper-left corner of the page. A drop-down menu will appear.
Advertisement
-
3
Click File upload. This is in the drop-down menu. Doing so will open a window.
-
4
Select your Word file. Double-click the Word file that you want to embed on your website. This will prompt it to upload into Google Drive.
- It shouldn’t take more than a few seconds for most Word documents to upload to Drive.
-
5
Open Google Sites. Go to https://sites.google.com/new in your web browser.
- If you aren’t logged into your Google account when you do this, you’ll be prompted to enter your email address and password before continuing.
-
6
Select your Google Site. Click on the Google Site on which you want to insert the Word document.
-
7
Go to the page that you want to use. Scroll down until you arrive on the page on which you want to insert the Word document.
-
8
Click the INSERT tab. It’s in the upper-left side of the Google Sites window.
-
9
Click From Drive. This option is below the «Google Drive» heading near the top of the page.
-
10
Select the document. In the right-hand column, click the document that you want to insert.
-
11
Click INSERT. It’s in the lower-right corner of the page. This will place the Word document on your website.
-
12
Resize the document. Click and drag the top or bottom of the document to adjust its vertical size, or click and drag one of its sides to adjust the overall size of the document on your site.
-
13
Click PUBLISH. It’s the purple button in the top-right corner of the page. This will update your website with your uploaded document; you should now be able to see your Word document embedded in your Google Site.


Advertisement
-
1
Open WordPress. Go to https://wordpress.com/ in your web browser. While you can’t embed an image of your document on a WordPress domain, you can embed a link that downloads the WordPress file when clicked.
- If you aren’t logged into your WordPress account, first click Log In in the top-right corner of the page, then enter your email address and password.
-
2
Click My Site. It’s in the upper-left corner of the WordPress page. Doing so will load your site’s page.
-
3
Click View Site. This option is in the upper-left side of the page.
-
4
Click Visit Site. It’s in the upper-right side of the page. This will take you to your site.
-
5
Go to the page that you want to use. Click the tab for the page on which you want to insert your Word document link; you’ll usually find these tabs at the top of the page.
-
6
Click Edit. You’ll find this option in the bottom-right side of the page.
-
7
Choose a place for your link. Click on the page the place in which you want to insert a link for your Word document.
-
8
Click + Add. This is a button on the left side of the page. A pop-up menu will appear.
-
9
Click Media. It’s an option near the top of the pop-up menu. Doing so opens a page with all of your website’s stored media.
-
10
Click Add New. This is in the upper-left side of the page that opens.
-
11
Select a Word document. Click the Word document that you want to use on your site, then click Open in the bottom-right corner of the window. This will upload the Word document to the storage section of WordPress.
-
12
Select the uploaded document. Click the Word document to do so.
-
13
Click Insert. It’s in the bottom-right side of the window. This will insert a link to your Word document.
-
14
Change the link text. If you want the link text to say something other than the Word document’s name, select the link once, click the pencil-shaped icon next to the link that appears, change the text in the «Link Text» field, and click Save.
-
15
Click Update. It’s a blue button in the top-right corner of the page. This will update your website with your uploaded document, allowing you to click the embedded link to download the Word document.


Advertisement
-
1
Upload the Word document to your website’s root folder. When hosting your own website, you should have a folder that contains the resources (e.g., pictures) that appear on your website. You’ll need to place your Microsoft Word document in this folder.
- This step will depend heavily upon the software that you use to host your website.
-
2
Copy the Word document’s address. Again, this step will depend on the software that you use to host your website, but you can usually find the address in a URL bar at the top of the page. Click and drag your mouse across the address to select it, then press Ctrl+C (Windows) or ⌘ Command+C (Mac).
-
3
Open your website’s code document. Open the text or HTML document in which your website’s code is stored.
-
4
Select a place for the link. Find the place in which you want to insert the link for your Word document, then click that place.
-
5
Create the HREF tag. Type in <a href= into your text editor.
-
6
Paste in the Word document’s address. Press Ctrl+V (Windows) or ⌘ Command+V (Mac).
-
7
Close the HREF tag. Type in > to close the tag. You should now have a line of text that reads<a href=link> here.
-
8
Enter the link text. Type in the text that you want to use as the link on which someone clicks. You’ll do this immediately after the closed HREF tag.
- For example, if you want people to click on a link that says «click here», you’d have <a href=link>click here written.
-
9
Add the closed link tag. On the right side of the link text that you want to use, type in </a> and press ↵ Enter. This completes the link.
- Your line of text should now look like this: <a href=link>click here</a>
-
10
Refresh your website. Once the website’s code is updated, you should be able to click the link that you just introduced to download the Word document.


Advertisement
Add New Question
-
Question
Can I have my website open a word document in a separate tab?

Try putting target=»_blank» as one of the attributes in your tag if you have one.
-
Question
How do I attach a medical certificate to a form?
It depends. If the form is online and has an «attach» option, you can scan a copy of the medical certificate and attach the file there. If the form is being submitted via email, you can attach a copy of the certificate like you would any other attachment. If the form is being submitted in person or by mail, you can just use a paperclip to attach the certificate to the form.
Ask a Question
200 characters left
Include your email address to get a message when this question is answered.
Submit
Advertisement
Thanks for submitting a tip for review!
About This Article
Thanks to all authors for creating a page that has been read 216,218 times.
Is this article up to date?
Прилетела задача организовать редактирование офисовских документов в браузере.
Но сделать это надо из своего веб-приложения. Понятно, что писать свой Google Docs с нуля — не вариант.
Есть ли сервисы наподобие GD, позволяющие встроить редактор офисовских документов в свое веб приложение, а также имеющие внятное API, чтобы приложение могло взаимодействовать с редактированием (например, логировать историю изменений).
Интересуют как бесплатные варианты, так и платные.
-
Вопрос заданболее трёх лет назад
-
1020 просмотров
Пригласить эксперта
По сути офисные документы представляют из себя Zip архив только с изменённым расширением, во всяком случае до 365 так было, не верите, попробуйте убедитесь, создайте документ word, переименуйте название расширения на *.zip и откройте его обычным архиватором, много чего увидите интересного в обычном XML кажется
С другой стороны попробуйте вместо GD пользоваться https://office.live.com/start/Word.aspx?ui=ru-RU это конечно не своё приложение, но тоже позволяет это делать
OnlyOffice — про это сказали…
Collabora — Этого не было )))
Есть инструкции как интегрировать с Nextcloud.
MSOffice — это упомянули …. но надо бы добавить sharepoint server — вещь дорогая но хорошая.
-
Показать ещё
Загружается…
16 апр. 2023, в 23:43
500 руб./за проект
16 апр. 2023, в 23:03
10000 руб./за проект
16 апр. 2023, в 22:52
7000 руб./за проект
Минуточку внимания
Время от времени многим программистам приходится сталкиваться с такими задачами, как создание word или pdf файлов средствами PHP. Если со вторым ощутимых проблем нет, так как есть хорошая библиотека, то с Word-ом дела обстоят сложнее.
Чтобы создать word файл можно использовать специальную библиотеку или пойти более хитрым путем. О нем и пойдет речь.
Подключать библиотеку и разбираться в принципах ее работы у меня не было желания, поэтому я нашел способ генерации Word документов на лету с помощью PHP.
Для этого нужно подготовить word шаблон и сохранить как xml файл. Затем средствами php мы будем открывать xml файл и делать замену нужных строк на необходимые и сохранять файл в виде .doc расширения. Таким образом, любой пользователь сможет без ошибок открыть сгенерированный word и работать с ним.
Единственной сложностью такого подхода остается разобраться с кодом самого word-а в xml виде, так как в нем будет много мусора. Для этого вам нужно будет постоянно создавать word файлы и прописывать слова, теги, свойства, таблицы. А в xml версии смотреть, как выглядит тот или иной код, чтобы затем его использовать для генерации шаблонов. Советую прописывать в ворде слова очень аккуратно, например, если нажмете backspace на букве или enter, то слово может разбиться на несколько групп в разных тегах. Поэтому для xml версии — чем проще пишите в word, тем лучше его xml версия.
По моим наблюдениям тело word-а всегда в тегах <w:body></w:body>. Поэтому внутри них и находится содержимое.
Пара примеров:
Текст: <w:p w:rsidR=»00822E93″ w:rsidRDefault=»003428FA»><w:r><w:t>Первый текст</w:t></w:r></w:p>
Перевод строк: <w:p w:rsidR=»00655BB2″ w:rsidRDefault=»00655BB2″><w:pPr><w:rPr><w:lang w:val=»en-US»/></w:rPr></w:pPr></w:p>
Таблица похожа на обычный table в html:
<w:tbl> = <table>
<w:tr> = <tr>
<w:tc> = <td>
Напоследок оставлю бонус собственного производства.
Разместите папку word, например, в корень вашего сайта и запустите index.php. Скрипт не только создаст на основе word.xml файл zakaz.doc, но и автоматически скачает его. Вам останется только открыть через word сгенерированный документ. Сама генерация идет в index.php. Для примера добавил помимо обычных строк таблицу, в которой вы сможете добавлять свои значения. Табличка динамическая. Это означает, что вы сможете добавлять в нее бесконечное количество товаров. Кстати, никто не мешает вам использовать генерацию прямо из БД вашего сайта. Это может быть очень удобным.
Вставить документ Word в страницу сайта позволяют возможности платформ Microsoft Office Online и Google Документы. Файл внедряется через элемент <iframe>. Он создает плавающий контейнер и позволяет загружать в область заданных размеров любые независимые документы. Корректное отображение контейнера в <iframe> зависит от версии языка разметки вашей страницы — <!DOCTYPE>.
Внедрение документа Word через Office Online
Загрузите документ Word в OneDrive (требуется авторизация или регистрация). После загрузки файла, откройте его в Office Online.
Далее, Файл → Общий доступ → Внедрить.
Установите размеры окна отображения файла для своей страницы. Обратите внимание на ссылку «Взаимодействие» — снимите лишние опции. Скопируйте код и вставьте его в нужное место страницы сайта.
Пример.
Внедрение документа Word через Google Документы
Загрузите документ Word в Google Диск (требуется авторизация или регистрация). После загрузки файла, откройте его в Google Документы.
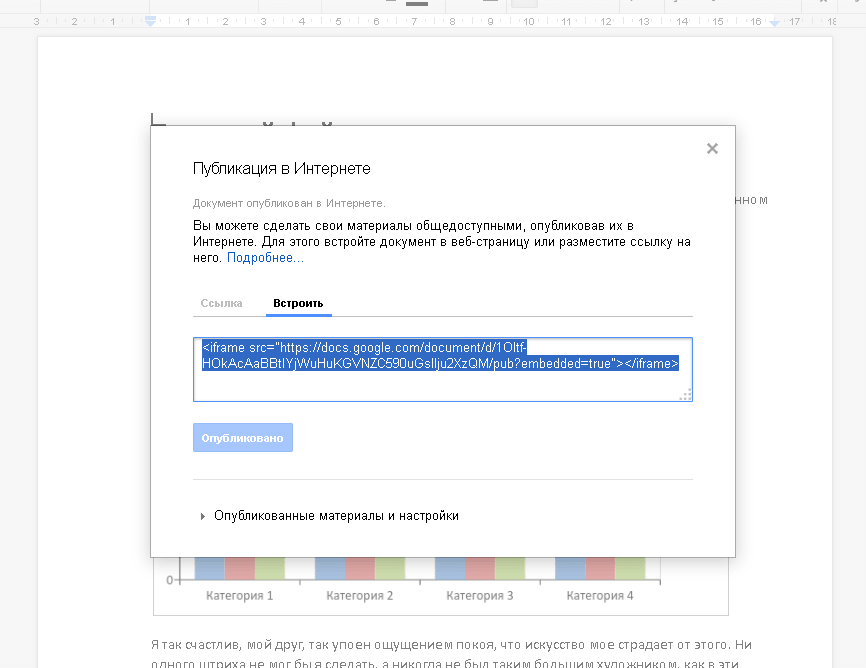
Далее, Файл → Опубликовать в Интернете → Встроить.
Скопируйте код и вставьте его в нужное место страницы сайта.
Пример.