
Excel for Microsoft 365 Word for Microsoft 365 Outlook for Microsoft 365 PowerPoint for Microsoft 365 Excel 2021 Word 2021 Outlook 2021 PowerPoint 2021 Excel 2019 Word 2019 Outlook 2019 PowerPoint 2019 Excel 2016 Word 2016 Outlook 2016 PowerPoint 2016 Excel 2013 Word 2013 Outlook 2013 PowerPoint 2013 More…Less
The Insert Caption feature in Word makes it easy to systematically add captions to pictures in a document.
In other Office apps, such as PowerPoint, you manually add a text box near the image and then group the text box and image. See the instructions below. If you have multiple pictures in a series, you have to manually number them.
Word
-
Click the picture you want to add a caption to.
-
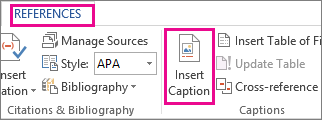
Click References > Insert Caption.

-
To use the default label (Figure), type your caption in the Caption box.
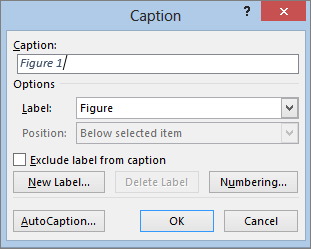
Tip: You can also create your own default caption label by clicking New Label, and then adding your caption in the Label box. Word automatically numbers the new labels for you.
All other Office apps
-
Use Insert > Text Box to draw a box near the picture. (See add a text box for additional details.)
-
Click inside the text box and type the text you want to use for a caption.
-
Select the text. On the Home tab, use the Font options to style the caption as you want.
-
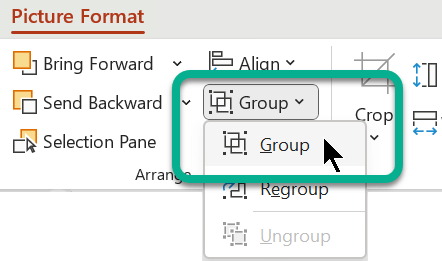
Use Ctrl+click to select the picture and text box, and then on the Picture Format tab, in the Arrange group, select Group > Group.
See Also
Group or ungroup objects
Need more help?
On the Insert tab, in the Text group, click Text Box, drag to draw a text box anywhere near the picture, and then type your text. To change the font or style of the text, highlight the text, right-click it, and then select the text formatting you want on the shortcut menu.
Contents
- 1 How do I put text onto a picture?
- 2 Can we edit text in image?
- 3 How can I add text to a picture for free?
- 4 How do I put text beside a picture in Word?
- 5 How do I insert text into text in Word?
- 6 How do I put text and pictures side by side in Word?
- 7 How do I edit words in a picture?
- 8 How do I edit text in a screenshot?
- 9 How can I edit text in a JPG file?
- 10 How do I put text side by side in Word?
- 11 Can you layer text in Word?
- 12 How do you overlay text on text?
- 13 What is insertion mode?
- 14 How can I add text to a JPEG image online?
- 15 How do I add text to a screenshot?
- 16 How do I put a screenshot into a photo?
- 17 How do you write on a screen shot?
How do I put text onto a picture?
Add Text to Photos on Android Using Google Photos
- Open a photo in Google Photos.
- At the bottom of the photo, tap Edit (three horizontal lines).
- Tap the Markup icon (squiggly line). You can also select the color of text from this screen.
- Tap the Text tool and enter your desired text.
- Select Done when you’ve finished.
Can we edit text in image?
Edit text in an image
Edit the style and content of any Type layer. To edit text on a type layer, select the type layer in the Layers panel and select the Horizontal or Vertical Type tool in the Tools panel. Make a change to any of the settings in the options bar, such as font or text color.
How can I add text to a picture for free?
How it works
- Upload a single photo from your computer, Google Drive or Dropbox. Add a text or a logo.
- Edit your text or logo using the editing toolkit. Drag your text or logo to any place within the picture.
- Click on “Save image” and download a copy of your image with the text or logo.
How do I put text beside a picture in Word?
Configure text wrapping around a picture or drawing object
- Select the picture or object.
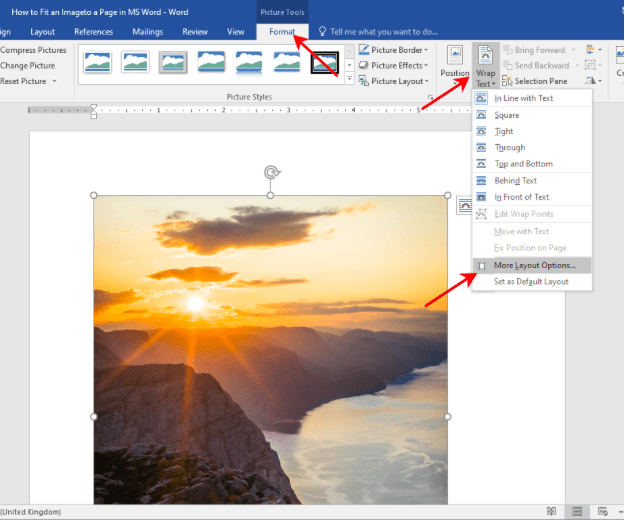
- Go to Picture Format or Shape Format and select Arrange > Wrap Text. If the window is wide enough, Word displays Wrap Text directly on the Picture Format tab.
- Choose the wrapping options that you want to apply.
How do I insert text into text in Word?
Word Options
- Click “File,” “Options” and then the “Advanced” tab.
- Check “Use Overtype Mode” in the Editing Options section.
- Click “OK” to enable Overtype and close the Word Options window.
- Click anywhere in the document and start typing to overwrite text to the right of the cursor.
How do I put text and pictures side by side in Word?
Word – insert side by side images into document
- Click on the first of the two images that you want to align.
- Click the “Format” tab, then click “Wrap Text” in the Arrange group.
- Click the second image and repeat the process of changing the way text interacts with the image.
How do I edit words in a picture?
It’s super easy. Go to the online photo editor – Fotor and click “Edit a Photo” and upload your image. Then click “Text” and insert the text pane into your images and type the words you want to add. After a few clicks, you can give your photo something honest to give it context.
How do I edit text in a screenshot?
Ways to Edit Screenshots on Android
- Take a screenshot on your stock Android phone using the shortcut: pressing the power button and volume down button simultaneously.
- When it is captured, you will see three options- Edit, Delete and Share.
- Tap on Edit and it will take you to Google Photos editor.
How can I edit text in a JPG file?
Use Kapwing’s tools to crop, resize, rotate, flip, filter, recolor, and frame your pictures, or add text, shapes, animations, watermarks, logos, and overlays.
Edit your pictures with your own personality, style, and flair, no matter what you use them for.
- Upload your image.
- Make your edits.
- Export.
How do I put text side by side in Word?
How to Make Two-Column Text in Word 2016
- Start up a new document. Or if you have an existing document, move the toothpick cursor to the document’s tippy-top by pressing Ctrl+Home.
- Click the Layout tab.
- Click the Columns button and choose Two. You’re done.
Can you layer text in Word?
To layer items in any Word document, including label templates, you need to use the “Arrange” tools. The key tools that you need are “Bring Forward”, “Send Backward”, and (if you are using pictures or shapes) “Wrap Text”. To find the Arrange tools, left click on an image to select it.
How do you overlay text on text?
To have text appear “on top” of other text or objects in Word, set it within a text box (Insert > Text Box), then right-click it and choose Format Text Box to change the wrapping style Layout to “In Front of text”.
What is insertion mode?
Updated: 08/02/2020 by Computer Hope. Insert mode is a mechanism that allows users to insert text without overwriting other text. This mode, if it’s supported, is entered and exited by pressing the Insert key on a keyboard. Tip.
How can I add text to a JPEG image online?
How to Add Custom Text to Images with Kapwing
- Upload your Image. Upload the photo that you want to add text to or paste a link from Instagram, Twitter, etc to import the photo directly.
- Add and Style Text. Use the Text tool to put the font where you want it on the photo.
- Export and Share.
How do I add text to a screenshot?
Best thing you can do is this:
- Take a screen shot using the Snip n Sketch tool.
- Click on the […]
- Select Paint on the menu that will show up (you can try another photo editor app if you have another one)
- On the Paint window, you’ll see your screen shot.
- Click on the place you want to add the text and just type it in.
How do I put a screenshot into a photo?
Insert a Picture Screen Shot
Click the Screenshot button. Click Screen Clipping. Display the screen you want to capture, and then drag the large plus cursor to select the screen area to capture. Click the Screenshot button, and then click the thumbnail of the screen shot you want to insert.
How do you write on a screen shot?
Use your mouse like a pen to draw on the screenshot. Draw a line. Click-and-drag to start the line and release to end it. Hold the Ctrl key while dragging to force a horizontal or vertical line.
Содержание
- Добавление поверх рисунка надписи в стиле WordArt
- Добавление поверх рисунка обычного текста
- Добавление подписи к рисунку
- Вопросы и ответы

Помимо работы с текстом, программа MS Word также позволяет работать и с графическими файлами, которые в ней можно изменять (хоть и по минимуму). Так, нередко добавленную в документ картинку требуется как-нибудь подписать или дополнить, причем, сделать это необходимо так, чтобы сам текст находился поверх изображения. Именно о том, как наложить текст на картинку в Ворде, мы и расскажем ниже.
Существует два метода, с помощью которых можно наложить текст поверх картинки — это использование стилей WordArt и добавление текстового поля. В первом случае надпись будет красивая, но шаблонная, во втором — вы имеете свободу выбора шрифтов, типа написания и форматирования.
Microsoft Word заслужено считается одним из лучших текстовых редакторов, но для работы с графическими элементами, даже элементарной, он подходит с большой натяжкой. Поэтому для наложения надписи на картинку целесообразнее будет воспользоваться не этой программой, а более специализированным средством – онлайн-сервисом Canva, где данная задача решается буквально в несколько кликов, а доступные во встроенном редакторе шаблоны помогут качественно улучшить подобный проект.
Урок: Как в Word изменить шрифт
Добавление поверх рисунка надписи в стиле WordArt
1. Откройте вкладку “Вставка” и в группе “Текст” нажмите на пункт “WordArt”.
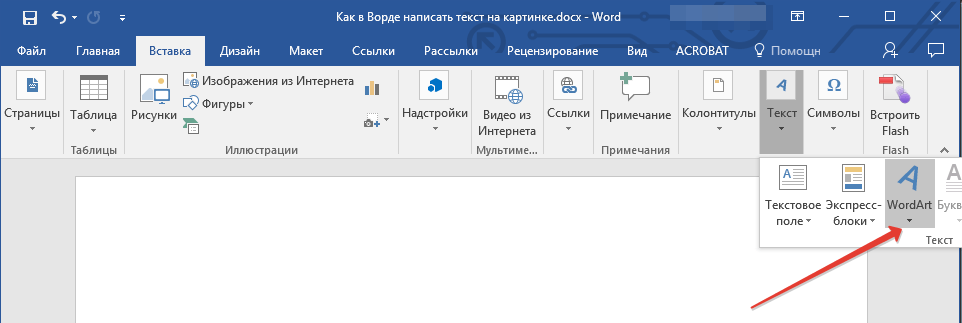
2. Из развернувшегося меню выберите подходящий стиль для надписи.
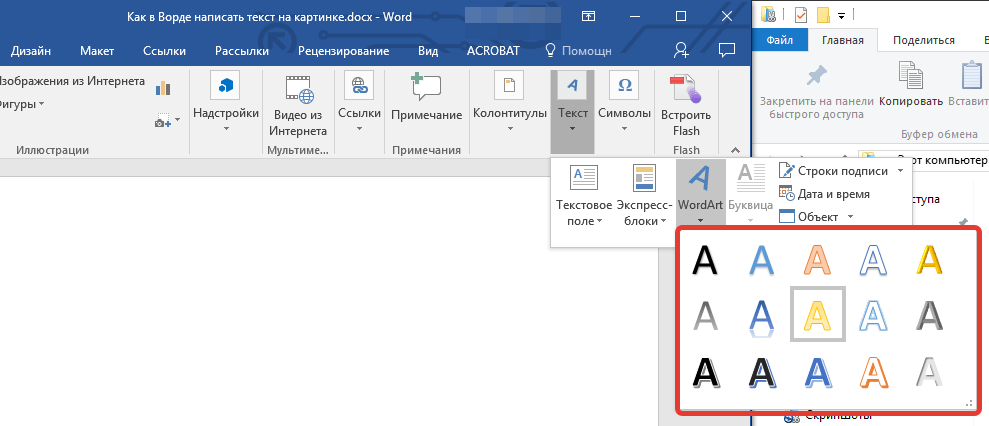
3. После того, как вы кликните по выбранному стилю, он будет добавлен на страницу документа. Введите необходимую надпись.
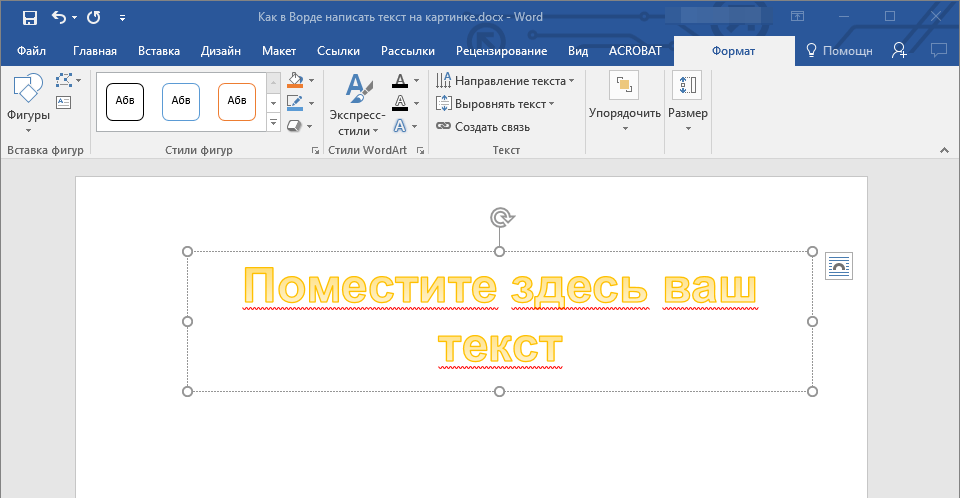
Примечание: После добавления надписи WordArt появится вкладка “Формат”, в которой можно выполнить дополнительные настройки. Кроме того, вы можете изменить размер надписи, потянув за границы поля, в котором она находится.

4. Добавьте в документ изображение, воспользовавшись инструкцией по ссылке ниже.


Урок: Как в Word вставить картинку
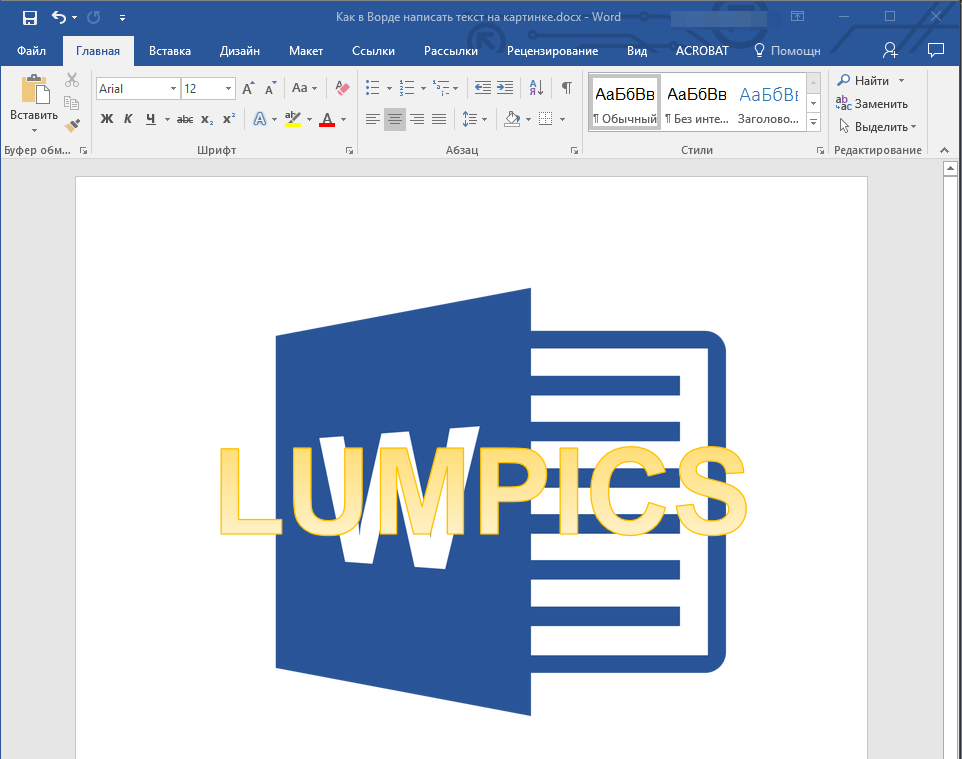
5. Переместите надпись WordArt, расположив ее поверх изображения так, как вам это необходимо. Кроме того, вы можете выровнять положение текста, воспользовавшись нашей инструкцией.
Урок: Как в Ворде выровнять текст
6. Готово, вы наложили надпись в стиле WordArt поверх изображения.
Добавление поверх рисунка обычного текста
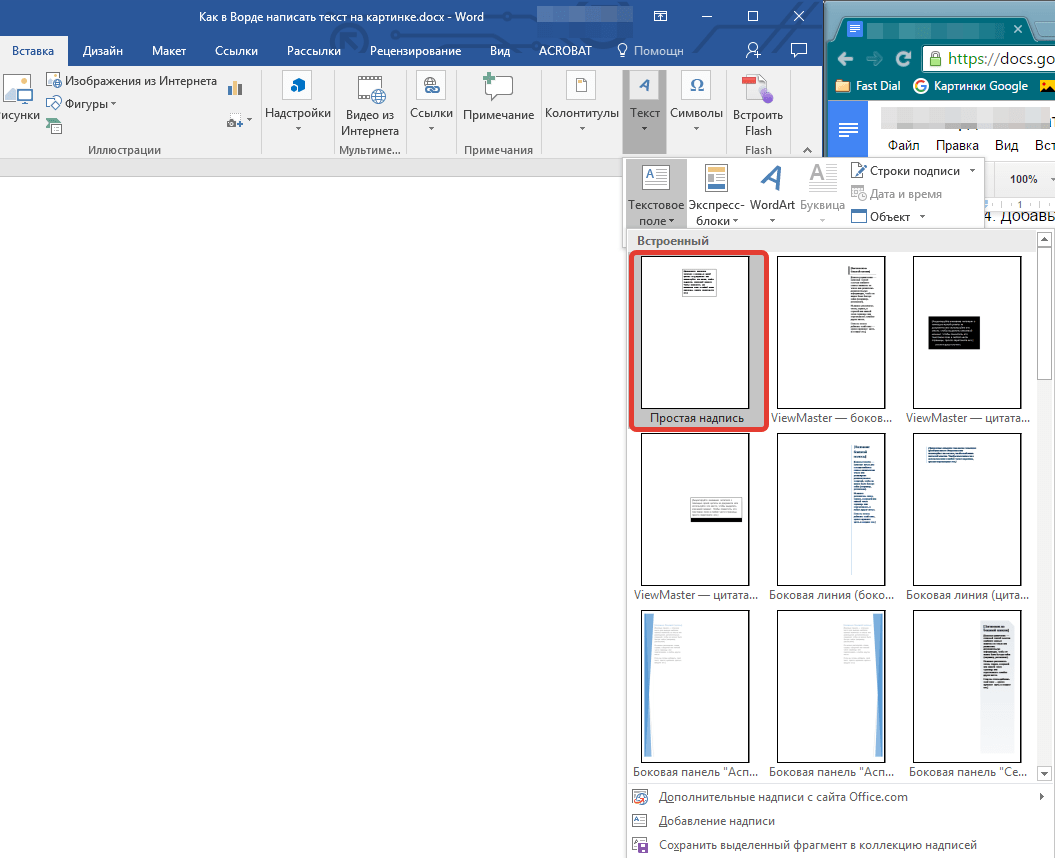
1. Откройте вкладку “Вставка” и в разделе “Текстовое поле” выберите пункт “Простая надпись”.

2. Введите необходимый текст в появившееся текстовое поле. Выровняйте размеры поля, если это необходимо.

3. Во вкладке “Формат”, которая появляется после добавления текстового поля, выполните необходимые настройки. Также, вы можете изменить внешний вид текста в поле стандартным способом (вкладка “Главная”, группа “Шрифт”).

Урок: Как в Word повернуть текст
4. Добавьте изображение в документ.

5. Переместите текстовое поле на картинку, если это необходимо, выровняйте положение объектов, воспользовавшись инструментами в группе “Абзац” (вкладка “Главная”).

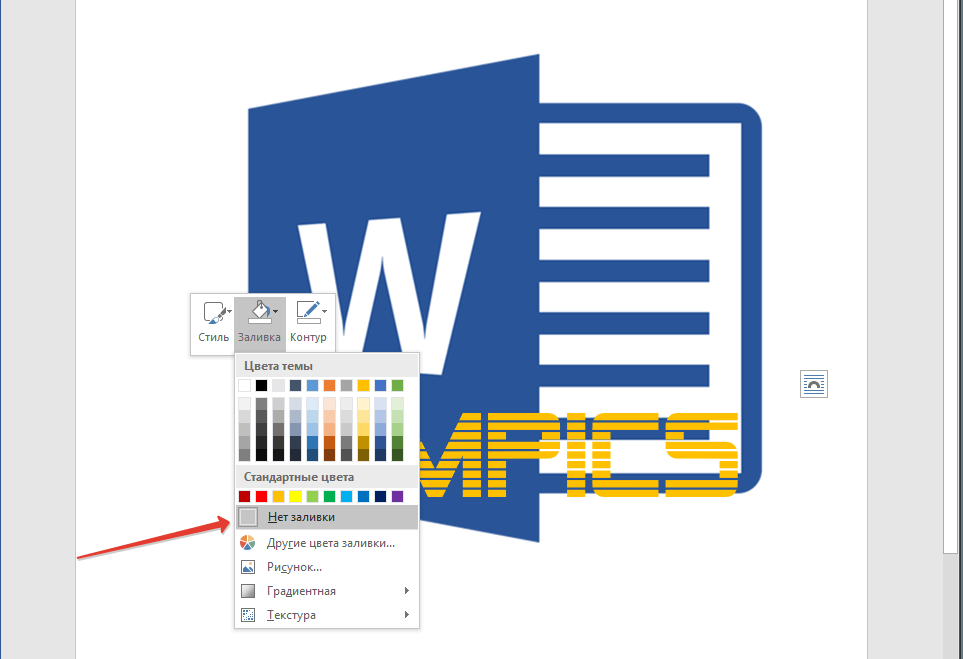
- Совет: Если текстовое поле отображается в виде надписи на белом фоне, перекрывая таким образом изображение, кликните по его краю правой кнопкой мышки и в разделе “Заливка” выберите пункт “Нет заливки”.
Добавление подписи к рисунку
Кроме наложения надписи поверх изображения, вы также можете добавить к нему подпись (название).
1. Добавьте изображение в документ Word и кликните по нему правой кнопкой мышки.

2. Выберите пункт “Вставить название”.
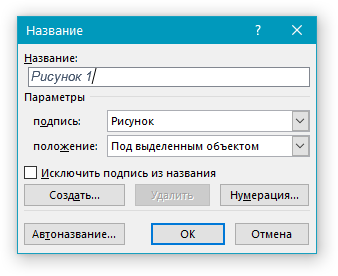
3. В открывшемся окне введите необходимый текст после слова “Рисунок 1” (остается неизменным в этом окне). Если это необходимо, выберите положение подписи (над или под изображением), развернув меню соответствующего раздела. Нажмите кнопку “ОК”.
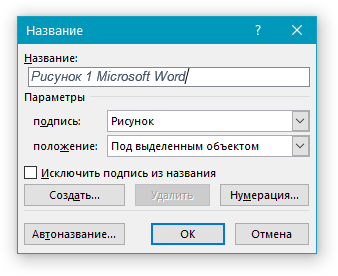
4. Подпись будет добавлена к графическому файлу, надпись “Рисунок 1” можно будет удалить, оставив только введенный вами текст.

На этом все, теперь вы знаете, как сделать надпись на картинке в Ворде, а также о том, как подписывать рисунки в этой программе. Желаем вам успехов в дальнейшем освоении этого офисного продукта.

- Using a Text Wrapping Style
- Inserting a Text Box
- Inserting a WordArt
Method 1: Place Text Over Image Using Text Wrapping Style
If you have a long chunk of text and you just want to put a background image or a watermark on a document, then this method is best for you.
Step 1: Open up a Word document.

Step 2: Set the image as background.
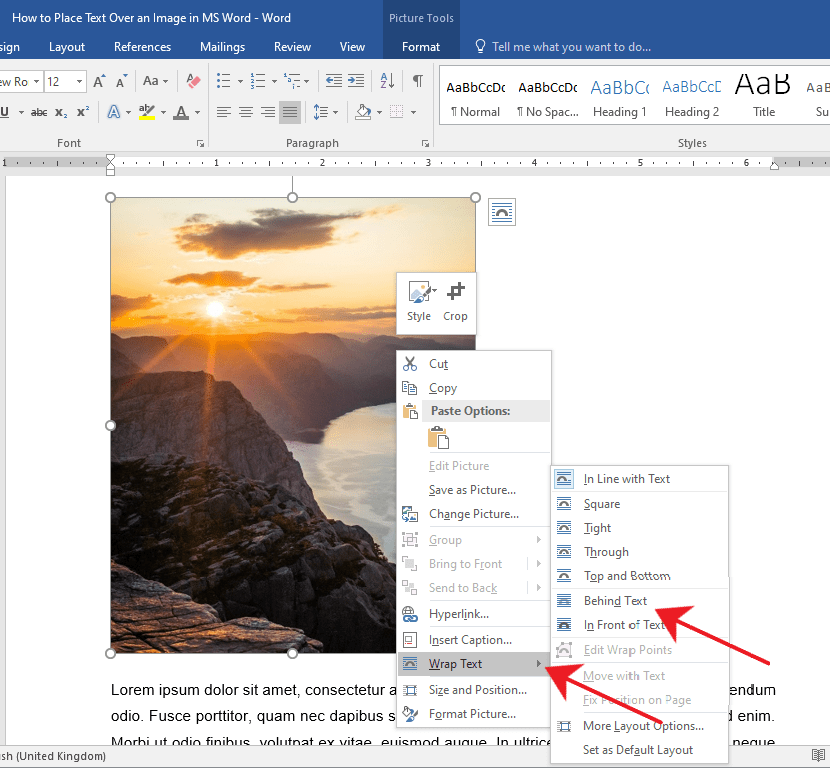
Right-click on the image and select the Wrap Text option.
This will display a horizontal drop-down menu on the right. Once you see the drop-down menu, select Behind Text.
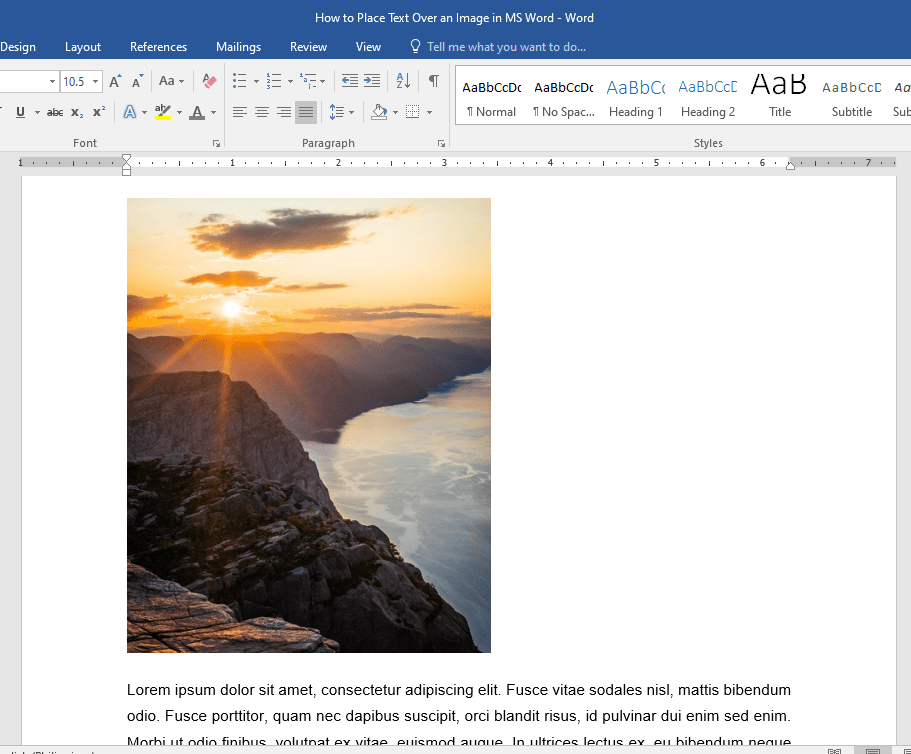
You’ll notice the images and text will rearrange automatically as you hover over the text wrapping options.
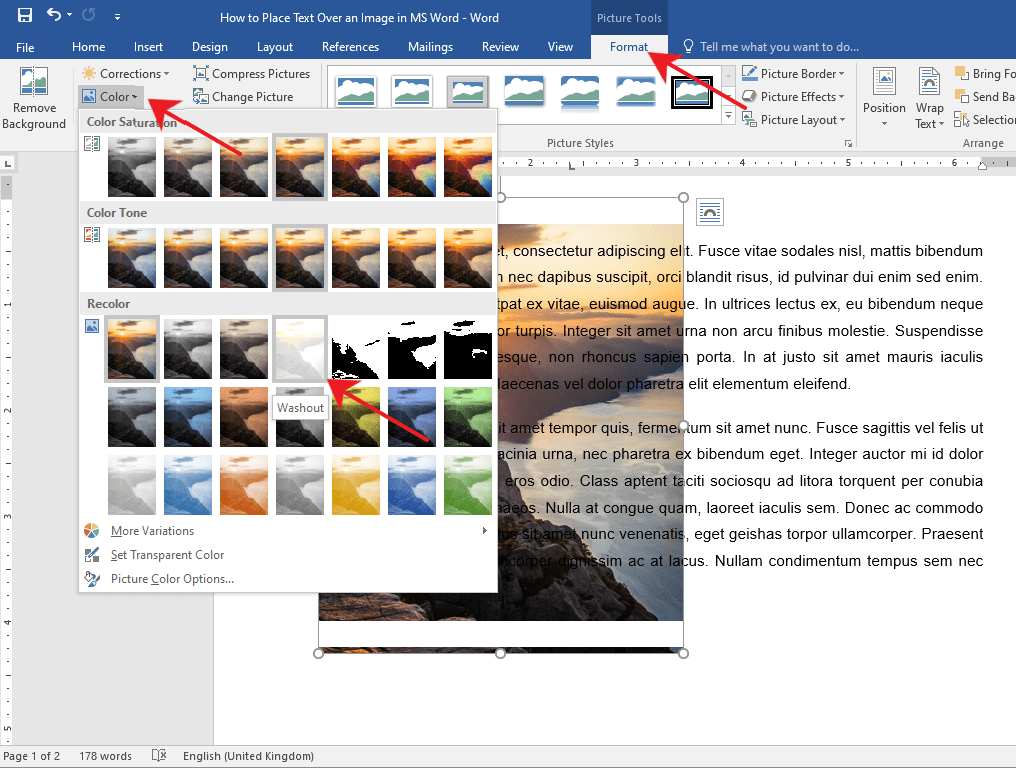
If after you’ve inserted a background image and the text becomes unreadable, you can change the image’s opacity or color.
Simply double-click on the image to activate the Format tab in the Ribbon.
After that, click on the Color drop-down menu and select Washout under the Recolor group.
You can also get creative and explore other options to suit your needs.
Method 2: Place Text Over Image Using a Text Box
Step 1: Open up a Word document.
Step 2: Insert a text box.
Go to the Insert tab on the Ribbon.
Now, navigate to the right side of the Ribbon and click on the Text Box drop-down menu.
Then, select a text box style of your preference. For this example, we’ll use the Simple Text Box.
Step 3: Type in the text.
Type in the text that you want to put on top of your image.

Step 4: Set the text wrapping style of the text box.
Select the text box and click the Layout button found at the upper right-hand corner of the text box.
Then, select the In Front of Text option.
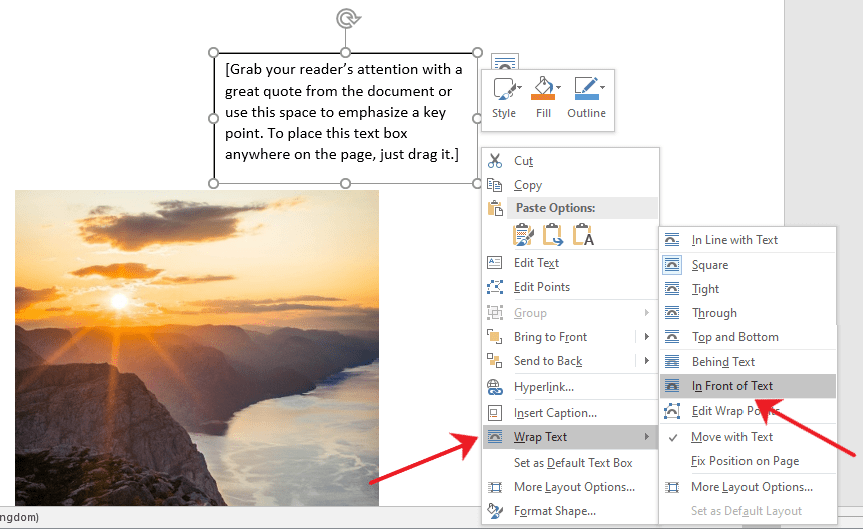
Step 5: Place the text box over the image.
Click and drag the text box to place it over your image. You’ll notice that your text box has a background color by default and is covering a part of the image.

You can change your text box’s background and border color by accessing the Format tab.
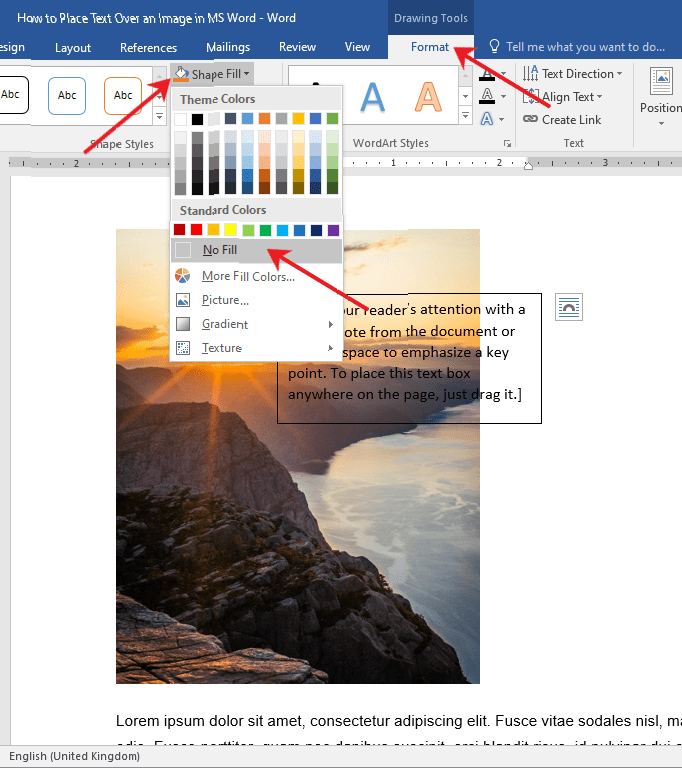
This way, only the text will be visible on top of your image. Now, Double-click the text box and go to the Format tab.
From there, click on the Shape Fill drop-down menu and choose No Fill.
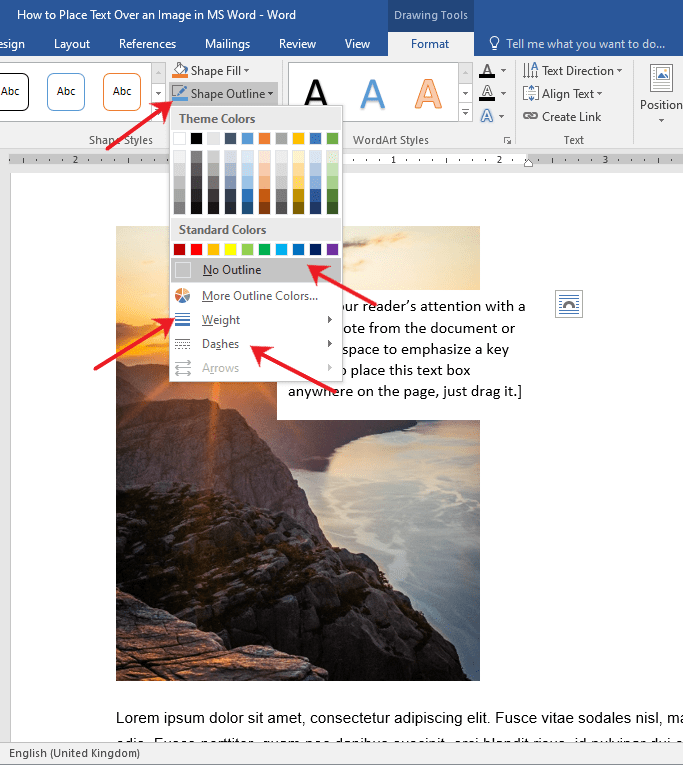
To change the border color, select the Shape Outline drop-down menu and choose No Outline.
You can also change the border’s weight and design by exploring the Dashes and Weight options.
Method 3: Place Text Over Image Using Word Art
If you find yourself needing to put a title, a name, or a couple of words over an image, then this method has got you covered.
Step 1: Open up a Word file.

Step 2: Insert the WordArt
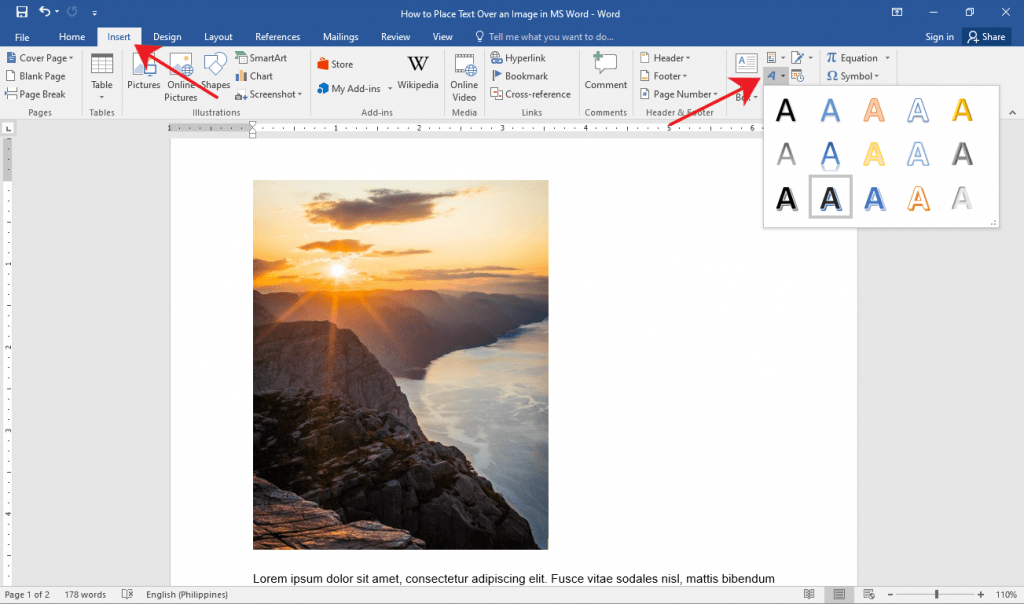
Click the Insert tab on the Ribbon.
Now, click the WordArt button found at the right side of your screen.
It’s the slanted letter A icon under the Text group. After that, choose a WordArt that suits the style of your document.
Step 3: Place the WordArt over the image.
Click on the WordArt and type in the text you want.
From there, select and drag the WordArt to easily move it around to the perfect location on your document.
You can also resize the WordArt like any other text box by grabbing either one of its corners.

Tip: If you’re using a pen or touch-enabled computer, you can directly write text over an image using the Draw option.
Editing and Deleting Text Over an Image
If you used Method 1, simply select the erroneous text and edit or delete it just as you would with any other text.
For Methods 2 and 3, click on the inside of the text box or the WordArt and start editing.
If you want to delete the entire text box or WordArt, click on any of the borders of the text box or WordArt and hit the Delete button on your keyboard.
Conclusion
That’s the rest of it. We hope you’ve found this article helpful!

There are several reasons why you may want place text over an image in a Word document. Perhaps you want to place your company logo in the background of a document you’re writing for work, or maybe you need a “confidential” watermark on a document containing sensitive information. No matter the reason, you can do it easily in Microsoft Word.
Placing an Illustration Behind Regular Text
An illustration in Word refers to any of the objects you can insert from the “Illustrations” group on Word’s “Insert” tab. We’re going to be using a simple picture in our example here, but the same technique applies to any of these illustration types.

To get text to appear on top of an illustration, you change the text wrapping option on the illustration so that it appears behind your text.
RELATED: How to Wrap Text Around Pictures and Other Illustrations in Microsoft Word
If you haven’t already inserted your object into your Word document, go ahead and do that now. When you insert most of those illustration types—pictures, icons, SmartArt, charts, and screenshots—that object is placed in line with your text by default. The exceptions to this are 3D models and shapes, which are placed in front of text by default.
It doesn’t much matter since you’re going to be changing from that default to get the object behind your text, but do be aware that things might look a bit different to start with depending on what you’re inserting.
After inserting your object, click it to select it. You’ll notice a small icon at the top right corner.
This is the “Layout Options” icon. Go ahead and click that to pop up a small list of layout options. Select the “Behind Text” button under the “With Text Wrapping” section. Once you do, any text on the Word document that got moved around when inserting the image will go back to its original position.
Notice that when you select “Behind Text,” two more options become available. The “Move with text” option allows your graphic to move on the page as you add or delete text. The “Fix position on page” option keeps your graphic in the same place on the page as you add or delete text. It can be a little confusing how this works, but we’ve got a guide on positioning images and other objects in Word if you want to learn more.
RELATED: How to Position Images and Other Objects in Microsoft Word
At any rate, now that you’ve got that “Behind Text” option enabled, all your regular paragraph text appears in front of your object.
Inserting a Text Box Over an Image
There’s also another way to get text to appear in front of a picture or other object—a text box. When you create a text box, it works like any other illustration object. You can drag it around and have it show up in front of another object like an image. This technique is handy when you want to use anything other than regular paragraph text.
Go ahead and get your image or other illustration inserted first. To insert a text box, switch to the “Insert” tab and click the “Text Box” button. On the drop-down menu, choose the type of the text box you want. Here, we’re going with the “Simple Text Box” option.
After insertion, the text box is selected automatically so you can go ahead and type in your text. Then, drag it over your image. You’ll end up with something like this:
You’ll notice that there is a border around the box and the background of the text box is solid white. Let’s go ahead and remove the border and background fill.
Click the border of the text box. You’ll notice a new “Format” tab appears. Go ahead and click that tab. There are two options in the “Shape Style” section that we’re going to be using—“Shape Fill” and “Shape Outline.”
When you click the “Shape Fill” button, a drop-down menu with different colors and theme options appears. Click the “No Fill” option.
The background of your text box is now gone.
Next, click the “Shape Outline” button and choose the “No Outline” option from that drop-down menu.
Now, you’ll see that the border has been removed.
That’s all there is to it. The big advantage to this method is that you drag that text box around however you want to get your text lined up just right with your image.
READ NEXT
- › How to Put Borders Around Images in Microsoft Word
- › How to Overlay Images in Microsoft Word
- › How to Mirror an Image in Microsoft Word
- › How to Add Blur or Transparency to an Image in Microsoft Word
- › How to Place Images Behind or in Front of Text in Google Slides
- › This New Google TV Streaming Device Costs Just $20
- › Liquid Metal vs. Thermal Paste: Is Liquid Metal Better?
- › HoloLens Now Has Windows 11 and Incredible 3D Ink Features