
Turn your photos into videos, online. No experience needed.
Get Started Now

Online Photo Video Maker, Free
Looking for an easy to use tool to turn your photos into stunning videos? Add photos to video content? Or add text to describe the photos and video? Well, you’ve come to the right place. With VEED, you can do all this and more. Use our transitions, present canvas sizes and video templates to make your own photo video in seconds. Annotate, filter, add audio, voice recordings, sound effects, stickers, and more! Create amazing compilation videos, birthday videos, corporate or explainer videos, VEED is here to help in any case!
And it’s online, no need to download bulky software or apps. No Experience Needed — VEED lets you make any type of video in only a few clicks. Whether you’re a beginner or pro, VEED is super-easy to use for everyone. It’s all online, requires no download, signup or credit card. Our simple and modern interface makes it very enjoyable to use. Create awesome videos at any time and for any occasion with VEED’s powerful video editor.
Get Inspired
Click on a Template to get started right away. Video creation in just a few clicks.
Browse Templates
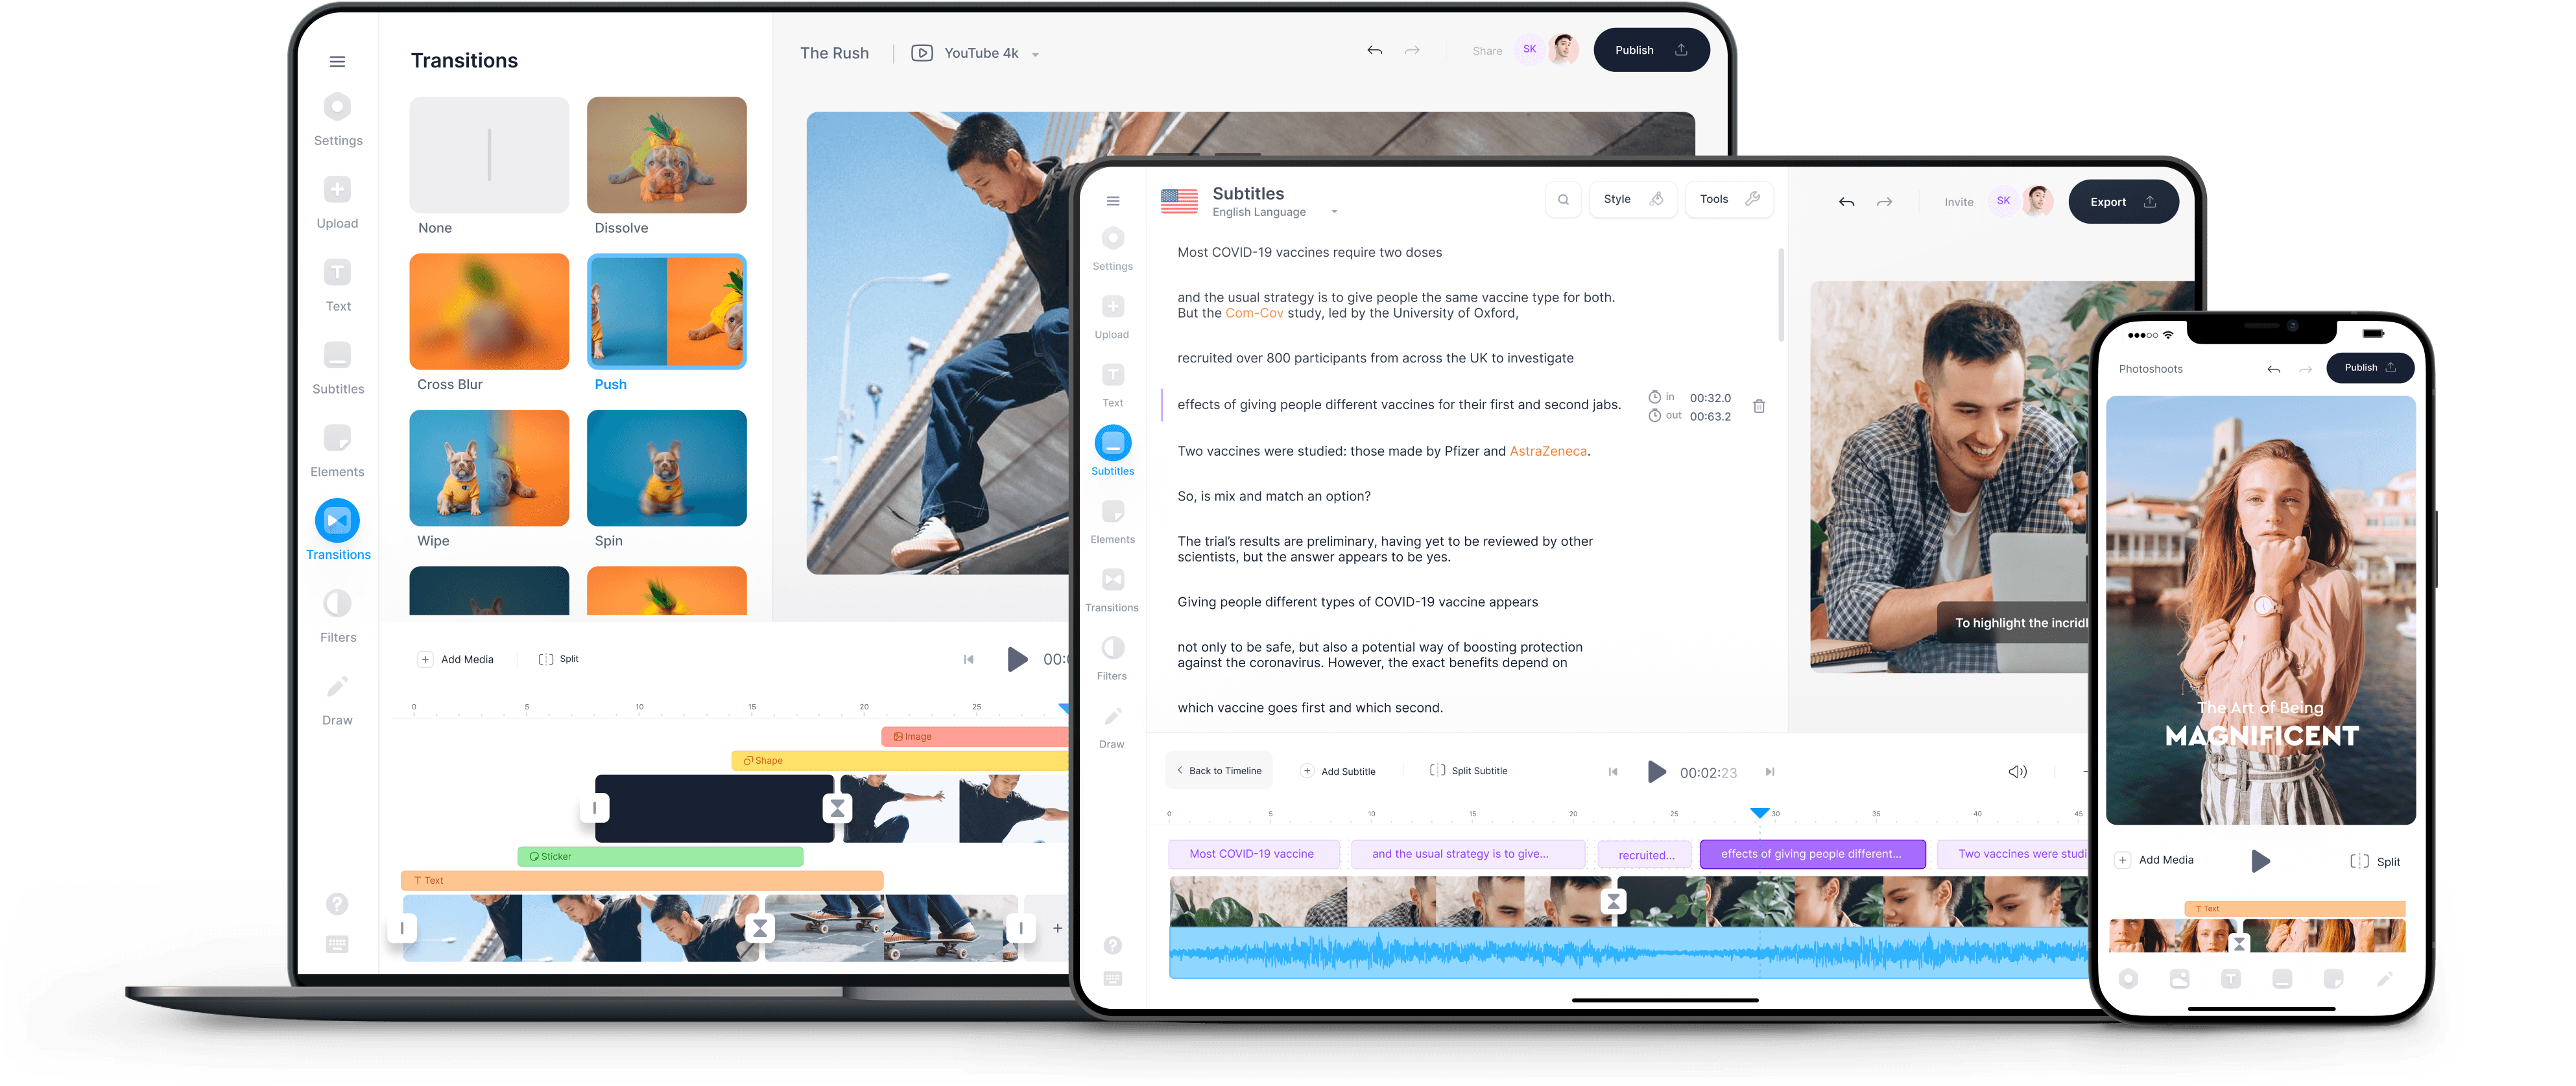
How to Make a Video with Pictures:
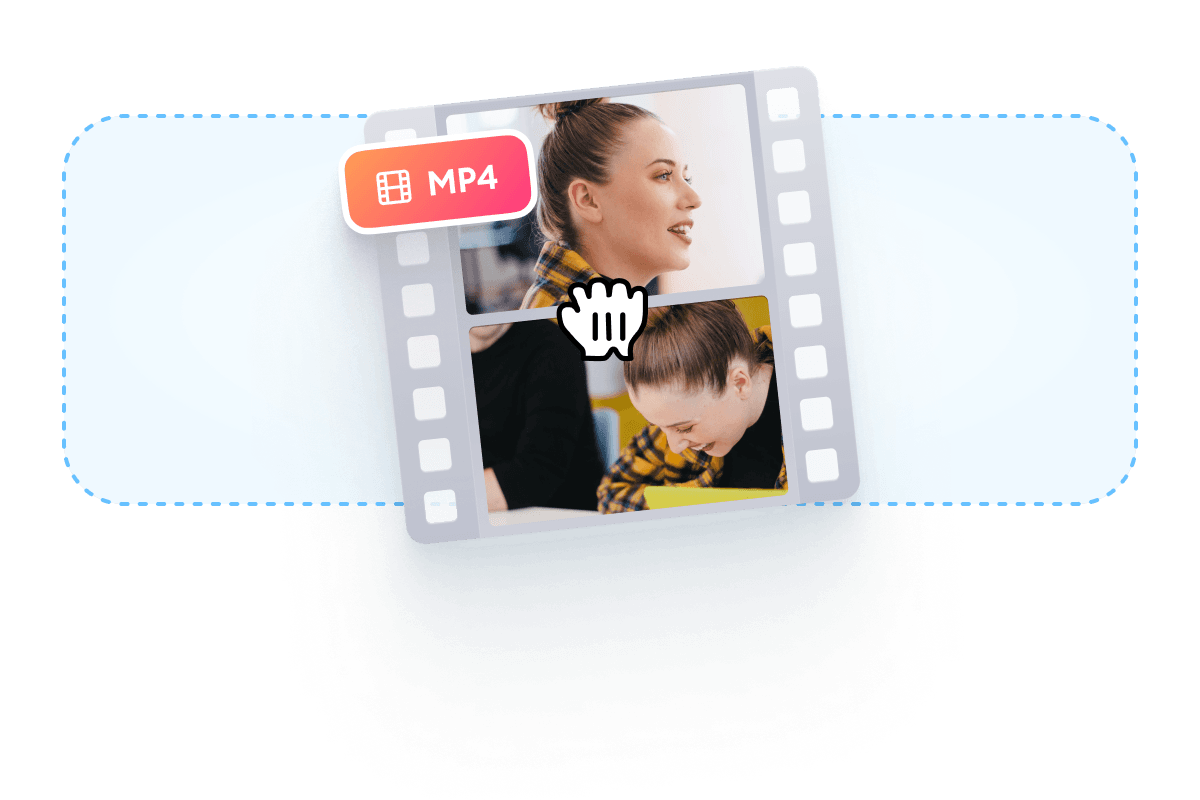
Drag & Drop
Upload photos to VEED’s online video maker. Add as many as you like. Choose images you already own or stock images. Drag and drop them to your video and rearrange.
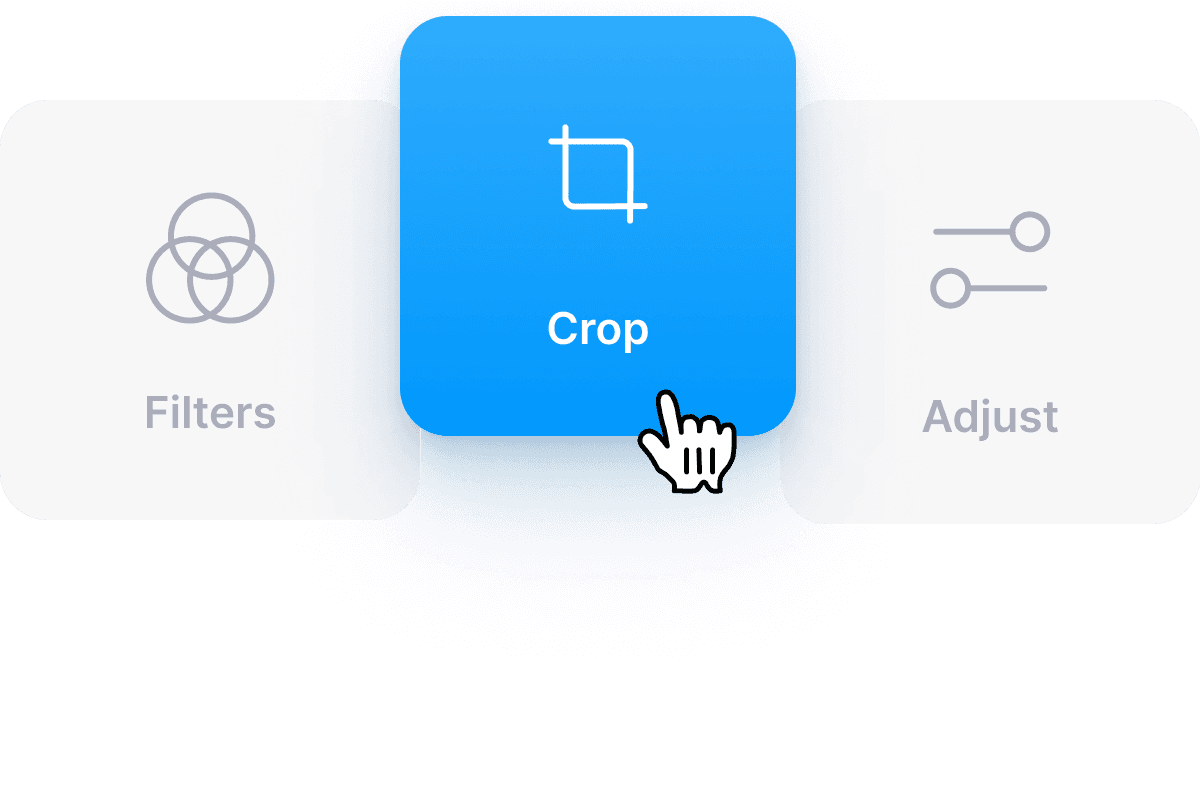
Edit & Personalize
Drag the photos to change their order and positioning in the video. Cut, crop, zoom in or rotate photos until they’re the perfect size. Use transitions and templates. Personalise by adding text, stickers or emojis to describe photos.

Download Video
That’s it. You’re ready. Just click ‘Download’, and watch your video render in seconds
‘Create Video from Photos’ Tutorial
Compilation Videos
VEED is the best tool for making compilation videos from photos for any occasion. So whether you want to make videos for a wedding, graduation, or that special family holiday, VEED’s versatile video editor is your best friend. Upload your videos and photos in any format, and begin compiling your special memories in only a few clicks of the mouse. You can merge different videos together, split a video, or trim any unwanted scenes. Then, for an added flair, you can explore our filters, special effects, stickers, and much more. VEED will leave your videos looking extra-special and personal.
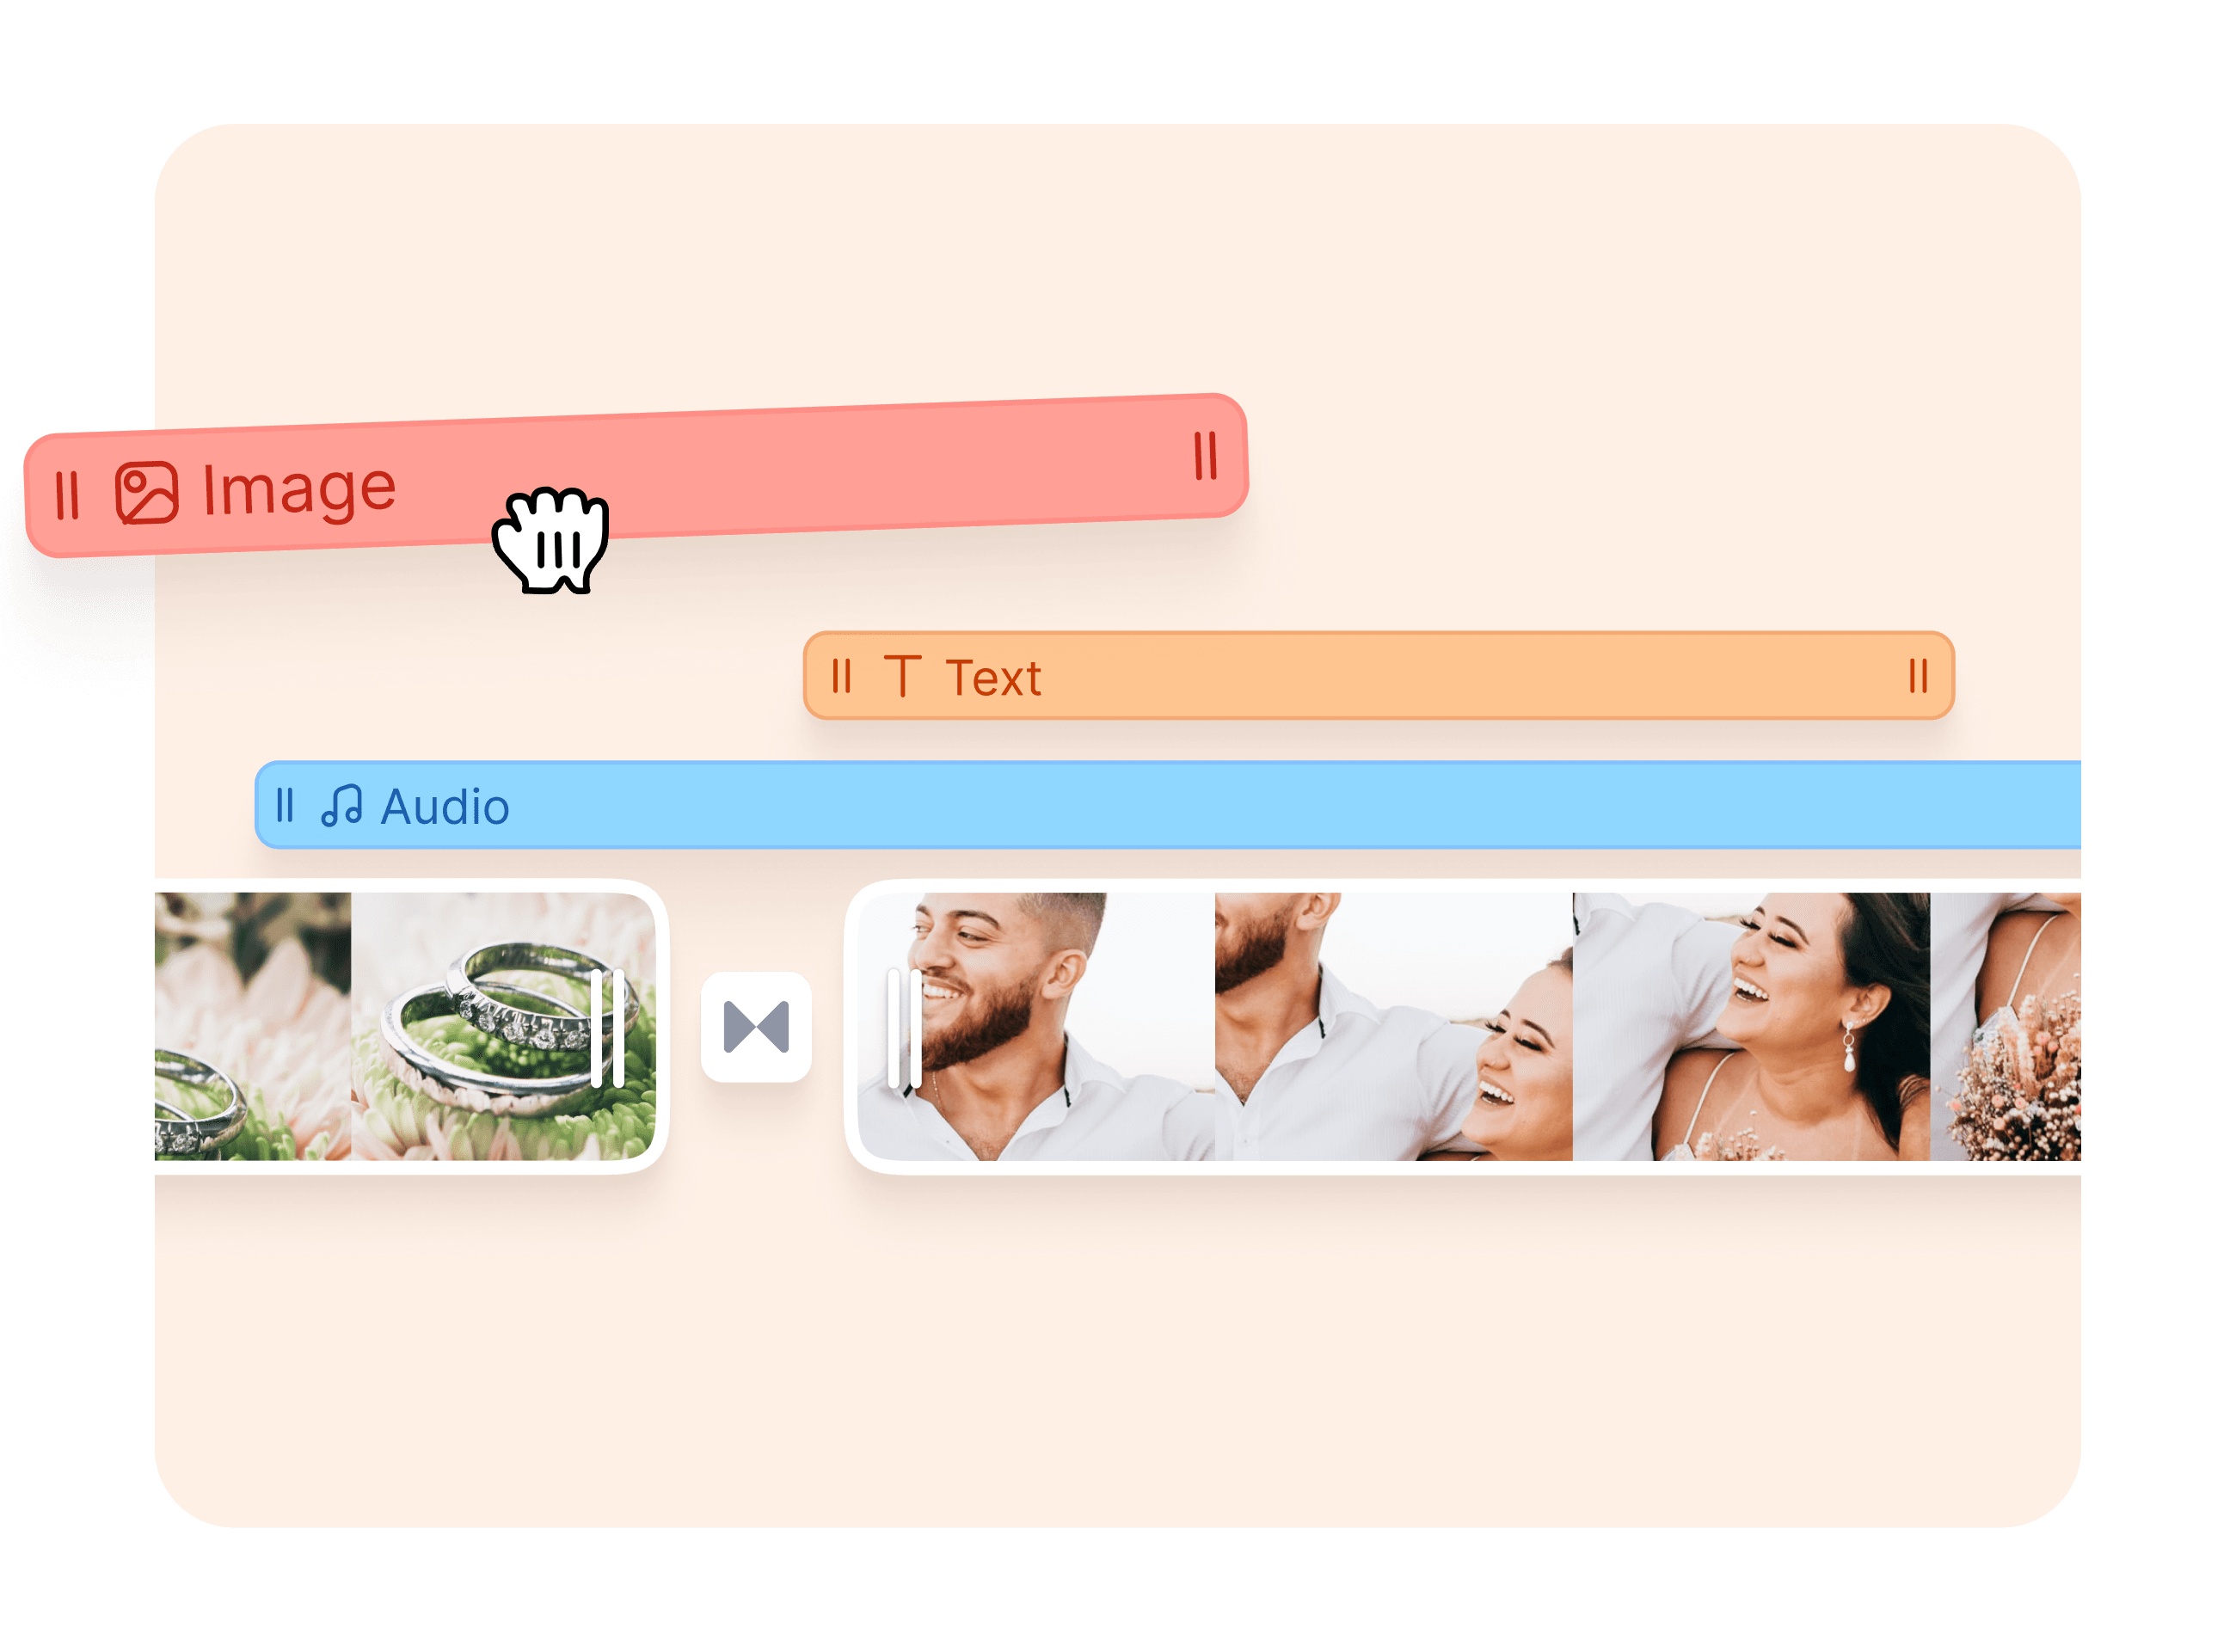
Add Music
Add your favorite song as background music to bring your photo video to life! Upload any song or music track, no need to worry about copyright if video is only for personal use. You can also sound effects, voiceovers, narration, and remove background noise. Upload your favourite audio file to create awesome music videos. To do this — Click on the plus (+) icon on the bottom-right, or click on ‘Upload’ on the left menu. To add audio to specific parts of the video, you can split it, and drag and drop the audio layer across the timeline. VEED’s online video maker makes it easy to work with audio and video tracks at the same time.

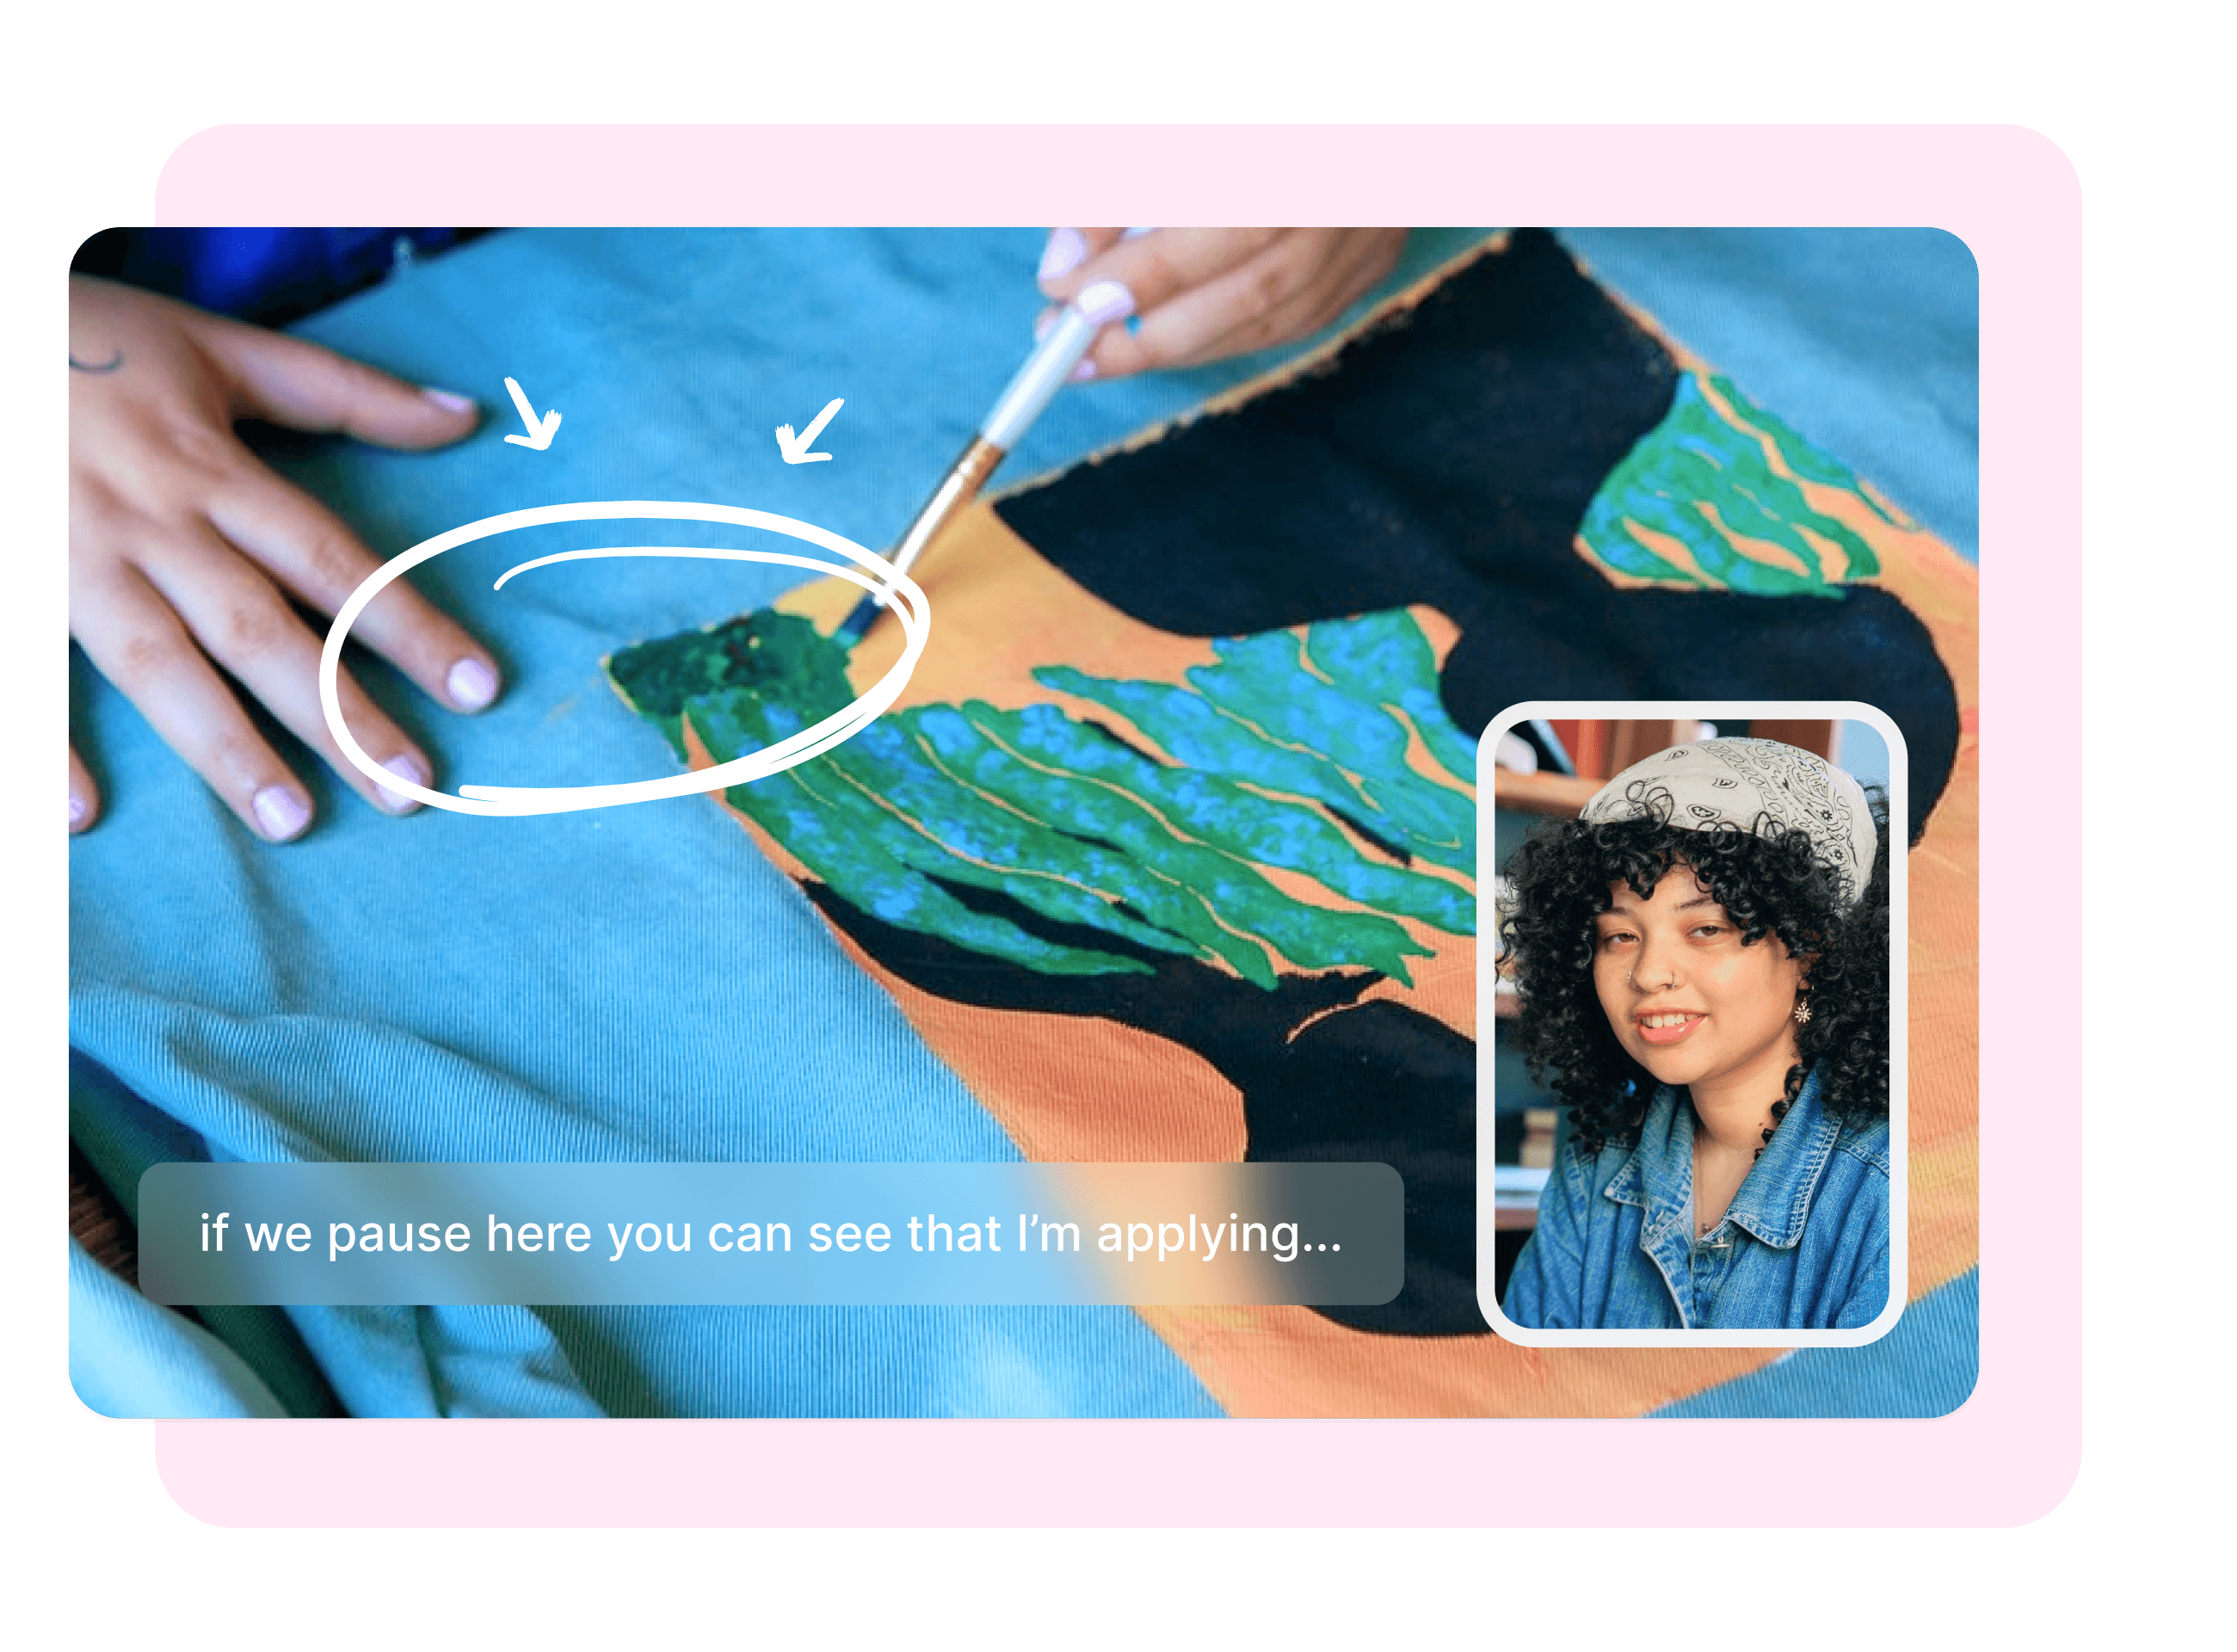
Explainer Videos
Including photos in your video can be a great way to help people learn. With VEED you can use freeze-frames or upload your own photos and add them to video. What’s more, adding a photo to your video can be a great way to explore a product, service, technique, or idea, in further detail. You can add presentation slides, selfies, or close-ups, with just a single click. Adding photos to a video that already has audio, text and stickers, makes for a more engaging experience. Make your videos more interactive with our online photo video maker.
Frequently Asked Questions
Discover more:
- Photo Animation Maker
What they say about VEED
More than just a photo video maker
VEED can do so much more than turn your photos into videos! VEED can make amazing videos for any context — family, business, marketing, you name it. Our video editing tools are free to use so you can create professional-looking videos without paying a dime. VEED is the perfect creators toolkit with all the features needed to unlock your creativity. Add subtitles, text, images, audio and more! Compatible with all major devices and platforms — Macbook, Windows 10, Linux and mobile devices.
Get Started Now
Turning a static image into a video, even if it’s a static video, can lead to higher engagements on social media platforms that are prioritizing video content. Kapwing supports a wide range of image to video workflows, from the simple task of making a video out of a still image, to a more complex task of freeze framing and editing a skill video clip for emphasis.
Get started by uploading a JPG, PNG or GIF from an iPhone, Android, PC or Tablet or paste a link. You can also upload a set of images to assemble the perfect video. Drag and drop each layer to change the order and choose a preferred aspect ratio such as 9:16 for TikTok or 16:9 for YouTube. You can set a specific duration for each image or apply the same duration to every image layer. Easily crop images and add a colorful background to make your image stand out.
Upload audio or paste a URL to add audio such as background music. You can trim, cut, and loop the audio and adjust the volume to the perfect level. Add a start time so your audio begins playing at the right moment.
For more adjustments, edit your images in Kapwing. Round the corners, add animations, overlay shapes, and erase the background. Achieve the perfect look by adding filters and adjust the saturation, opacity, brightness, and more. When you’re finished creating a video from images, download and save your MP4 or share your video directly to Facebook,Instagram, or Twitter.
Make your favorite GIFs, pictures and music into a video with this simple image to video tool by Kapwing.
Table of Contents:
- Image to Text Converter
- How to extract text from images?
- Features offered by Image to Text
- Why Prepostseo Image to Text Converter?
- Use Picture to Text converter – Why it is important?
- Frequently Asked Questions (FAQs)
Image to Text Converter
Image to Text is a free online tool that lets you copy text from images accurately. It features the latest optical character recognition (OCR) technology to accurately convert photos into text.
It can extract text from any image format such as:
- PNG
- JPG
- BMP
- GIF
- JPEG
- TIFF
Jpg to text tool can extract text from images, official documents, screenshots of web pages, or any image with a few characters.
To convert an image to text using the above tool, follow the steps below:
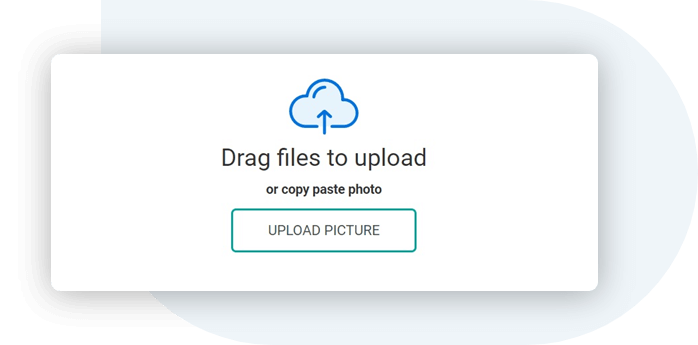
- Upload the image using the Upload Picture button. If you want to crop the image, you can use our crop image
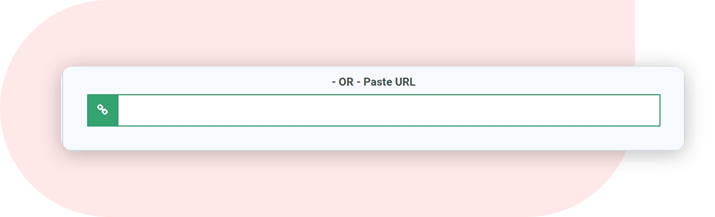
- Or paste the URL of the image.
- Click the Submit button to get a text from uploaded images.
- Hooray! You got it right.
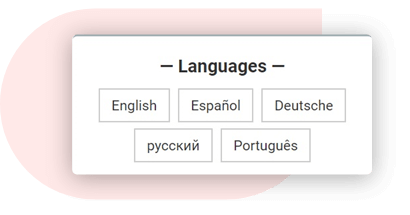
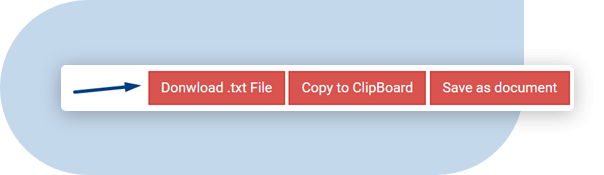
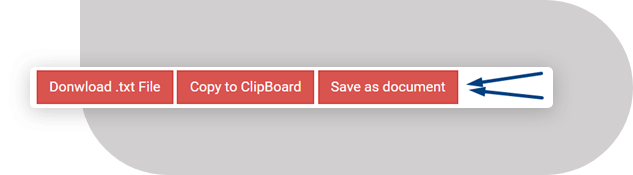
You will get the text in the container where you can copy the text to the clipboard, download the text as a .txt file, or save it as a document. - If you want to convert an image that includes text from other languages, you can choose another language from the side panel.
You can also convert pdf images to text online using this photo to text converter.
Features offered by Image to Text
The Following key features of our picture to text converter make it a competitive and perfect tool to copy text from images.
Let’s explore some of the classic features of this image to text app.
1. Extract text from low-resolution images
Students often take photos of book pages and notes for exams. These pictures are usually blurred due to poor camera quality.
Our online text extractor can take out text from low-resolution and blurry images as well with high accuracy.
2. Identify math equations
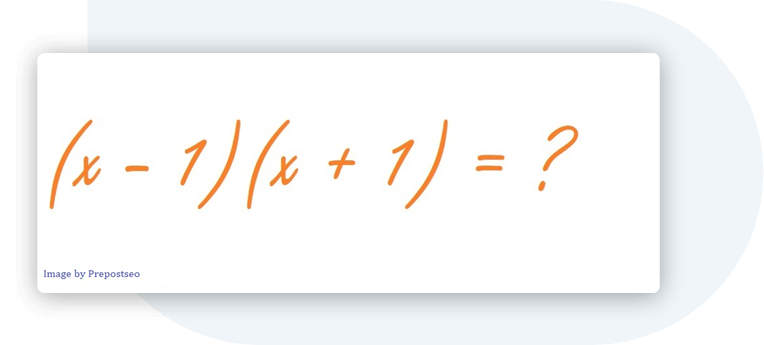
You may have some pictures of algebraic or geometric formulas if you are a math geek. The good news is, this picture to text converter not only gets simple text for you but also extracts complex mathematical equations like a pro.
3. Free of cost
You can upload as many scanned books, notes, images, and photos as you want.
Our free pic to text converter extracts correct text each time without asking you to sign up or paid subscription.
4. Trustworthy and secure
You are safe and secure with us. We always aim and promise to keep your data safe and secure. We adhere to our policy that we will neither pass your data to any third party nor it will be stored in our database.
5. Multiple language support
This online OCR tool provides multilingual support. It can translate images into text in more than 30 languages.
It supports Multiple languages including English, Spanish, Dutch, Russian, Portuguese, Czech, Swedish, Polish, Netherlands, French, Indonesian, Romania, Thai, Italian, Georgian, Dansk, Korean, Filipino, Turkish, and Arabic.
6. Extract text via URL
Apart from uploading, a picture can be converted to text by inserting the URL of the pic into the URL box.
This feature is very useful when you browse the Internet and come across an image that contains the text.
7. Download the text file
Data can be lost or misplaced if not saved appropriately. You can directly download converted text as a file instead of copying the text.
This feature saves time and important data in the local storage of your device.
8. Copy to the clipboard
You can copy the converted text to the clipboard and paste it into the desired file or directory.
9. Convert the image to a word file
After converting a photo to text, you can save the output directly to a Microsoft Word file by using Save as Document feature.
This way, you can convert images to text in Microsoft Word and can use it for further purposes.
10. Accessible from any device
This jpeg to text converter can be used on a mobile device and performs the text conversion perfectly. You can access this tool from any device by using the web browser.
Why Prepostseo Image to Text Converter?
Here are the best reasons that make our tool unique:
| 💡 Formats | JPG, PNG, JPEG, GIF, and more |
| 🎯 Result | Highly accurate |
| 💲 Price | Fremium |
| 🌐 Languages | 20+ Languages supported |
| ✔️ Save | Time and Money |
| 🥰 Improves | Work Efficiency and Productivity |
- Convert images, scanned documents, and photos to editable text
- No registration or personal data required
- No installation required
- 100% free of charge
- Exact image to text conversion
- Save your time and money
- Save you from retyping
Use Picture to Text converter – Why it is important?
There are millions of reasons to use text extractor tools, some of which are:
-
Save time & efforts
Productivity needs more time and with this picture to text converter, you can save your precious time by converting scanned images into editable text, saving time and reducing errors from manual typing.
-
Boost your business
You can extract text from all your business documents and store it in one place. This data can be used to create analysis and audit reports.
-
Extract content from social media
You may encounter interesting images on your social media accounts such as Facebook, Instagram, Twitter, etc. These media files can be converted to text and you can use this text wherever you need.
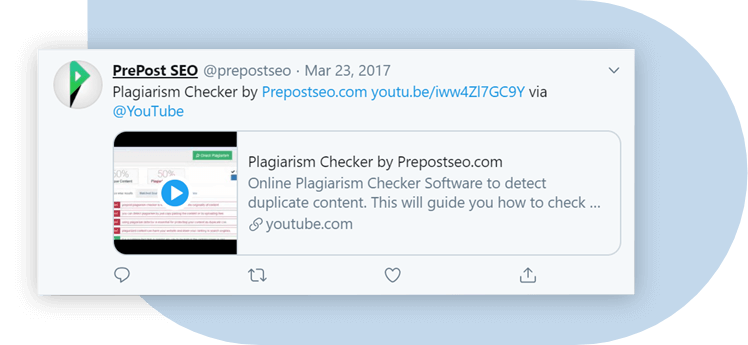
Whenever you wish to send any of that to your friends in text form, you can simply generate the text from social media images using this OCR tool.
Frequently Asked Questions (FAQs)
How do I extract text from JPEG?
You can use our Jpg to word converter to extract text from a JPEG, OR follow the steps below:
- Go to the Prepostseo image to text tool.
- Upload a JPEG image and hit Submit.
- Download or copy the text using the relevant buttons.
Tip: you can also use imagetotext.info to extract text from image.
How do I convert handwritten notes to text?
Follow the steps below to convert handwritten notes to text:
- Take a picture of the note using a camera.
- Go to the Prepostseo image to text tool
- Upload the image and click Submit.
- Copy the text or download the file into your device.
![]()
Download Article
Step-by-step guide to inserting pictures in Word
![]()
Download Article
- Windows
- Mac
- Web App
- Video
- Q&A
- Tips
|
|
|
|
|
Whether you’re working on a hefty research project or a friendly holiday greeting card, adding images to your Word document can really add value to your project. Whether you want to insert a picture from your computer or find one online, it’s easy to add photos in Word. This wikiHow teaches you how to insert an image into a Microsoft Word document using Windows, a Mac, and the free web version of Word.
Things You Should Know
- Use the Insert tab on Windows, Mac, and the web app to add a picture.
- Select Pictures > This Device to use an image on your computer.
- Click the image to resize and reformat it.
-

1
Click the place in your document where you want to insert the picture. Word’s insertion cursor, a vertical blinking bar, will appear at this point. When you insert the image, its bottom-left corner will be at this point.
- This method works for all modern versions of Word beginning with Word 2016. You can also use it as a guide for earlier versions of Windows, although there will be fewer tools and features.
- Changing the background is done through a different method, using the Design tab.
-
2
Click the Insert tab. It’s near the top of Word between «Home» and «Draw» (or «Home» and «Design» in some versions).
Advertisement
-
3
Click the Pictures tool. It’s in the «Illustrations» section of the toolbar running along the top of Word. Some location options will appear. If you’re using Word 2019 or later, a menu will expand. If you’re using Word 2016 or earlier, your file browser will appear.
-
4
Select the type of image you want to insert. You can choose an image on your computer, a stock image from Microsoft, or an image from the internet.
- Word 2019 or later:
- Click This Device if the picture is on your computer.
- Click Stock Images to select a free stock image from Microsoft’s collection.
- Click Online Pictures to use Bing’s image search to find photos on the web.
- If the photo is on your OneDrive, select Online Pictures and click OneDrive at the bottom-left corner.
- Word 2016:
- If the picture is on your computer, simply navigate to it in the file browser.
- If you want to search for a photo online or insert one from Facebook, Flickr, or your OneDrive, close the file browser and click the Online Pictures icon next to the «Pictures» in the toolbar. You can then select an image from Bing image search, Flickr, or Facebook.
- If the picture is on your OneDrive, click Online Pictures instead of Pictures and click Browse next to «OneDrive.»
- Word 2019 or later:
-
5
Select the image you want to insert. When you find the picture, click it once to select it.
- If you’re selecting from stock images or online images, you can click multiple pictures to add more than one.
- If you’re choosing files from your computer and want to add more than one picture, hold the Ctrl button down as you click each image.
-
6
Click Insert. It’ll be near the bottom-right corner of the window no matter where you’ve selected your image(s). You’re done! Continue to the next steps for formatting information, or print the document when you’re ready.
-
7
Resize the picture. If you want to change the picture’s size, click it once to select it, and then drag any of the corner circles in or out.[1]
- You can also specify the size if you want. Double-click the picture to open the Picture Format tab at the top, and then set your desired measurements next to «Height» and «Width.»
-
8
Use the curved arrow at the top of the picture to rotate it. It’s above the dot at the top-center part of the picture. To rotate, place the mouse cursor over the curved arrow, and then click and drag the cursor left or right until you’re satisfied.
-
9
Double-click the picture to access more editing tools. This opens the «Picture Format» (2019 and later) or «Format» (2016) tab at the top of Word. On this tab, you can:
- In the «Arrange» panel in the top-right area, click Wrap Text to choose how to situate the picture in blocks of text. You can also set alignment preferences here. Wrapping the text is a good way to get your document formatted exactly the way you want.
- To crop the picture, click the Crop tool in the «Size» panel at the top-right corner.
- The «Adjust» panel near the top-left corner has additional tools for background removal, color effects, and corrections.
- To add a border or effect around the picture, select one of the «Picture Styles» at the center of the Format bar, or choose any of the other options in the section to have more control over the style.


Advertisement
-
1
Click the place in your document where you’d like to insert a picture. This places the cursor at that location.
-
2
Click the Insert tab. It’s at the top of Word between the «Home» and «Design» or «Home» and «Draw» tabs.
-
3
Click the Pictures icon. It’s on the toolbar that runs along the top of Word. Look for an icon of a green mountain with a yellow sun between «Tables» and «Shapes.»
-
4
Click Photo Browser or Picture from File. If you want to browse images in your Mac’s Photos app, use Photo Browser. To select an image file using Finder, choose Picture from File.
-
5
Insert the picture into the document. If you’re using the Photo Browser option, simply drag the photo into your document. If you’re using Picture from File, select the image and click Insert.
-
6
Resize the picture. If you want to increase or reduce the picture’s size, click the image to select it, and then do one of the following:
- To maintain the picture’s proportions so it doesn’t stretch or warp, hold down the Shift key as you drag any of the sizing handles (the circles) inward or outward.[2]
- To keep the image’s center in place as you resize, hold down the Option key as you drag the handles.
- You can also specify a size. Double-click the Picture to open the Picture Format tab, then enter your desired measurements next to «Height» and «Width.»
- To maintain the picture’s proportions so it doesn’t stretch or warp, hold down the Shift key as you drag any of the sizing handles (the circles) inward or outward.[2]
-
7
Drag the curved arrow at the top of the picture to rotate it. It’s above the dot at the top-center edge of the picture. Just place the mouse cursor over the curved arrow, and then click and drag it left or right until it’s correct.
-
8
Double-click the picture to access more editing tools. This opens the «Picture Format» tab at the top of Word, which has a bunch of editing features, including the ability to remove the background and add styles.
- Click Corrections near the top-left corner to correct lighting and color problems.
- Click Artistic Effects to play around with filters, and Transparency to make the picture more see-through.
- To crop the picture, click the Crop tool next to the height and width controls.
- Click Wrap Text to choose how to situate the picture in blocks of text, and use Align and Position to ensure correct placement.
- Click Quick Styles to choose pre-styled borders, shadows, and other options.


Advertisement
-
1
Click the place in your document where you’d like to insert a picture. This places the cursor at that location.
- If it’s your first time using Office Online on the web, go to https://www.office.com, sign in with your Microsoft account, and select Word to get started.
-
2
Click Insert. This opens the Insert tab.
-
3
Click Pictures. This opens a drop down options menu.
-
4
Select a picture type. There are four options to choose from:
- This Device — choose a picture on your computer
- OneDrive — choose an image from your OneDrive
- Stock Images — insert a stock image or sticker
- Bing Pictures — search Bing for an image
-
5
Select an image. If you choose the This Device option, you’ll be prompted to select an image from your computer. Click it to select it.
-
6
Click Open. This is in the bottom right corner of the image selection window. This will confirm your selected image and insert it into the document.
-
7
Resize the picture. If you want to change the picture’s size, click it once to select it, and then drag any of the corner circles in or out.
- You can also specify the size if you want. Double-click the picture to open the Picture tab at the top, and then set your desired measurements next to «Height» and «Width.»
-
8
Use the curved arrow at the top of the picture to rotate it. It’s above the dot at the top-center part of the picture. To rotate, place the mouse cursor over the curved arrow, and then click and drag the cursor left or right until you’re satisfied.
-
9
Double-click the picture to access more editing tools. This opens the «Picture» tab at the top of the Word web app. On this tab, you can:
- In the «Arrange» panel in the top-right area, click Wrap Text to choose how to situate the picture in blocks of text. You can also set alignment preferences here.
- To crop the picture, click the Crop tool in the «Image Size» panel at the top-right corner.
- To add a border or effect around the picture, select one of the «Picture Styles» at the center of the bar, or choose any of the other options in the section to have more control over the style.


Advertisement
Add New Question
-
Question
How do I take screenshots?

On a Mac, shift command 3 to screenshot the whole screen. If you want to take a screenshot of a certain area on the screen, press shift command 4. On a Windows PC, press control and print screen at the same time, then you can paste the image into Paint or Microsoft Word.
-
Question
When I insert several photos on an age in a Word document, the photos often won’t stay in place. How do I stop the photos from bumping each other around?
You can right-click the image, hold the cursor over the «Wrap Text» menu option, and select an option from the list that is NOT «In Line with Text» (usually selected by default), such as «Tight» or «Behind/In Front of Text.» Then you should be able to move the image freely around the page.
-
Question
How do I format images in a Word document?
Try double-tapping the photo. A photo format menu should come up on the right side.
See more answers
Ask a Question
200 characters left
Include your email address to get a message when this question is answered.
Submit
Advertisement
Video
-
Adding photos to your Word document increases its size.
-
Other photo modification features available in newer versions of Microsoft Word include the ability to add borders, cutout styles, shadows, beveled edges, glows, and drop shadows.
-
When you crop a picture, the actual cropped part of the picture is hidden, not removed; unless you check the «Delete Cropped Areas of Pictures» box in the «Compression Settings» dialog box. Any compressed pictures with their cropped areas deleted cannot be restored to their original appearance.
Show More Tips
Thanks for submitting a tip for review!
Advertisement
About This Article
Article SummaryX
1. Click the place you want to insert the image.
2. Click the Insert tab.
3. Click Pictures.
4. Choose a location.
5. Select the image and click Insert.
6. Double-click the picture to open editing and format tools.
Did this summary help you?
Thanks to all authors for creating a page that has been read 650,440 times.
Is this article up to date?
i Filip_Krstic/iStock/Getty Images
You can import multimedia content, such as videos, into your Microsoft Word documents by using the set of tools located in the Insert group. You can insert a video of your own into the document or import an online video and place it into the document. The video is inserted immediately into the document. You can then send the Word doc to other people and they’ll be able to play back your videos using their own default video players.
Insert Local Video
Step 1
Open the document in Word, click the «Insert» tab and then click «Object» in the Text group.
Step 2
Click the «Create From File» tab and click «Browse.» Select the video on your hard disk and click «Open.»
Step 3
Click «OK» to insert the video into the Word document. If you select the «Link to File» option, Word creates a link to the video instead of storing it into the document. If you select the «Display as Icon» option, you can use an icon to display the video.
Insert Online Video
Step 1
Open the document in Word. Click the «Insert» tab and then click «Online Video» in the Media group.
Step 2
Search for a video using the Bing Video Search box. Select the video and then click the «Insert» button to insert it into the document. If you have the video URL, paste it into the «From a Video Embed Code» box and then click the small «Insert» icon.
Step 3
Click the play button over the video to test if the video is working.
References
Tips
- When you edit linked videos, the changes are automatically reflected in your Word document.
Warnings
- Information in this article applies to Microsoft Office Word 2013. It may vary slightly or significantly with other versions.
Writer Bio
Nick Peers has been writing technology-related articles since 2003. His articles have appeared in dozens of technical publications, including MSN UK, CNET, BBC Who Do You Think You Are, LifeHacker UK and TechRadar. He holds a Masters in information technology degree from the University of East London.