

Try it!
Change your document’s layout to get it just the way you want.
Margins
-
Select Layout > Margins.
-
Choose the margins you want or select Custom Margins to define your own.
Page Orientation
-
To change orientation, select Layout > Orientation.
-
Select Portrait or Landscape.
Line Spacing
-
Select Home > More Paragraph Options > Line Spacing.
-
Choose the spacing you want.
Want more?
Word for the web Quick Start
Change margins
Change page orientation to landscape or portrait
Change the line spacing in Word
Need more help?
Want more options?
Explore subscription benefits, browse training courses, learn how to secure your device, and more.
Communities help you ask and answer questions, give feedback, and hear from experts with rich knowledge.
Over the years, we here at Lulu have done our best to demystify the book publishing process. From basic word processor information to the book cover design to the complex role of a marketing campaign, we always try to give our authors the tools they need to be successful. Today I’ll brush up on five of the most common questions I see about page layout. Because we know that the overwhelming majority of our users do their design work in MS Word, I’ll make all of my examples regarding Word. But that doesn’t mean the principles don’t apply to any word processor or layout program.
All right, let’s dive in and look closes at five things you need to know when laying out your pages
First Steps
Before you do anything else, I recommend going to our Create Page and downloading the template for your book.
Select the size, binding, and format to get the correct template. Then open the ZIP file and grab the file mark “Template.” We preset this file to the right page size and added the margins and gutter for you. If you want to use an existing file or create your own template, you must follow two steps:
- Page Setup–Located under the File drop-down, you can select your page size from the list available or add a custom size. Note that US Trade 6 x 9 is not standard for Word, so you must add it.
Select “Manage Custom Sizes”, set the size to 6 x 9 (or your preferred size) and save this layout. If you use an unlabeled custom size, Word may not properly keep your page size when exporting. - Margins & Gutter–This is a section we’ll cover later, but for now remember the standard minimums:
Margins minimum = 0.5”
Gutter minimum = 0.2”
Now you have your page sized and some basic margins added. Take your manuscript and paste it into this template so we can start on your page layout!
Breaks

We touched on a lot of the concepts I’ll be covering today in a blog posted dedicated to book layout back in January. While that post focused on general layout information, we’re going to get into some real details about how to handle the most challenging and important elements of page design.
The first is the art of the “break.”
Microsoft Word (and all other word processors too) gives you an option to break a page. Essentially, what the command does is cause the current page to end. Any more content you add will appear on the next page.
Some users might say, “oh I just hold down Enter until I’m on the next page.”
Don’t do that! Ever!
Using a hard return to move to the following page might look fine on your screen. But will it look fine when you convert your file to a PDF so we can print it? Probably not.
Breaks—both page and section—divide the page dynamically, so that when you convert to a new file format, they will retain the proper space.
Pro Tip: When designing your interior, it’s wise to turn on Reveal Non-Printing Characters (also known as formatting marks) so you can see formatting marks on the page.
Page Breaks
A Page Break ends the content on the current page and moves to the next. For most books, you’ll use one to end every chapter. As I mentioned in the first part of this section, breaks control how the content is arranged on the page. A Page Break is the most basic and useful kind of break.
Aside from the need to push content from one page to the next, a Page Break is helpful in controlling how content is built around an image. Specifically, if an image is low on a page, follow it with a Page Break to keep text from appearing under the image.
Page Breaks allow you aesthetic control over page content.
Section Breaks
Section Breaks are a little more complex. They come in four flavors:
- Section Break (Next Page) – starts the new section on the next page
- Section Break (Continuous) – starts the new section on the current page
- Section Break (Odd Page) – starts the new section on the next odd page
- Section Break (Even Page) – starts the new section on the next even page
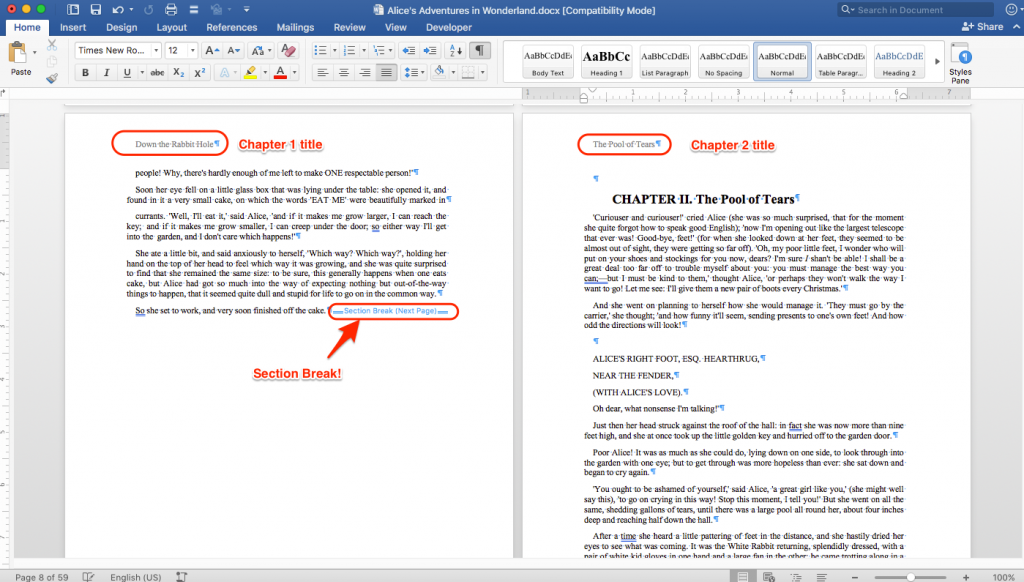
The essential accomplishment of a section break is to allow you to add unique formatting to specific areas of your file. For most book creators, the Section Break will be used to define where page numbers begin and how Header content appears.
Ever seen a book with the author name and chapter title on alternating pages on the top of the page? Setting that up requires applying Section Breaks.
As you see in the image, the page on the left shows the title of the first chapter (“Down the Rabbit Holes”) and the page on the right (the first page of chapter two) shows that chapter’s title (“The Pool of Tears”). The section break is splitting the file into two sections, allowing for the text in the Header of one section to vary from the text in another section.
Get Started
Create a free Lulu account today to print and
publish your book for readers all over the world.
Get Started
Create a free Lulu account today to print and publish your book.
Don’t worry about the Header yet, we’ll get to that in just a moment.
What we need to say finally about Section Breaks is how to choose which break to use.
You will use Section Break: Next Page. The Odd and Even break options force the next active section to the next odd or even page, respectively. This is fine to use, but remember that it will always break to the defined type of page. So, if you insert a Section Break: Odd Page on an odd page, it will skip the next even page (leaving it blank) and begin the next section on an odd page. This can cause unwanted blank pages.
Pro Tip: Use Section Breaks sparingly. If you plan to set chapter titles in the Header, you’ll need one at the end of each chapter. You’ll also need one between the front matter and body of your book. Otherwise, use page breaks to control the placement of content. This is vital to a consistent page layout.

There are a lot of elements that go into the Header and Footer. Let’s start with a look at the options available in the Word Ribbon for Header and Footer.
The first thing to notice is the information line below the Header. It tells you the page (even or odd), the section number, and the current status regarding previous sections. What is all this information about?
Link to Previous
In the Ribbon, you’ll see the button Link to Previous is currently selected. What this means is that the section your cursor is selecting (in the image Section 2 is selected) has a Header or Footer linked to the settings of the previous section.
Linking is useful for including page numbers across multiple sections. For example, a Header with the author name on every even page and the chapter title on the odd page will still have a continuous page numbering on the bottom. The Footers would need to be linked and the Headers would not.
You can control individual Header and Footer linking by clicking your cursor into the Header or Footer you want to link and check that box.
Different First Page
Different First Page is a setting you’ll find very useful if adding text to your Header.
In the example for Section Breaks, you may notice that I added a chapter title on the first page of the chapter (the first page of section 3). In most novels, this page doesn’t include a Header. And that’s where the “Different First Page” option comes in.
This setting is independent of the Odd & Even page setting. This means if you activate Different First Page and Different Odd & Even Pages, your section will have three independent Headers (or Footers)—the first page, the odd pages, and the even pages.
Different Odd & Even Pages
Checking this box set odd and even pages independently within the section. Now you can edit the Header or Footer for odd pages without impacting the even ones, and vice versa.
If you use any of these functions, be sure to apply the settings before adding content.
Header and Footer in action
You have a short book with seven chapters. Each page will feature the book title on the even page Header and the chapter title on the odd page Header. Page numbering will be continuous.
- Set a section break: next page after the front matter (on the page before Chapter 1).
- Set a section break: next page at the end of every chapter.
- Click on the Header in each section and select Different First Page, Different Odd & Even page, and de-select Link to Previous.
- Click on the Footer in each section and select Different Odd & Even pages and Link to Previous
- Add page numbers to the Footer (see the next section for more on Page Numbers).
- Manually add the book and chapter titles to the Headers.
Pro Tip: It is very important to apply and verify all the settings in your Header and Footer, in all sections, prior to adding your content.
Page Numbers

In this image, you see the Add Page Numbers panel. This screen also displays an option to show the page number on the first page of the section. Like the setting in the Ribbon, you can control whether the page numbering appears on the first page of the section. This is separate from the Different First-page option for Header and Footer.
Remember, linking sections will allow page numbering to continue from one section to the next.

Pro Tip: Add all section breaks and format your sections before you add the Header and Footer content (text or page numbers).
Front Matter
The front matter—title pages, copyright page, acknowledgments, table of contents, and introduction—rarely includes page numbering. Some books, particularly non-fiction books, will include long introductions with unique page numbers, such as Roman Numerals.
Once you’ve selected the Page Number command, you can click “Format” to change the details of the specific page numbers you’re adding.
Be sure to set the number you start on if you’re adding page numbering past the front matter. Your first chapter will probably be Section 2, so the default option to continue from the previous will not work (as Section 1 either has no page numbering or uses a unique numbering set up).
Using what you’ve learned about Section Breaks, you’ll set up page numbers per section. The “Link to Previous” option can apply to a series of sections to link the numbering continuously even if using multiple sections in the body.
Margins/Gutter/Bleeds
Lulu tries to make the Margins and Gutter easy for you with some pre-formatted templates. But you need not use these and if you’ve already begun formatting your file it may be more work than it’s worth to paste the contents into a pre-formatted file.
Let’s assume you’re working with your own file and you’ve already set the page size. Is your book going to need to be Full Bleed?
Briefly, Full Bleed means you have content (almost likely images) that should stretch to the edge of the page. If you do, you must work with a page preset to allow for this. Luckily, it’s simple to do!
What you’ll do is add 0.125” to the margin on all sides of your file. If you’re making a 6 x 9 book and need full bleed, set the page size to 6.25 x 9.25. Then add your content right to the edge of the page, staying aware that the extra 0.125” will be trimmed away.
Pro Tip: If you’re creating a book with a lot of images and Full Bleed, use software like Adobe Photoshop or InDesign to create your pages. MS Word and other word processing tools are best suited to text-based content.
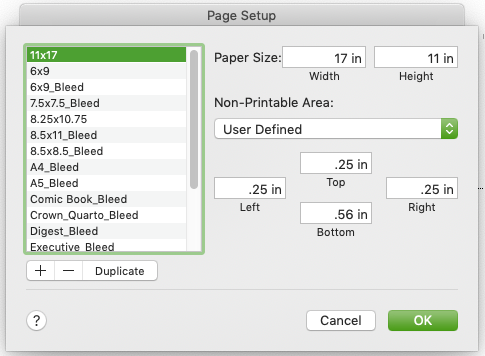
Create Page Layout Templates
I like to save all the common sizes (under File > Page Setup) and a Full Bleed version so I can easily set my page size:
Okay, so you’ve got your page sized correctly. And you added margins, and a gutter based on our minimums. But what are these things?
The margins are the space around the edge of the page—the white space framing your text. Go pick up any novel and you’ll find a margin. It’s important to hold to this convention because it makes reading much easier and more comfortable for your reader. Could you imagine a page, top to bottom edge to edge, covered in words? Yikes.
The margins on top and bottom will also be where your Header and Footer content will live. Be sure to check the Format > Document > Layout settings to position your Header and Footer the right distance “from the edge.”
If you have a 0.5” margin and you set the Footer to appear 0.8” from the edge, adding page numbers will “hide” the actual number behind the content!
Why?
Because the bottom Margin is smaller than the Footer! I recommend setting the Header and Footer distance to match the top and bottom margins. Once you’ve got your page numbering added, you can tinker with this distance to adjust the position of the page numbers.
Pro Tip: Be careful to check the “Apply to” drop-downs in any formatting panel your working in. If it lists “This section” any change you make will only apply to the section your cursor is in! Most often you’ll want to use “Whole document” to keep your settings uniform.

Text Layout
You got the page set up and ready to go. Your Headers and Footers are all in place. Now you need to consider the actual layout of the text on the page.
Thankfully, laying out the text isn’t hard.
The most important thing to do when creating your body text and preparing it is to use the same style. Style based formatting is the standard way to apply fonts, spacing, size, color, and any other feature to your text. Control your styles with the Styles Panel from the Ribbon.

I highly recommend learning about styles. They will streamline the page layout and provide you control over your book’s interior design. With style-based formatting you can:
- Set the line spacing
- Set the text size
- Select the font
- Create unique styles for different sections (including chapter titles, quotes, lists)
- Maintain consistency throughout your file
- Position the text on the page consistently
Text and Page Layout Options
And that’s only a tiny portion of the options you’ll have. Just right-click on a style and select ‘Modify’ to see the entire list of options you have:
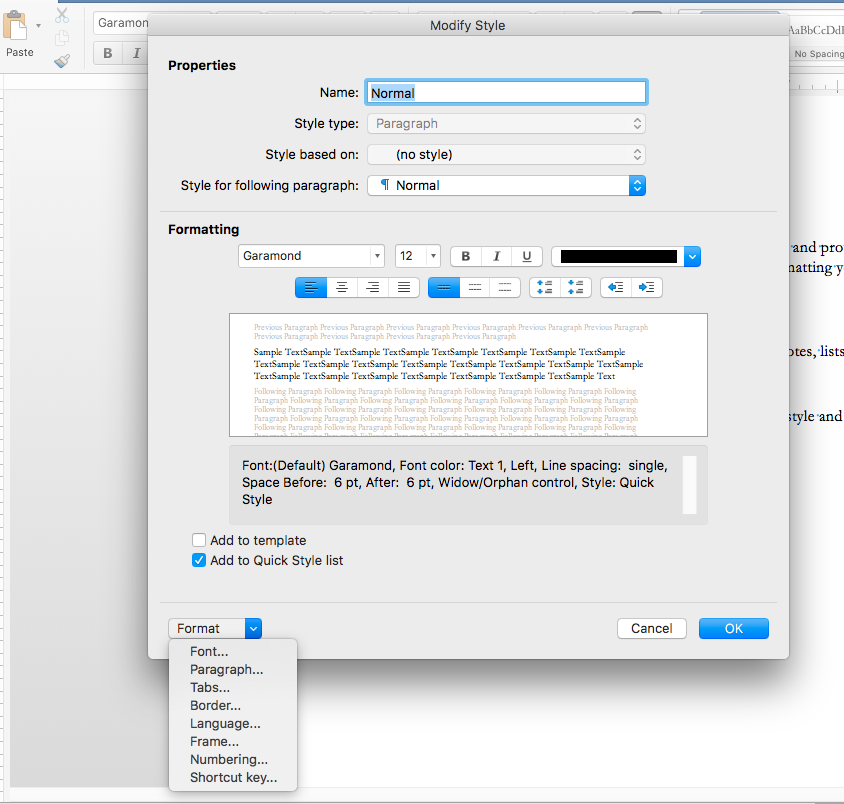
The most important and often-used options will appear in the panel, and you’ll notice in the image above I’ve expanded the drop-down on the lower left. Additional options can be accessed here to further customize your style.
Word also has a handy feature for creating a table of contents using styles. If you apply any content that should appear in the table of contents a Heading 1, Heading 2, or Heading 3. Just use the Insert>Table command and select the Table of Contents options. The table will use your Heading styles to populate a list with the styled text and a page number!
One last thing to consider with your text formatting is some best practices. There’s always some room for customization in your book, but in general, you want to be certain your book is enough like other books that readers will actually read it!
Text Settings
Justified Text – Word will default to aligning your text to the left. But we should set all text to ‘Justified.” This setting will automatically adjust the kerning and spacing to make your text fill the space between the left and right margins. Go look at any printed book and you’ll see that, aside from the last line of a paragraph, it justifies the text.
Line Spacing – There isn’t a hard and fast rule for line spacing, but increase the space between paragraphs slightly. Usually, 1.25 normal spacing is enough. For the lines themselves, there isn’t any need to provide additional spacing.
Text Size – Text should be 12 points. If you’re publishing a long work and want to reduce page count, 10 point is the smallest you should use. Likewise, for a “large print” edition, use 16 points. For other texts like Chapter or Section titles, exercise your creativity. Just know your page size; don’t use 48 points in a 6 x 9 book, otherwise, you’ll end up with an entire page just for the chapter title!
Indenting – There isn’t a strict rule, but it’s not a bad idea to indent the first line of paragraphs 0.5” or less.
Finalizing the File
The list and instructions here touch on some common issues self-published authors might run into while creating their book files. But the list is hardly comprehensive. MS Word is a rich and powerful word processor despite being cumbersome to use. There are features upon features available.
Don’t get overwhelmed though. Follow the many guides out there and you’ll end up with a working file to publish your book!
Get Started
Create a free Lulu account today to print and
publish your book for readers all over the world.
Get Started
Create a free Lulu account today to print and publish your book.

Paul H
Paul is the Content Marketing Manager at Lulu. When he’s not entrenched in the publishing and print-on-demand world, he likes to hike the scenic North Carolina landscape, read, sample the fanciest micro-brewed beer, and collect fountain pens. Paul is a dog person but considers himself cat tolerant.
Page Layout in Microsoft Word refers to the arrangement or setting of certain pages or entire documents based on the requirements of the content being displayed.
Before beginning the process of taking printouts, it is very important to set the page’s margins, orientations, sizes of columns, and spacing.
Table of Contents
- Layout or Page Layout in Microsoft Word
- Page Setup:
- Paragraph:
- Arrange:

On the layout tab, we can see a number of different categories, such as Page Setup, Paragraph, and Arrange, and each of these groups contains a different set of commands to deal with.
Page Setup:

Margins: Margin is the space between the content beginning or ending in the document and the edges of the document pages. The default space between the content beginning or ending and the document edges of the margin is “Normal” which occupies the 1-inch space.
Orientations: Orientation is the page layout, in which the document is displayed or printed. The common types of orientations are Portrait and Landscape.
Size: Choose different page sizes in a word document based on your requirement. The default page size of a page is 8.5×11 inches, called Letter size.
Columns: Splitting (dividing) the text vertically in the pages called, columns. These include one column, two columns, three columns, left columns and right columns.
Breaks: Adding the new section breaks to the next pages or the current section on the same page to apply different Headers, Footers, Columns, Watermarks, or other works in the document pages wherever you want.
Line Numbers: Start each line in a document by using the Line Numbers in the Margin for your further reference even when the content starts with a Bulleted or Numbered List.
Hyphenation: The last word in a line moves down to the next line when it has not had enough space. When you select an Automatic or Manual Hyphenation, arrange some part of a word at the current line and move the remaining part of a word down. It is a great way for uniform spacing and saves spacing on your document page.
Paragraph:

On the layout tab, paragraph options include indent and spacing, these are explained below.
Indent: Indent is how far you want to move the paragraph away from the left margin or from the right margin. Generally, Professional material contains no indent, but some follow. According to Wikipedia “Professionally printed material typically does not indent the first paragraph, but indents those that follow.”
Spacing: Give more or less space above or below the selected paragraphs based on your requirement.
Arrange:

Position: Positioning is placing an object (picture, shape, etc.) on the page wherever you want. Whether it is on the top left, top centre, top right, middle left, middle centre, middle right, bottom left, bottom centre, or bottom right.
Wrap Text: Text wrapping means arranging the text around an object. By default, an object arranges in line with text when you insert an object (picture or drawing a shape) into a word document.
Bring Forward: Bring a selected object forward of all other objects.
Send Backward: Send a selected object backward from all other objects.
Selection Pane: Selection pane is one of the great ways to select, show, hide, and change the order of the objects in the word document.
Align: Placing objects (Pictures, Shapes, Icons, etc.) to margins, edges, or relative to one another in the word document.
Group: Grouping means making more objects together into one object to move, resize, and change their styles and effects as if they were a single object.
Rotate: Rotating an object is a circular movement in different degrees around a centre point of it. Rotate has various commands to rotate and flip the objects such as Rotate Right 900, Rotate Right 900, Flip vertical, and Flip Horizontal.
What is Layout or Page Layout in MS Word?
The Layout is the arrangement or the setting of some pages or whole documents based on the content requirement. Setting Margins, Orientations, Sizes Columns and Spacing of a page is a very important process before taking printouts.
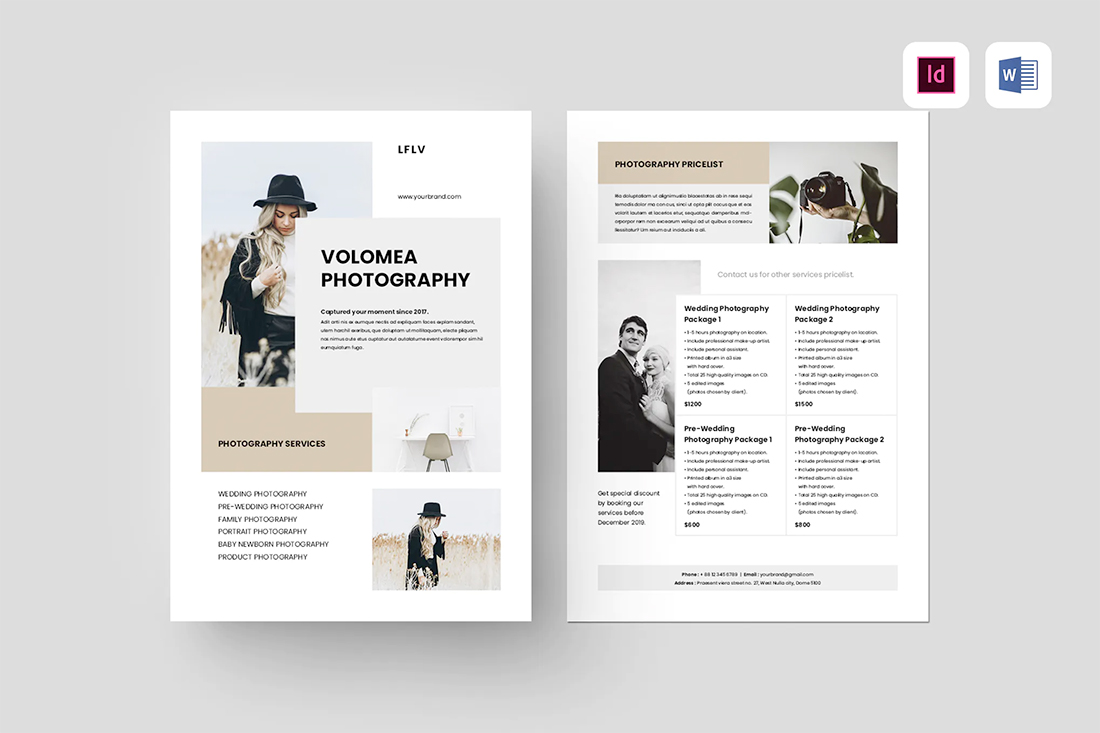
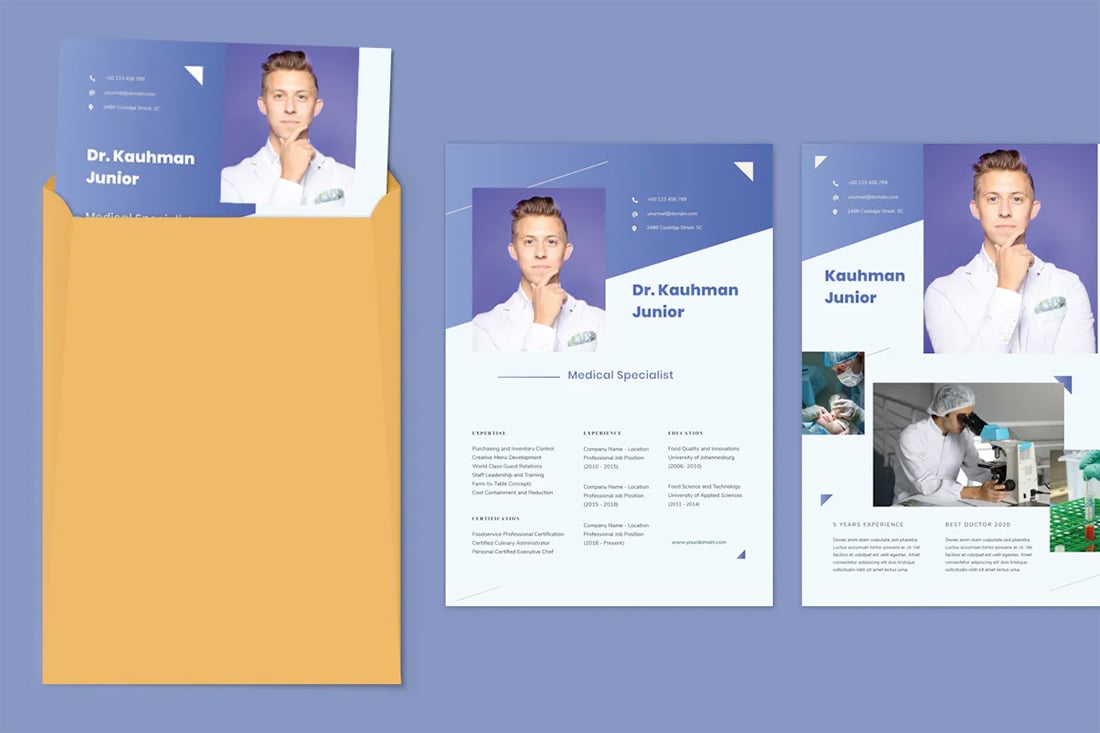
If you are ready to amp up your designs in Microsoft Word, this is the right place. Here – with templates as examples – we are going to look at a variety of ways you can create more modern, professional-looking page layout designs using this common tool.
Microsoft Word is capable of so much more than you might expect with page layout. You can build modern, on-trend documents, and push the software further than ever before.
Forget the old days of Word Art and choosing between six fonts. Let’s take Microsoft Word into a new world of improved design and typography!
1. Asymmetrical Grids
Get out of the default template and try an asymmetrical grid for a look that will create a fresh look for design projects in Microsoft Word.
When it comes to creating a grid, consider smaller columns as the foundation so that elements will still have a sense of organization and place, without having that split-down-the-middle look.
Another thing to think about with grids is creating both horizontal and vertical grids. These imaginary lines are the secret to organizing content in a visually meaningful way.
2. Infographics

A common theme in design is “show, don’t tell,”
Infographics are the way to do that, and you can design and include them in Word documents, from one-page brochures to multi-page booklets.
Think carefully about infographics in the planning process to keep information easy to digest and understand. Use maps, numbers, charts, and icons to help show the information your document is designed to convey.
3. Gradients
Gradients are the color trend that we can’t get enough of. You can use them in designs for Word documents for a truly modern feel.
From bright monotone gradients that move from light to dark hue to multi-color options, you can find an application for almost any color variable.
Gradients can be used for borders, big text elements, backgrounds, or other visual elements as you see fit.
Take particular care with gradients if you plan to print the Word document to ensure that your color choices will look as intended on paper.
4. Monotone Color Palettes
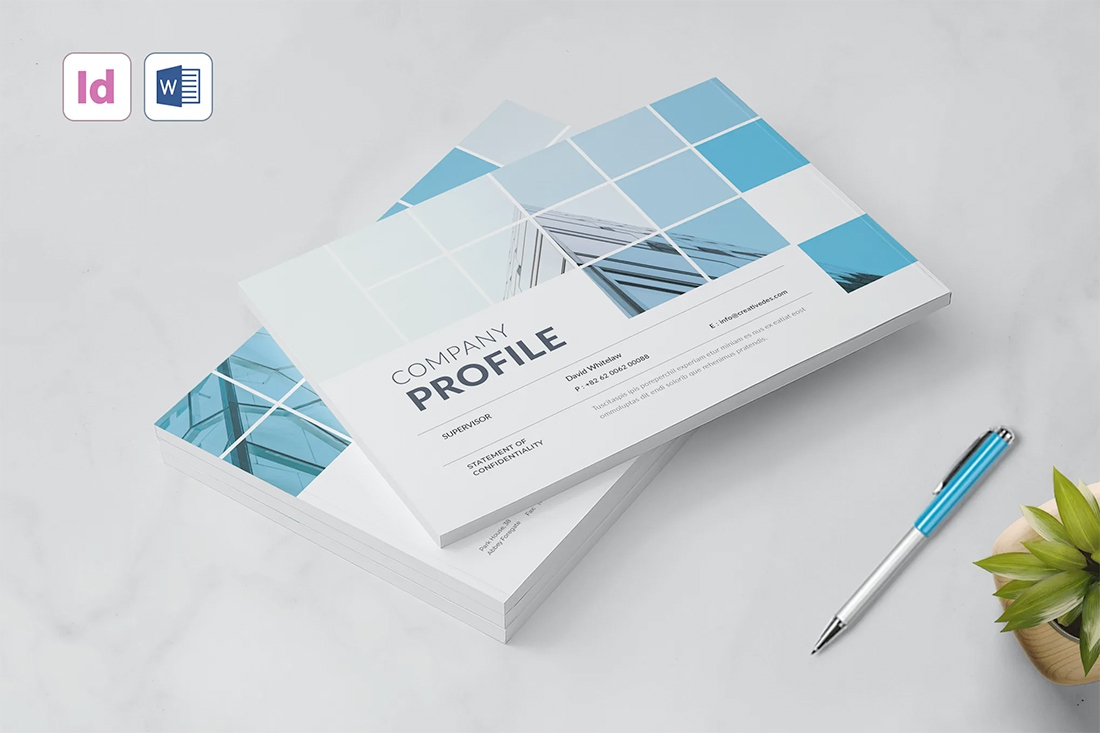
Monotone color palettes have a beautiful simplicity that just works. Using dark and light variations of a single color feels classic and inviting.
A monotone feel can also solidify brand elements and image and avoid that “plain Word doc” look.
Even with a monotone palette, don’t feel like you have to have a wide range of hues. Pick a color and a handful of variations to use in the design. For most projects, that’s enough.
5. Layers

Layering is a fun and practical effect that brings design elements in the two-dimensional space to life. This design trend has been popular in website design for some time and can work just as well with Word documents and printed layouts.
The trick to using layers is to overlap elements without making the design feel cluttered. Continue to use space and your underlying grid to ensure that everything has a place and it doesn’t look like a smattering of parts were just thrown on the canvas.
Layers can also begin to look and feel heavy if you aren’t careful, so take care with placement and visual weight of colors, typefaces, and images so that everything maintains clear readability.
6. Minimal Aesthetic

White space never goes out of style.
A minimal approach with well-planned space establishes a design that’s easy to understand and follow. It’s something that doesn’t often happen with Word documents, where we have almost been “trained” to fill all the space in a document.
Break out of that mold with open space around elements and in the page gutters so that everything has a seamless flow and light style.
Don’t forget to use a typography style that matches the minimal feel as well. (A simple sans serif can be a nice option.)
7. Color Overlays
Color overlays can be paired with color or black and white images or against other colors with an overprint look.
Putting together blocks of color adds visual interest – particularly with fun shapes such as in the example above – when you don’t have a lot of other artwork to finish out the design.
If you plan to use color overlays, stick to one or two colors from your brand palette. Using too many colors with this style can get overwhelming because color takes on all kinds of tints and tones when used as an overlay.
A tight palette will likely serve you better than a more expansive one here.
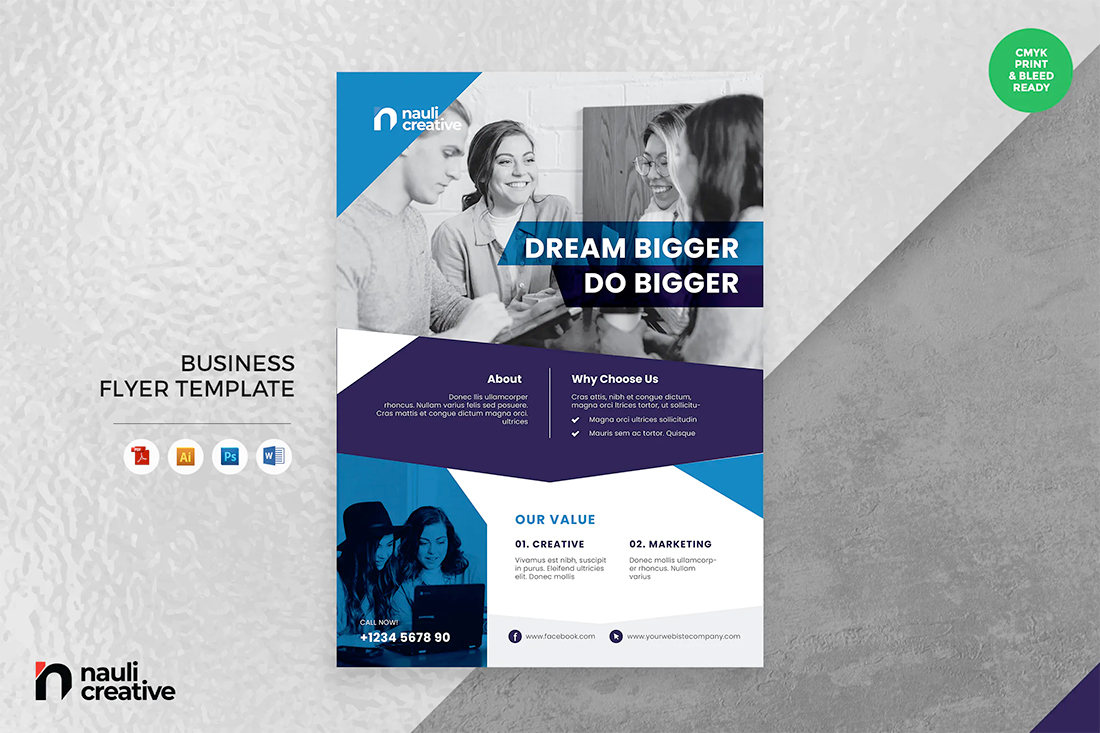
8. Bold Color Palettes

Bold, high contrast color palettes are an immediate attention-getter. (And something that’s not generally expected when it comes to designing Word documents.)
Boldness isn’t always defined by color alone. Boldness can also be the combination of color choices or the display contrast from the pairing.
The black and white resume template, above, with a simple yellow line, is bold and striking. But there’s not a lot of color. A small accent adds an amazing level of boldness without being over the top.
9. Clean Typography
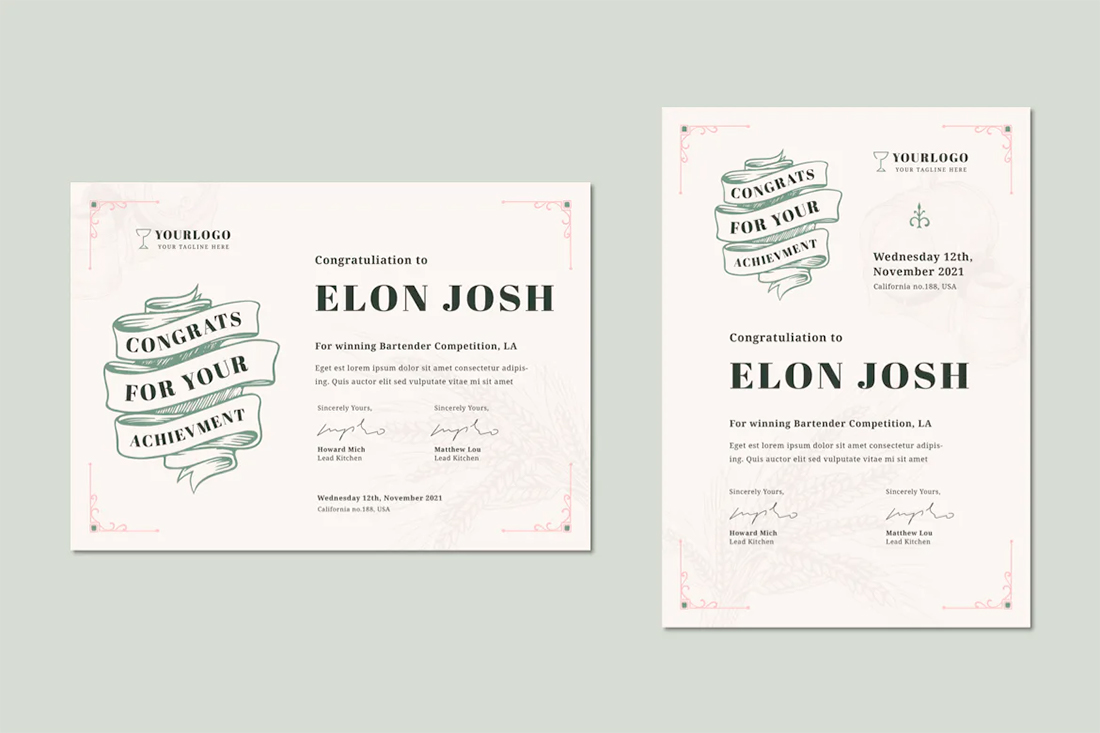
For most designers working in Word, the end goal of the document is to create something that people will read. That starts with clean, simple typography that’s highly readable and understandable.
Often, that’s not just one font, size, or style. It’s using different levels and layers of typography to create an architecture that helps people move through the document in the right order with an understanding of the content.
One of the best ways to accomplish this is with type size. A trend in typography is to use oversized typefaces for key information. That also works well in Word documents of almost any type. Go big with the main headline or key point to draw attention to the overall design.
10. Beautiful Images
Depending on how your Microsoft Word document will be used, amazing photos can take it to the next level. Great images almost always look good with digital transmission. (Consider printing if you are working on a document that will be physically handed out.)
Don’t be afraid to go big with one or two images that really make your design sizzle. Avoid clusters of tiny photos. The key to making beautiful images work is the ability to see them at a glance and be drawn into the detail therein.
Here’s another thing that makes a beautiful image work and feels fresh and modern: It needs to match and mesh with other design elements. The image and text should “say the same thing” and support each other.