
![]()
Download Article
![]()
Download Article
This wikiHow teaches you how to make a calendar in Microsoft Word for Windows and Mac. You can either use a Microsoft calendar template to quickly create a calendar, or you can manually create your own calendar using a table.
-

1
Open Microsoft Word. It’s a dark-blue app with a white «W» on it.
-
2
Click the search bar. It’s at the top of the Word window.
- On Mac, first click File in the upper-left corner, then click New from Template… in the drop-down menu.
Advertisement
-
3
Type in calendar, then press ↵ Enter. Doing so will search the template store for calendar templates.
- You must be connected to the Internet in order to do this.
-
4
Select a calendar template. Click on a calendar that you want to use. The calendar’s page will open.
-
5
Click Create. It’s to the right of the calendar. This will prompt the calendar template to download.
- If you are prompted to enable Macros, select Enable Macros, as this will make it easier to make additional calendars for future months and dates.
-
6
Wait for the calendar to load. Once the template finishes downloading, it will open automatically in Microsoft Word.


Advertisement
-
1
Open Microsoft Word. It’s the dark-blue app with a white «W» on it. The Word home page will open.
-
2
Click Blank document. This option is in the upper-left side of the home page.
- Skip this step on a Mac.
-
3
Enter the month. Type in the name of the month for which you want to create your calendar, then press ↵ Enter. Doing so ensures that your month is above your calendar.
-
4
Click the Insert tab. It’s in the blue ribbon at the top of the Word window. The Insert toolbar will open below the ribbon.
-
5
Click Table. You’ll find this in the «Tables» section of the toolbar.
-
6
Create a table. Drag your mouse cursor seven boxes to the right and five (or six, depending on the month) boxes down, then click. This will create a seven-by-five(or seven-by-six) table to serve as your calendar.
-
7
Enter the days of the week. In the top row of boxes, type in a day of the week for each column.
- For example, you’d put «Sunday» in the top-left box, «Monday» in the box to the right of that, and so on.
-
8
Expand your calendar’s boxes. Starting with the third horizontal line from the top of the calendar, click and drag the line downward to enlarge the second row of boxes. Repeat this process for each row of boxes until your calendar is the right size for you.
-
9
Add day numbers. Click the box in which the first day of your month starts, type in 1, press Tab ↹, and proceed to number the rest of the days.
-
10
Add information to your calendar. Once you’ve numbered the days, you can go back and add events, holidays, appointments, and so on by clicking a day’s box, pressing ↵ Enter to start a new line, and typing in the event’s name or details.
-
11
Create other months. You can add more months to your calendar by clicking below the current month’s calendar, pressing ↵ Enter a couple of times, and then repeating the calendar creation process.
-
12
Save your calendar. Press either Ctrl+S (Windows) or ⌘ Command+S (Mac), then select a save location, enter your calendar’s name, and click Save.


Advertisement
Add New Question
-
Question
How do I go to the following month on the same Word document?

You can copy and paste the document and then change the months and dates. This is an advantage because the boxes are the size you wanted, but you will need to adjust the month name and swap the dates over to the corresponding day.
-
Question
How can I create a calendar that includes pictures?
Yes, just choose one of the calendar templates that includes pictures, and paste or insert the pictures you want. See How to Add an Image in Word if you need help with that.
-
Question
How do I include the dates from my Calendar app?
It depends on what calendar app you have.
See more answers
Ask a Question
200 characters left
Include your email address to get a message when this question is answered.
Submit
Advertisement
Thanks for submitting a tip for review!
About This Article
Thanks to all authors for creating a page that has been read 679,335 times.
Is this article up to date?
В Microsoft Word есть большой набор шаблонов документов разного типа. С выходом каждой новой версии программы этот набор расширяется. Те же пользователи, кому и этого покажется мало, могут скачать новые с официального сайта программы (Office.com).
Урок: Как в Ворде сделать шаблон
Одной из представленных в Word групп шаблонов являются календари. После добавления в документ их, конечно же, нужно будет подредактировать и подстроить под собственные нужды. Именно о том, как все это сделать, мы и расскажем вам в данной статье.
Вставка шаблона календаря в документ
1. Откройте Ворд и перейдите в меню “Файл”, где необходимо нажать на кнопку “Создать”.
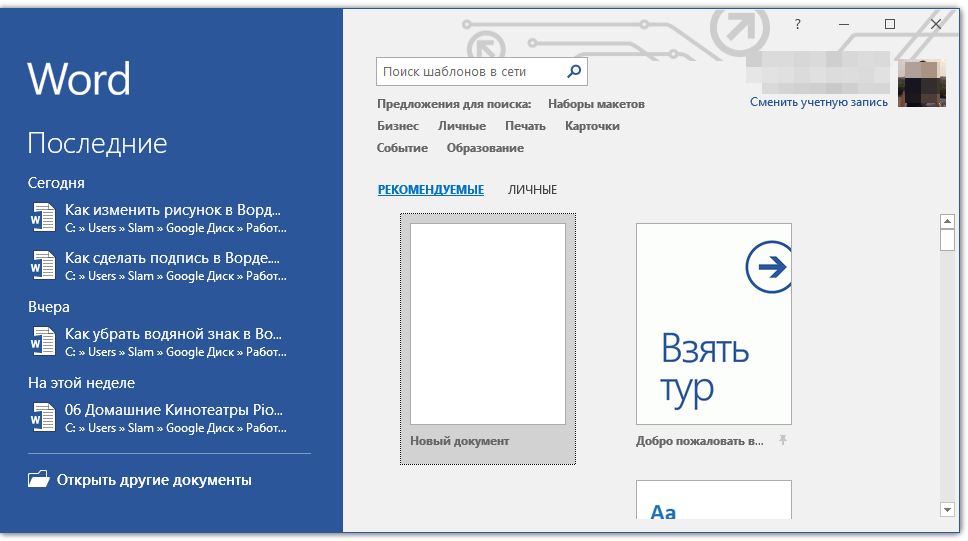
Примечание: В последних версиях MS Word при запуске программы (не готового и ранее сохраненного документа), сразу открывается необходимый нам раздел “Создать”. Именно в нем мы и будем искать подходящий шаблон.
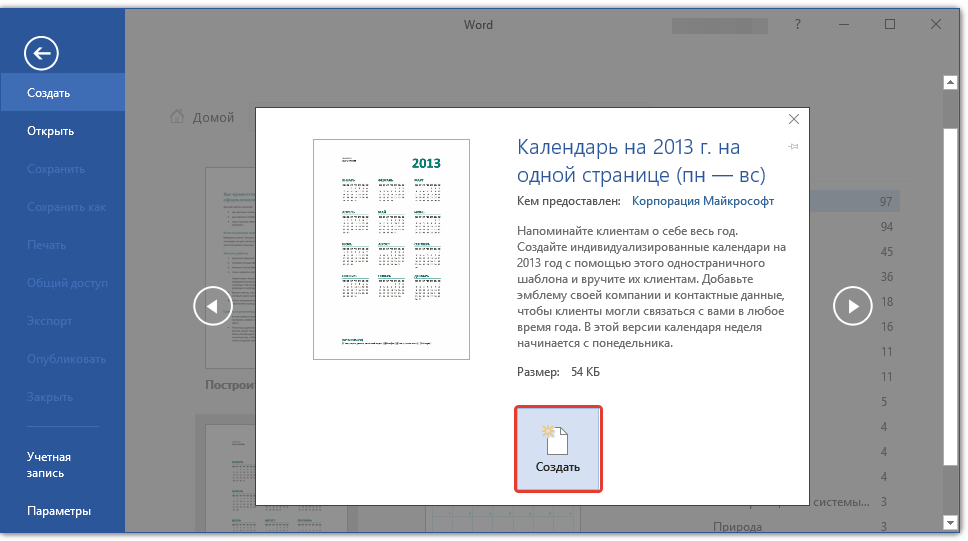
2. Чтобы долго не искать все шаблоны календарей, доступные в программе, тем более, что многие из них хранятся в вебе, просто напишите в строке поиска “Календарь” и нажмите “ENTER”.
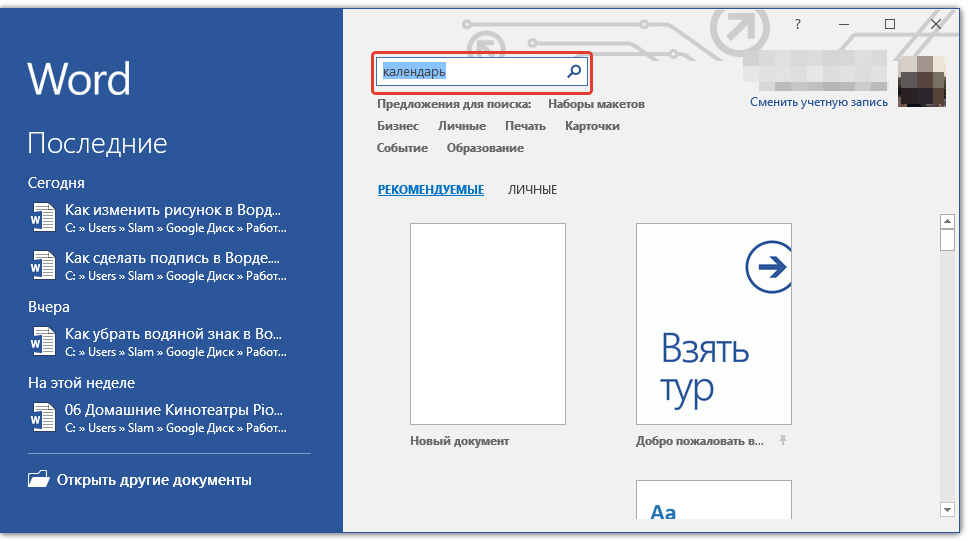
- Совет: Помимо слова “Календарь”, в поиске вы можете указать и год, для которого вам нужен календарь.
3. В списке параллельно со встроенными шаблонами будут также показаны и те, что находятся на сайте Microsoft Office.
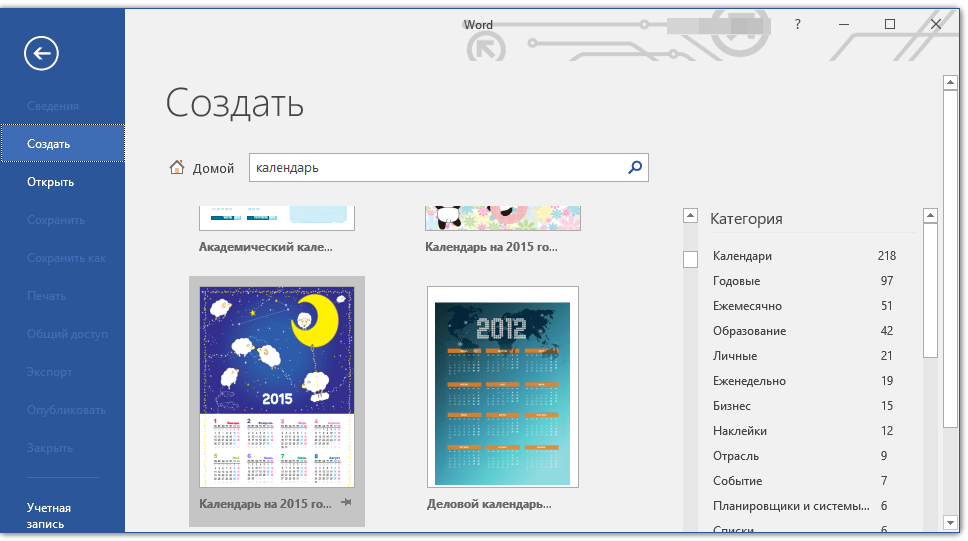
Выберите среди них понравившийся шаблон календаря, нажмите “Создать” (“Скачать”) и дождитесь, пока он будет скачан из интернета. Это может занять некоторое время.
4. Календарь откроется в новом документе.
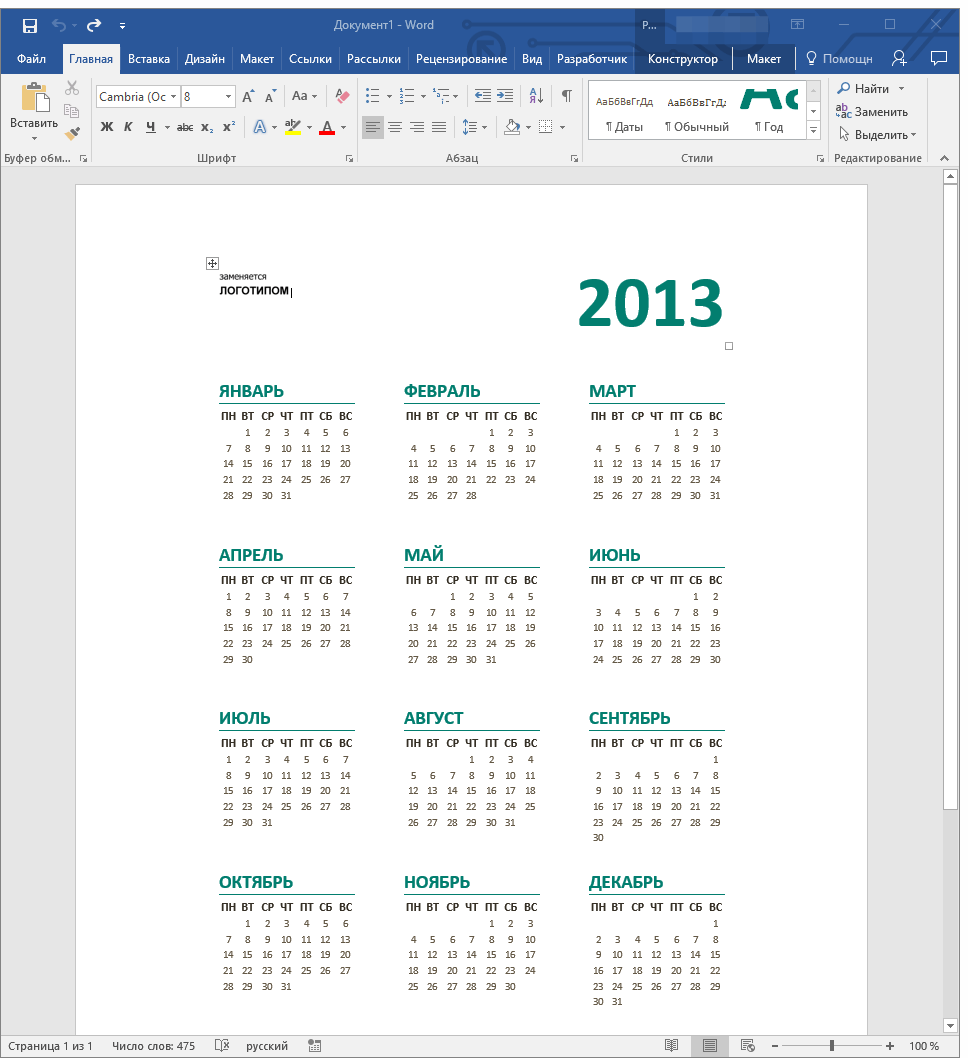

Примечание: Элементы, представленные в шаблоне календаря, можно редактировать точно так же, как и любой другой текст, меняя шрифт, форматирование и другие параметры.
Урок: Форматирование текста в Ворде
Некоторые шаблонные календари, доступные в Word, автоматически “подстраиваются” под любой, указанный вами год, черпая необходимые данные из интернета. Однако, некоторые из них придется изменять вручную, о чем мы подробно расскажем ниже. Ручное изменение также необходимо и для календарей за уже прошедшие года, которых в программе тоже немало.
Примечание: Некоторые календари, представленные в шаблонах, открываются не в Ворде, а в Excel. Инструкция, описанная в этой статье ниже, применима только для вордовских шаблонов.
Редактирование шаблонного календаря
Как вы понимаете, если календарь автоматически не подстраивается под необходимый вам год, сделать его актуальным, правильным придется вручную. Работа, конечно, кропотливая и продолжительная, но оно явно того стоит, ведь в результате вы получите уникальный календарь, созданный своими руками.
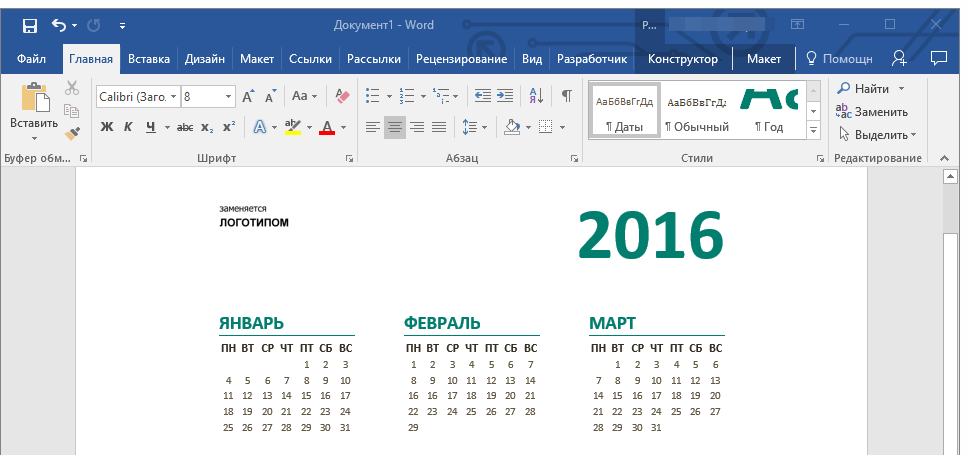
1. Если на календаре указан год, измените его на текущий, следующий или любой другой, календарь для которого вы хотите создать.
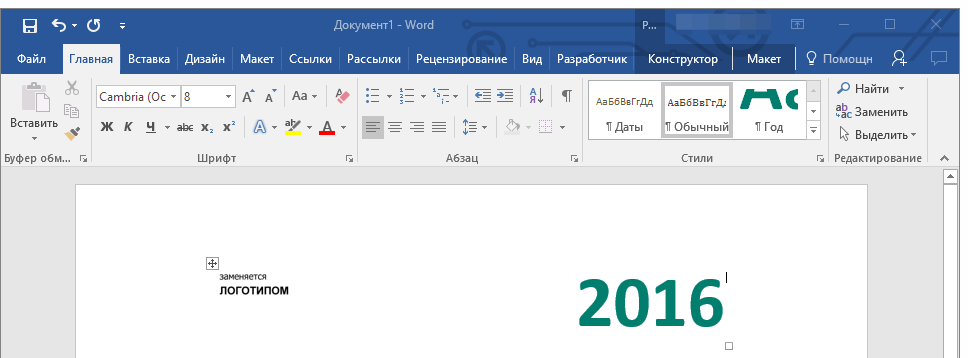
2. Возьмите обычный (бумажный) календарь на текущий или тот год, календарь для которого вы создаете. Если календаря нет под рукой, откройте его в интернете или на мобильном телефоне. Вы также можете ориентироваться на календарь на компьютере, если вам так будет удобнее.
3. А теперь самое сложное, точнее, самое продолжительное — начиная с января месяца, измените даты во всех месяцах в соответствии с днями недели и, соответственно, календарем, на который вы ориентируетесь.
- Совет: Чтобы быстрее перемещаться по датам в календаре, выделите первую из них (1 число). Удалите или измените на необходимую, либо же установите курсор в пустой клетке, где должна находиться цифра 1, введите ее. Далее перемещайтесь по следующим клеткам с помощью клавиши “TAB”. Установленная там цифра будет выделяться, и на ее месте вы сможете сразу поставить правильную дату.
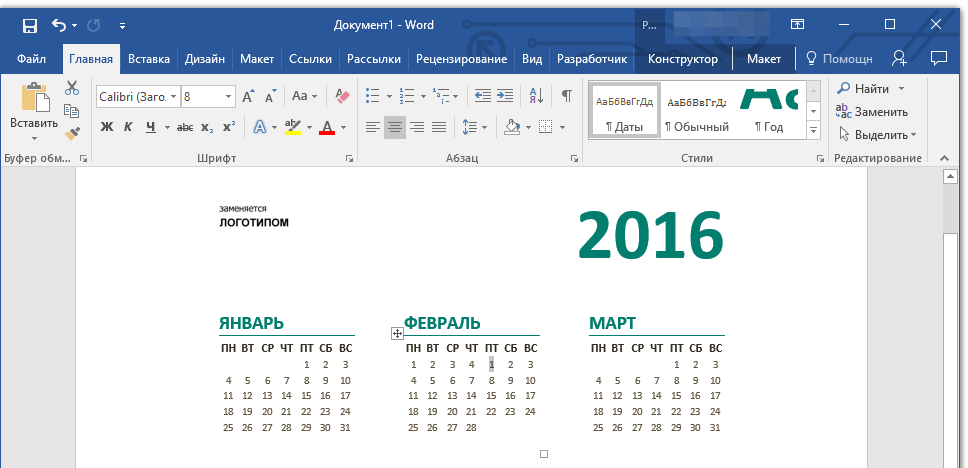
В нашем примере вместо выделенной цифры 1 (первое февраля) будет установлена 5, соответствующая первой пятнице февраля 2016 года.
Примечание: Переключаться между месяцами с помощью клавиши “TAB”, к сожалению, не получится, поэтому делать это придется с помощью мышки.
4. Изменив все даты в календаре в соответствии с выбранным вами годом, вы можете перейти к изменению стиля оформления календаря. При необходимости, вы можете изменить шрифт, его размеры и прочие элементы. Воспользуйтесь нашей инструкцией.
Урок: Как в Word изменить шрифт
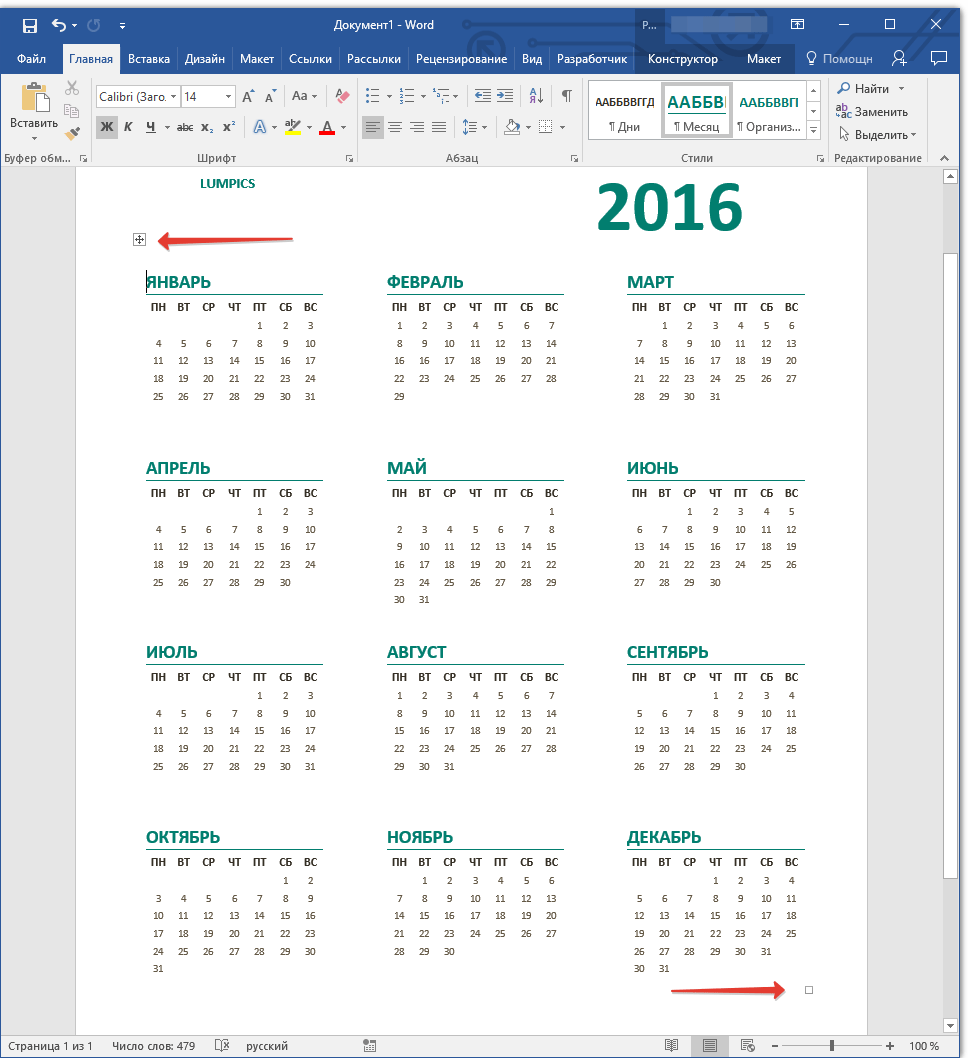
Примечание: Большинство календарей представлены в виде цельных таблиц, размеры которых можно изменять — достаточно потянуть за угловой (правый нижний) маркер в нужном направлении. Также, эту таблицу можно переместить (плюсик в квадрате в левом верхнем углу календаря). О том, что еще можно сделать с таблицей, а значит, и с календарем, находящимся внутри нее, вы можете прочесть в нашей статье.
Урок: Как сделать таблицу в Ворде
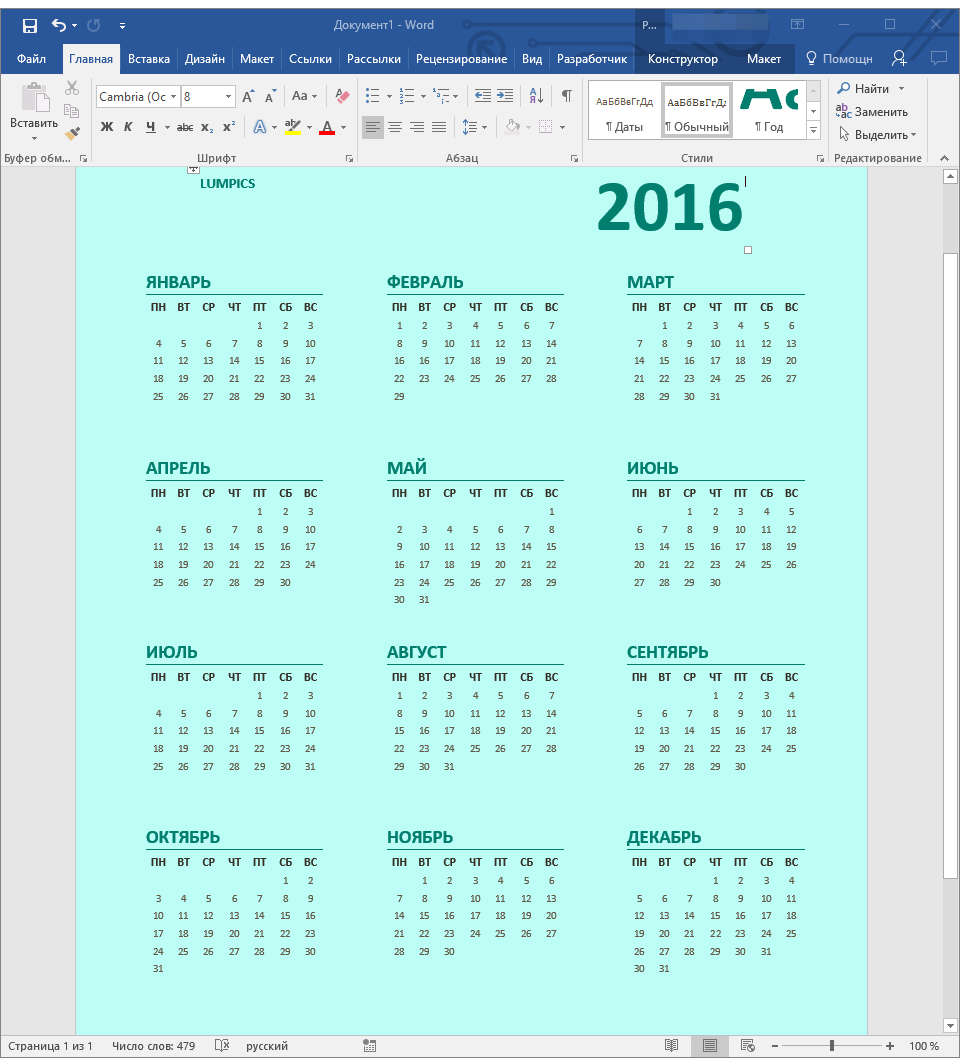
Сделать календарь более красочным можно с помощью инструмента “Цвет страницы”, который меняет ее фон.
Урок: Как в Word изменить фон страницы
5. В конечном итоге, когда вы выполните все необходимые или желаемые манипуляции по изменению шаблонного календаря, не забудьте сохранить документ.
Рекомендуем включить функцию автосохранения документа, которая предостережет вас от потери данных в случае сбоев в работе ПК или при зависании программы.
Урок: Функция автосохранения в Ворде
6. Обязательно распечатайте созданный вами календарь.
Урок: Как в Word распечатать документ
Вот, собственно, и все, теперь вы знаете, как сделать календарь в Ворде. Несмотря на то, что мы с вами использовали готовый шаблон, после всех манипуляций и редактирования на выходе можно получить действительно уникальный календарь, который не стыдно будет повесить дома или на работе.
Making a calendar like this while you’re online is quick and easy.
Choose one of our calendar templates, and open it in an Office for the web program to make it yours (some calendars are for editing in Word for the web, some in Excel for the web, and others work in PowerPoint for the web).
Tip: If you’re already in Word for the web, see all the calendar templates by going to File > New, and then below the template images click More on Office.com.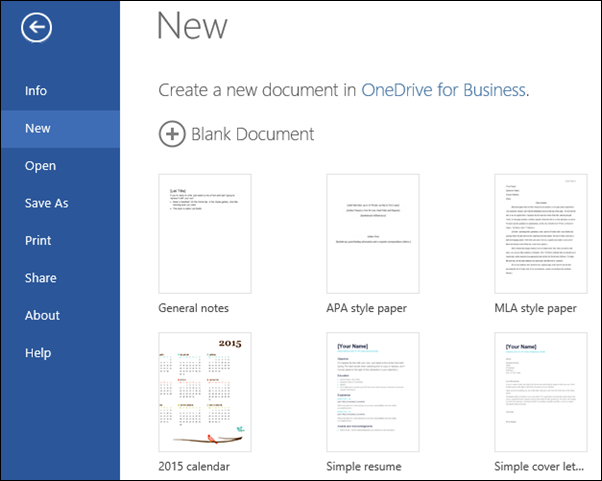
You’ll be on the Templates for Word page. In the list of categories, click Calendars.
As you work on the calendar, you’ll probably want to Rename a file in it. If it includes pictures, you can swap out the placeholder pictures with pictures that work for you. Delete the pictures you don’t want, and then insert pictures from your computer or add clip art to your file.
Share your calendar
When you’re finished, print it out or share it online. You can do this with the calendar still open in Word for the web. No need to save it first (that’s already done for you).
Print it
To print it, press Ctrl+P, and wait for the Print dialog.
Note: If you don’t see a Print dialog box, click the link for opening a PDF version of your calendar. From there, use the PDF program’s Print command.
Share it
To share it online, send a link:
-
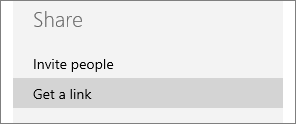
Near the top of the screen, click Share.
-
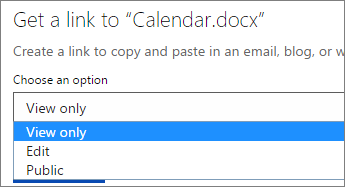
Under Share, click Get a Link.
-
Under Choose an option, click View only.
-
Click Create Link.
-
Click on the web address to select it, and then copy and paste it into an email, message, or post.
Need more help?
Want more options?
Explore subscription benefits, browse training courses, learn how to secure your device, and more.
Communities help you ask and answer questions, give feedback, and hear from experts with rich knowledge.

Microsoft Word is known for being a great word processor, but you can also use it to make your own calendar. You can design one from scratch or choose one from Word’s library of calendar templates. Here’s how.
Create a Calendar From Scratch in Word
Creating a calendar from scratch in Microsoft Word takes a little more time and energy than just using one of the templates, but if you want the complete design credit for your calendar, you’ll want to build it from the ground up.
RELATED: How to Insert a Calendar in PowerPoint
To do this, open a Word document and insert a table by clicking the “Table” option in the “Tables” group of the “Insert” tab.

A drop-down menu will appear. Hover your mouse over the grid to either increase or decrease the number of rows and columns in the table. For the calendar, you’ll need a 7×7 table, so hover your mouse over the appropriate square in the grid and click it to insert the table.
With the 7×7 table inserted, it’s time to start formatting the calendar. First, we want to adjust the height of the table’s squares. Hover your mouse over the table and an icon will appear in the top-left corner. Right-click that icon.
Next, select “Table Properties” from the menu.
The “Table Properties” window will appear. Click the “Row” tab, check the box next to “Specify Height,” and enter the desired height in the text box. 2.5 cm is a comfortable height, but you can adjust it to fit your preferences.
Note: Depending on your region, Word may use inches instead of centimeters by default. Be sure to specify cm in the text box.
Press “OK” when done.
The height of the boxes within your table is now set. However, we’ll also want to make some adjustments to the top two rows. Select the top two rows by clicking and dragging your cursor over them.
Next, adjust the height of these two rows (right-click table icon > Table Properties > Row > Specify Height) to make them a bit smaller than the others. 1.5 cm is an ideal height, but you can adjust yours to fit your preferences.
You can also click and drag the row to adjust the height if you decide one is a little too large for your taste.
Now that the height of our table’s boxes is set, it’s time to enter the name of the month in the top row. To do this, we’ll need to combine the cells of the top row. Click and drag your mouse over each cell of the top row and right-click the selected area.
A drop-down menu will appear. Click “Merge Cells.”
With the cells of the top row merged, enter the name of the month. Use the alignment and font style that matches your design preference.
Next, enter the days of the week in the second row. Again, format the text to match the style you have in mind.
Finally, enter the days of the month in each respective box.
You can repeat the above steps for each month of the year to complete the calendar.
If you want a nice-looking calendar, but don’t have the time to create everything from scratch, you can always choose one of Word’s many templates.
Use a Calendar Template in Word
Word has a nice variety of calendars readily available. To choose one, open Microsoft Word and click the “New” tab in the left-hand pane.
Next, type “Calendar” in the online templates search box.
Scroll through the library and select a calendar template you like by clicking it.
A pop-up window will appear showing a preview and a description of the calendar. Click “Create.”
Once it’s selected, you can fine-tune the calendar using Word’s styling tools.
This is just one of the many things you can design using Microsoft Word. You can also create anything from flowcharts to brochures using Microsoft’s design toolset. If you need a simple design and don’t have the time to invest in learning sophisticated design software such as Photoshop, it can probably be done in Word.
READ NEXT
- › How to Adjust and Change Discord Fonts
- › HoloLens Now Has Windows 11 and Incredible 3D Ink Features
- › Google Chrome Is Getting Faster
- › This New Google TV Streaming Device Costs Just $20
- › BLUETTI Slashed Hundreds off Its Best Power Stations for Easter Sale
- › The New NVIDIA GeForce RTX 4070 Is Like an RTX 3080 for $599
Microsoft Word can make Yearly and Monthly calendars quite easily and they have better configuration options than you might expect.
We’ve already looked at the Outlook printing options , customizing them including blank Weekly and Monthly calendars. Outlook doesn’t have a yearly calendar option, so we’re turning to Word.
We’ll look at just one option available from Microsoft, the tricks hidden in it and, naturally, some traps. How to change the supplied calendar into something that suits you.
- “Family” Photo Calendar
-
File | New
- Save As …
-
Themes, Colors and Fonts
- Beyond the preset choices
- Change Pictures
- Text Formatting
- Special Days
- A few more improvements …
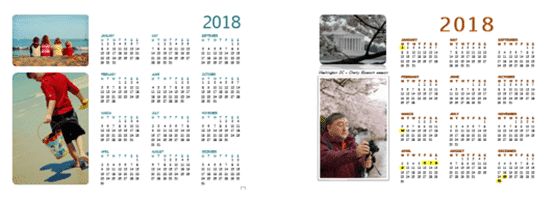
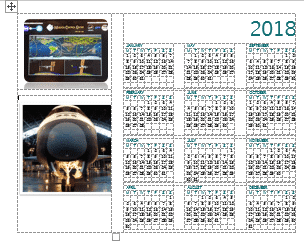
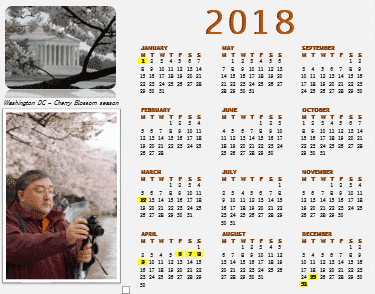
“Family” Photo Calendar
Family Photo Calendar (any year, one page) has been in Word for many years. You’ll see in this article, we first used it in 2018 and it’s unchanged for 2023. Go to File | New, search for Calendar and you’ll find this option.

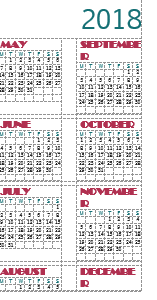
Here’s that Microsoft supplied calendar (left) and our customized version (right) with:
- different image
- a caption
- changed page color
- updated text formatting
- special dates highlighted
File | New
Start at Microsoft online template library. It’s a mixed bag of options with a search function that hasn’t worked right for years. With a little patience and digging you might find something.
For example, searching for ‘calendar annual’ shows many calendars but few are actually annual calendars. Your search might be different depending on the version of Word, templates available and, perhaps, your horoscope!
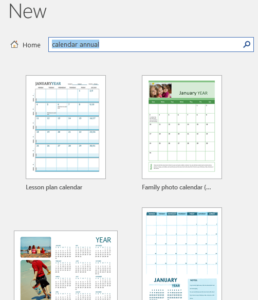
We hunted around and found this well-made template. It’s mislabelled as ‘Family’ for some reason. In practice you can change the photos, we’ll show you how.
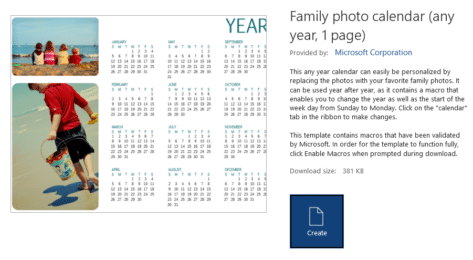
Click the Create button. You’ll have to enable macros to let this template do it’s thing.
If you can’t find it in Word’s File | New template list, go to the Office Template library and download from there.
Microsoft doesn’t give any version info for the template, just ‘Word’. It definitely works in Office 2016, 2019 and 2021 as well as Office 365 for Windows. We’ve had a report that it works in Office 2010. For other versions just download and give it a try.
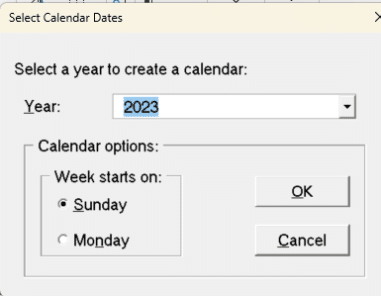
Next choose the year and if you want the weeks to start on Sunday or Monday.
Before seeing the calendar, there are two notices from Microsoft.
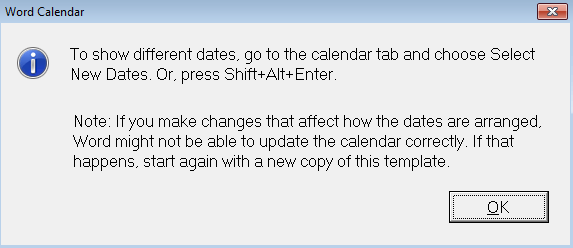
To change the year of the calendar, go to the Calendar tab that’s been added to Word. Choose ‘Select New Dates’.

The other warning is that changing the calendar might prevent the template from working correctly if you run the main macro again to change dates or week start.
Save As …
Choose the date range and week start until you have the settings you want. Then File | Save As to a separate document before changing the formatting.
Themes, Colors and Fonts
The Calendar tab gives you some quick options for changing the overall look ‘Theme’, color scheme and fonts.
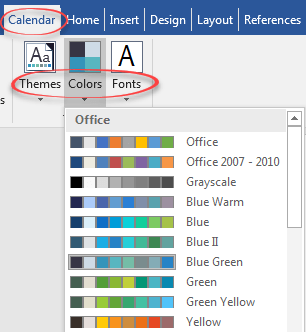
Choose these options as another stage to personalizing your calendar.
Beyond the preset choices
There’s a lot more possible beyond the obvious options Microsoft gives you. It’s a standard Word document so you can change things manually.
Change Pictures
Change the pictures to your own choice of photos. Modern Word has a useful ‘Change Picture‘ option on the right-click menu.
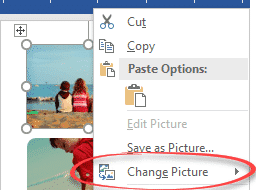
Change Picture is good because it lets you replace the current image with another with the same size and position. There will be variations depending on the aspect ratio (height/width) of the current and new images.
Our quick choice of images have different proportions so the vertical positioning has changed.

The default images have the rounded corner effect, you can change that from the Picture ribbon.
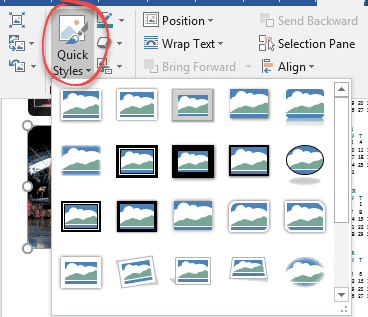
For example, here’s the rounded corner with reflection effect.

If you want to reposition the images, turn Table Gridlines on (Table Tools | Layout | View Gridlines ).
As you can see, the images are in the left-hand table column. There are three cells, one for each image plus an empty cell to add space between the images. By all means try adjusting the cells but the formatting is very tight and precise. Undo (Ctrl + Z) is your friend when things go awry!
Text Formatting
You could select and reformat the text but, as you can see, it’s a closely packed table. Any changes are difficult and likely to have unintended consequences.
Happily, the developers of this template put all the text formatting into styles. Change the styles and Word will update the text.
Look at the Style Gallery, there are styles for all the text formatting
- Year
- Months
- Days
- Dates
Right-click on a style, choose Modify … then make your formatting changes.
Keep the text size about the same as the originals, otherwise the whole calendar will go wrong. For example, make the Month names too large and they’ll wrap and also push the calendar to a second page.
Special Days
One little change we’ve made is adding a ‘Special Days’ style to highlight certain dates (holidays, birthdays, whatever).

You could select and change the dates, but the more consistent solution is to make another style.
Select any date cell, in the Style Gallery, choose Create a Style … give the style a name then click Modify.
We’ve called our style ‘Dates-Special’.

Style based on: Date, so any later changes to the overall date formatting is reflected in the special dates too.
Formatting: Bold. Changing the text color is another option.
For this example, we’ve also used Highlighting (Border | Shading).
Once you’ve made the extra style, select dates/cells and apply the new style.
A few more improvements …
A few more changes:
Year: Enlarged, expanded, centered and added shadow effect to the year
Month: Bold and slightly expanded the month labels.
Caption: used the ‘gap’ cell between pictures to add a caption.
Page Background: changed from the Layout tab.
Here’s what we ended up with, after a few minutes of tweaking.
Easy 2023 calendars in Microsoft Word
2023 calendars in Word and the tricks to make them special
2023 Calendars in your PowerPoint slides
Office Watch has extensive help to make Calendars in Word, Excel, PowerPoint and Outlook.