
![]()
Download Article
![]()
Download Article
Do you want to make your own line paper in the computer? Then you’re at the right page. This page is going to tell you how make a lined paper in Word 2007.
-
You’ll want to start with a blank sheet. This will allow you to fill the entire page with lines.
Advertisement
-

This button is at the top of Word and looks sort of like a window. This displays a variety of borders you can add to tables.

-
This option creates a large skinny box on the page. Once you add lines to this box, it will expand to fit the page.

Advertisement
-
Each time you press Enter, you’ll see more lines appear. Keep pressing the enter button until your page is full with those boxes. Once you’ve reached the end of the page, you’ll have lined paper! Now you can print it on any printer.

Ask a Question
200 characters left
Include your email address to get a message when this question is answered.
Submit
Advertisement
Thanks for submitting a tip for review!
Things You’ll Need
- Microsoft Word 2007
- Printer (optional)
About This Article
Thanks to all authors for creating a page that has been read 50,085 times.
Is this article up to date?
If you want to create a lined paper in Microsoft Word and print it out for some special requirements, you actually don’t need to download the template from Internet or draw the line by yourself. Just imagine the lined paper is a one-column table without vertical borders, the method is quite self-explanatory now.
1. First, you can adjust the paper margins in Layout tab. Hit the small arrow on the bottom-right corner or Page Setup section to evoke the setting window.

2. Change the value of Margins according to your actual needs. Then hit OK to confirm it.

3. Go to Insert tab, click the button of Tables and choose Insert Table… in the menu.

4. Change Number of columns to 1 in Table size, and then you can customize the Number of rows freely. Here I enter 20 as an example.

5. Click OK and the table will be inserted. Right-click the archer button on the top-left corner of it to choose Table Properties… in the menu.

6. Switch to Row tab, customize the Specify height as you like and set Row height is to Exactly.

7. Then click the table and go to Design tab under Table Tools. Hit the small arrow under Borders to expand the menu. Choose Borders and Shading at the bottom.

8. Follow the steps in the GIF below to disable the vertical borders, and set the Style and Color for the horizontal borders. Then hit OK to implement the settings.

9. If you want it more like a letter paper, you can add a header and a footer to the page as well.


10. You can also remove the horizontal line in page header to make the paper looks more concise. Thus a lined paper is ready. You can print it out and then write on it.

Copyright Statement: Regarding all of the posts by this website, any copy or use shall get the written permission or authorization from Myofficetricks.
Whether you believe in having your employees sign on the dotted line or are going back to old-style printed forms, trying to insert a line in word document can be difficult even for the steadiest hand. But you can take advantage of Word’s collection of shapes, which includes a line-drawing tool, to quickly draw and duplicate straight lines. Use lines that stretch across a page to denote a place for paragraphs of writing or short lines where executives should be placing their signatures or initials.
Create a Lined Notebook Paper Template in Word
-
Open Word. If the program’s current default of a traditional 8.5 inch-by-11 inch paper doesn’t fit your lined document requirements, click the «Page Layout» tab. Click the “Size” button on the ribbon and choose your preferred document size. You can also click the “Orientation” button on the ribbon to change from Word’s default portrait, or vertical, size to landscape, which is wider than it is long.
-
Click the Insert tab, then click the “Shapes” button on the ribbon. Choose the first option, “Line,” under the “Lines” group. If you hover the cursor over the shapes, you’ll see the title of each shape pop up.
-
Position the cursor near the left margin but leave room so you do not run off the Word page onto the gray background. Press and hold the “Shift” key on the keyboard, then press and hold the left mouse button as you drag to the right side of the page. Release the “Shift” key and the left mouse button and the Word horizontal line appears.
-
Click the line to open the orange Drawing Tools tab. This is where you can format your line, such as changing its color, thickness and design by clicking the “Shape Outline” button on the ribbon. It’s beneficial to change your line’s design first, before you duplicate it, so you won’t have to reformat lines multiple times.
-
Right-click the line. You’ll see a green dot appear at each end of the line. Select “Copy.”
-
Click off the line, anywhere on the white Word page, and choose “Paste” or press “Ctrl-V.»
-
Drag the newly pasted line into place below the first. How you place your lines will vary. For example, you may want to leave enough space between lines for employees to write or for something to be typed in manually at a later time.
-
Drag the cursor to highlight the two lines. Right-click the highlight and select “Copy,” then click off the lines, right-click and select “Paste.” Two new lines paste in. Drag them into place.
-
Fill the Word document with lines, to your preference, by highlighting, copying and pasting. This saves you the time from having to redraw the lines and ensures they’re all the same length.
-
Add other elements to the lined document, such as a business logo, by clicking the “Picture” button on the Insert tab’s ribbon. Browse to the logo and double-click it. If you need to move the lines to fit the logo, highlight them with the cursor, then drag them all together so they keep their layout.
-
Click the File tab’s “Save As” option. Type a name for the lined document file, set the location to save the file and click the “Save” button.
Tip
The suggestions here go above and beyond what you may need for your Word lined document. Pick and choose what best suits your business, which may be simply lines on a page.
465
465 people found this article helpful
Use these three methods to quickly insert a line in your document
Updated on December 4, 2020
What to Know
- AutoFormat: Type the three characters for the desired line style > Enter.
- Horizontal Line tool: In Home tab, select Borders drop-down menu > Horizontal Line.
- Shapes menu: Go to Insert > Shapes. In Lines group, select and drag a line shape across the page.
This article covers three ways to insert horizontal lines in Word for Microsoft 365, Word 2019, Word 2016, Word 2013, and Word 2010.
Use AutoFormat to Insert a Line in Word
You can quickly insert a line into a Word document with the AutoFormat feature. To create a line, place the cursor in the location that you’d like to insert it, type the three characters for the desired line style, then press Enter.
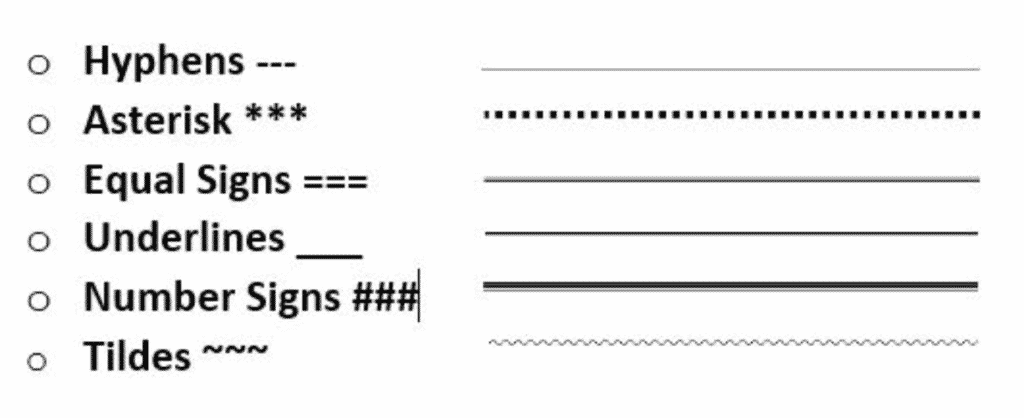
To create the different types of lines, press the associated keys on the keyboard:
- Plain single line: Three hyphens (—)
- Plain double line: Three equal signs (===)
- Broken or dotted line: Three asterisks (***)
- Bold single line: Three underline symbols (___)
- Wavy line: Three tildes (~~~)
- Triple line with a thick center: Three number signs (###)
Here’s what each of these line types looks like in Word:
Use the Horizontal Line Tool to Insert a Line in Word
To insert a line into a Word document using the built-in Horizontal Line tool:
-
Place the cursor where you want to insert a line.
-
Go to the Home tab.
By default, the Home tab is selected when you open a new or existing Word document.
-
In the Paragraph group, select the Borders drop-down arrow and choose Horizontal Line.
-
To change the look of the line, double-click the line in the document.
-
In the Format Horizontal Line dialog box, modify the width, height, color, and alignment of the line.
Use the Shapes Menu to Insert a Line in Word
A third way to add a line to a Word document is to draw it on the page. The Shapes menu contains several line options, including lines with arrow points on one or both ends. After you draw the line, customize the color and appearance.
-
Place the cursor in the spot where you want to insert a line.
-
Go to the Insert tab.
-
In the Illustrations group, select the Shapes drop-down arrow.
-
In the Lines group, choose a line shape.
-
In the Word document, drag across the location where you want the line to appear.
-
To change the look of the line, select the line to enable the Shape Format tab. (Some versions of Word call this Format.)
-
Go to the Shape Format tab and change the color, use a different line style, or apply effects.
FAQ
-
How do I change line spacing in Word?
To fix spacing in Word, highlight the text whose spacing you want to change and select the Home tab. Next to Paragraph, select the down arrow to expand the options. In the Spacing section, set the amount of space before and after line breaks or choose a preset line-spacing option.
-
How do I add a signature line in Word?
To insert a signature line in Word, go to the Insert tab and select Signature Line. Selecting few or no options leaves a blank line, and a signature line will appear in the document.
-
How do I add line numbers in Word?
To add line numbers in Word, go to Layout > Page Setup > Line Numbers and choose Continuous, Restart Each Page or Restart Each Section > Line Numbering Options.
Thanks for letting us know!
Get the Latest Tech News Delivered Every Day
Subscribe
I’ve seen some sites offering printable lined paper and thought that was pretty silly until I wanted to use some lined paper and couldn’t find any. A while back we created some different types of printable graph paper templates using Word, so we used a similar technique to create some boring but useful lined paper (by adding borders to tables in Microsoft Word).
Advertisement
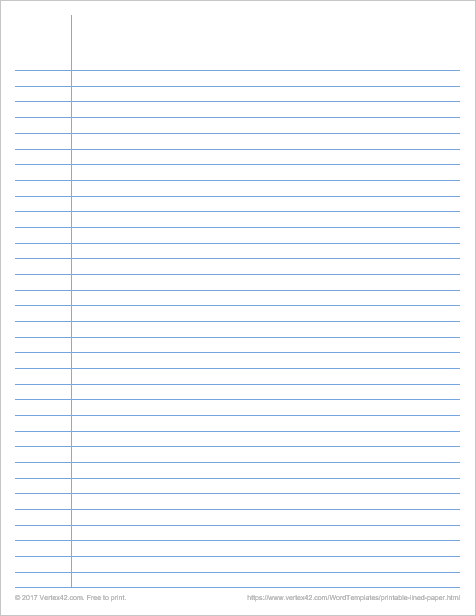
Printable Lined Paper — College Ruled
Download
⤓ Word (.docx)
For: Word 2007 or later
Printable PDFs
Description
This college ruled lined paper has 7.1 mm rows with a left and top margin of 32 mm.
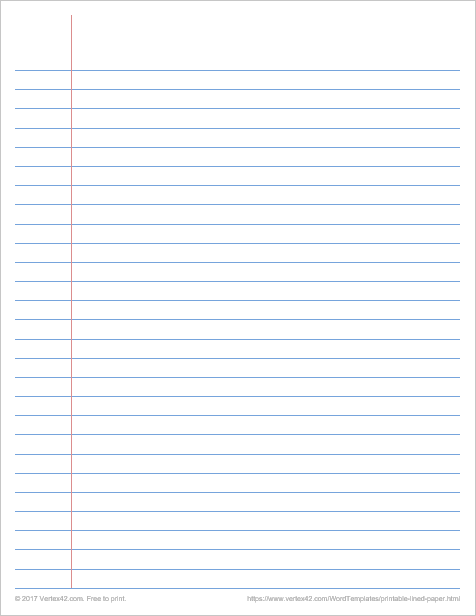
Printable Lined Paper — Wide Ruled
(8.7 mm rows)
Download
⤓ Word (.docx)
For: Word 2007 or later
Printable PDFs
Description
This wide ruled lined paper has 8.7 mm rows with a left and top margin of 32 mm.
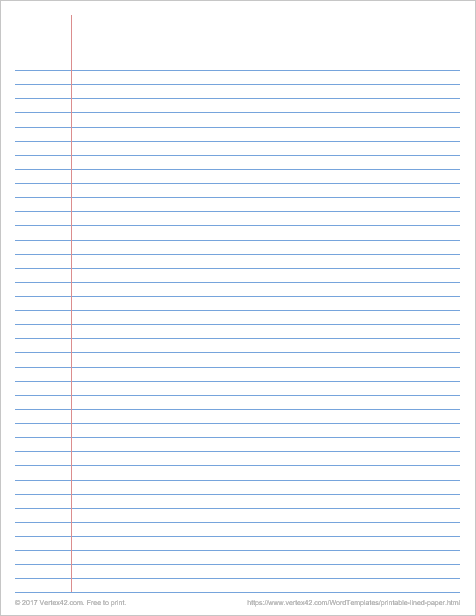
Printable Lined Paper — Narrow Ruled
Download
⤓ Word (.docx)
For: Word 2007 or later
Printable PDFs
Description
This narrow ruled lined paper has 0.25″ rows (about 6.4mm) with a left and top margin of about 1.25″
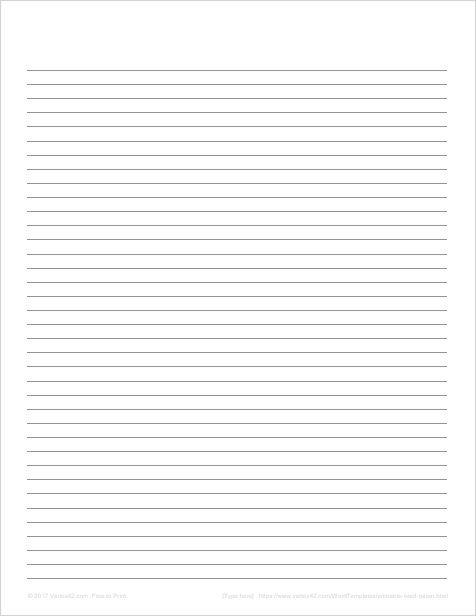
Lined Paper Template
(no vertical line)
Download
⤓ Word (.docx)
For: Word 2007 or later
Printable PDFs
Description
This template uses a very simple 1-column table with 0.5 inch left/right margins and 1.25 inch top margin. The rows are 0.25 inches in height. You can modify the row heights and borders by modifying the table properties. You can edit the margins via Layout > Margins.
Customizing the Lined Paper Template in Word
You can use the lined paper templates for Word to print your own lined paper with different line heights or line colors. The template was created using a Table, so to change the row heights or borders, select the rows or columns that you want to modify, then right-click on one of them and select Table Properties.
If you want to specify a row height in millimeters, but Word is displaying the heights in inches, then you can either do the math conversion yourself, or you can change the settings in Word to display dimensions in millimeters. To do that, go to File > Options > Advanced and under the Display options, change the «Show measurements in units of:» setting.
Note: These templates include a page margin because most printers won’t print to the extreme edge of the paper. That is why the lines do not extend all the way to the edges like they do on common notebook filler paper that you buy at the store.
References
- Ruled Paper Sizes — at wikipedia.com
You’re looking for a way to create a break in your page, maybe you are starting a new topic, or you’re adding a new section. Adding a horizontal line to your document clearly shows a reader that a new section within your document has begun without having to create a page break leaving a whole heap of empty space.
There are two different types of horizontal lines you can add:
- Quick Autoformat Lines
- Microsoft Horizontal Lines
The autoformat option is most commonly used and many of us discovered it by mistake.
——————————————————————————————————————– That’s one there ^ by holding down the hyphen key you can create a quick and easy horizontal line in Word.
There are a few variations of the auto format line to choose from, just type 3 or more of any of these symbols and press Enter to create a horizontal line.
Adding a Microsoft horizontal line is just as easy, but does take a few more steps. In this post, we will show you how to insert a horizontal line into your Microsoft Word Document.
Adding Horizontal Lines to your Microsoft Word Document
- Open Word
- Place your cursor where you would like to insert a horizontal line
- Click the Design tab
- Click Page Borders
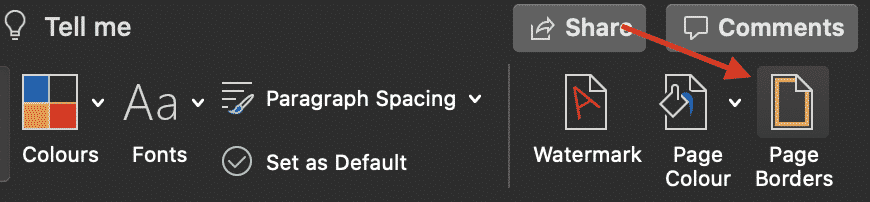
- In the Page Border pop-out window, click Horizontal Line
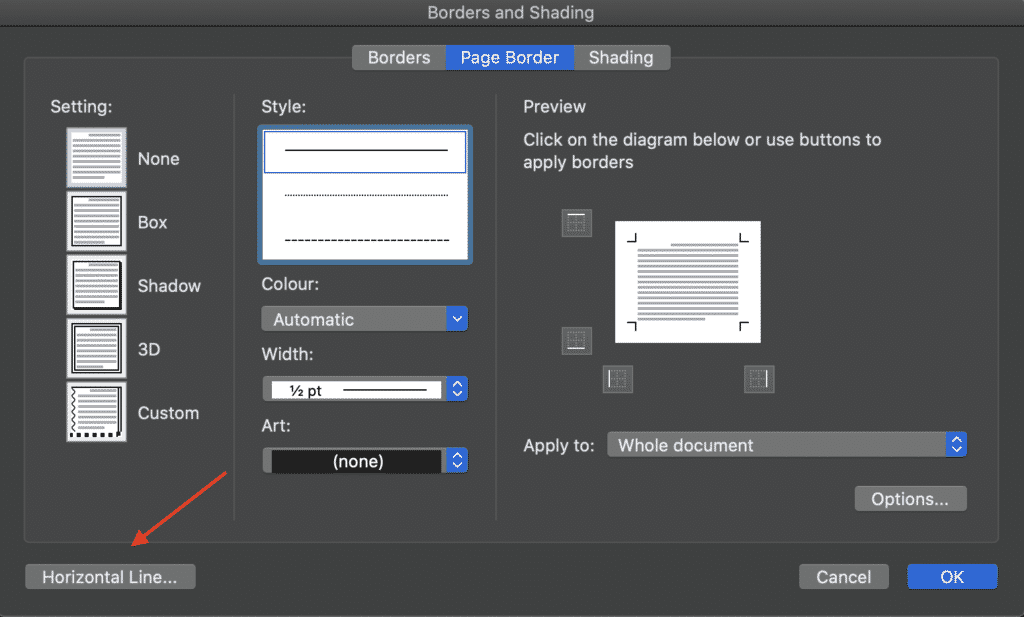
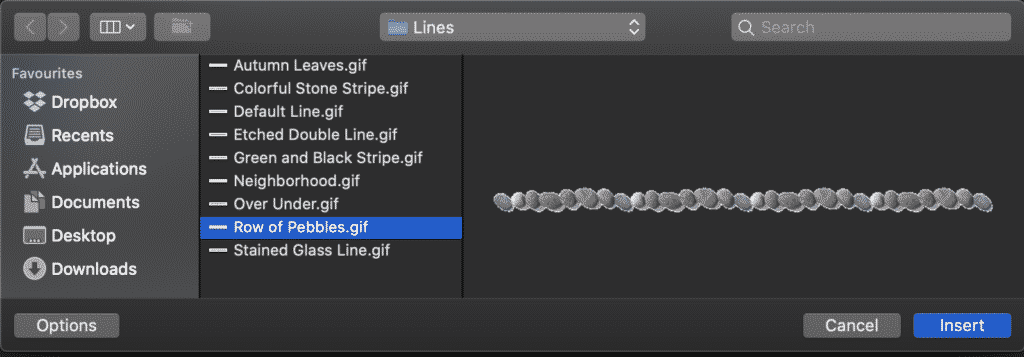
- Select the Style of Horizontal Line you would like to insert
- Press Insert
You have now successfully inserted a Horizontal line into your Microsoft Word Document.
If you would like to add multiple lines, simply follow the steps above.
Searching for a simpler way to work together on the same Word Document?
When it comes to collaborating together on a Microsoft Word Document with the aim of achieving a perfectly proofed final version. Why do we always end up with a shared drive full old versions and little clarity on which one is the most recent file?
You’re not along in thinking there has to be a simpler way to version control!
With so many of us facing the same frustrations, companies such as Simul Docs have jumped in to provide us with the simple version control solution we’ve been dreaming of.
Simul Docs is a purpose-built version control and collaboration tool for Microsoft Word documents, making it easy to work together on a word doc. Upload your draft word document into Simul and it will automatically give it a version number of 0.0.1.

Invite your colleagues to collaborate on the document with you, as soon as they open the document and start to make edits Simul will save the updated document as the next version and keep track of every edit, change and comment in the easy to navigate ‘Versions’ toolbar.

Now, not only are all of the old versions of your document tracked and sorted for you. Your shared drive isn’t a mess and you can easily refer back to an older version at any time with the click of a button.
When your team has finished making edits and you have accepted or declined any changes you can finalise the fine by pressing ‘Publish’. Simul will then allocate your final document a version number of 1.0.0 (rather than 0.0.1) and allows you to download it as a PDF, share via a sharable link, export to file services such as dropbox and more.

With a finalised document in hand and all of your old versions neatly stored away you can rest easy knowing you will never waste time sorting through your share drive on the hunt for a v6_updated_Bobsedits_FINAL_Finalv3 again.
Is that really the final version? Only Simul Docs knows.
Having a good handwriting is considered to be a blessing. But a lesser known fact is that such mesmerizing handwritings are achieved by a lot of practice in the early days. A child is made to write in the dotted pages which act as a tombstone for a beautiful handwriting in the future. Schools make the kids write on the lined pages so that they are able to handle and make use of the page well.
Lined pages and their uses:
A lined paper consists of lines in the horizontal direction. The lines are equally spaced and are often covered with margins on the sides. They are used for the writing purposes mostly.
Well, lined pages have a variety of uses other than the use by the kids. Lined pages are used in for letter writing on special occasions such as Christmas as well. You can use these pages for writing book and manuscripts as well. They are used in calligraphy as well. Many people use these for making music notes as well. Graphs are sometimes plotted on these sheets. The paper size and the distance between the lines could be adjusted. The color of the lines is also customizable.
Lined paper generator:
Well, there is a several software is available online that can generate the lined papers according to your likings. You can download the lined papers give below and use the papers for your practice and work.
- You can customize your lined papers to narrow or medium ruled sizes. The line spacing could be 6.4mm or 7.1mm respectively. Such papers are used for college and school purposes only.
- If you are looking for large handwriting or calligraphy practices, you can choose our wide ruled lined pages that have a line spacing of 8.4 mm. Such pages are professionally designed for the customer’s satisfaction and use only.
- You can have the paper in the portrait size or the landscape size as well. Both sizes are readily available.
Writing is a joy and everyone has the right to feel that joy. Lined pages give you an opportunity to express your thoughts into words.
Preview & Details of Template
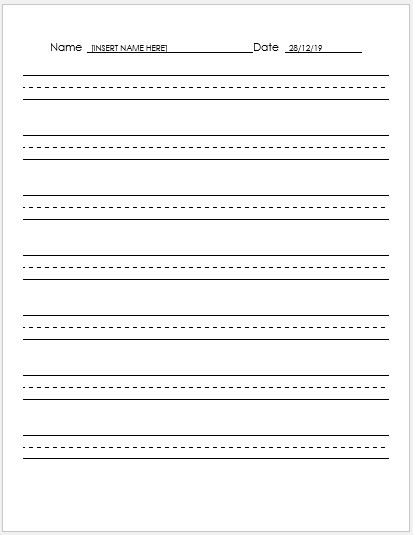
Handwriting Practice Lined Papers
Manuscript Ruled
File: Word (.doc) 2003+ and iPad
Size 34 Kb | Download
Download & Print as many pages as you want.
You can select LANDSCAPE or PORTRAIT format at the time of PRINT.
License: ENERGY (Personal Use Only)
Distribution by Kate Elizabeth(CEO)
Handwriting Practice One Line Papers
File: Word (.doc) 2003+ and iPad
Size 34 Kb | Download
Colors: BLACK |BLUE | RED | GREEN
Download & Print as many pages as you want.
You can select LANDSCAPE or PORTRAIT format at the time of PRINT.

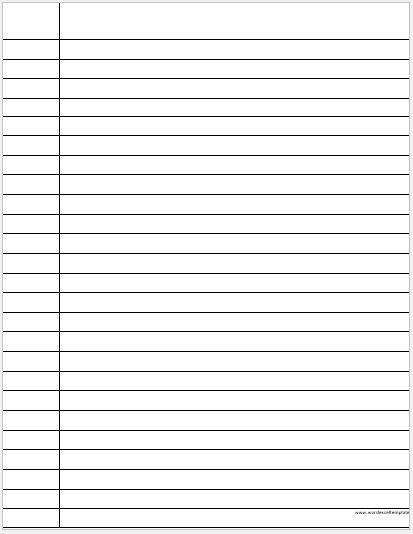
Narrow Ruled Lines Paper
Size: 1/4 [0.25″] in horizontal spacing.
Smaller handwriting
File: Word (.doc) 2003+ and iPad
Size 24 Kb | Download
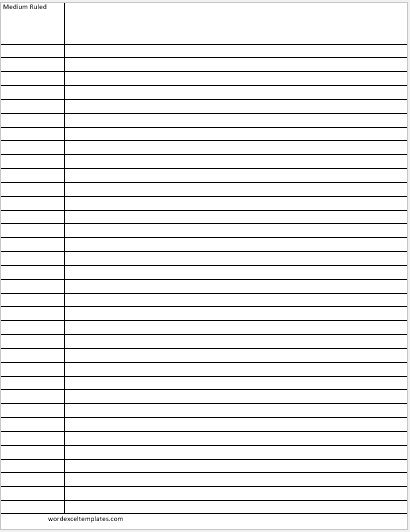
Medium Ruled Lines Paper
Size: 9/32 [0.28125″] in horizontal spacing.
Vertical Column Width: 1 ¼ in
Size 24 Kb | Download
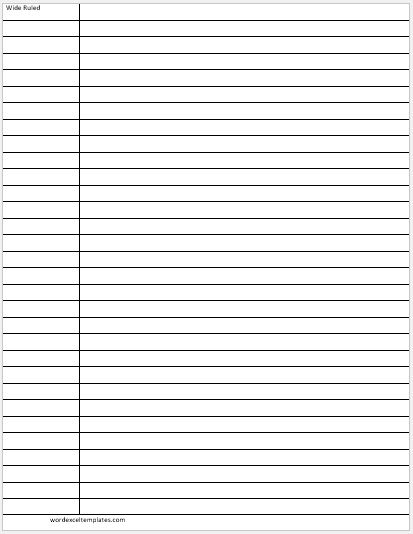
Wide Ruled Lines Paper
Law/Legal
Size: 11/32 [0.34375″] in horizontal spacing.
Vertical Column Width: 1 ¼ in
Size 24 Kb | Download
Gregg Ruled Lines Paper
Size: 11/32 [0.34375″] in horizontal spacing.
Vertical Column Width: Center
Size 24 Kb | Download
Pitman Ruled Lines Paper
Size: 1/2 [0.5″] in horizontal spacing.
Vertical Column Width: Center
Size 24 Kb | Download
Cornet Note Paper
Size 24 Kb | Download
Writing Paper for Low Vision
Size: 1/2 [0.5″] in horizontal spacing.
Font Size: 48
Vertical Column Width: Max
Size 24 Kb | Download

Writing Paper with Picture Space
Size 24 Kb | Download
Slant Lines Writing Paper
Spacing: 0.25″
Size: 12 kb| Download
Slant Lines Writing Paper
Spacing: 0.5″
Size: 12 kb | Download
Slant Lines Writing Paper
Spacing: 1″
Size: 12 kb | Download