Watch Video – How to Insert Picture into a Cell in Excel
A few days ago, I was working with a data set that included a list of companies in Excel along with their logos.
I wanted to place the logo of each company in the cell adjacent to its name and lock it in such a way that when I resize the cell, the logo should resize as well.
I also wanted the logos to get filtered when I filter the name of the companies.
Wishful Thinking? Not Really.
You can easily insert a picture into a cell in Excel in a way that when you move, resize, and/or filter the cell, the picture also moves/resizes/filters.
Below is an example where the logos of some popular companies are inserted in the adjacent column, and when the cells are filtered, the logos also get filtered with the cells.
This could also be useful if you’re working with products/SKUs and their images.
When you insert an image in Excel, it not linked to the cells and would not move, filter, hide, and resize with cells.
In this tutorial, I will show you how to:
- Insert a Picture Into a Cell in Excel.
- Lock the Picture in the cell so that it moves, resizes, and filters with the cells.
Insert Picture into a Cell in Excel
Here are the steps to insert a picture into a cell in Excel:
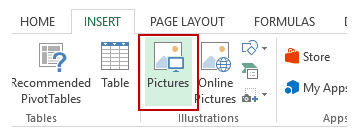
- Go to the Insert tab.
- Click on the Pictures option (it’s in the illustrations group).

- In the ‘Insert Picture’ dialog box, locate the pictures that you want to insert into a cell in Excel.

- Click on the Insert button.
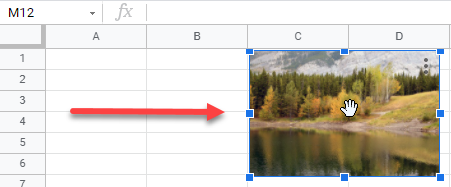
- Re-size the picture/image so that it can fit perfectly within the cell.

- Place the picture in the cell.
- A cool way to do this is to first press the ALT key and then move the picture with the mouse. It will snap and arrange itself with the border of the cell as soon it comes close to it.

- A cool way to do this is to first press the ALT key and then move the picture with the mouse. It will snap and arrange itself with the border of the cell as soon it comes close to it.
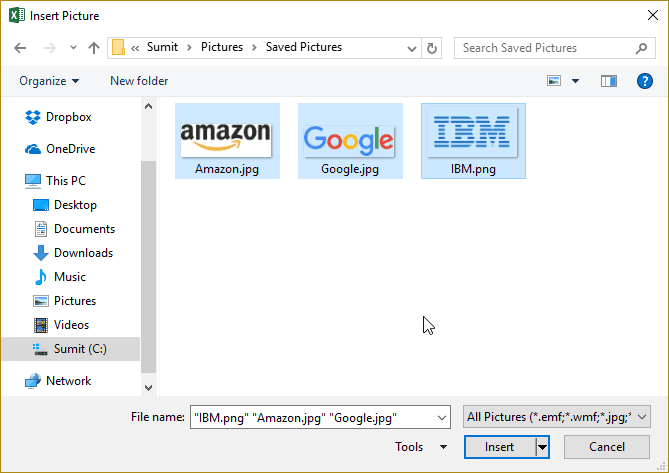


If you have multiple images, you can select and insert all the images at once (as shown in step 4).
You can also resize images by selecting it and dragging the edges. In the case of logos or product images, you may want to keep the aspect ratio of the image intact. To keep the aspect ratio intact, use the corners of an image to resize it.
When you place an image within a cell using the steps above, it will not stick with the cell in case you resize, filter, or hide the cells. If you want the image to stick to the cell, you need to lock the image to the cell it’s placed n.
To do this, you need to follow the additional steps as shown in the section below.
Lock the Picture with the Cell in Excel
Once you have inserted the image into the workbook, resized it ti fit within a cell, and placed it in the cell, you need to lock it to make sure it moves, filters, and hides with the cell.
Here are the steps to lock a picture in a cell:
- Right-click on the picture and select Format Picture.

- In the Format Picture pane, select Size & Properties and with the options in Properties, select ‘Move and size with cells’.


That’s It!
Now you can move cells, filter it, or hide it, and the picture will also move/filter/hide.
Try it yourself.. Download the Example File

This could be a useful trick when you have a list of products with their images, and you want to filter certain categories of products along with their images.
You can also use this trick while creating Excel Dashboards.
You May Also Like the Following Excel Tutorials:
- Insert a Picture in a Comment in Excel.
- Insert Line Break in Excel Formula result.
- Picture Lookup Technique using Named Ranges.
- How to Insert Watermark in Excel Worksheets.
- How to Lock Cells in Excel.
While my recommendation is to take advantage of the automation available from Doality.com specifically Picture Manager for Excel
The following vba code should meet your criteria. Good Luck!
This code will insert the image into the chosen cell and will scale it to fit the exact width and height of the cell. For example:
Instructions:
Add a Button Control to your Excel Workbook (click Developer tab, Insert, Active X, Command Button) and then double click on the button in order to get to the VBA Code —>
Sub Button1_Click()
    Dim filePathCell As Range
    Dim imageLocationCell As Range
    Dim filePath As String

    Set filePathCell = Application.InputBox(Prompt:= _
        "Please select the cell that contains the reference path to your image file", _
            Title:="Specify File Path", Type:=8)

     Set imageLocationCell = Application.InputBox(Prompt:= _
        "Please select the cell where you would like your image to be inserted.", _
            Title:="Image Cell", Type:=8)

    If filePathCell Is Nothing Then
       MsgBox ("Please make a selection for file path")
       Exit Sub
    Else
      If filePathCell.Cells.Count > 1 Then
        MsgBox ("Please select only a single cell that contains the file location")
        Exit Sub
      Else
        filePath = Cells(filePathCell.Row, filePathCell.Column).Value
      End If
    End If

    If imageLocationCell Is Nothing Then
       MsgBox ("Please make a selection for image location")
       Exit Sub
    Else
      If imageLocationCell.Cells.Count > 1 Then
        MsgBox ("Please select only a single cell where you want the image to be populated")
        Exit Sub
      Else
        InsertPic filePath, imageLocationCell
        Exit Sub
      End If
    End If
End Sub
Then create your Insert Method as follows (this can follow the button’s code from above):
Private Sub InsertPic(filePath As String, ByVal insertCell As Range)
    Dim xlShapes As Shapes
    Dim xlPic As Shape
    Dim xlWorksheet As Worksheet

    If IsEmpty(filePath) Or Len(Dir(filePath)) = 0 Then
        MsgBox ("File Path invalid")
        Exit Sub
    End If

    Set xlWorksheet = ActiveSheet

    Set xlPic = xlWorksheet.Shapes.AddPicture(filePath, msoFalse, msoCTrue, insertCell.Left, insertCell.Top, insertCell.Width, insertCell.Height)
    xlPic.LockAspectRatio = msoCTrue
End Sub
A picture is worth a thousand words. So today we’ll learn how to insert images in Excel. You cannot directly copy an image into Excel. This is why, we will talk about the steps to insert pictures and add illustrations to your Excel sheet.
Also read: PDF in Excel: How to Insert PDFs or Save an Excel File as a PDF
Steps to Insert Images in Excel
Follow the below step-by-step tutorial to insert an image in Excel.
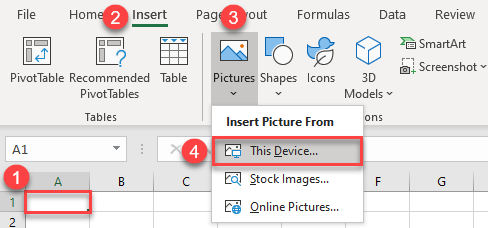
Step 1: Navigate to the insert tab
- Navigate to ‘Insert‘ from the top options tab
- Click on ‘Picture‘ to open an insert image dialogue box

Step 2: Click Insert Image
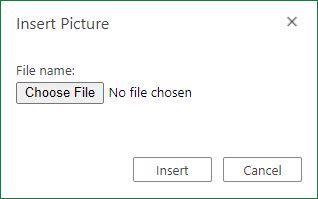
- From the pop-up dialogue box – click on ‘Choose File‘ to choose the image which you want to insert.

Step 3: Choose an Image from the File
- After selecting ‘Choose File’ from the pop-up dialogue box
- You will be presented with an ‘open’ pop-up window
- Navigate to the folder where your image is located and then select it
- Click ‘Open‘

- Now, click on Insert to finally insert the selected image in your Excel sheet.
Modify Inserted Image in Excel
Now, as you have inserted the image/picture in your Excel sheet, you can perform some modifications to its position, size, and format.
1. Change Position of Image
To change the position of the inserted image, simply click on the image and drag the image to any position or place inside the sheet.

2. Resize the Image
- Hover over the image to reveal resizing options at the border of the image
- You’ll be presented with all sorts of resizing – length, breadth and combined
3. Adding Alt Text
Alt text or Alternate text is a valuable addition to any image, it describes the purpose and title of the image used in text format to both users and search engine bot crawlers.
- To add Alt text, double click on the image, to reveal an option pop-up
- Select Alt Text to add, Title and Description to your image
Conclusion
That’s It! You can now easily insert images in Excel to make it look more appealing and interactive. We hope you learned and enjoyed this lesson and we’ll be back soon with another awesome Excel tutorial!
Inserting a picture in your worksheet is an easy way to show information or add visual interest. There are three ways to add a picture in Excel for the web.
Tip: To add pictures in Excel for the web, you may need to first switch to Editing View by clicking Edit Workbook > Edit in Browser.
Insert Picture from your computer
To insert a picture that is saved in a location you can access, follow these steps:
-
Click the location in your worksheet where you want to insert a picture.
-
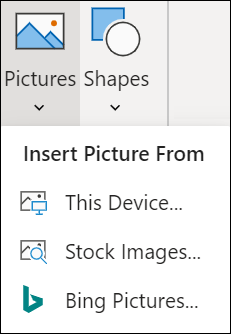
On the Insert ribbon, click Pictures.
-
Select This Device…
-
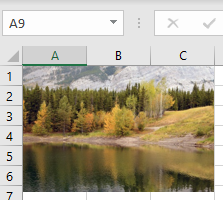
Browse to the picture you want to insert, select it, and then click Open.
The picture will be inserted in your worksheet.
Insert Picture from Stock Images
To insert a picture from a collection of stock images, follow these steps:
-
Click the location in your worksheet where you want to insert a picture.
-
On the Insert ribbon, click Pictures.
-
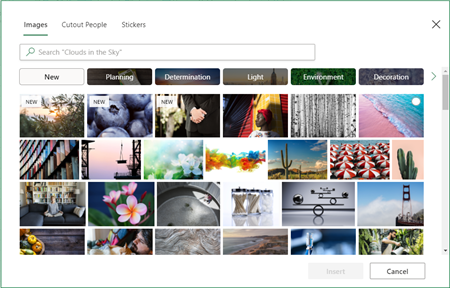
Select Stock Images…
-
Browse to the picture you want to insert, select it, and then click Open.
The picture will be inserted in your worksheet.
Insert Picture from Bing Pictures
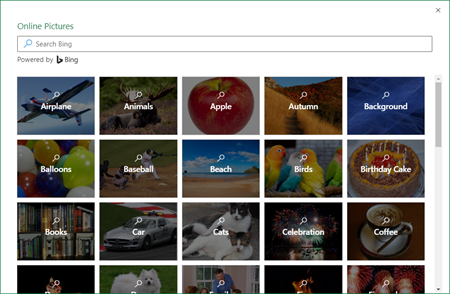
To insert a picture from a Bing Pictures search, follow these steps:
-
Click the location in your worksheet where you want to insert a picture.
-
On the Insert ribbon, click Pictures.
-
Select Bing Pictures…
-
Search for the picture you want to insert, select it, and click Open.
The picture will be inserted in your worksheet.
Inserting an insecure image using Bing search is not supported on Excel for the web. Images can be considered insecure for one of the following reasons:
-
The website hosting the image is not using HTTPS. This can be considered a potential security vulnerability.
-
The website URL of the image is not a valid address.
If you would like to use an image found through Bing Pictures search on Excel for the web which is not supported, we suggest using these steps:
-
Click the location in your worksheet where you want to insert a picture.
-
On the Insert ribbon, click Pictures.
-
Select Bing Pictures…
-
Search for the picture you want to insert.
-
On the specific image you would like to insert, click on ellipses (…) and then on the image link. This will open the image in a new browser tab.
-
Save the image to your computer.
-
Follow the steps above to Insert Picture from your computer using the image you just saved.
Tip: You can also copy and paste an image from the web or an app into Excel for the web, without saving it first and without using the Insert menu.
After the picture is in your worksheet, you can resize it, move it wherever you want, and even add alternate text for improved accessibility.
Need more help?
Want more options?
Explore subscription benefits, browse training courses, learn how to secure your device, and more.
Communities help you ask and answer questions, give feedback, and hear from experts with rich knowledge.
See all How-To Articles
This tutorial shows how to insert pictures in Excel and Google Sheets.
Insert Single Picture
There are several ways to insert pictures in Excel. To insert a single picture, follow these steps:
- Select the cell where you want the picture to start and in the Ribbon, go to Insert > Pictures > This Device. If you select cell A1, for example, then the upper left corner of the picture aligns with the upper left corner of A1.
2. In the Insert Picture window, select a picture to insert, and click Insert.
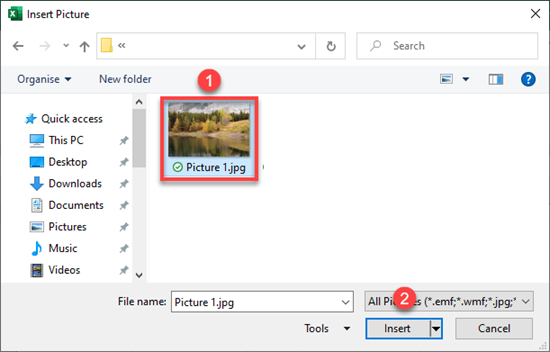
As a result, the selected picture is inserted into the worksheet.
Moving and Editing a Picture
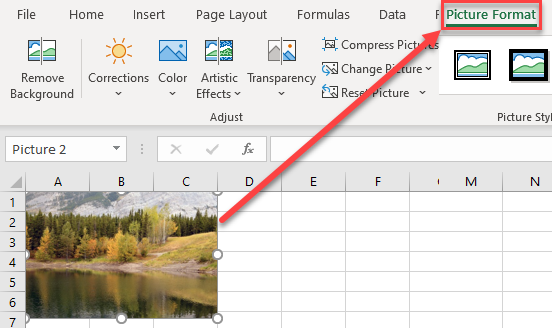
If you click on the picture, a new Picture Format tab appears. There, you can find options for editing pictures, such as resizing, editing colors, inserting borders and effects, cropping, etc.
To move the picture to a new position in the worksheet, follow these steps:
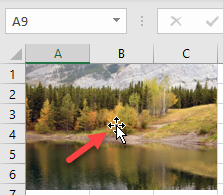
- Position the cursor over the picture until it turns into a white pointer with a four-sided black arrow. This cursor is used for selecting or moving pictures.
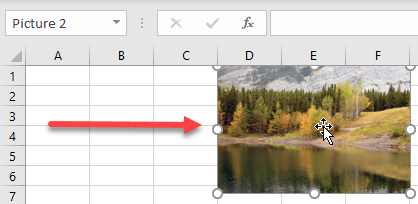
- Drag the picture to the desired position (for example, cell E1) and drop it. This way, you can move pictures inside the worksheet.
Insert Multiple Pictures
You can also insert multiple pictures in a worksheet at once.
- Select the cell where you want your pictures to start (A1) and in the Ribbon, go to Insert > Pictures > This Device.
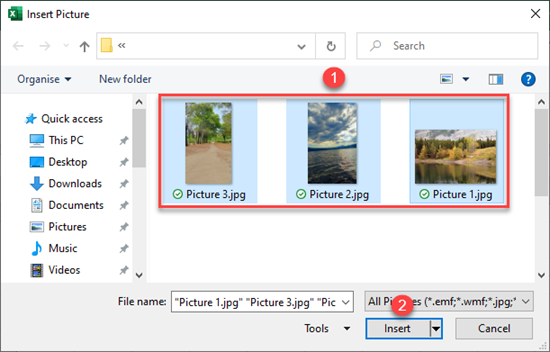
- In the Insert Picture window, hold CTRL on your keyboard and click on the pictures you want to insert. Then click Insert.
As a result, all three pictures are inserted from the selected cell (A1). When you insert multiple pictures at once, they always overlap.

Use steps from the previous section to reposition the pictures so they are displayed properly.
Insert Picture in Google Sheets
In Google Sheets, you can insert only one picture at a time, so if you want to insert multiple pictures, do it one-by-one. To insert a single picture, follow these steps:
- Select the cell where you want your pictures to start (A1) and in the Menu, go to Insert > Image > Image over cells. If you choose Image in cell, the picture is resized to fit into the selected cell.

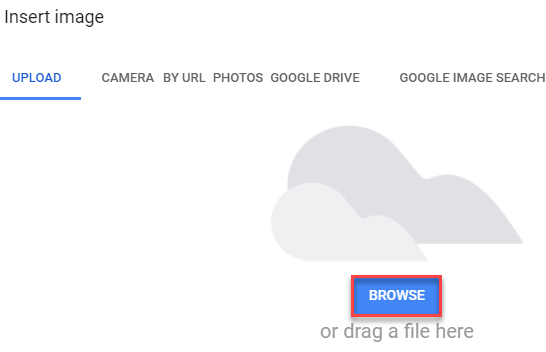
- In the Insert image window, click Browse to upload an image from the computer. Here you can also choose to take a picture with the camera, insert a URL, upload from Google Photos or Google Drive, or search for an image on Google.
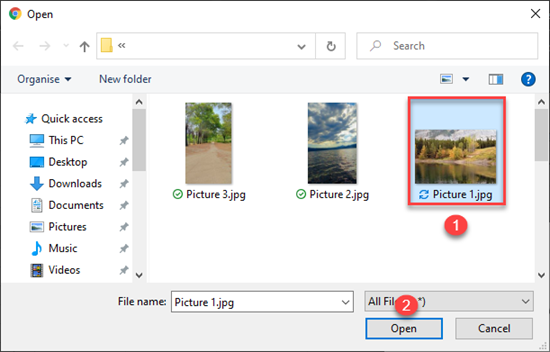
- In the Open window, select the picture you want to insert (Picture 1.jpg), and click Open.
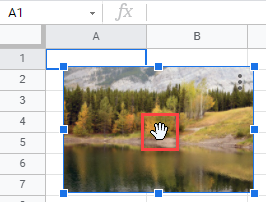
Finally, the selected image is inserted in your Google Sheets worksheet.

Moving a Picture in Google Sheets
To move a picture in the sheet, follow these steps:
- Select the picture and the cursor turns into a white hand. This cursor is used for moving pictures.
- Drag the picture to the desired position (for example, cell C1) and drop it. In this way, you can move pictures inside the worksheet.