
Insert text or data from another document without using cut-and-paste
Updated on November 21, 2021
What to Know
- Insert a document within Word by going to Insert > Object > Text from File. Select a file and choose Insert.
- Insert a portion of a document by going to Insert > Object > Text from File and selecting a file. Adjust Range to choose a portion.
A common method to insert text into a Microsoft Word document is to cut and paste it. This works well for short pieces of text. When you want to insert an entire document or a lengthy section of a document, there’s a quicker solution than the cut-and-paste method. Instructions in this article apply to Word for Microsoft 365, Word 2019, Word 2016, Word 2013, and Word 2010.
Add Another Document to a Word Document
Word can add an entire document into your work in a few quick steps.
-
Position the cursor where you want to insert the document.
-
Go to the Insert tab.
-
In the Text group, select the Object drop-down arrow.
-
Select Text from File.
-
In the Insert File dialog box, select a document file.
-
Choose Insert.
-
The document is inserted, beginning at the cursor location.
Add a Portion of a Document to a Word Document
If you don’t want to add the entire contents of the file into your Word document, choose which parts of the document or worksheet that you want to insert.
-
Place the cursor where you want to insert the text.
-
Select Insert > Object > Text from File.
-
In the Insert File dialog box, select a document file.
-
Select Range.
-
In the Set Range dialog box, enter the bookmark name from the Word document, or the range of cells from the Excel worksheet.
-
Select OK.
-
In the Insert File dialog box, select Insert.
-
The portion of the document is inserted, beginning at the cursor location.
Insert a Linked Text in a Document
If the text from the document you’re inserting might change, use linked text that can be updated easily. The linked text option offers a third method to insert a document that updates the document automatically if the original changes.
-
Position the cursor where you want to insert the link to the document.
-
Go to the Insert tab.
-
Select the Object drop-down arrow.
-
Choose Object.
-
In the Object dialog box, go to the Create from File tab, then select Browse.
-
In the Browse dialog box, choose the file to insert, then select Insert.
-
In the Object dialog box, select Display as icon to display the inserted file as a clickable icon, rather than display the first page of the file.
-
Select OK to insert the linked file
How to Update Linked Text
Because linked data is stored in the source file, linked objects can be updated if the source is changed.
If the text changes in the original document, select the linked text object (the entire text of the insert will be selected), then press F9. This checks the original and updates the inserted text with the changes made to the original.
Only linked text can be updated. Because embedded objects become part of the Word file, these objects are not connected to the source file and do not update.
Thanks for letting us know!
Get the Latest Tech News Delivered Every Day
Subscribe
Download PC Repair Tool to quickly find & fix Windows errors automatically
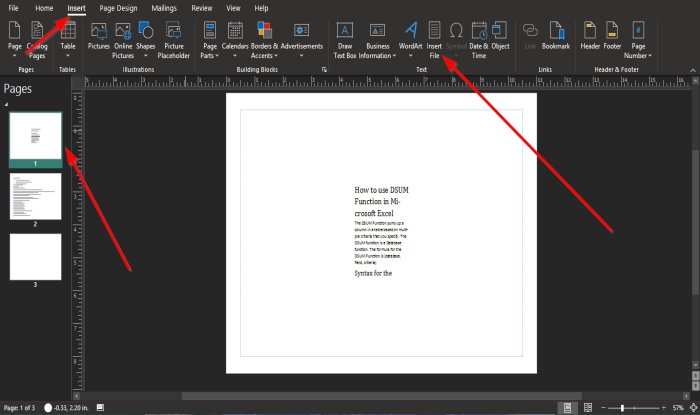
Microsoft Publisher is a software that is used to create many creative publications such as calendars, booklets, cards, certificates, and much more creations you can think of but did you know that you can import text into the publication of Microsoft Publisher using the Insert File feature? Using the Insert File feature is a quick way to import a document into Publisher without going back and forth to copy from one document to another to copy and paste a document into the Publisher’s publication.
Insert file is a feature in Publisher that inserts text from a file into the publication. If you select a text box, the text from the file will be added to the textbox; if a textbox is not selected, a new text box will be created containing the file’s text.
In this tutorial, we will explain how to import text from a Word document into a Publisher publication.
- Open Publisher.
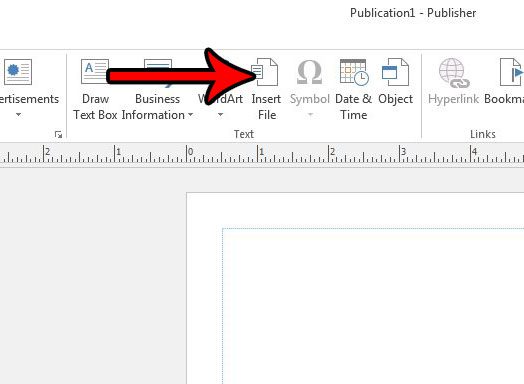
- Click the Insert tab on the menu bar.
- On the Insert tab in the Text group, select the Insert File button.
- An Insert Text dialog box will appear.
- Inside the dialog box, click the file you want into the publication, then select Ok.
- The text from the file you selected will appear in the publication.
If there is a lot of text, Microsoft Publisher will display the document in multiple publications or pages.
You will see a Navigation Pane where you can navigate the file imported into the publication on the left pane beside the publication.
You can resize the text box if you want.
We hope this tutorial helps you understand how to insert text from a file into a publication in Publisher.
Read next: How to use the Building Blocks features in Publisher.

Shantel has studied Data Operations, Records Management, and Computer Information Systems. She is quite proficient in using Office software. Her goal is to become a Database Administrator or a System Administrator.

When working on a document in Word, you may find that you need to insert text from another Word document. Maybe you’re collaborating with others and combining multiple pieces, for example.
RELATED: How to Collaborate on Documents in Real-Time in Office 2016
There is a better way to collaborate on documents in Office 2016, but there may be times when a fellow collaborator needs to work offline and they send you a document to integrate into the main document. So, we’ll show you how to insert the contents of a Word file into another Word file for situations where online collaboration is not an option. (Sure, you could just open the second document and copy and paste its text, but the method below is often faster.)
For the purposes of this article, we’ll call the file being inserted the “source” file and the file into which you are inserting the source file the “target” file.
To insert the contents of a source Word file into a target Word file, open the target document, place the cursor where you want to insert the source file, and then click the “Insert” tab.

In the “Text” section, click the “Object” button and select “Text from File” from the drop-down menu.
The “Insert File” dialog box displays. Navigate to the folder that contains the source file you want to insert and select the file. Then, click “Insert”.
NOTE: You can also insert text from a text (.txt) file.
The entire contents of the source file (text, images, tables, etc.) will be inserted at the cursor in the target document.
When inserting text from a source document that has styles using the same names as in the target document (for example, the “Normal” style), the style in the target document takes precedence. If you want to keep the formatting of the text from the source document, make sure the style applied to that text in the source document has a different name than any of the styles in the target document. So, if you want the text from the source document to look like the text in the target document, such that the formatting is consistent, you’re good. All you have to do is insert the file or part of the file as we described in this article.
You can also insert text from a text (.txt) file, but you have to insert the entire file in that case, because you cannot add bookmarks to text files.
RELATED: How to Reference Text from Other Documents in Microsoft Word
We previously described a trick where can put common content into one Word document and reference it in other Word documents. The content will even automatically update in all your documents if you change it in the common document because the two are linked using a field. That feature is different from inserting files as described in this article because when you insert content from a source file into a target file, there is no link between the source file and the target file. So, when you change the content in the source file that content is not updated in the target file.
READ NEXT
- › The New NVIDIA GeForce RTX 4070 Is Like an RTX 3080 for $599
- › This New Google TV Streaming Device Costs Just $20
- › HoloLens Now Has Windows 11 and Incredible 3D Ink Features
- › BLUETTI Slashed Hundreds off Its Best Power Stations for Easter Sale
- › Google Chrome Is Getting Faster
- › How to Adjust and Change Discord Fonts
How-To Geek is where you turn when you want experts to explain technology. Since we launched in 2006, our articles have been read billions of times. Want to know more?
If you want to insert content from other file like plain text file or Word document into your current Word document use the Text from file… feature. It is a lot faster than opening second file and using Copy & Paste.
Also if you insert Word document you can be sure that the formatting is kept. For example text formatted as Header 1 will still be Header 1, page breaks will be kept, etc.
Difference between inserting text and inserting object (Word, text file)
Difference is that in second case document can be edited only in separate Word window as it is attached file. When you use Text from file… feature there is no link to document where the text was taken from. Text becomes part of the main document.
-
Go to INSERT tab

Click to enlarge -
Click Object button

Click to enlarge -
Select file

Click to enlarge -
Text from document will be inserted.

Click to enlarge


Do you have the content for your Publisher file in a Word document, and you either don’t want to copy and paste it into Publisher, or you tried and became frustrated with the output? Fortunately Publisher has a tool that will let you insert a file into your Publisher document, and it is possible to do this with a Word document.
Our tutorial below will show you how to insert a Word document from your computer into your Publisher file, allowing you to quickly duplicate the content from that original Word file directly on the page in Publisher.
The steps in this article assume that you have a Word document, and that you want to add the text from that file to your Publisher document. Publisher will also import other document objects, such as pictures and formatting, that might be present in the Word document.
Step 1: Open your Publisher document in Publisher 2013.
Step 2: Click the Insert tab at the top of the window.

Step 3: Click the Insert File button in the Text section of the ribbon at the top of the window.
Step 4: Browse to the Word document to add to the Publisher document, select it, then click the OK button.

Note that if there is a lot of text in the file, Publisher may spread it out across multiple pages.
Have you created a page in Publisher, and you want to add another copy of that page to the file? Find out how to duplicate a page in Publisher and save yourself the time and frustration that would typically accompany recreating that page from scratch.

Matthew Burleigh has been writing tech tutorials since 2008. His writing has appeared on dozens of different websites and been read over 50 million times.
After receiving his Bachelor’s and Master’s degrees in Computer Science he spent several years working in IT management for small businesses. However, he now works full time writing content online and creating websites.
His main writing topics include iPhones, Microsoft Office, Google Apps, Android, and Photoshop, but he has also written about many other tech topics as well.
Read his full bio here.
In this chapter, we will discuss how to insert text in Word 2010. Many times it is required to go back and insert additional text in an existing line. Microsoft Word provides two ways to insert text in existing text and we will show how to use both the methods of inserting text −
Insert and Add Text
First we will see how inserted text will be added into the existing content without replacing any existing content.
Step 1 − Click the location where you wish to insert text; you can also use the keyboard arrows to locate the place where the text needs to be inserted.
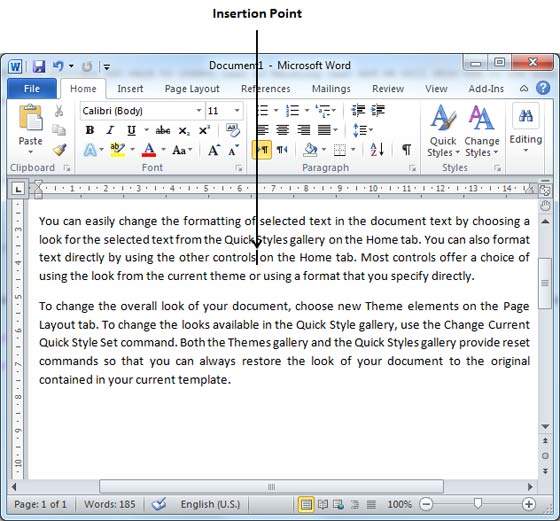
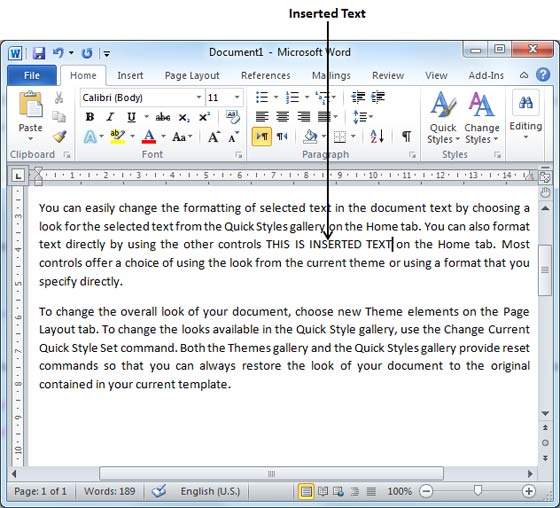
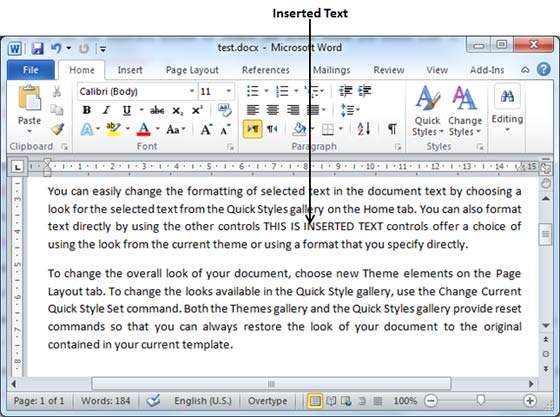
Step 2 − Start typing the text that needs to be inserted. Word inserts the text to the left of the insertion point, moving the existing text to the right
Insert and Replace Text
In the Insertion mode, text will be added into the existing content but same time it will over write all the content which comes in its way.
Step 1 − Right-click the status bar and select the Overtype option from the displayed menu.
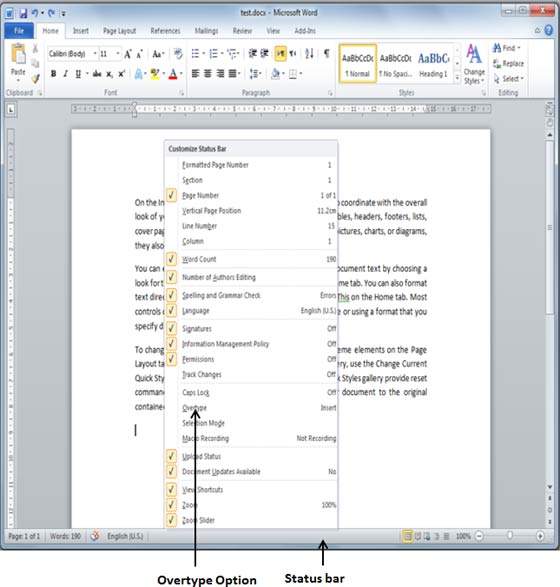
When you select the Overtype option, the status bar will show the insert mode as shown below −
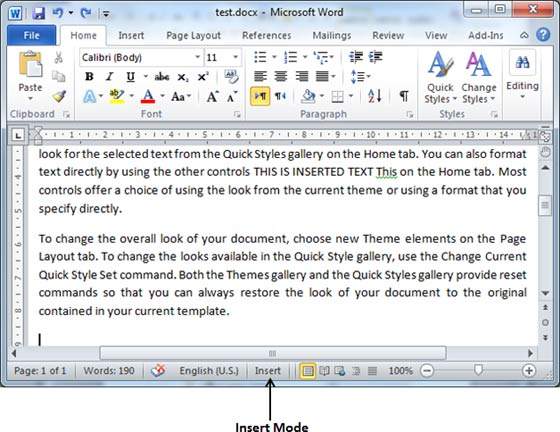
Step 2 − Click on the Insert text available at the status bar and it will switch to the Overtype mode as shown below −
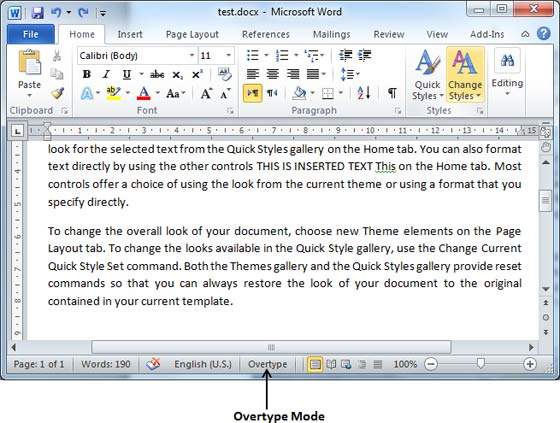
Step 3 − Now click the location where the text needs to be inserted or you can use the keyboard arrows to locate the place where the text needs to be inserted.
Step 4 − Start typing the text that needs to be inserted. Word will replace the existing text with the newly typed text without moving the position of the exiting test.
Note − Microsoft Word 2010 disabled the functionality of the Insert key and it does nothing, so you will have to follow-up with the above mentioned procedure to turn-on or turn-off the Insert mode.
We’ll talk about how to Insert Text in MS Word in this chapter. A lot of the time, you have to go back and add more text to an existing line. There are two ways to insert text to existing text in Microsoft Word, and we’ll show you how to use both of them.
Table of contents
- Insert Text in MS Word
- What is Inserting Text in MS Word?
- What is the Use of Inserting Text?
- How to Insert Text Quickly in Your Word Document
- Insert Text Using Textbox
- Summary
What is Inserting Text in MS Word?
Inserting text is one of the many things that MS-Word can do. For example, if a user is writing something like an article or assignment, he or she might realize that they forgot to write something in the middle, at the beginning, or anywhere else in the document. So, in this case, the feature that comes in very handy is Inserting text, which will do the work for the user.
What is the Use of Inserting Text?
The use of Inserting text in MS Word it has the ability to position the cursor using the mouse or arrow keys at any point in a document and begin typing.
The insert text function permits you to add characters to your document without erasing your previous work.
How to Insert Text Quickly in Your Word Document
Time needed: 2 minutes.
Here are the basic steps for inserting text or making a new document in Word;
- Insert Text in Microsoft Word with Text Replacement
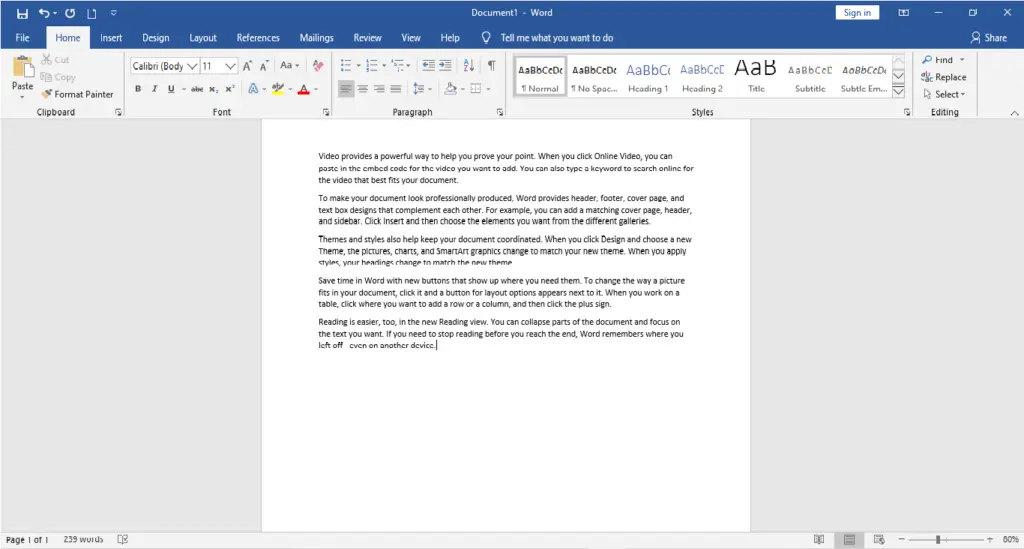
Step 1: First open MS-Word on your PC.
Step 2: Now, Open the document or create a new one in which you want to perform this operation.
Step 3: Now, Put the cursor where you want to insert the text.
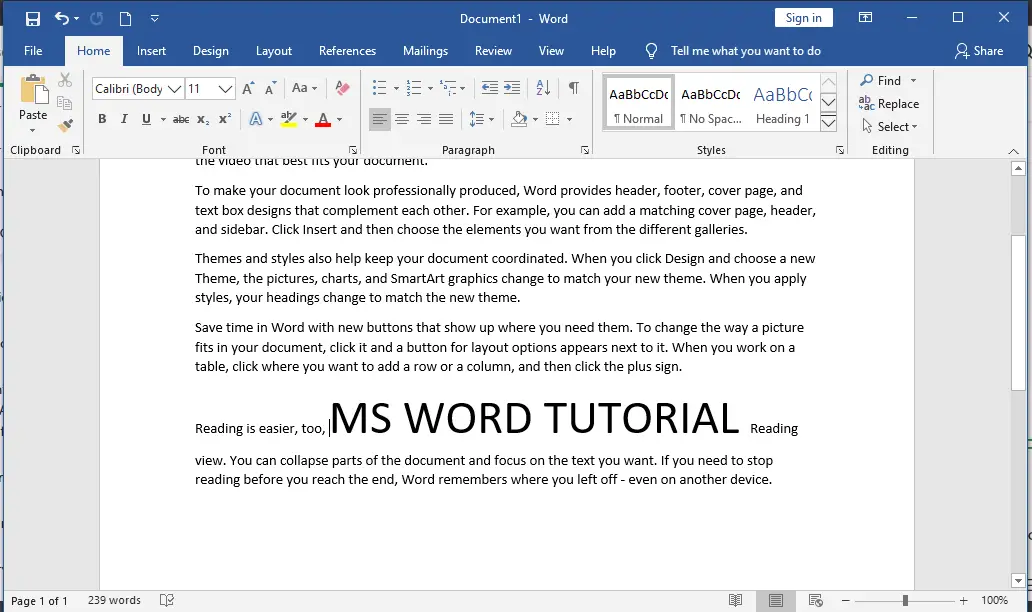
Step 4: Now, Write or type the text which needs to be inserted.
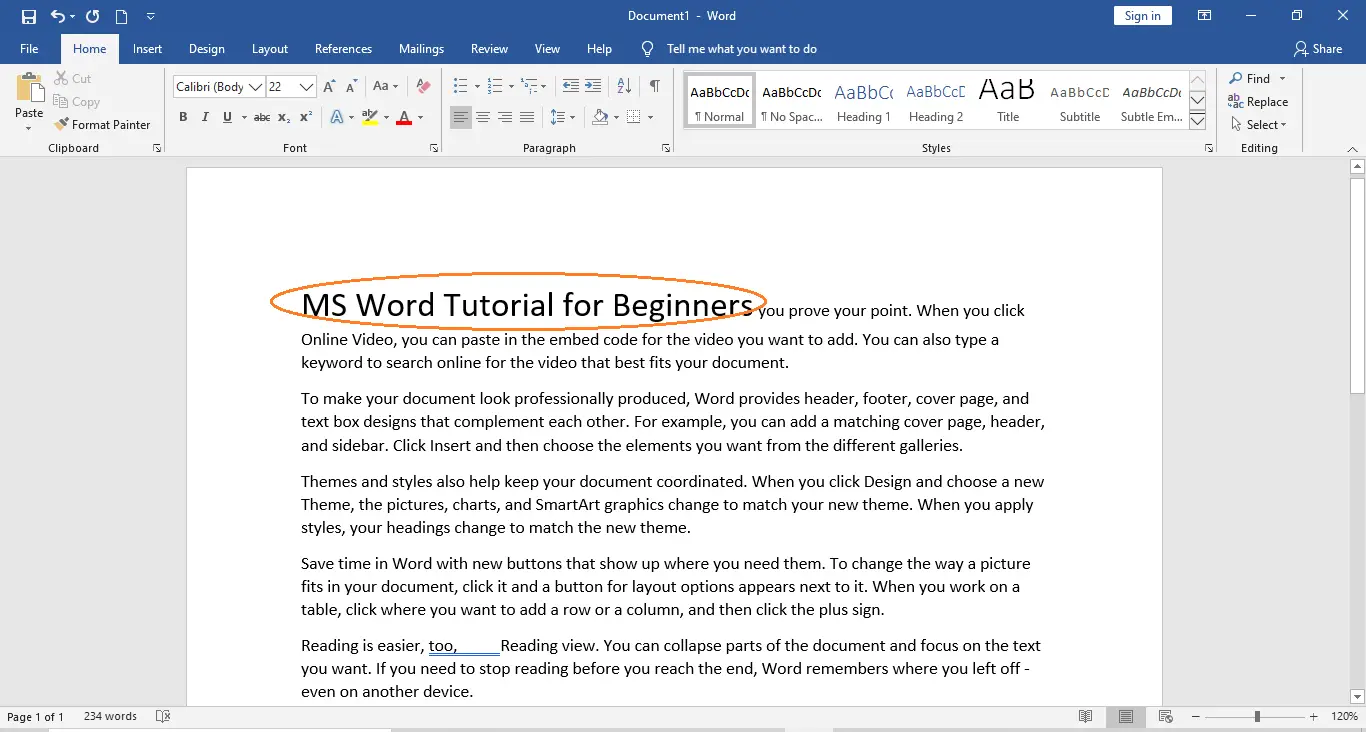
Like here we insert MS Word Tutorial. As shown in the figure below:
Step 5: So, the text is inserted successfully.
- Insert Text in Microsoft Word with Text Replacement
Here are some examples on how to Insert Text in MS Word with replacing some text. Sometimes, a certain part of the whole document or some text needs to be changed to something else.
1. Open the document you wish to perform this action on, or create a new one.
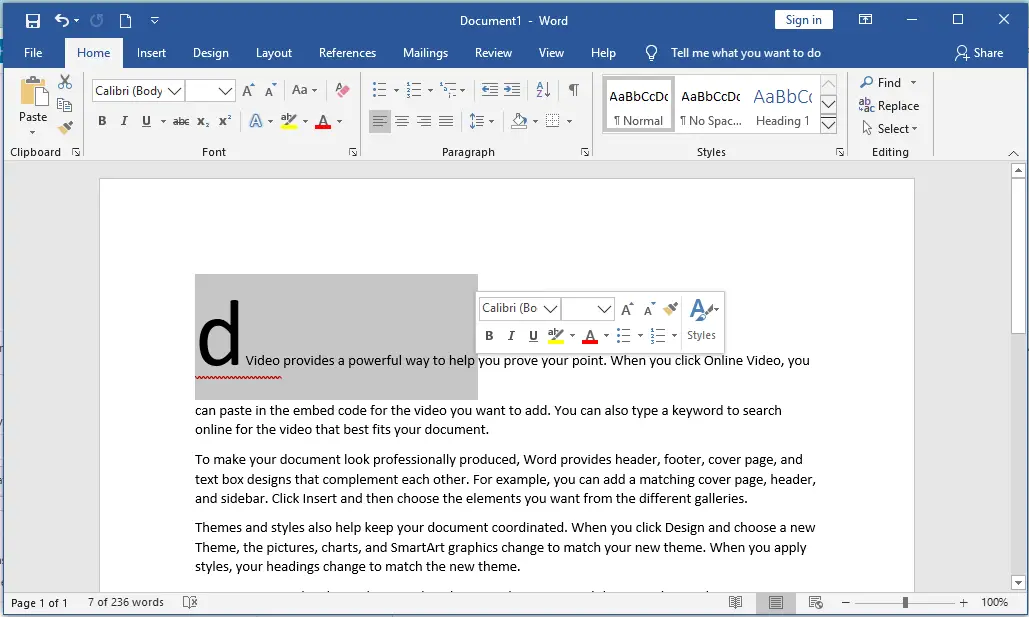
2. Now, choose the text you’d like to change.
3. Now, press the “Backspace” key and start typing the text you want to add. Or, you can just start typing the text you want to insert, and the “selected text by default” feature will go away or be deleted when you do.
Here, we replace the first paragraph with “MS Word Tutorial for Beginners“.
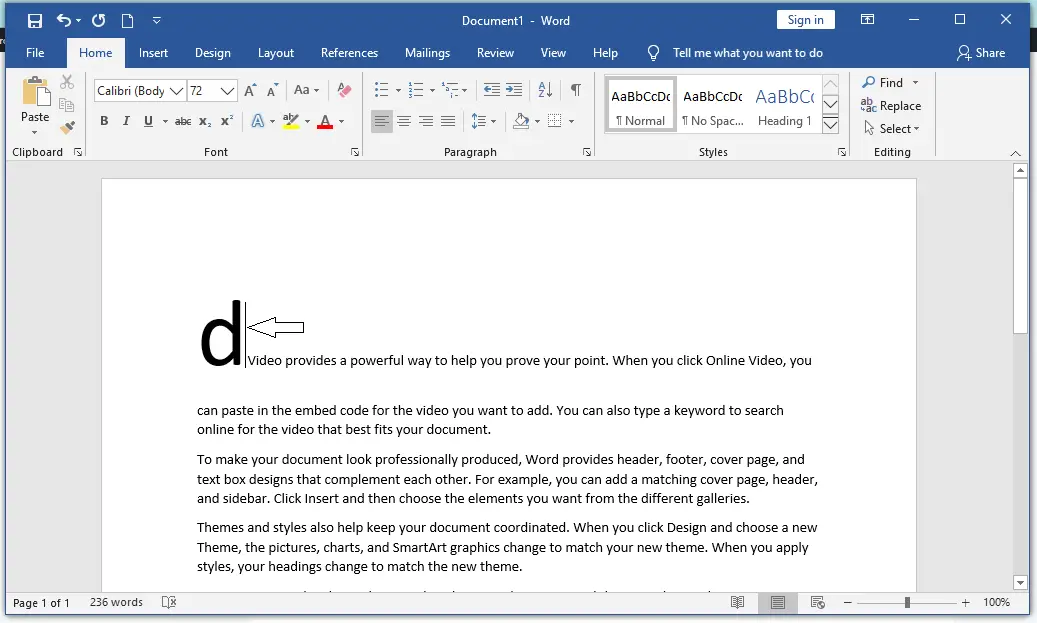
Insert Text Using Textbox
The MS Word allows us to Insert Text boxes anywhere within the document where required. This is another excellent tool provided by Microsoft Word.
A text box is an object you can add to your document that lets you put and type text anywhere in your file. Text boxes can be useful for drawing attention to specific text and can also be helpful when you need to move text around in your document
Now, Open the document or create a new one in which you want to perform this operation.
Now, go to “insert tab” above. (As shown in the image below)
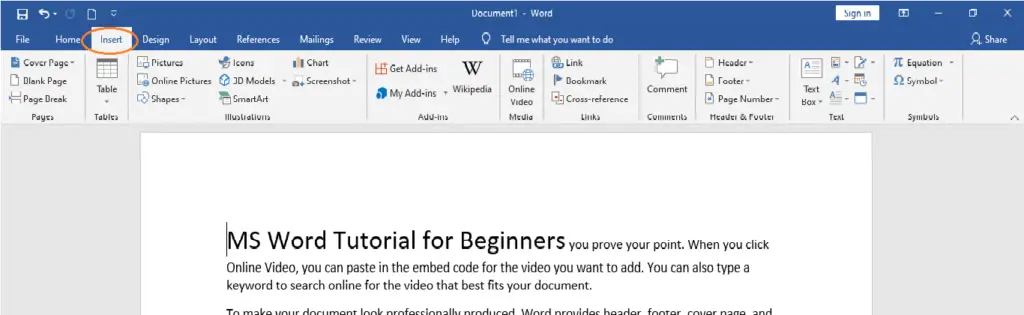
Now, In the insert tab, there is a section called “Text“.
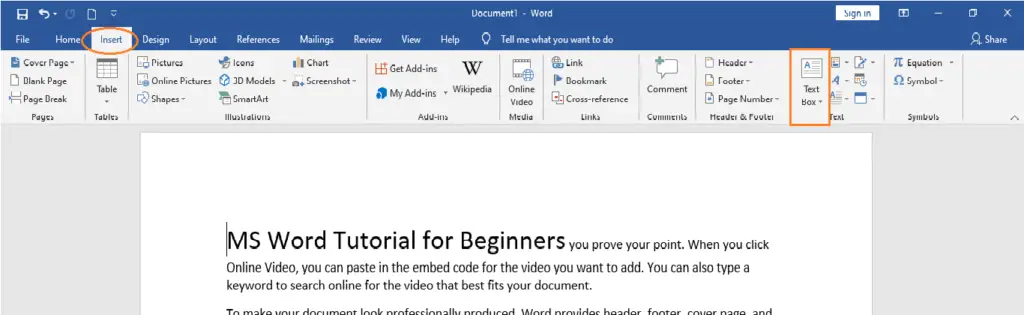
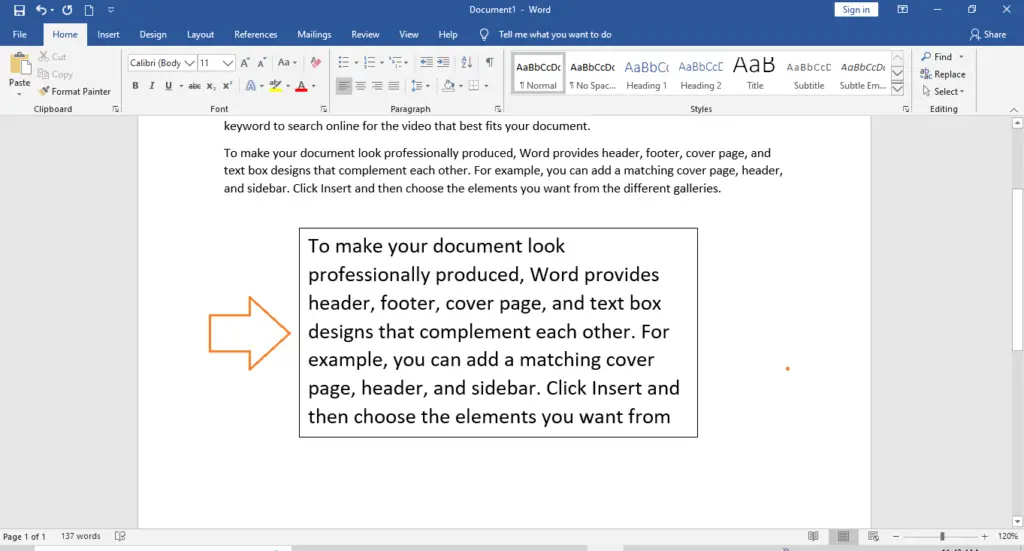
Now, In section Text, there is an option called “Text box“. Click on that option of Text box. Then, Select one of the text boxes available as per you choice. Here, for example, a simple text box has been selected.
Now, insert text or type anything that you want.
Summary
In summary, we’ve talked about Inserting text in MS Word as well as what those terms mean. Also, we learn different ways to insert text in a document.
We hope this guide helps you as you plan to create a document in MS Word.
PREVIOUS

NEXT

If your text isn’t looking right, we have some solutions
Updated on March 05, 2021
What to Know
- Copy text from Word > paste into Notepad or Text Editor. Copy text from Notepad/Text Editor > paste into WordPress.
- Or, copy text from Word, then go to post editor in WordPress dashboard. Select where to insert text > click Word icon > OK.
- Or, use an offline blog editor to create and publish posts to your WordPress blog.
This article explains how to copy text from Microsoft Word and paste it into a post or page within WordPress without creating extra HTML code.
How to Copy and Paste From Word to WordPress
Fortunately, there’s a way to copy and paste text from Word to WordPress without extra code mysteriously appearing. Here’s how to do it:
-
Copy the text from Word as you normally would, then go to the post editor in your WordPress dashboard.
-
Select the spot where you want to insert the text, then select the Insert from Word icon in the toolbar above the post editor. It looks like a W.
If it’s not visible, hover over the Kitchen Sink icon in the toolbar and click it to reveal all of the hidden icons.
-
When you select the Word icon, a dialogue box opens where you can paste your text from Word. Click the OK button and the text automatically inserts itself into your blog post editor without all of the extraneous code.
How to Copy and Paste Plain Text From Word to WordPress
The above solution works, but it’s not perfect. There can still be formatting issues when you paste text using the Insert from Word tool in WordPress. If you want to ensure there’s absolutely no extra code or formatting problems, the best option is to paste the text from Word without any formatting applied to it. That means you need to paste plain text, which requires a couple of extra steps.
Open Notepad on your PC (or Text Editor on your Mac) and paste the text from Word into a new file. Copy the text from Notepad (or Text Editor) and paste it into the WordPress post editor. No extra code is added.
If there was any formatting in the original text you want to use in your blog post or page (such as hyperlinks), you need to add those again from within WordPress.
Try an Offline Blog Editor
Another option is to use an offline blog editor to create and publish posts and pages to your WordPress blog. When you copy and paste text from Word to an offline blog editor, the extra code problem usually doesn’t occur and most formatting is retained correctly.