
Word for Microsoft 365 Word for Microsoft 365 for Mac Word 2021 Word 2021 for Mac Word 2019 Word 2019 for Mac Word 2016 Word 2016 for Mac Word 2013 Word 2010 More…Less
You can group shapes, pictures, or other objects. Grouping lets you rotate, flip, move, or resize multiple shapes or objects as though they’re a single shape or object.
Group shapes, pictures, or other objects
-
Press and hold CTRL and select shapes, pictures, or other objects to group.
The Wrap Text option for each object must be other than In line with Text. For more info, see Wrap Text.
-
Do one of the following:
-
Go to Picture Format or Picture Tools Format >
 Group > Group.
 -
Go to Shape Format or Drawing Tools Format > Group > Group.
To still work with an individual item in the group, select the group, and then select the item.
The Group button is enabled for two or more selected objects.
-
 Group > Group.
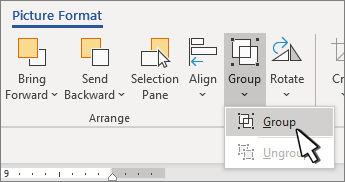
Group shapes, pictures, or objects
-
Press and hold CTRL while you select the shapes, pictures, or objects that you want to group.
The Wrap Text option for each object must be other than In line with Text. For more info, see Wrap Text.
-
Go to Drawing Tools or Picture Tools, on the Format tab, in the Arrange group, select Group
, and then select Group.
To work with an individual item in the group, select the group, and then select the item.
 , and then select Group.
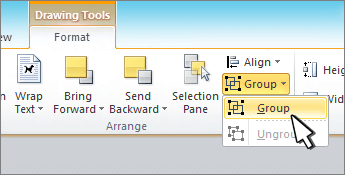
Group shapes, pictures, or other objects
-
Press and hold command while selecting the shapes, pictures, or other objects to group.
The Wrap Text option for each object must be other than In line with Text. For more info, see Wrap Text.
-
Go to Shape Format or Picture Format, and then select Group
> Group.If Group
isn’t visible on the ribbon, select Arrange to display it.
 > Group.
To work with an individual item in the group, select the group, and then select the item.
If the Group button is unavailable, verify that you have more than one object selected.
See also
For more info selecting shapes or pictures, see Select a shape or other object in Word.
SVG icons must converted to shapes before grouping. For more info, see Convert an SVG image to an Office shape.
Need more help?
Want more options?
Explore subscription benefits, browse training courses, learn how to secure your device, and more.
Communities help you ask and answer questions, give feedback, and hear from experts with rich knowledge.

How to Group Objects in Word
It is often easier to work with a single object than it is to work with several smaller objects that belong together. A group is a collection of objects that Word treats as a single object.
Group
By grouping several objects together, you can format multiple objects at once rather than formatting each object individually.
- Select all the objects you want to group together.
- Click the Layout tab on the ribbon.
- Click the Group button.
- Select Group.
Press and hold down Shift as you select multiple objects.
You can also click the Format tab on the ribbon — the Arrange group on either tab includes the Group button.
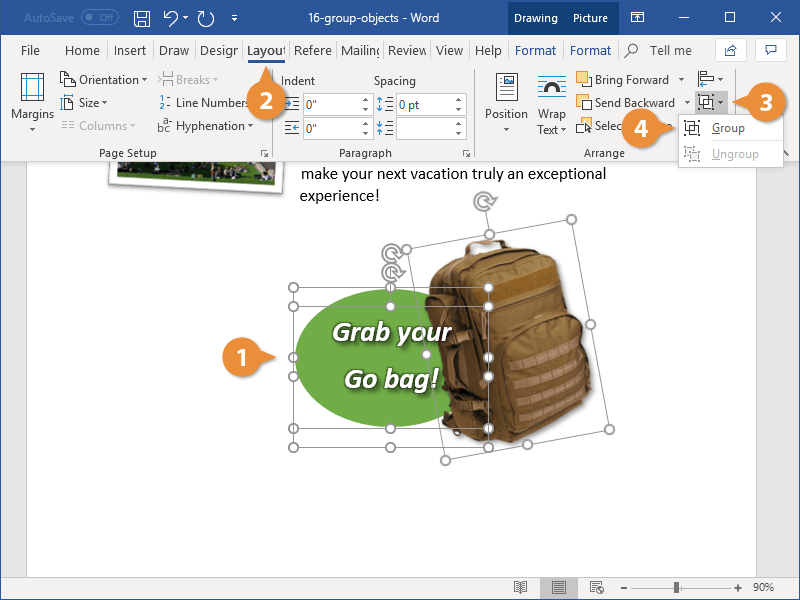
The selected objects are grouped together.
Now that the objects are grouped, you can apply effects to all three objects at once and move the grouped objects around the document together.
You can also right-click selected items and select Group from the contextual menu to group objects.
If you need to apply some formatting to just a single object in the group, or move something around within the group, first select the group, then click the object you want to format within the group. Just that object is selected, but it remains part of the group.
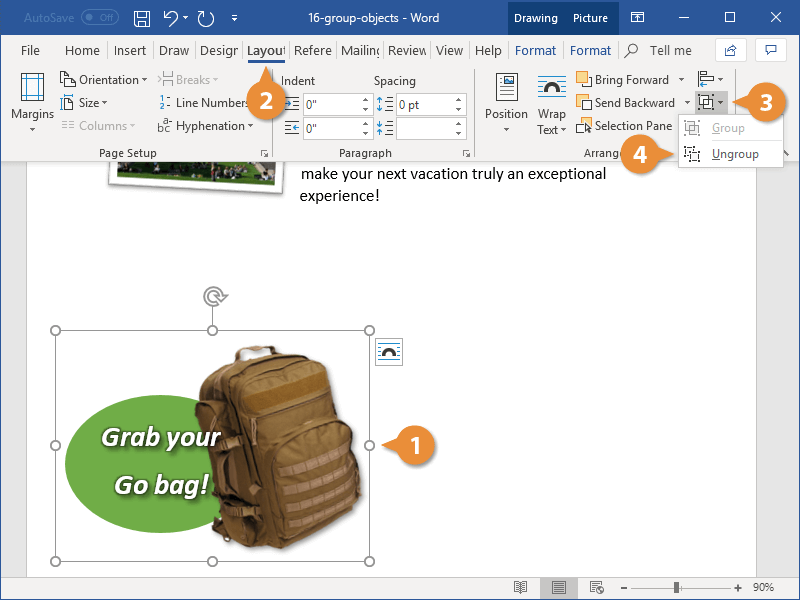
Ungroup
If you no longer need to keep a group of objects together, you can ungroup them so they’re all independent objects again.
- Select the object group.
- Click the Layout tab.
- Click the Group button.
- Select Ungroup.
When a group is selected, the Group command is no longer available, but the Ungroup command is.
The objects can now be manipulated individually.

FREE Quick Reference
Click to Download
Free to distribute with our compliments; we hope you will consider our paid training.
![]()
Download Article
![]()
Download Article
- Grouping Objects in Word
- Why is the Group button grayed out?
- Q&A
|
|
Do you want to move or resize multiple pictures, shapes, or other objects in your document at the same time? Grouping objects in Microsoft Word is an efficient way to manipulate them to act as a whole instead of individual pieces. You can group shapes, pictures, and other objects so that if you wish to relocate them but not change the distance between them, they will move as one. This wikiHow article teaches you step-by-step how to group and ungroup shapes, pictures, and other objects in Word on your PC or Mac.
Things You Should Know
- Group items by selecting them and then going to «Layout > Group».
- Make sure none of the objects have the «In Line with Text» wrap setting before creating a group.
- If the Group option is grayed out, make sure you have more than one object selected & that none of the objects is a SVG, table, or worksheet.
-
1
Open your document in Word. You can either double-click the file in your file manager (Finder for Mac and File Explorer for Windows) or you can click the Word app icon and go to File > Open.
-
2
Make sure none of your objects are set to «In Line with Text.» If a picture or object you want to add to the group has its text wrapping set to «In Line with Text,» you won’t be able to select it while creating your group.[1]
Here’s how to check and change the text wrap settings:- Click any object you want to add to the group.
- Click the «Layout Options» icon that appears at the top-right corner.
- If the «In Line with Text» option is selected, choose any of the other text wrapping options.
- Repeat for all objects you want to group.
Advertisement
-
3
Select the objects you want to group. If you’re using Windows, press and hold Ctrl as you click each object. If you’re on a Mac, press and hold Cmd instead.
-
4
Click the Shape Format or Picture Format tab. You’ll see one or both of these tabs at the top of Word, depending on which objects you’ve selected. The option to group objects appears on both of these tabs.
- If you don’t see either of these tabs, click the Layout tab instead. You’ll also find the option to group here.
- If you’re using Office 2010, click the Drawing Tools or Picture Tools tab, then click the Format tab.[2]
-
5
Click Group on the toolbar. You’ll see this on the Arrange panel near the top-right corner of Word. If you don’t see this option, click Arrange to make it visible. A brief menu will expand.
-
6
Click Group again to group the selected objects. The objects are now grouped together, which allows you to rotate,
- To ungroup objects, click your group to select it, click the Layout tab, then select Ungroup.
- Once you’ve grouped, then separated a group, you can regroup it. Go to Layout > Regroup.


Advertisement
-
1
You can’t include SVG icons in your groups. If there are SVG icons in your selection, you’ll first have to convert the SVG icons to shapes, which is a feature that only Windows 365 subscribers have access to. There will be a «Convert to Shape» button under Graphics Tools > Format.
-
2
You only have one shape, picture, or object selected. Since you can’t create a group with only 1 item, you’ll need to add more items. Press and hold Ctrl (Windows) or Cmd (Mac) as you click to add other objects.
-
3
Your selection includes a table or worksheet. Unfortunately, you cannot add these things to your group.


Advertisement
Add New Question
-
Question
How can I group text boxes in Word?

Click one after the other while holding Ctrl. Then do a right-click and press ‘Group’.
-
Question
Microsoft Word wouldn’t allow me to group for some reason. Do you have any idea what I’m doing wrong?
Objects with «In Line» text wrapping and GIFs cannot be grouped. Since wrapping is difficult in a text box, it is best to move any items out of a text box, change the word wrap setting, and then group. You can then copy the group and paste it back into a text box and finish by deleting the group outside the box.
Ask a Question
200 characters left
Include your email address to get a message when this question is answered.
Submit
Advertisement
Thanks for submitting a tip for review!
About This Article
Thanks to all authors for creating a page that has been read 190,876 times.
Is this article up to date?
Download PC Repair Tool to quickly find & fix Windows errors automatically
Microsoft Word is software for writing and editing and allows users to create designs and organize images for their work. Microsoft Word can use to customize pictures, create calendars, booklets, brochures, etc. When a user creates several objects such as pictures, text boxes, and shapes, they want to make them come together as one image. Microsoft Word has the feature for making this possible.
Grouping Objects in Word manipulates the image to come together as one. When you move the object, they will move together. In this tutorial, we will explain how to group objects in Microsoft Word. In this post, we will show you how to group shapes, pictures, text, and objects in Microsoft Word.
Open Microsoft Word.

Draw an object in your word document.
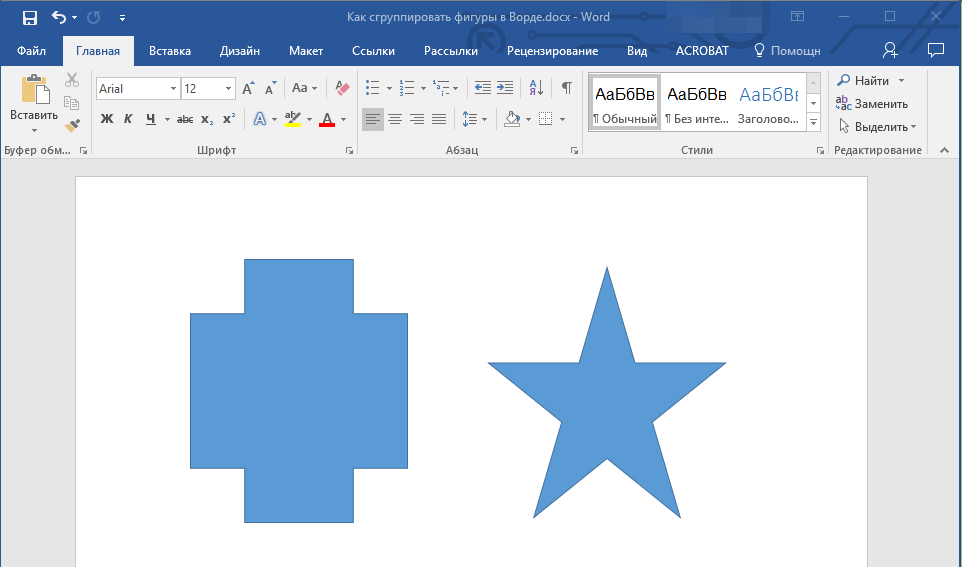
Click the Insert tab and click Shapes in the Illustration group and select a Banner and a Star from the Star and Banner category.
You can color the shape of the star and banner if you want.
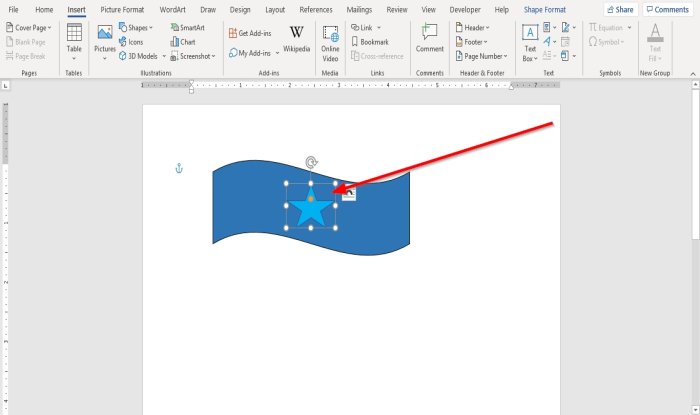
Place the star on the banner by clicking on it and dragging it in the middle of the banner.
If we try to move the object, you will see that that they are not moving together as one object. We want it to be a complete picture, so we can move it together when we are moving it.
Now, we will group the picture.
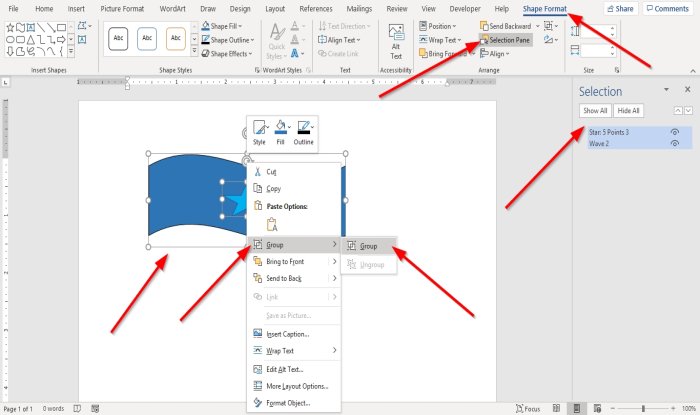
Click on the Shape Format tab; if you have not seen it, click on a shape, and the Shape Format tab will appear.
On the Shape Format tab, in the Arrange group, click the Selection Pane.
A Selection Pane window will open on the right.
Click one of the shapes in the window and press CTRL + SHIFT and click to select the other one.
In the document, you will see both are selected.
In the word document, right-click an object; click Group in the drop-down list; you will see two options Group and Ungroup. Select Group.
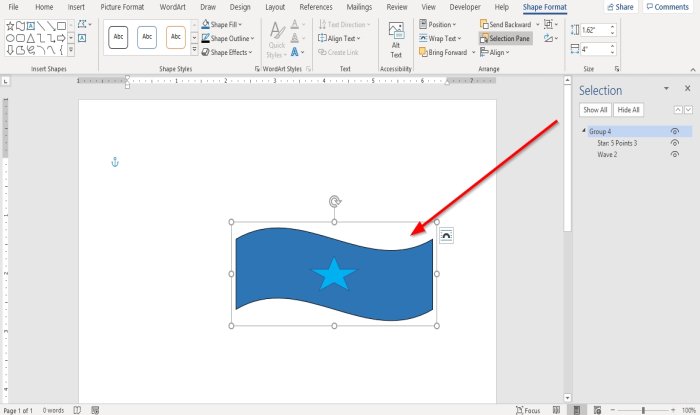
The objects are grouped. Now they can both move together as one image.
I hope this is helpful.
Read next: How to insert Section Breaks in a Microsoft Word document.

Shantel has studied Data Operations, Records Management, and Computer Information Systems. She is quite proficient in using Office software. Her goal is to become a Database Administrator or a System Administrator.

Если в вашем документе MS Word помимо текста содержатся еще и фигуры и/или графические объекты, в некоторых случаях может возникнуть необходимость их сгруппировать. Это нужно для того, чтобы более удобно и эффективно выполнять различные манипуляции не над каждым объектом отдельно, а над двумя или более сразу.
Например, у вас есть две фигуры, расположенные рядом друг с другом, которые необходимо переместить таким образом, чтобы расстояние между ними не нарушалось. Именно для таких целей и рекомендовано сгруппировать или объединить фигуры в Ворде. О том, как это сделать, мы расскажем ниже.
Урок: Как в Word создать схему
1. Откройте документ, в котором необходимо сгруппировать фигуры. Это также может быть пустой документ, в который вы только планируете добавить фигуры или графические файлы.
Урок: Как в Ворд вставить картинку
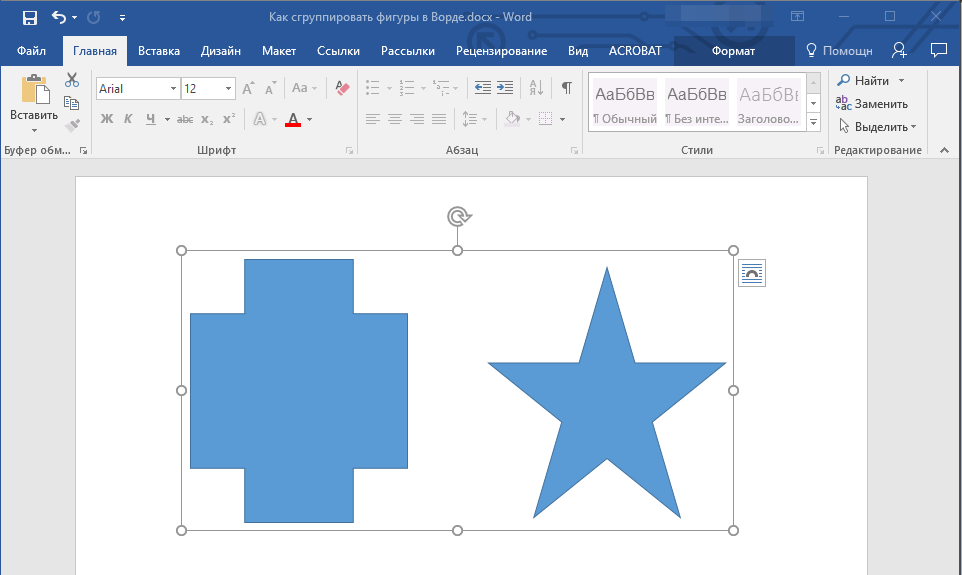
2. Кликните по любой из фигур (объектов), чтобы открыть режим работы с ней (вкладка “Формат”). Перейдите в появившуюся вкладку.
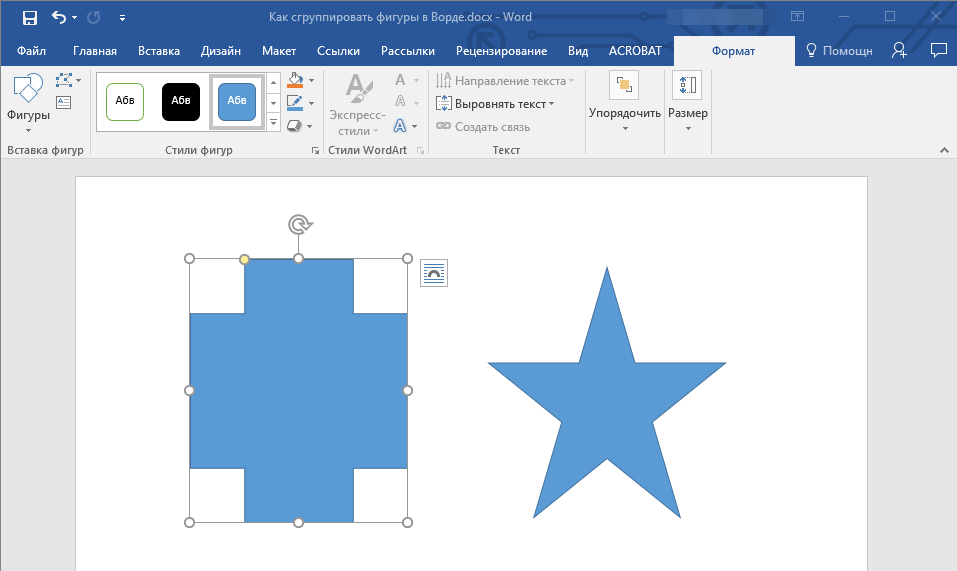
3. Зажмите клавишу “CTRL” и кликните по фигурам, которые необходимо сгруппировать.
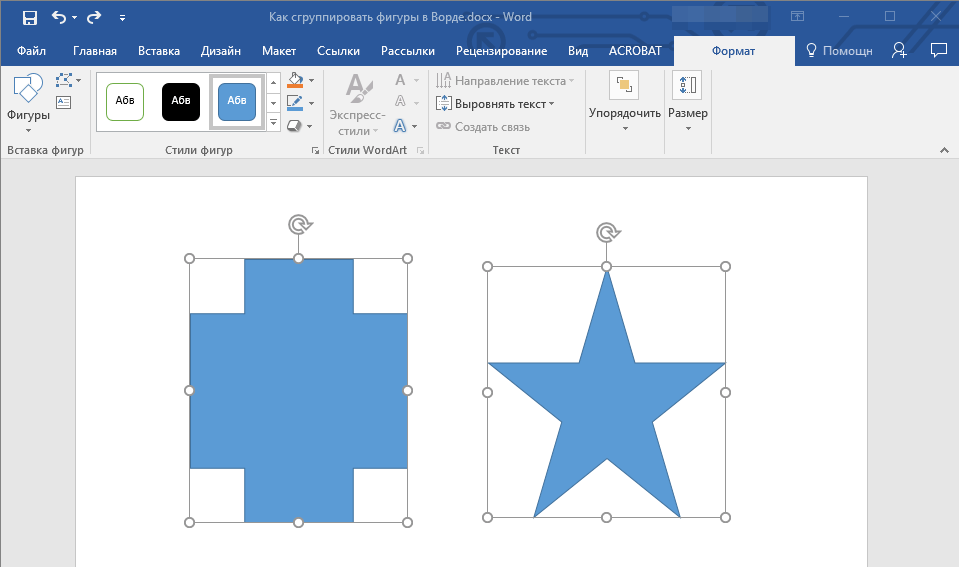
- Совет: Прежде, чем выделять фигуры, убедитесь в том, что они расположены именно так, как это вам необходимо.
4. Во вкладке “Формат” в группе “Упорядочить” нажмите на кнопку “Группировать” и выберите пункт “Сгруппировать”.
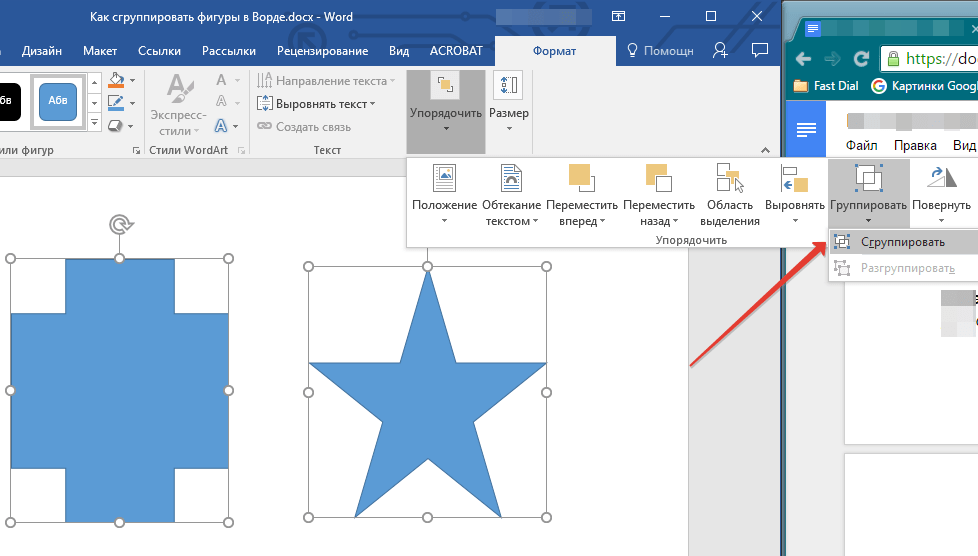
5. Объекты (фигуры или изображения) будут сгруппированы, у них появится общее поле, с помощью которого их и можно будет перемещать, изменять размер, а также выполнять все остальные манипуляции, допустимые для элементов конкретного типа.

Урок: Как в Word нарисовать линию
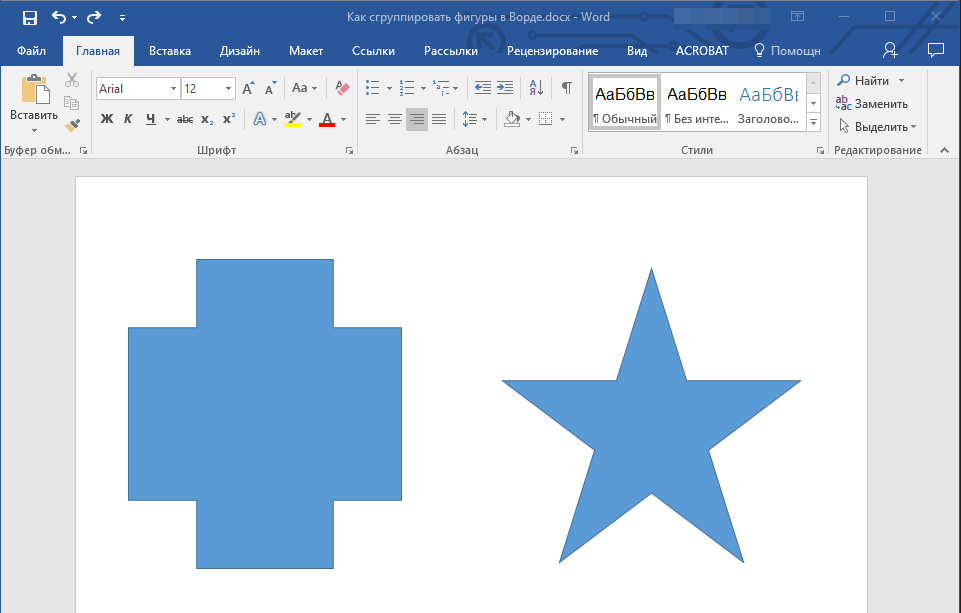
На этом все, из этой статьи вы узнали, как сгруппировать объекты в Ворде. Инструкция, описанная в данной статье, может использоваться не только для группировки фигур. С ее помощью также можно объединить рисунки и любые другие графические элементы. Используйте софт от Microsoft правильно и эффективно, осваивая все его возможности.
Еще статьи по данной теме: