
Add a border to a picture
The Picture Styles gallery offers many preset styles that make it easy for you to add a special sort of border with one click.
-
Choose the image that you want to add a border to.
-
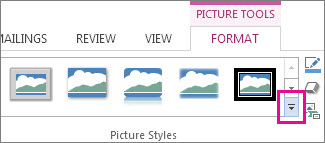
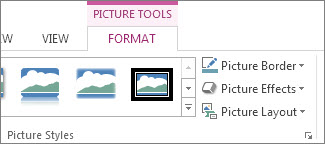
On the Picture Format tab, in the Pictures Styles gallery, choose a style.
Tips:
-
Choose More to view additional styles in the gallery.
-

-
Customize your picture’s border
-
Choose the image that you want to add a customized border to.
-
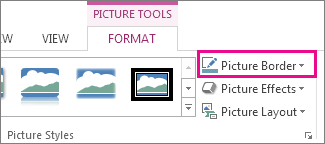
Go to Picture Format > Picture Border.
-
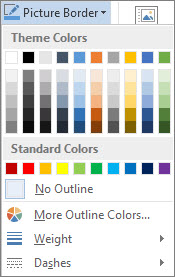
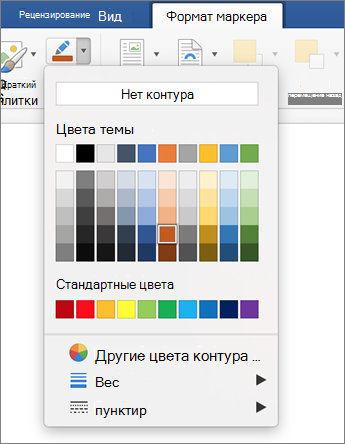
Choose a color.
-
Choose one of the following:
-
In the Weight list, choose a border width.
-
In the Dashes list, choose a line style.
-
Remove a border from a picture
The way you remove a picture border depends on whether it’s a picture style or a custom border.
-
Choose the picture you want to remove a border from.
-
Go to Picture Format and do one of the following:
-
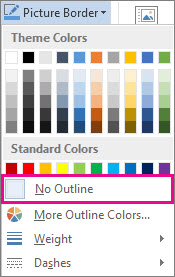
If the border is an outline, in the Picture Border list, choose No Outline.
-
If the border is a style and you know which style it is, In the Picture Effects list, choose the style that’s applied, then choose No (style). For example, to remove a shadow, select Picture Effects > Shadow > No Shadow.
-
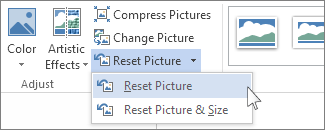
If you aren’t sure what style is applied, you can reset the picture, but resetting also will remove any other changes you’ve made. In the Adjust group, choose Reset.
-
Remove a custom border
-
Choose the picture you want to remove a customer border from.
-
On the Picture Format tab, in the Picture Border list, choose No Outline.
Add a border to a picture
-
Select the picture that you want to apply a border to.
To apply a border to specific table cells, select the cells, including the end-of-cell marks.
Note: Press Ctrl+* to turn on Show/Hide paragraph marks and view the end-of-cell marks.
-
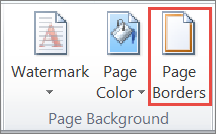
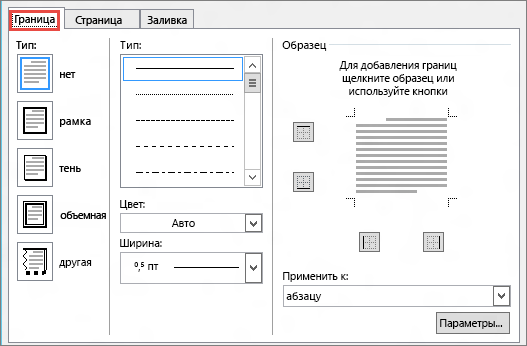
On the Page Layout tab, in the Page Background group, select Page Borders.
-
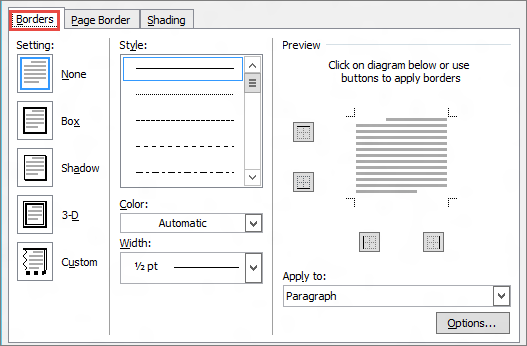
In the Borders and Shading dialog box, on the Borders tab, choose one of the border options under Settings.
-
Select the style, color, and width of the border.
-
To place borders only on particular sides of the selected area, select Custom under Setting. Under Preview, select the diagram’s sides, or select the buttons to apply and remove borders.

Change the border of a picture
-
Select the picture whose border you want to change.
-
On the Page Layout tab, in the Page Background group, select Page Borders.
-
Click the Borders tab, and change any options that you want.
-
Select the picture whose border you want to remove.
-
On the Page Layout tab, in the Page Background group, select Page Borders.
-
Click the Borders tab.
-
Under Setting, select None.
Add or remove a picture border
-
Select the picture to which you want to add, change, or remove a border.
-
Select Picture Format, and then select the arrow next to Picture Border.
-
Do any of the following:
To
Do This
Add or change the color of the border
Either select the color you want, or mix your own color by selecting More Outline Colors.
Add or change the thickness of the border
Point to Weight, and then choose the line weight you want.
Add or change the style of the border
Point to Dashes, and then select the line style you want.
Remove the border from the picture
Click No Outline.

Добавление границы рисунка
В группе «Стили рисунка» доступно много стилей, которые упрощают добавление специальных типов границ одним нажатием.
-
Выберите рисунок, для которого вы хотите добавить границу.
-
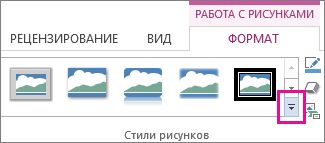
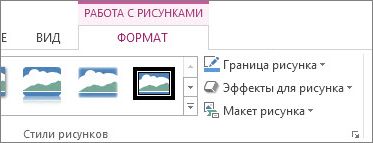
На вкладке Формат рисунка в коллекции стили рисунков выберите стиль.
Советы:
-
Щелкните Дополнительно для просмотра дополнительных стилей в коллекции.
-
-
Настройка границы рисунка
-
Выберите изображение, к которому вы хотите добавить настроенную границу.
-
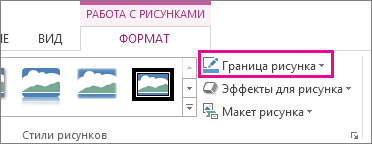
Выберите Формат рисунка > границу рисунка.
-
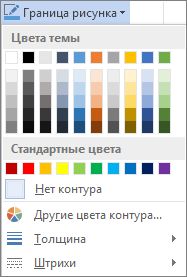
Задайте цвет.
-
Выберите один из указанных ниже вариантов.
-
В списке Толщина выберите ширину границы.
-
В списке Штрихи выберите тип линии.
-
Удаление границы рисунка
Способ удаления границы рисунка зависит от того, является ли она стилем рисунка или произвольным обрамлением.
-
Выберите рисунок, границу которого вы хотите удалить.
-
Перейдите в раздел Формат рисунка и выполните одно из указанных ниже действий.
-
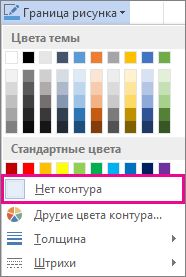
Если граница является контуром, в списке Граница рисунка выберите пункт Нет контура.
-
Если граница является стилем и вы знаете его название, щелкните Эффекты для рисунка, выберите примененный стиль и щелкните Нет. Например, чтобы удалить тень, выберите эффекты для рисунка > тени > Нет тени.
-
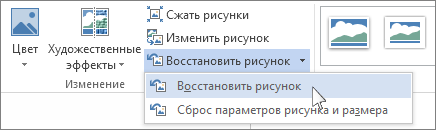
Если вы не знаете, какой стиль применен, можно сбросить параметры рисунка, но при этом будут отменены и другие внесенные изменения. Для этого в группе Изменение нажмите кнопку Восстановить рисунок.
-
Удаление пользовательского обрамления
-
Выберите рисунок, границу которого вы хотите удалить.
-
На вкладке Формат рисунка в списке Граница рисунка выберите пункт Нет контура.
Добавление границы рисунка
-
Выберите рисунок, к которому вы хотите применить границу.
Чтобы добавить границы к определенным ячейкам, выделите их, включая знаки конца ячеек.
Примечание: Нажмите клавиши CTRL+*, чтобы показать знаки абзацев и знаки конца ячеек.
-
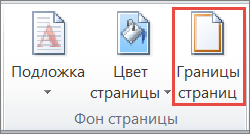
На вкладке Разметка страницы в группе фон страницы нажмите кнопку границы страниц.
-
В диалоговом окне Границы и заливка на вкладке Границы выберите один из вариантов в разделе Тип.
-
Выберите тип, цвет и толщину границы.
-
Чтобы поместить границы только на определенных сторонах выбранной области, выберите параметрв разделе » Настраиваемая «. В разделе Предварительный просмотрвыберите стороны схемы или нажмите кнопки для применения и удаления границ.

Изменение границы рисунка
-
Выберите рисунок, границу которого требуется изменить.
-
На вкладке Разметка страницы в группе фон страницы нажмите кнопку границы страниц.
-
Откройте вкладку Границы и измените параметры.
-
Выберите рисунок, границу которого требуется удалить.
-
На вкладке Разметка страницы в группе фон страницы нажмите кнопку границы страниц.
-
Откройте вкладку Границы.
-
В разделе Параметрывыберите пункт нет.
Добавление и удаление границы рисунка
-
Выберите рисунок, к которому вы хотите добавить, изменить или удалить границу.
-
Выберите Формат рисунка, а затем щелкните стрелку рядом с полем Граница рисунка.
-
Выполните любое из описанных ниже действий.
Задача
Действия
Добавление и изменение цвета границы
Выберите нужный цвет или создайте собственный цвет, выбирая другие цвета контура.
Добавление и изменение толщины границы
Наведите указатель на пункт толщинаи выберите нужную толщину линии.
Добавление и изменение стиля границы
Наведите указатель мыши на пункт штрихии выберите нужный стиль линии.
Удаление границы рисунка
Выберите пункт Нет контура.
- Add a picture border using the Picture Styles group
- Add a picture border using the Context Menu
We are using this image for this tutorial.

Method 1: Add a Picture Border using the Picture Styles Group
The Pictures Styles group contains all the image formatting styles you’ll need to turn a simple border into a sophisticated one. This group can be accessed through the Format tab in the Ribbon—the basic toolbar of MS Word.
Here’s how you can add a picture border through the Ribbon.
Step 1: Open up a Word document.

Step 2: Access the Format tab.
Once your document is opened, go ahead and click the image. This will make the Format tab visible in the Ribbon.
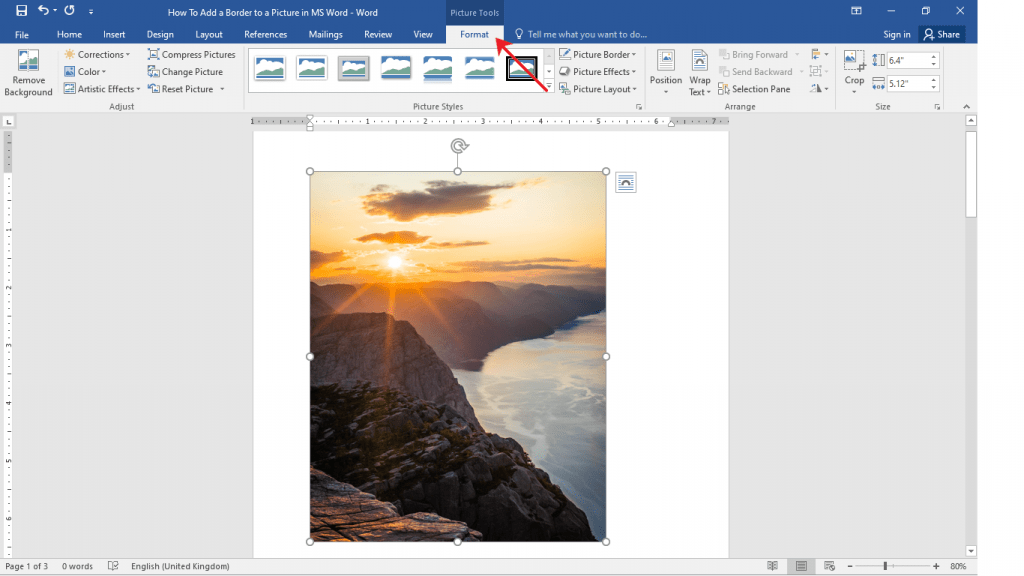
Tip: You can also double-click on the image to automatically set the Format tab on focus.
Step 3: Add a border to your picture.
Around the middle part of the ribbon, you’ll find the Picture Styles group.
This contains a list of pre-made borders with effects and layout.
On the left part, you’ll find a few more options including the picture border, effects, and layout.

On the list of pre-made borders, choose a design from among the choices. Click the drop-down button at the lower right corner of the list box to show more options.
For this example, we’ve chosen to use the Perspective Shadow style.

This will add border to the picture.
Method 2: Add a Picture Border using the Context Menu
Step 1: Open up your Word document.

Step 2: Right Click on the Image
Right-click on the image. It will open the Context Menu.
On the Context menu, click on the Picture Styles drop-down button and select a style of your choice.

After clicking on the Picture Styles option, you should see a quick-menu of borders you can choose from. This works just like method one, but is much quicker in comparison.

Deleting a Picture Border in MS Word
To delete your picture border, go to the Format tab and click the Reset Picture button.

Customizing Picture Borders in MS Word
There are many ways to format picture borders in Word. For instance, you can change the size, color, or shape of the border to better suit your needs.
Picture Border Customization
Colors
Use this when you want to use theme colors or specify a color to your border.
No outline
Use this when you want to delete the outline of your border.
Weight
Use this when you want to specify the thickness of your border. Select More Lines to show more options on line styles like adding gradient colors.
Dashes
Use this when you want to change the style of your border line.
Picture Effects
Preset
Use this when you want to choose from the visual effect templates that are readily available.
Shadow
Use this when you want to add a shadow effect to your borders, such as outer, inner, or perspective.
Reflection
Use this when you want to add a reflection effect to your borders.
Glow
Use this when you want to add a glow effect to your borders. You may specify the color, size, and transparency of the glow effect by clicking more options.
Soft edges
Use this when you want to specify the size of the edges that will be softened by MS Word.
Bevel
Use this when you want to specify how your border should be embossed, such as top or bottom, cool slant, soft round, divot, etc.
3-D Rotation
Use this when you want to specify the orientation of the rotation to enhance the 3-D effect.
Conclusion
We hope you’ve found this article helpful!
Make the pictures in your Word documents stand out by adding picture borders. To add a border, just follow these four simple steps.
This feature works the same in all modern versions of Microsoft Word.
- Select the image by clicking on it.
- On the Picture Tools Format tab, in the Picture Styles group, click Picture Border.
- Select a color by clicking on it.
- Click Picture Border again and hover over Weight or Dashes to set the width and line style of the border.


Related Video

Adding borders around your images keeps photos with white backgrounds from spilling over into your document. It’s also an easy way to give them a little extra flair. Here’s how to put borders around images in Microsoft Word.
To add a border around your image, open Word on your Windows 10 PC or Mac and click the image that you want to add a border to. If you don’t already have the image in your document, you can insert one by going to Insert > Pictures.

Once it’s selected, the “Picture Format” tab will appear. Click it, then choose a style from the “Picture Styles” gallery.
You can click the down arrow next to the displayed styles to expand the gallery.
To select a frame you like, simply click it. The style will then be applied to the image. For example, if we select the Metal Frame style, the image will look like this:
You can also customize your image’s border. Click the image and, in the “Picture Styles” group of the “Picture Format” tab, select “Picture Border.”
A drop-down menu will appear. Here, you can choose between several different colors for your frame. You can also apply a border weight (the width of the border) and dashes (the border’s line style).
To remove the border around an image, click the photo and, in the “Adjust” group of the “Picture Format” tab, select “Reset Picture.”
This will remove all borders, styles, and effects applied to the image.
While certainly not known for its image editing suite, Microsoft Word does provide a decent library of basic tools to help you tweak your images, such as removing a background from an image and placing text over an image. Play around with Word’s feature set to see what you can do!
RELATED: How to Put Borders Around Images in Google Docs
READ NEXT
- › How to Outline Text in Adobe Photoshop
- › How to Put a Border Around Text in Microsoft Word
- › How to Remove Borders in Microsoft Word
- › 8 Microsoft Word Tips for Professional Looking Documents
- › How to Convert a Table to an Image in Microsoft Word
- › HoloLens Now Has Windows 11 and Incredible 3D Ink Features
- › BLUETTI Slashed Hundreds off Its Best Power Stations for Easter Sale
- › How to Adjust and Change Discord Fonts
How-To Geek is where you turn when you want experts to explain technology. Since we launched in 2006, our articles have been read billions of times. Want to know more?