
With Excel for the web you use your web browser to create, view, and edit workbooks you store on OneDrive or Dropbox. If your organization or college has a Microsoft 365 plan or SharePoint site, start using Excel for the web by creating or storing workbooks in libraries on your site.
Create an online workbook
-
Open your OneDrive by selecting the OneDrive icon on your system tray and then selecting View online.
-
Select +New> Excel workbook.
-
To rename the workbook, select the generic name of the new file on the top ribbon (generally something like Book1). In the File Name box, type a new name.
Share workbooks online
After you’ve created your online workbook, you can share it with friends, coworkers, or the public. People can view your worksheets, sort and filter data, and drill into the details of PivotTables on the web or mobile device.
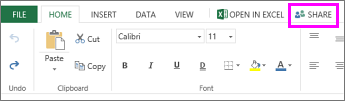
To share a workbook, click Share and type email addresses of people you want to share with or get a link you can email to your contacts.
Edit in the browser
If you try to enter data, set up a formula, add charts, or apply basic formatting and nothing happens, you’re probably in read-only view. Here’s how you can switch to editing view:
Click Edit Workbook > Edit in Excel for the web.
For more advanced editing options, click Edit in Excel.
Excel for the web saves your work automatically however, if you change your mind about any changes you’ve just made, use Undo or press Ctrl+Z.
Work together on the same worksheet
When you’re working with others in Excel for the web, you can edit the worksheet as you usually would. When others edit the worksheet, Excel for the web shows their presence and the updates right away. This only works when everyone is working in Excel for the web.

Other versions of the Excel app also allow working with others at the same time. See Collaborate on Excel workbooks at the same time with co-authoring for more information.
Print in Excel for the web
-
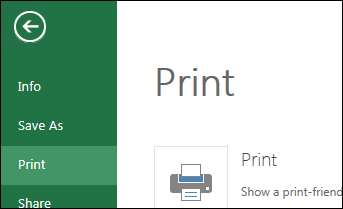
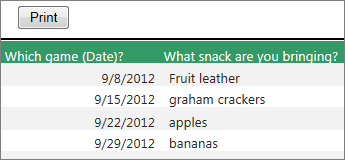
Select the cells or chart you want to print, and then go to File > Print. To print the whole worksheet, don’t select anything before going to the Print command.

-
Click Print for a preview.
-
If you change your mind about printing a selected area, choose the Entire Sheet print option and click Print.
-
If the final print preview looks right, click Print.
Learn more about printing gridlines in a worksheet.
Need more help?
If you’ve been using Excel from your desktop for years, switching to the online version can seem like a scary — and even unnecessary — transition.

But Excel Online is free, and offers additional advantages to using the desktop version. If you use the Online version, you can sync your spreadsheet to other web apps, allowing you to gather additional data or automate workflows.![Download 10 Excel Templates for Marketers [Free Kit]](https://no-cache.hubspot.com/cta/default/53/9ff7a4fe-5293-496c-acca-566bc6e73f42.png)
Better yet, using Excel Online helps you collaborate with coworkers on larger projects.
Is Excel Online free?
Yes, Microsoft Excel Online is free. It offers almost every Excel function, including tools to help you analyze, gather, and visualize spreadsheet data, and collaborate with coworkers. Compared to the desktop version of Excel, which costs hundreds of dollars, the Online version is its almost equal free alternative.
Excel Online is a fantastic option for gathering, viewing, and analyzing your data. Even if you haven’t paid for Excel’s desktop version, you can begin using Excel Online for free today. And Excel Online offers almost all the same features, so if you’re interested in collaboration or taking advantage of the web add-ons, it could be worth the switch.
Here, we’ll investigate how to use Excel Online, compare the features of Excel Online versus desktop Excel, and take a look at some of the hidden online features you’ll definitely want to know about.
How to Use Excel Online: Beginner’s Guide
There are two ways to locate Excel Online: first, click this Products.Office link, and select “Excel.” It will ask you to sign in, and then you can begin creating a spreadsheet.
Or, open OneDrive, and select a spreadsheet you’ve saved.
If you want to move your desktop spreadsheets to Excel Online, you can use OneDrive.com to do this — there are two different ways.
First, you can open OneDrive.com and drag and drop your spreadsheet files from your desktop to OneDrive.
However, dragging and dropping files means if you edit those files online, your edits won’t transfer to your desktop. If you want to switch back and forth between the two, this can become problematic.
Another option for moving desktop spreadsheets to Excel Online is downloading the OneDrive app, logging in with your Microsoft account, and copying your Excel files to the OneDrive folder to sync them.
This option is likely more favorable. After downloading the OneDrive app, you can sync your files to the cloud. Then, any edits you make online will automatically transfer to your desktop files, and vice versa.
Once you’re all set up in Excel, you can use it the same way you use the desktop version — the design is the same, and most of the functions are the same.
Now, let’s take a closer look at Excel Online’s features, so you know exactly what Online includes.
Excel 2016 desktop version offers 471 functions.
Excel Online offers over 400 functions, and it supports many additional functions if you input them correctly, except a few. This makes desktop and Online almost completely comparable in function.
Here’s Microsoft Office’s complete list of features offered in Excel Online, verus Excel desktop.
It’s important to note while charts, tables, PivotChart reports, and PivotTable reports are displayed similarly in Excel Online, there are a few charts unsupported Online. These include: charts that are part of a group of charts, charts that rely on external references, and charts that use certain kinds of data sources that are not supported for workbooks.
However, the majority of Excel’s most important features are supported equally in Excel Online. For instance, calculations, cells, dates, external references, fields lists for a PivotChart or PivotTable report, filters, slices, and timeline controls, formatting, named items, sparklines, and tables, are all available features in Excel Online.
If there’s a feature unsupported in Excel Online, but the majority of your project can be completed in Excel Online, perhaps you can work back and forth between Online and desktop, using OneDrive to sync your data automatically.
Excel Online vs. desktop
The majority of Excel desktop features and functions are displayed and supported similarly in Excel Online, and for most data spreadsheet projects, you won’t notice a difference between Online or desktop. Excel Online is designed identically, and offers similar functions for gathering, analyzing, and visualizing data. Additionally, Excel Online offers collaboration abilities, and lets you sync spreadsheets to other web apps.
Excel Online Conditional Formatting
If you’re worried about conditional formatting with Excel Online, you shouldn’t be.
Excel Online supports conditional formatting. To use conditional formatting Online, select your data range, and then go to Home > Conditional Formatting. From there, you can pick your style.
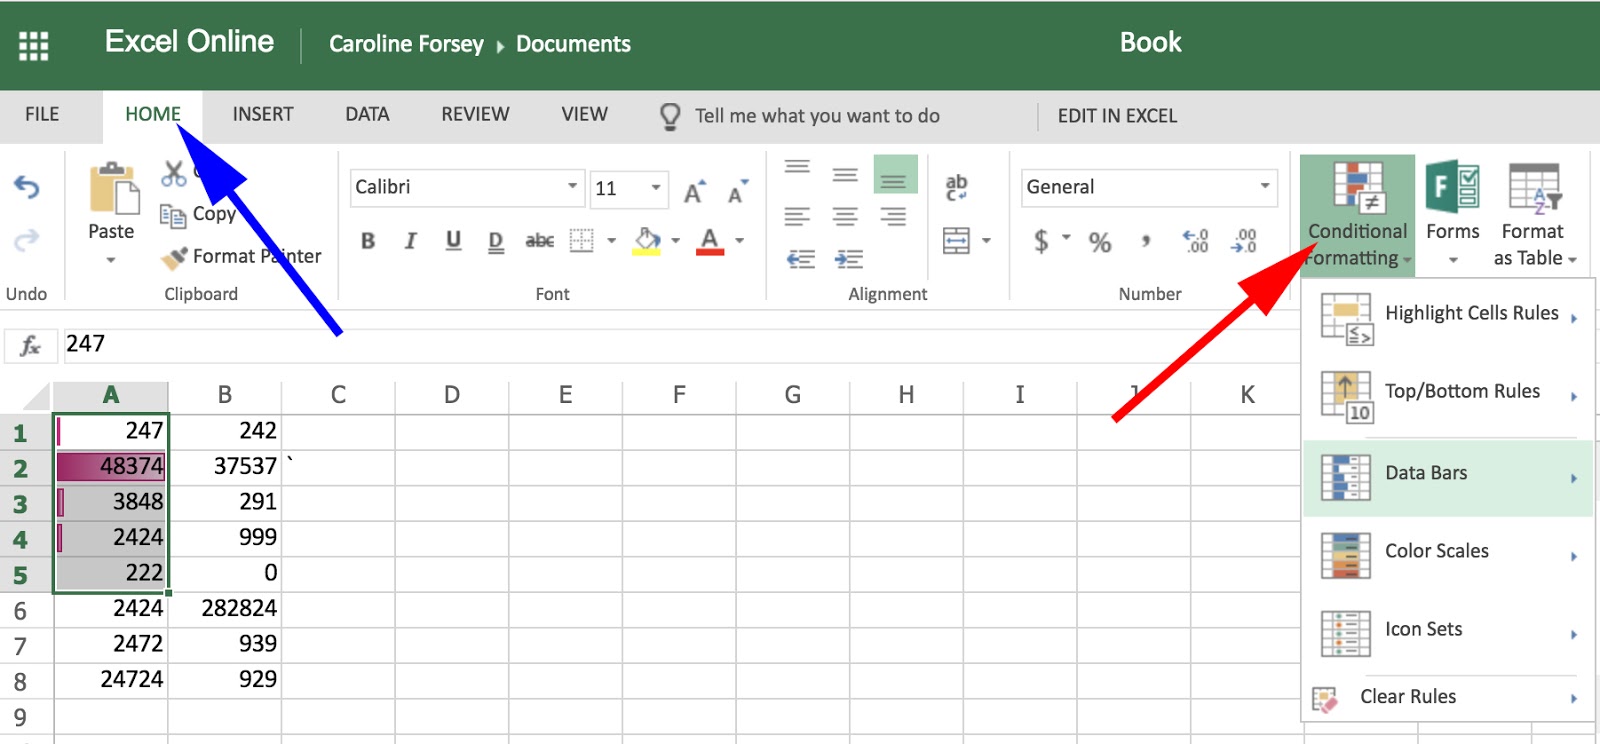
If you use conditional formatting on your desktop Excel, you will still see the changes to your workbook when you open it in Excel Online.
Hidden Functions Online
Last, but certainly not least, let’s dive into some functions you might not know about for Excel Online specifically.
We’ve talked a lot about similarities between Excel Online and desktop, but if they were just similar, there’d be no point choosing Online over desktop.
Here are a few features that make Excel Online unique.
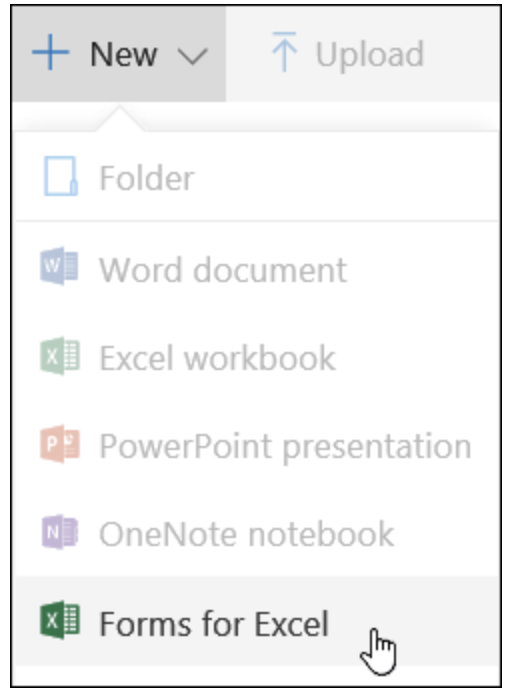
1. Surveys
If you use Excel on a desktop, you need to use third-party survey makers to gather survey information. If you use Excel Online, you don’t need the extra step — you can create a survey directly within the site.
To create a survey in Excel Online, click New > Forms for Excel.
Next, name your Survey and click “Create”. Select “Add Question” to add a new question to the survey. You can choose to add Choice, Text, Rating, or Date questions.

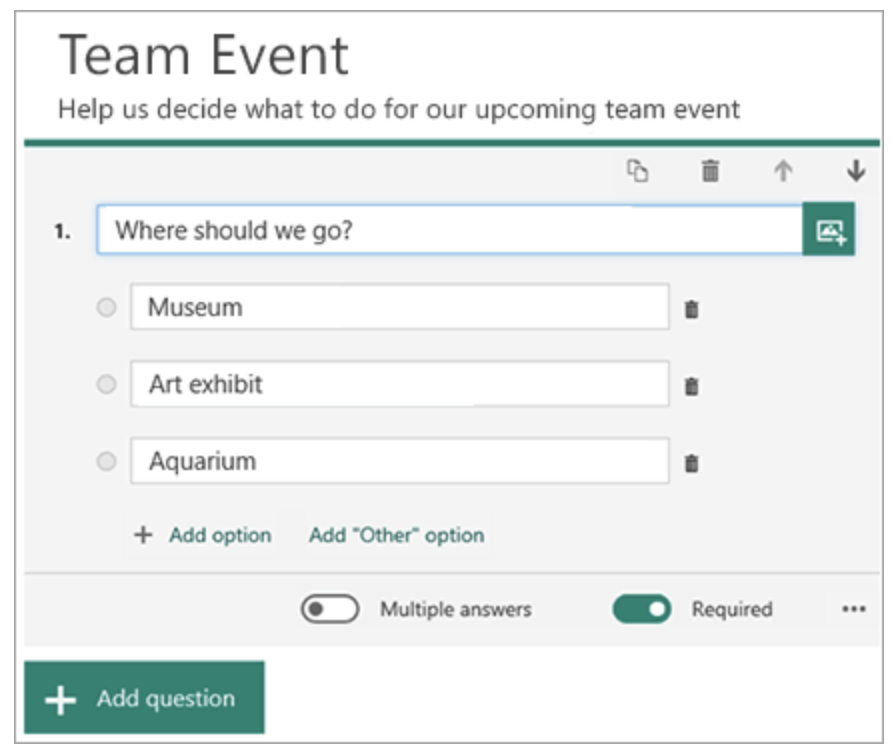
Images courtesy of Microsoft Office Support.
Click “Preview” at the top of the window to see how your survey will look on a computer. Once you’re happy with it, click “Submit”.
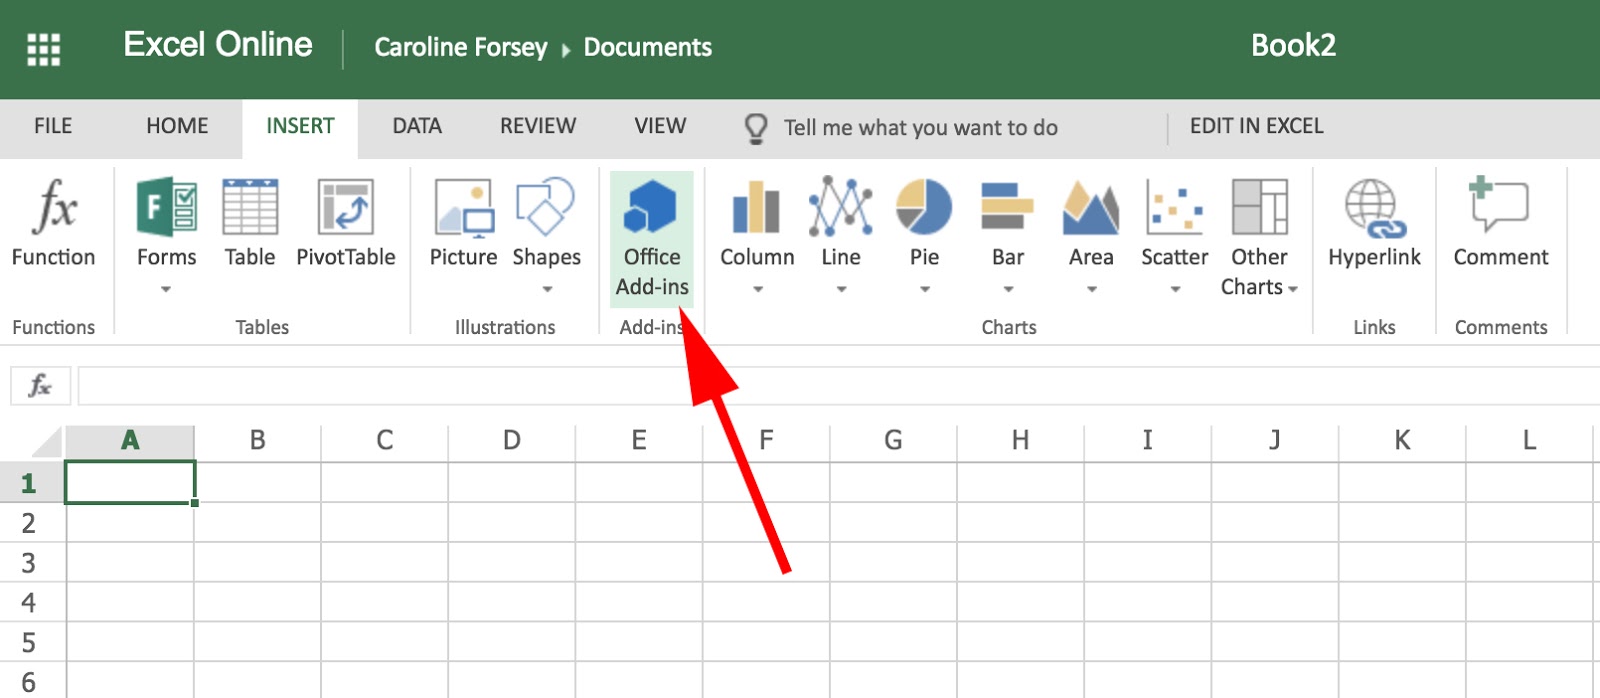
2. Install Add-ons
There are plenty of add-ons available for Excel Online. To find them, go to Insert > Office Add-ins. You can choose an add-on by category or name, and then click the “Add” button. After installing, you must click the “Start” button to use the add-on.
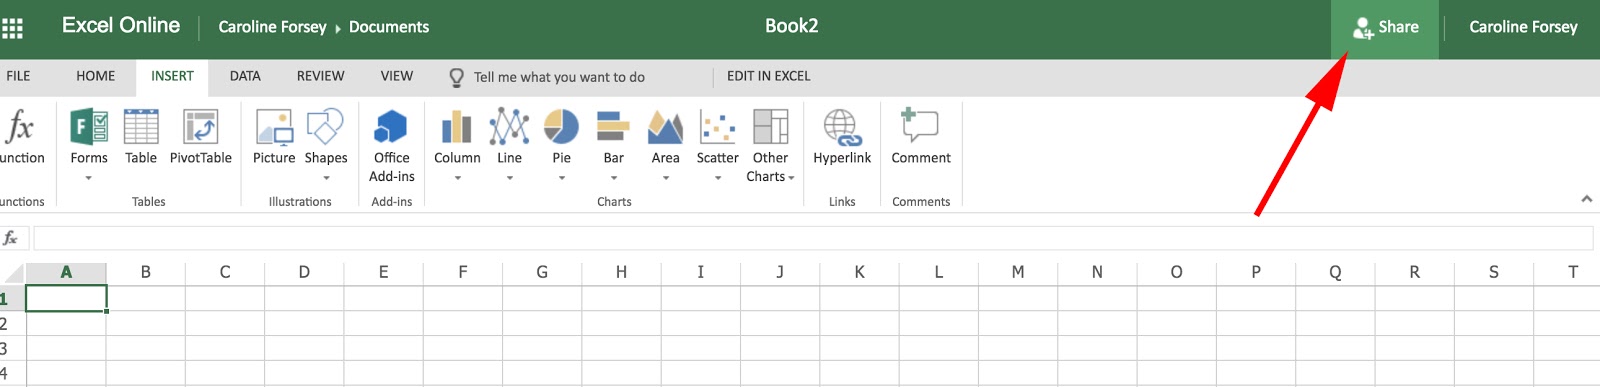
3. Share Your Spreadsheet
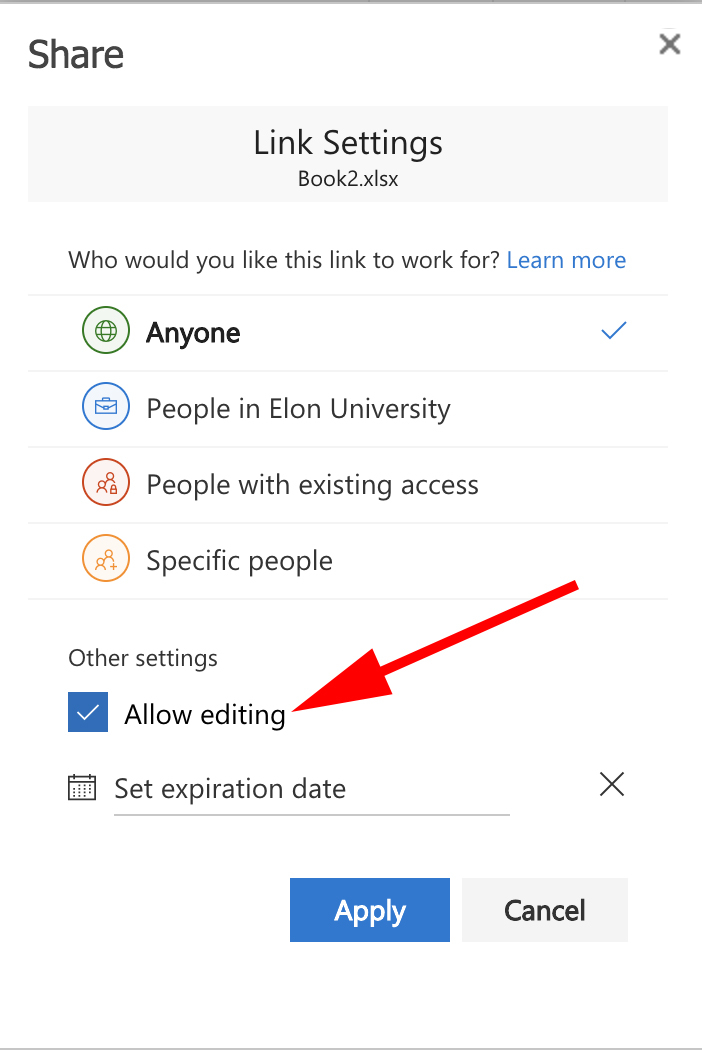
Similar to Google Docs, you can share your Excel files with other people, and either let those people edit, or simply view your data. Within your sheet, simply click the “Share” button at the top right corner. Within the pop-up, you can either choose “Edit” or “View” permissions, and then generate a link to share with anyone.
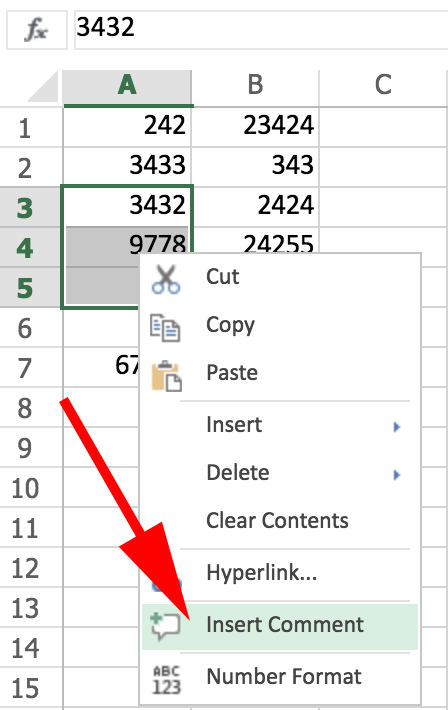
4. Leave a Comment
Let’s say you’ve created an Excel sheet with a coworker, and you want to tell her something about a particular section of data. Rather than confusing her with a lengthy email explaining what and where, you can simply comment within the spreadsheet.
To add a comment, select a cell or section and then right click and select “Insert Comment.” You can also go to Insert > Comment.
There are certainly plenty of other tips, tricks, and fun features available solely within Excel Online. Give it a try for yourself, and let us know on Twitter if you find any other impressive online features.

You can edit Excel files with Excel Online from anywhere without having Excel installed on your computer.
1. First, save an Excel file to your OneDrive location.
2. Go to onedrive.live.com and sign in with your Microsoft account.
3. Click an Excel file.

Excel Online opens the workbook in the browser.
4. Edit your Excel file.

Note: there is no need to save your Excel file since all changes are being saved automatically. Not all features are available in Excel Online.
Let’s take a look at one cool new feature that is only available when you save an Excel file to your OneDrive location.
5. Go to onedrive.live.com.
6. Upload a data set to your OneDrive location.

7. Open the Excel file in Excel Online.
8. On the View tab, click New Sheet View.

Excel changes the color of the column and row headers (see picture below) to remind you that a view is active.
9. Use Excel Online to sort and filter this data set.

10. To save this sheet view, simply type a new name and press Enter.

11. Now you can quickly switch between two different sheet views (Mia and Default).

Conclusion: if you’re sharing this Excel file with multiple people, everyone can save his/her own sheet view and everyone can see each other’s view. Any changes to this data set will automatically be saved to all sheet views. That’s pretty cool.
If you want to know how to start using the new Excel web app then read this short article and find out what the web app contains and start on the road of online Office file usage and sharing.
Introduction
To use the new Microsoft web apps (Word, Excel and PowerPoint) you need to access Microsoft’s SkyDrive at www.windowslive.co.uk/skydrive. You need to have or create a free Windows Live ID to use the SkyDrive which gives you 25G of free online storage.
Once in SkyDrive choose the Office options to create and view folders. Then to use the Excel Office App click on the Excel icon under the heading «Create a new online document». Give the file a name, such as test1 then click the Save button. The Excel web app opens.
The Excel Web App looks similar to Excel 2007/2010 but only has three ribbon tabs, File, Home and Insert.
The File tab takes you to a single column list of file management commands including Open in Excel (on your computer), Save As, Share and Download a Copy. As you work in the Excel App your data is saved as you go along, so there is no Save option!
Click on the Home tab and you’ll see command groups for Clipboard, Font, Alignment, Number, Table and Cells. The Clipboard commands cover copy and paste. The Font commands cover font, colour, border and shading. The Alignment commands cover cell alignment and text wrapping.
The Number commands cover a wide range of number formats with decimal place options. The Tables Commands cover applying Table formatting with autofilter and totals row options. Cells Commands cover adding and deleting cells.
The Data commands cover refreshing any external data sources, refreshing pivot tables and recalcs, and Find.
The Insert Tab has command Groups for Tables, Charts and Links. The table command lets you apply table formatting to a range of cells. You can add basic charts using the Charts command. Types include column, bar, pie and line charts, but only basic 2-d versions. Once a chart is created a context tab appears allowing you to edit the chart.
Although there is no Insert Function command, you can add formula or functions directly into cells as you would normally do in Excel. So if you type =SUM an auto pop down appears as you enter the function in the same way as in Excel 2007/2010, letting you choose which function to apply once you’ve typed the first or following letter of the function.
However once the function name is typed in followed by an open bracket, there is no yellow help prompt to indicate the function elements, so you need to know how to apply any particular function.
Bearing in mind working with the Excel Web App is remote working, data entry may seem sluggish depending on the speed of your internet connection, but the file is saved and updated as you proceed. You can also create a file in Excel 2010 and save directly to the SkyDrive. To do this you first choose the File tab, then Save to Web. If necessary you then need to logon to your SkyDrive account. You can then choose a folder, or create a new one, to save the Excel file to. Excel then adds the SkyDrive folder as a new network location on your local computer, so you can return to this location with Excel 2010 as often as you like.
You can also use a browser such as Internet Explorer 8 to access your Excel 2010 files. Just navigate to the SkyDrive, login, and choose the Office option. You’ll be taken to your folders created earlier. To view the Excel file just click one the Edit file link to the right of the filename, or click once to open the Excel viewer and then click the link «Edit in Browser».
Excel Web Apps save using the new Excel 20007/2010 format, with the extension .XLSX. You can copy and paste files from your computer directly to your SkyDrive. If you copy an Excel 2003 file to your SkyDrive, the Web App will prompt you to Save a Copy into Excel 2007 format.
Using Office Web Apps also lets you share the files through folder permissions, so you can allow multi user editing at the same time.
Summary
Using the new Office web apps in conjunction with SkyDrive is straightforward and lets you create and edit basic Excel files using an up to date browser. You can also create and edit Excel 2007/2010 files directly from Excel 2010 through an internet connection and you can manage file sharing by setting folder access permissions in your SkyDrive space.
To learn much more about the Office web apps why not consider attending training course and really boost your skills further.
If you want to use Microsoft Office but don’t want to pay for it, why not try the free Office for the web? Formerly known as Office Online and now known simply as Office, the web-based apps reside online, accessible through your browser.
Instead of installing Word, Excel, and PowerPoint on your computer, you use free, cloud-based versions of these programs, similar to Google Docs. And rather than store your files and documents on your computer, you save them to Microsoft OneDrive, the company’s cloud-based storage service.
Office for the web isn’t as feature-packed as its desktop counterpart. You’ll find all the standard editing and formatting commands, and some additional features, but not much more. However, if all you need are the basics, this is an option worth trying.
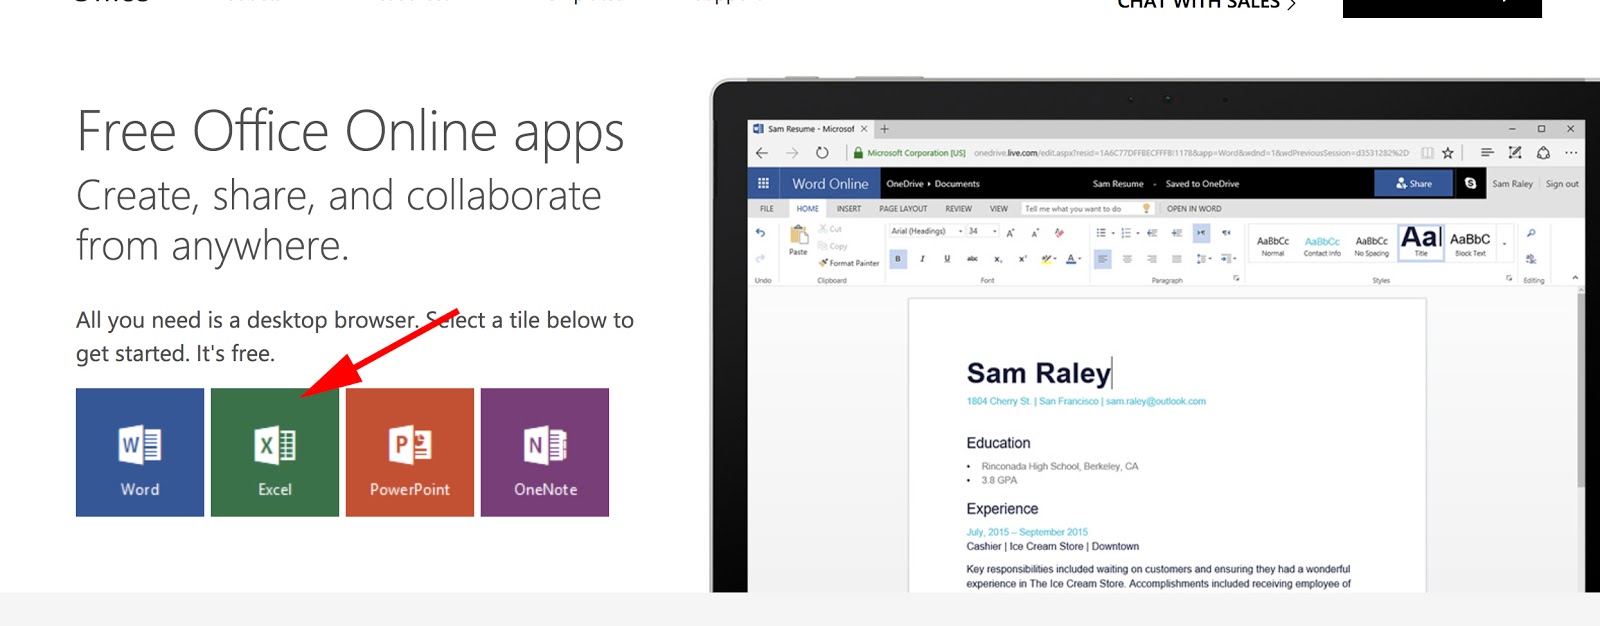
Office for the web offers online versions of Word, Excel, PowerPoint, OneNote, Outlook, OneDrive, Skype, Calendar, and People. You can even work with more niche applications. An app called Sway allows you to create interactive reports and presentations, while a Forms app lets you create online surveys and quizzes. Here’s how to get started using the Office for the web apps if you want to create, edit, and save your documents.
Sign Up and Get Started
If you don’t already have one, set up a Microsoft Account(Opens in a new window). Your account will come with 5GB of free OneDrive storage; if you need more, you can snag 100GB(Opens in a new window) for $1.99 a month or $19.99 a year. Navigate to the Office website(Opens in a new window) and sign in with your Microsoft Account.
At the Office website, there are icons for Word, Excel, PowerPoint, and Outlook. After you start creating and saving Office files, they’ll appear at the bottom of the page as recent documents so you can more easily access them.
Create New Files
You can create a new document a few different ways. Click the plus (+) button on the left-hand sidebar or the New button in the middle of the page. Then select the type of file you want to create from the pop-up window. You can open a new Word document, Excel spreadsheet, PowerPoint presentation, Form, Quiz, or Sway page.
Alternatively, click the square-shaped App launcher icon in the top-left corner. Click the All Apps link to see all available apps and select the one you want. You can also click the All Apps icon at the bottom of the left-hand sidebar to see all the Microsoft 365 apps.
As an example, we’ll use Word, but you can choose any of the Office apps. Click Word to launch the new document page, where you can select a template or create a new document from scratch. Word offers templates for resumes, cover letters, flyers, and calendars. If you don’t need a special template, just click New blank document to open a blank page.
You’ll find all the basic editing options in the Word toolbar to set the font, text size, and other styles; insert tables and pictures; add page numbers, headers, and footers; adjust the page size, margins, and orientation; zoom in and out of your document; and run a spell check.
Save Documents
Your document takes on a default name of Document 1, Document 2, etc., but you can click the Name field at the top of the document to change the name.
By default, your document is saved in the root location of your OneDrive storage space. If you plan to work with a lot of different documents, you may want to create specific folders in OneDrive to store these files. If you want to save a copy of your document in a specific folder, go to File > Save As > Save as to save a copy to a folder in OneDrive.
Navigate through your OneDrive space and select the folder to which you want to save your document, then click Save. Afterwards, your document automatically saves periodically so you don’t have to manually keep saving it as you do with the desktop version of Word.
Recommended by Our Editors
From the Save As menu in Office, you can also download the file to your PC, either as a Word document or a PDF. You can perform other actions from the File menu, like printing your document, turning it into a web page, and sharing it with other people. You can also find a previous version of the document, create a new document, and open an existing document.
To access another Office app from your current one, click the App launcher button in the top left. If the app you want to use doesn’t appear, click the All Apps link. You can then select your application of choice.
Open an Existing File
Instead of starting a new document, you can open any existing documents or files that you’ve already created and saved to OneDrive. If you’re already in the app for that file, click the File menu and you’ll see a list of recent documents. You can then click the one you want to open.
If you’re at the home page for Microsoft Office on the web, recent documents appear at the bottom of the screen. Just click the one you want. You can even pin a specific file for easier access. That file is then accessible from the Pinned tab.
If the file you want doesn’t appear as a recent document, you’ll need to venture into OneDrive to look for it. Click the icon for OneDrive on the bottom right and navigate to the folder in which the file is stored.
To more easily find the file, click the Sort menu and change the criteria to Modified and Descending. You can also search for a file by name using the Search tool.
 Microsoft Windows 11 Preview
Like What You’re Reading?
Sign up for Tips & Tricks newsletter for expert advice to get the most out of your technology.
This newsletter may contain advertising, deals, or affiliate links. Subscribing to a newsletter indicates your consent to our Terms of Use and Privacy Policy. You may unsubscribe from the newsletters at any time.