
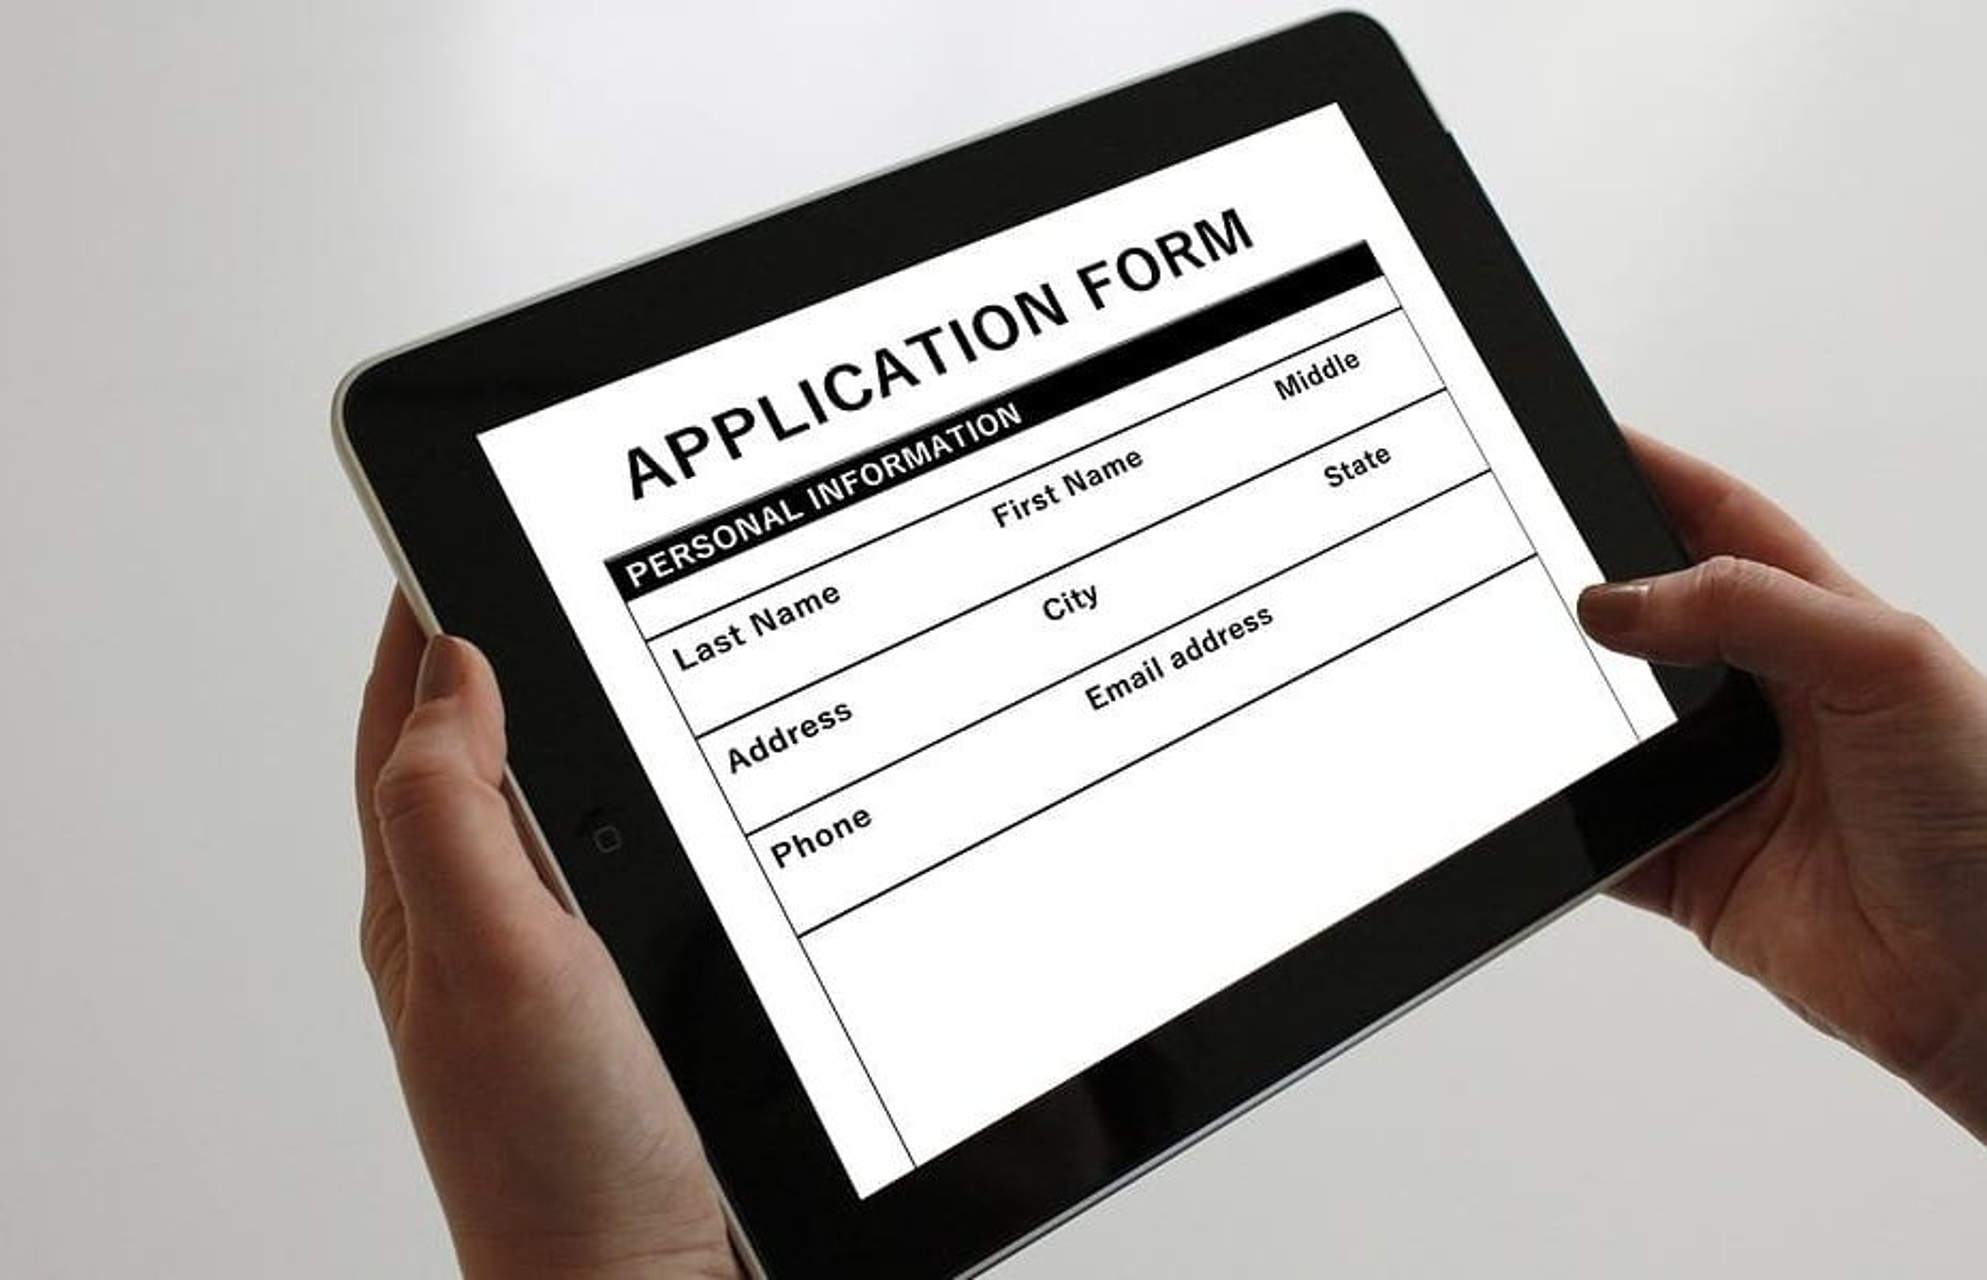
Although Word is most commonly used for creating documents, it can also be used for capturing data like a form. Word Forms do not require any programming knowledge. These are easy to create and will work across ALL versions of Word.

The Need for Word Forms
This is very useful for conducting quick surveys or quizzes where you want to control the responses. Of course, there are more sophisticated methods and tools available for bother these scenarios, Word is familiar to everyone and almost guaranteed to be available on every desktop. Hence it is a compelling option even today (2017).
How to create Word Forms?
Two steps. Create the survey by inserting editable items (form fields) and then lock the document so that only the form can be filled.
Adding fields to Word Forms
There are three types of fields.
- The new type of fields which are better looking and more interactive.
These do not work with older versions of Word. - The solution is to use the built-in form fields.
These are available with any version of Word. So compatibility is never an issue. - ActiveX controls
These are more sophisticated but not guaranteed to be available on every PC. ActiveX controls are being phased out globally. These are used by programmers who want to extend Word and add business functionality to it.
In short, we will use the built-in Word Forms and related fields. To use these, we have to enable the developer tab.
Enable developer tab in Office 2007
File – Word Options – Popular – activate the Show developer tab option.
Enable developer tab in Office 2010 onwards
Open Word. File – Options. Click Customize Ribbon. In the list on the right side, scroll and identify the Developer item. This item is not selected by default. Select it and close the dialog.
Using Form Fields
Open the briefcase icon dropdown under Developer Tab – Controls group.
We will use only the upper part called Legacy forms. We have various types of fields available. Simple text, checkbox and box.
Create a document and choose a field. Let us add a text field for capturing the name.
The word Name is typed manually. Now select Text form field from the legacy tools area. Notice that the field is added with gray background. The width of this field looks small but it expands automatically.
Let us add another textbox for duration. To keep things simple, we will use another text field.

Let us add the leave type. Choose the Drop-down form field. Once added, double click inside the field to add various leave options.

Now let us add a Check box form field. We will ask whether it is Paid or unpaid leave. Double click on the field to change the default to Checked (means Paid leave).

Now the form looks like this.

Restricting form filling in Word Forms
Right now the form is in edit mode. The captions and structure can be changed. We cannot type inside the fields properly. Checkbox cannot be unchecked and the dropdown does not appear.
Here is how you can make it a fillable form. With Office 2007, Choose Protect Document from the Review tab. Choose Restrict Formatting and Editing option. For newer versions of Office, the Restrict editing option is directly available in the Review tab.

Now a new window (pane) opens. Choose the Allow only this type of editing checkbox and choose the Filling in Forms option from the dropdown.

Now click the Yes, Start enforcing protection button. Specify a password and type it again to confirm it.
Now it is a real form.
How to fill Word Forms?
Click on any field to fill it. You cannot click and edit any other area in the Word file.
Dropdowns can be selected and checkboxes can be enabled or disabled.
How to save the data from filled Word Forms?
You will send this form as attachment to multiple people. They will fill it and then send it back to you. Unfortunately, you cannot extract data from multiple filled forms. You have to do it one-by-one. Here is a filled form.

In order to save only the data from the form, follow these steps:
- Go to File – Options – Advanced
- Scroll down and choose the checkbox as shown below. Left side is Office 2007 and right side is newer versions of Word.

Now the saved file will be just a TXT file containing the comma delimited data. A preview is also shown before saving.

Practical Usage
This method works ever since Word was created. Although newer methods are available now, this method may still come in handy for quick and easy data capture.
***
by Milan Stanojevic
Milan has been enthusiastic about technology ever since his childhood days, and this led him to take interest in all PC-related technologies. He’s a PC enthusiast and he… read more
Updated on February 19, 2023
- Using software to create forms eases the visitors’ interaction with your online business.
- They get quicker through the check-out process and also better access to the support team.
- If you’re looking for the best program to create a form, Adobe Acrobat DC should be your top choice.
- Formplus or Zoho are popular form builder apps that offer similarly richly-featured and easy user-experiences.
How about using the best document manager?Make all your documents accessible and secure using Adobe Acrobat Reader. This document management tool will also let you e-sign and create official forms to save your time at work. Get it for your PC and you will be able to:
- Open, print, and edit all your PDF and other file types
- Fill PDF forms easier
- Keep your essential documents encrypted
Get all apps at a special price!
The world’s Nr.1 document management software is now at a great price so hurry up!
It is very important to have access to specialized software to create beautiful forms fast and efficiently.
Forms are an essential part of any website especially if you’re involved in selling online, as they are the gateway between your web customers/ visitors, and the support team or webmasters.
Well-designed, standard forms help you collect customer and payment information and data. Beyond this, you can get also get valuable feedback.
The best form builder apps usually have tools such as a drag-and-drop editor and templates. Added to this, they need to provide analytics, reports, and third-party application integration.
Recent software allows you to create forms that include contact fields, payment options, with beautiful user interfaces, but a lot of them tend to be pretty similar.
What makes a form builder tool the best in this segment, depends on your needs. Some important factors are the user experience, and the flexibility to make simple or detailed and multi-page forms.
Let’s explore the best software to create forms as listed below.
What is the best form builder app for Windows 10 devices?
Adobe Acrobat DC

Adobe Acrobat DC is an extremely useful application when it comes to creating beautiful forms by using your PC.
No other software on the market matches its capabilities to create professional-looking forms, editing PDFs, and modifying them to suit your needs.
Adobe Acrobat DC also offers document merging, the ability to convert webpages to PDF or to compress files without affecting the data it contains, for a fast transfer.
For this reason, Adobe Acrobat DC is our top pick in this category.
Here are some of its best features:
- Fast indexing for quick searches
- Easy project sharing process by uploading to the cloud
- Easy data edit in scanned tables
- Conversion of existing forms to fillable forms
- Page arrangement in your PDF file to fit your needs

Adobe Acrobat DC
Convenient and free to use the app to create, edit and sign forms, and further share, print, or integrate them into your own website.
Soda PDF

This software offers innovative solutions to PDF users, the Forms Module feature being one of the most prominent ones.
You can create HTML forms in your documents and add various fields, such as text, combo, or checkboxes and radio buttons.
It also lets you add interactive fields to your form. You may choose from pre-set options like a Print or Submit Form Button, or program a personalized button with JavaScript.
Some of its top features include:
- Customizing the form fields by changing the length, width, appearance of the borders, and more.
- Combining the data results of multiple forms into a single CSV file.
- Converting documents from PDF to MS Word (.docx), MS Excel (.xlsx), MS PowerPoint (.pptx), HTML, text files (.txt), and images (.png / .jpeg / .gif).
- Calculations with the built-in calculator and the Bates numbering system.
- Adding a 256-bit AES password and applying different levels of permission to each file for data protection.
With the Edit Module, you can extract or split PDFs into multiple documents and conveniently make modifications directly in your PDF, without exporting it to another format.

Soda PDF
Design and convert your documents into customizable forms with Soda PDF’s wide range of pdf solutions.
JotForm
![]()
JotForm is a very user-friendly form builder with a lot of features. You can build many different types of forms by creating an account. JotForm can be accessed through your PC browser and their mobile app, available for both Android and iOS. You can use all the form customizing features regardless of the device.
Other noteworthy features include:
- Over 10,000 free form templates, all fully mobile responsive
- Payment forms- even for the free plan (you can recieve a maximum of 10 payments/month with the free plan)
- Unlimited form fields
- Multiple user languages available
- Hundreds of form widgets, including e-signatures, PDF embedder, button checklist, terms and conditions and many more
- PCI, GDPR & HIPAA compliance
- Compatible with over 100 apps, including PayPal, Google Sheets, HubSpot, Zoom, Slack, Gmail and Discord
- Multiple types of form fields, including CAPTCHA, Personal Details Form, File Upload, Star Rating and many more
JotForm has both free and paid plans. You can sign up without submitting credit card information if you choose to use the free plan.

JotForm
Create all your forms with this versatile, easy-to-use tool which offers thousands of free templates.
Forms On Fire

The main purpose of Forms of Fire is to be a highly convenient solution for form creation. That’s why it provides a flexible workspace that can be accessed on iOS, Android, Mac, and Windows devices. Users can adapt and adjust their device of choice depending on the circumstances with no hassle, as all data in Forms On Fire is in complete sync.
Forms On Fire integrates Microsoft Word & Microsoft Excel which makes it even more accessible as most users are highly familiarized with these tools. You can upload pre-existing forms of multiple file types such as PDF, TXT, CSV, DOCX, XLX, or you can create your forms from scratch with drag and drop.
Notable features of Forms on Fire include:
- Comprehensive collection of templates for various forms for different kinds of businesses
- Built-in offline capability with smart sync of your work
- Generates Analytics to aid the improvement of your business
- Lightweight mobile App
- Easy to create and manage forms with drag-and-drop
- Integrates many popular and useful services like Google Drive, Google Sheets, Amazon S3, Dropbox, Microsoft SQL Server, Zendesk, and more
- Automatically sends forms via email
- Multiple users can work on the same form
- Known information can be pre-populated
- Display or hide fields depending on what is relevant
Forms On Fire is a paid service with various subscription plans. You can try it for free for 14 days and see for yourself if it’s a good fit.
⇒ Get Forms On Fire
Cognito Forms
With this form maker (or builder), you can build unlimited forms with free features, embed it on your website and share the link, and manage your entries from any device and at any time by reviewing and editing them.
A unique capability with Cognito is the summary email sent to the people who fill out the forms.
However, you can also collect a payment, sell online or raise money with ease using the forms.
Its basic and/or advanced features to quickly create powerful forms include:
- Repeating sections and tables so you can collect data from your customers without adding clutter
- Save and Resume which lets you pick up from where you left off by saving your progress
- Document merging from your entry data
- Calculations – the forms do the math for you on things like costs, dates and more
- Data encryption to keep your data safe and protect fields with sensitive information
- Conditional logic to control what fields are visible
- Electronic signatures, entry sharing, file uploads to capture multiple files at once and set file size and type limits
- Multi-page forms for more responses
You can also accept secure credit card payments with PayPal, Stripe or Square, and create payment forms, order forms, or collect donations.
⇒ Get Cognito Forms
Typeform
Some PC issues are hard to tackle, especially when it comes to corrupted repositories or missing Windows files. If you are having troubles fixing an error, your system may be partially broken.
We recommend installing Restoro, a tool that will scan your machine and identify what the fault is.
Click here to download and start repairing.
This is a versatile data collection tool that eases asking and answering questions, and lets you get better data through its friendly experience. You also get to know your audience, one person at a time.
It’s not just a cute interface, but it is smooth and keeps your customers engaged, makes questions pop with images, GIFS, and video.
Plus, you get a welcome screen that is customizable so you can even put up a greeting that your customers meet with the first time they check in to your site.
Typeform lets you see changes in real-time with Live Preview, use analytics for quick insights, make each form smarter and more personal with Logic Jump, embed the forms into your website, and integrates with Google Sheets and MailChimp, plus extra 500+ integrations.
The software anticipates question types as you jot them down and the interface draws your audience in with plenty of design options and advanced features.
You can build a contact form, quiz, set up shop fast, and get employee feedback through surveys.
Typeform Pro has even more features like the calculator, hidden fields that identify respondents from the link they clicked, file uploads of any type, acceptance of online payments using Stripe, plus you can send customers or respondents notifications via email with customized messages automatically.
⇒ Get Typeform
Formplus
This best software to create forms has powerful tools to collect information rapidly.
Plus it’s so easy to use and works within minutes once you click or drag and drop your desired form fields into the builder (also works on mobile).
Save time by using the pre-built form templates and ease the process, while being stylish – not just sending out basic forms – but beautiful forms tailored to your brand using customization options available, and in any language.
Go ahead and store the data in your Google Drive or Dropbox cloud, so you can fit forms into the normal workflow. The forms are also responsive so they can work on mobile.
Other benefits include flexible and unlimited file uploads, you can receive files, embed forms on your website, build smart forms using conditional logic so it can show/hide form fields based on answers given.
The forms are all SSL enabled so they’re 100 percent secure, and you receive email notifications on submissions plus you can send out custom autoresponder messages to users upon successful form submission. You can also opt for SMS submissions.
Formplus lets you create location-enabled forms, and resumable forms, with a variety of field types for easy data collection like dropdowns, checkboxes, radio buttons, scale, date, file upload, time picker, text and number fields, and much more.
⇒ Get Formplus
Zoho
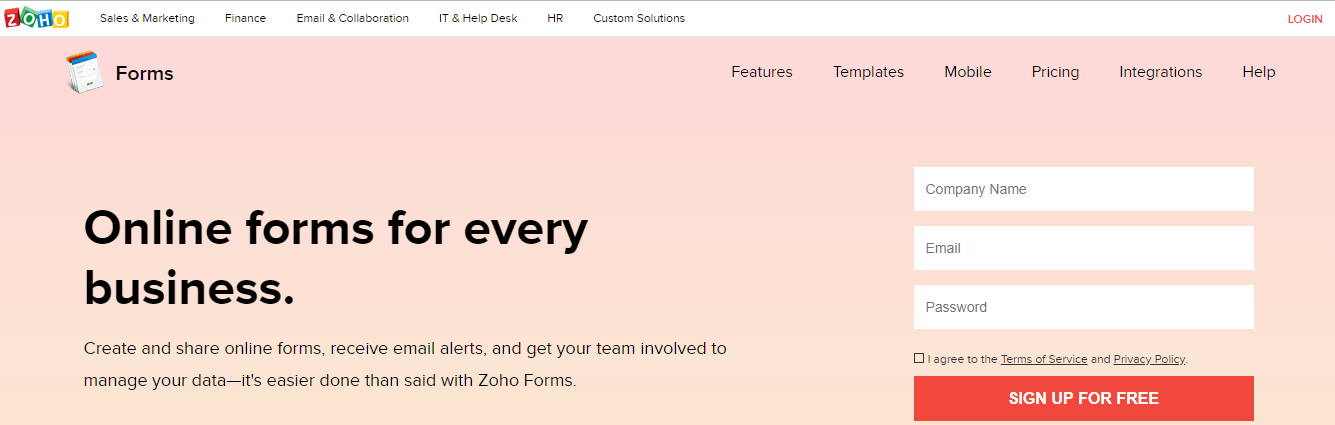
Zoho is the best software to create forms for every business as you can create and share online forms and receive email alerts, and also get your team to collaborate and manage the data.
It’s your form so you make the rules. You can create on Zoho and publish anywhere by embedding forms on the site and sharing privately or go public (mobile lets you fill online).
You can customize the forms using the themes and templates provided, plus view contained data performance and identify traffic sources.
With Zoho, you can personalize your emails, send PDF copies of responses or use form data to create tickets, contracts, and many more documents. You can also sync your data with your apps.
This tool is feature-rich, powerful, and reaches people wherever they are. Your email alerts can be configured to pop up as soon as a submission comes through and confirmation emails are sent out to respondents automatically.
⇒ Get Zoho
Wufoo

This software makes building forms so easy using its form designer that helps you create contact forms, online surveys and invitations so you can collect data, payments and registrations needed.
Simply create a form, share it on social channels or embed on your site, and get your data via email or text, though you can also set up a real-time report.
The form builder by Wufoo, gives you an award-winning interface, easy customization, galleries, templates, and reporting.
It’s so easy to create custom forms in minutes using over 400 customizable and professional form templates, collect payments, and integrate them with your business tools.
You can customize your forms to match your brand using the ready-to-go themes, by adding your logo, modifying the themes, and creating your own. This adds to your users’ great experience as well as personalizing their journey.
Wufoo also integrates with more than 60 of your favorite tools including Salesforce and MailChimp, and gives you powerful reports for better insights, with a dynamic analytics dash and password-protected reports.
It also comes with 256-bit SSL encryption, field encryption option, and smart CAPTCHA, plus works with trusted third-party payment providers and secure payment gateway support like Stripe, PayPal, and Authorize.net. Being PCI-compliant, Wufoo gives automated receipts to help you build buyer trust.
⇒ Get Wufoo
Ready to create your forms? Share with us your experience by leaving a comment in the section below.
Still having issues? Fix them with this tool:
SPONSORED
If the advices above haven’t solved your issue, your PC may experience deeper Windows problems. We recommend downloading this PC Repair tool (rated Great on TrustPilot.com) to easily address them. After installation, simply click the Start Scan button and then press on Repair All.
![]()
Newsletter
В случае, если вам необходимо создать документ Word для заполнения другими людьми, например, создать анкету участника конференции, чтобы упростить процесс, вы можете создать форму для заполнения в Microsoft Word. Форма в ворде позволяет создавать заполнители для различных типов информации, таких как текст, дата, да-нет вопросы и т. д.
Включение вкладки «Разработчик»
Прежде чем перейти к созданию формы в ворде, вам нужно активировать вкладку «Разработчик» на ленте. Для этого нажмите «Файл» —> «Параметры», чтобы открыть диалоговое окно «Параметры Word». Выберите «Настроить ленту», затем установите флажок для вкладки «Разработчик».

Создание формы в Word – Параметры Word
Теперь на ленте появится вкладка «Разработчик».

Создание формы в Word – Вкладка Разработчик
Добавление полей формы в ворде
Теперь мы готовы перейти к созданию формы в ворде. Для этого мы будем использовать разнообразные поля, которые будут являться составляющими нашей будущей формы для заполнения в ворде.
Чтобы добавить поле формы для заполнения, поместите курсор в нужное место, затем выберите необходимый элемент из группы «Элементы управления» на вкладке «Разработчик». Вы можете навести указатель мыши на поля, чтобы увидеть различные параметры. В этом примере мы добавляем текстовое поле, чтобы пользователи могли вводить свои имена.

Создание формы в Word – Элементы управления для создания формы в ворде
В документе появится тестовое поле:

Создание формы в Word – Текстовое поле
Вы можете добавить несколько типов полей для создания формы в ворде. Например, вы можете добавить флажок для выбора:

Создание формы в Word – Поле «флажок»
Или даже поле выбора даты:

Создание формы в Word – Поле для выбора даты
После того, как вы добавили все поля в документ, ваша форма в ворде готова, и вы можете отправлять ее другим пользователям!
Настройка полей формы в ворде
Если вы хотите еще больше контролировать способ отображения полей своей формы в ворде, вы можете включить «Режим конструктора» в группе «Элементы управления» на вкладке «Разработчик».

Создание формы в Word – Режим конструктора
Затем вы можете изменить свойства для каждого поля вашей формы в ворде, включая текст, который будет отображаться в каждом поле. Если вы готовы потратить немного времени на настройку каждого поля, вы можете создать довольно прочную форму. Например, вы можете создать в своей форме заполнения собственный выпадающий список, как в приведенном ниже примере:

Создание формы в Word – Использование выпадающего списка в форме
В итоге в нашем примере, мы получили следующую форму для заполнения в ворде:

Создание формы в Word – Пример формы для заполнения в ворде
В этой статье мы рассмотрели основы создания формы в ворде. Теперь вы можете с легкостью создать собственную форму для заполнения в Microsoft Word.
Автор: Your Mentor. Дата публикации: 11 июля 2021.

В этом курсе я сделаю обзор на Microsoft Forms и покажу вам, как использовать его для создания различных опросов и тестов.
Microsoft Forms – мощный инструмент для сбора информации. Создавая тесты и опросы, вы можете собирать отзывы пользователей, клиентов и сотрудников, что поможет вам принимать более правильные решения. Если вы рядовой сотрудник, то владение данным инструментом даст вам преимущество в навыках использования различных полезных программ.
Урок 1. Курс по Microsoft Forms. Как создать опрос с помощью функции «Выбор» и «Текст»
Microsoft Forms – это онлайн-инструмент, и это означает, что вы будете работать в облаке и будете подключаться к Microsoft Forms, используя свою учетную запись Office 365. В ходе этого курса мы будем разрабатывать опрос, выдумывая его на ходу. Это означает, что если вы создаете элементы не так, как я, некоторые элементы на вашем мониторе будут отличаться от тех, что вы будете видеть на моем экране.
Урок 2. Курс по Microsoft Forms. Добавить вопрос «Оценка», «Дата» и «Рейтинг»
Отличный способ узнать чьё-либо мнение о продукте или услуге – это попросить оценить продукт или услугу по шкале от одного до пяти или от одного до десяти. В этом видео я покажу вам, как добавить рейтинговый вопрос в Microsoft Forms.
Урок 3. Курс по Microsoft Forms. Добавить вопрос по шкале Ликерта и Net Promoter Score
Если вы недавно заполняли опрос или онлайн-форму, то, возможно, вы видели сетку с такими элементами, как продукты, в первом столбце, и списком мнений или оценок в верхней строке. Ваша задача – указать, как вы относитесь к каждому предмету, на основе доступных вам оценок. Эта мера называется шкалой Ликерта, и это один из самых ценных элементов, доступных в Microsoft Forms.
Урок 4. Курс по Microsoft Forms. Как создать тест в Microsoft Forms
Мы находимся с вами на 4-м уроке по Microsoft Forms, где я покажу вам, как создать тест для проверки знаний по определенным темам. Процесс очень похож на создание опроса, но есть некоторые важные отличия. Давайте рассмотрим их.
Урок 5. Курс по Microsoft Forms. Использование математических формул в тесте Microsoft Forms
На прошлом уроке, в нашем тесте мы создали с вами первый вопрос с несколькими вариантами ответов. Это довольно типичный вид теста, который встречается повсюду. Но бывает, что вы хотите проверить определенную группу людей на знание формул для ваших задач. Созданием такого вида теста мы займемся с вами на этом уроке.
Урок 6. Курс по Microsoft Forms. Редактирование вопросов. Изменение темы и как отправить форму
Созданный вами опрос или тест не всегда будет выглядеть идеально с первого раза, и вам придется его отредактировать прежде, чем отсылать его вашей аудитории. В этом уроке я покажу вам, как скопировать, отредактировать или удалить вопрос, а также, как сменить тему фона вашего опроса и поделиться им с другими людьми.
Урок 7. Курс по Microsoft Forms. Как посмотреть ответы и проанализировать данные по каждому участнику
Теперь, когда вы создали опрос и получили несколько ответов, вы можете их проанализировать. В этом заключительном уроке я покажу вам, как анализировать полученные данные.
Заключение
Под конец данного урока, да и всего курса, я хочу отметить, что я довольно часто использую Microsoft Forms в своей работе. С его помощью я могу узнавать влияние каких-нибудь изменений на настроение в коллективе, проверять и анализировать знания отдельных групп работников на определенные темы и создавать обучающие программы для совершенствования знаний сотрудников.
Использование опросов поможет вам мгновенно подтвердить ваши догадки по усовершенствованию чего-либо, и я этим активно пользуюсь и вам настоятельно рекомендую. Спасибо, что просмотрели данный урок или весь курс. Я уверен, что эти знания будут вам полезны в вашей работе.
Что еще интересного почитать
- Последнее обновление: 12 июля 2021.
- Просмотров: 7177
If you use forms at work, you’ll love the convenience of interactive or fillable forms in Microsoft Word. Forms that you can fill out make gathering information easy.


With a fillable form, all you’ve got to do is create a form in Word. Then you can use it over and over again. There’s nothing to print, so interactive forms are good for both your budget and the environment.
If you want a fillable form that also looks good, then begin with a template in Word. Form templates for Microsoft Word are available in Envato Elements and GraphicRiver.
In this tutorial, you’ll learn how to create a fillable form in Word, so you can reap all the benefits of an interactive form.
Find Great Form Templates on Elements
Fillable forms in Word have a variety of uses. Human resources use forms to capture employee and consultant information. Organizations use forms to register members, students, or clients. You also use forms to take orders for your products and services. Those are only a few examples of how useful fillable forms are.
Ideally, you want your Microsoft Word forms to be consistent with your branding. Well-designed forms reflect your credibility and professionalism. That’s why you want to avoid generic-looking forms. Want to know how to make a fillable form in Word that’s aligned with your visual brand?


The easiest way is by using templates for Word with pre-built tables or forms. One awesome source for Word templates is Envato Elements. Elements has an irresistible offer: for one low monthly fee, you get unlimited downloads of the millions of creative assets in its library. These include:
- Word templates
- fonts
- graphics
- photos
- and more
Whatever you need to make your forms look as good as possible, you can find in Elements.
If you need to create only one form, then a better source for Word templates is GraphicRiver. It’s got the same massive library of creative assets but on a pay-per-use basis. For the one-off project in Word, GraphicRiver is a terrific and budget-friendly option.
How to Create Fillable Forms in Word
You may be wondering, «How do I make a fillable form in Word?» Let me take you step-by-step through how to create a fillable form in Word.
Note: In the following tutorial, I’m using Microsoft Word for Mac version 16.48. If you’re using a different version, then the steps and interface may be different. But these steps should still be helpful for you.
1. Show the Developer Tab
As a first step, make sure that the Developer tab is showing up for you. This may be hidden by default. If you don’t see the Developer tab, follow these steps:
Go to Word > Preferences.


The Word Preferences menu opens. Click on the Ribbon & Toolbar button.


The Ribbon & Toolbar menu pops up. Under Main Tabs, scroll down and check Developer. Click Save.


The Developer tab should now be visible.


2. Determine the Layout and Structure of the Form
The next step is to determine the layout and structure of the fillable form. This will depend on what information you want to capture. You may want to sketch this on a sheet of paper first.
When you know what the form will look like, create a table in Word. By creating your form as a table in Word, it’ll be easier for you to keep things aligned and organized. The cells of the table are the form fields. Keep this in mind as you create your interactive form. This tutorial shows you the steps for how to make a table in Word:
Another option is to use a Word template with a pre-built table as a form. This way, the form has already been professionally designed. All you’ve got to do is to customize the form in Word according to your needs. Remember that the form template must have been built as a table so that you can make the form interactive in Word.
In the steps that follow, I’m going to create a form from scratch by first creating a table in Word:


Now, it’s time to make this a fillable form in Word.
3. Add Form Fields With Content Controls
You create a fillable form in Word by adding form fields. There are different types of form fields with content controls, depending on the types of responses you’re looking for.
Under the Developer tab, you’ll see buttons for creating a Text Box, Check Box, and Combo Box (or drop-down form field).


Let me show you how to create each type of form field:
How to Add a Word Fillable Form Text Box
Place the cursor where you would like to create a text field. Click on the Developer tab, then the Text Box button.


A text box is created. To change the text box settings, click on Options. The Text Form Field Options menu opens.


Here, choose various settings. For example, you’ve got several Text Types to choose from:
- Regular Text
- Number
- Date
- Current Date
- Current Time
- Calculation
Add a Default Text for the form field to guide respondents in filling out the form. You can also specify the Maximum Length and Text or Number Format.


When you’re happy with the settings, click OK. Repeat for each text box you want to create.


How to Add a Check Box to a Fillable Form in Word
Next, let’s make check boxes. First type the text for the check box items. Then, place your cursor in front of the first item. Go to Developer > Check Box.


A check box appears where your cursor was. Again, change the check box settings by clicking on the Options button.


The Check Box Form Field Options menu opens. Here you can determine whether the Default Value for the check box is Not Checked or Checked. Specify the Check Box Size and other options. When you’re done setting up the check box options, click OK.
Repeat these steps for the other check boxes.


How to Create a Drop-down Field in a Fillable Form in Word
Finally, let’s add a drop-down field in our form. Place the cursor where you want the drop-down menu to be, then go to Developer > Combo Box.


To add the drop-down menu items, click on the Options button. The Drop-Down Form Field Options menu opens.


Type a drop-down item, then click the + sign.


Repeat for each drop-down item you want to include in your fillable form. When you’re done, click OK.


Only the first drop-down item will appear. You’ll see the rest when you test the form.
4. Finalize the Form
Before using the fillable form in Word, it’s a good idea to first test it. To do this, click the Protect Form button on the Developer ribbon.


Now that the form is protected, fill the form fields like your respondents would. You’ll notice that the drop-down menu items appear when you click on the field or the arrow beside it.


When you’re happy with how the fillable form works, finalize the document by formatting the page. Click Protect Form again to un-protect it, so you can edit the document. Now’s the time to change fonts, colors, add logos, and format the form as you wish.
This is what my final fillable form looks like:


You may also decide to remove the shading for each form field. To do so, go to Developer > Shading.


I’m going to keep the Shading on, to make it clear to my respondents where they’re supposed to type in their answers. That’s because I deleted the borders of my table to give my form a cleaner appearance. If you keep the table borders, then it makes sense to switch off the form field Shading.
5. Use and Distribute Fillable Forms in Word
Once the fillable form in Word is completed, share it with your users or respondents. Do this by sharing the fillable form as an email attachment.
First, make sure that the form is protected. This ensures that other users won’t be able to edit the form when you share it with them.
Next, click on Share > Share a Copy.


In the menu that opens, click Email as Attachment.


This launches your default email application with the fillable form attached.


3 Top Form Templates for Word (Unlimited Downloads from Elements)
If you want a form with an impressive design, it’s best to start with a form template for Word. Templates with built-in forms are designed by professional graphic designers. This means the biggest—and hardest—design decisions have already been made for you. By customizing the colors and fonts and adding your logo, you can make the template truly your own.
Below are a few form templates for Word that look great:
1. Clean Business Registration Form Template


The Clean Business Registration Form template for Word allows you to gather basic personal information and contact details. It’s useful for registering employees, clients, members, vendors, and more. This form template comes in A4 size. You’ve got the option of customizing it with your branding colors. The template comes in Microsoft Word files, as well as files for InDesign, Adobe Illustrator, and Photoshop.
2. Order Form


Receive orders for your products or services with this Order Form for Word. This A4-sized template uses paragraph styles, making it easy to edit in Microsoft Word. It also comes in Adobe InDesign files, if you’re more comfortable editing in that application. A file guide is included to help you customize this template.
3. Client Questionnaire


Impress your clients with this Client Questionnaire template that looks anything but generic. Editable in both Microsoft Word and Adobe InDesign, this form template comes in A4 size. A 34-page guide walks you through how to edit and use the template files.
More of the Best Word Templates for Your Business or Organization
Now you know how to create a fillable Word document. But aside from fillable forms, your business or organization needs other types of documents. Using templates for MS Word helps you create professional-looking documents quickly. Premium Word templates are designed to be easy to customize, so you end up with materials that are coherent with your brand.
Here are more Word templates you can customize to easily create impressive documents for your business or organization:
Learn More About Using Microsoft Word for Your Business and Personal Needs
Whether for personal or business use, MS Word lets you create various kinds of documents. But with power comes complexity, so it can take time to learn how to use its robust features.
The best place to start is with our ultimate guide, Learn How to Use Microsoft Word (Beginner Tutorial Guide). It takes you from the basics of opening and creating Word files, to more advanced skills like comparing and merging two Word documents.
These Word tutorials will also help:
Enhance Your Workflow With Fillable Forms in Word
You’ve seen how convenient it is to use an interactive, fillable form. And now, you know how to create your own fillable form in Word.
Take it up a notch by starting with a Word template, such as those from Elements or GraphicRiver. These professionally-designed templates for Word are sure to impress your clients, employees, or members.
For unlimited downloads of Word templates, take your pick of the vast options in Envato Elements. For one small monthly subscription, you get unlimited downloads of anything you want in its massive library. These include photos, fonts, graphics, as well as sound effects, music, and stock video. If you create many marketing and communication materials, Elements gives you massive value.
For one-off projects, GraphicRiver is another massive library of Word templates and other creative elements. But with GraphicRiver, you pay only for each single use of each item. It’s an affordable way of getting the same professional results.