
See all How-To Articles
This tutorial demonstrates how to use the Document Inspector in Excel.
Document Inspector
Excel document inspector allows you to check documents for sensitive data, like personal information or hidden content. Using document inspector, you can easily find and remove all information before sharing your file with other people.
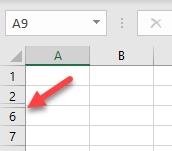
To explain how the document inspector works, let’s go through an example where several rows are hidden (for this example, Rows 3–5).
To analyze the file, follow these steps:
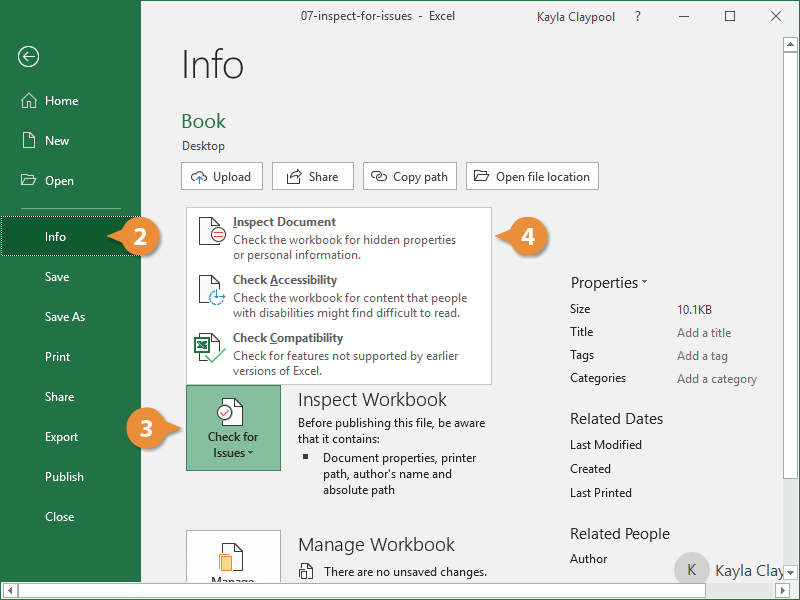
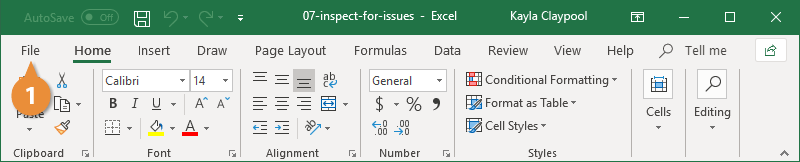
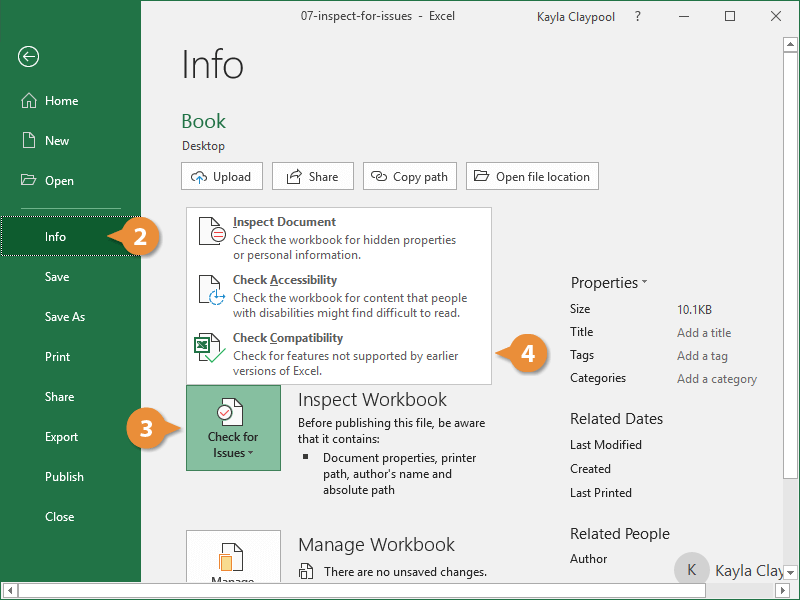
- In the Ribbon, go to File > Info.
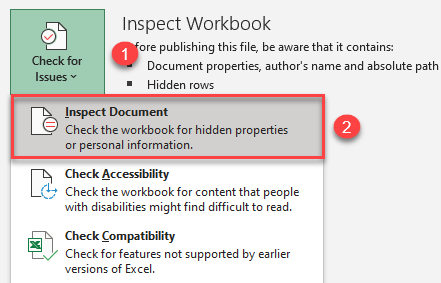
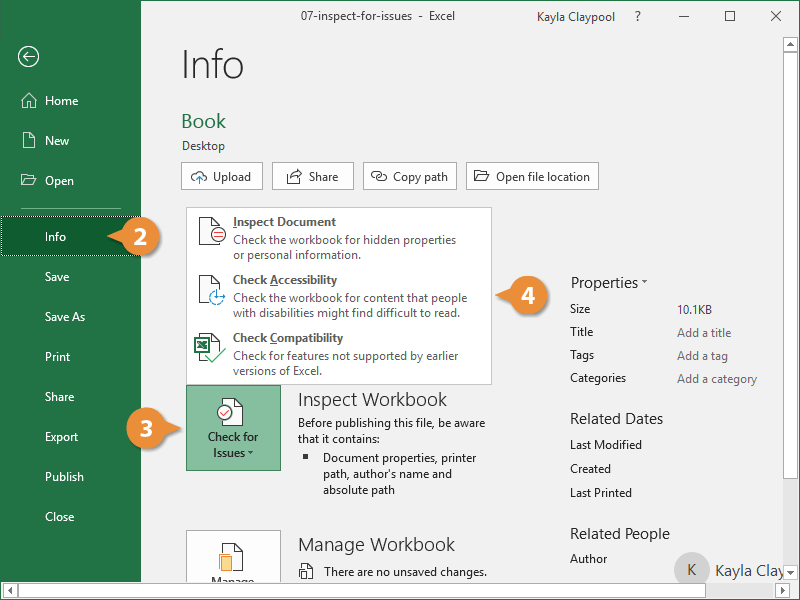
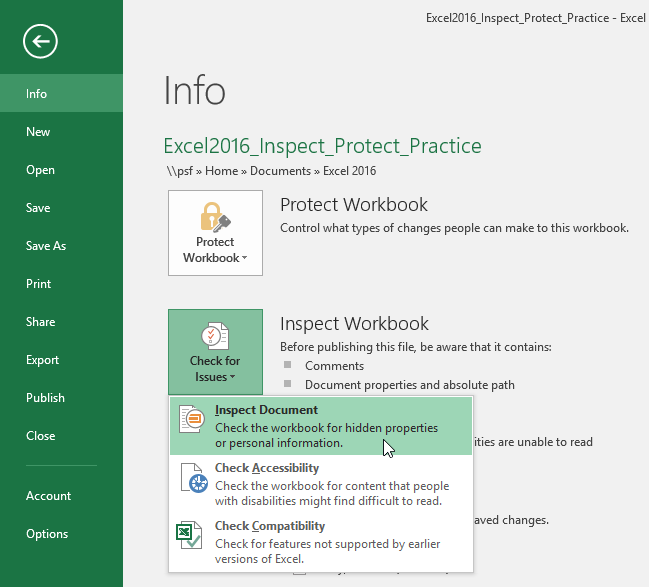
- In the Info window, click Check for Issues, and choose Inspect Document.
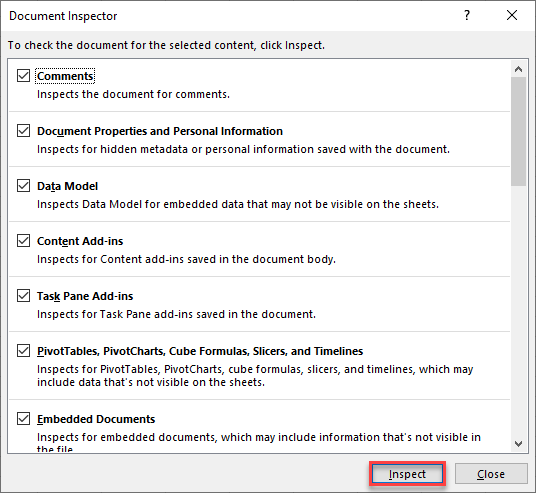
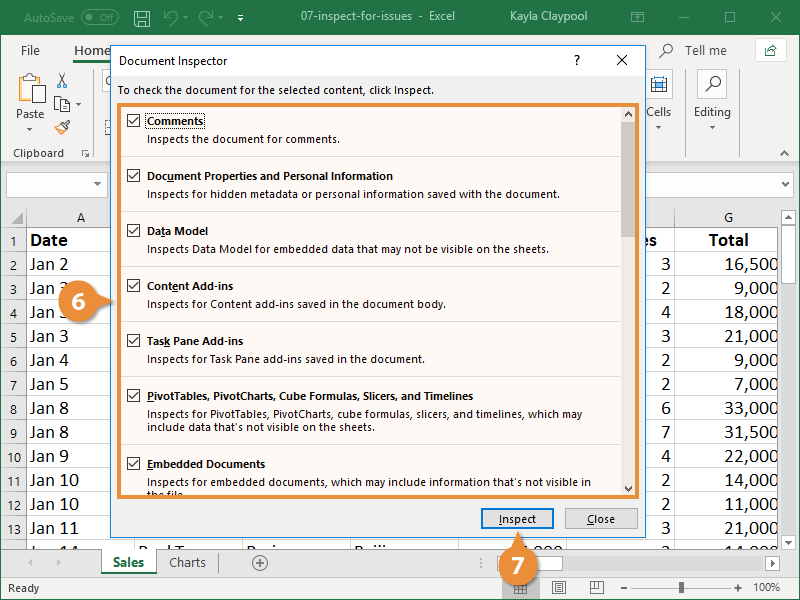
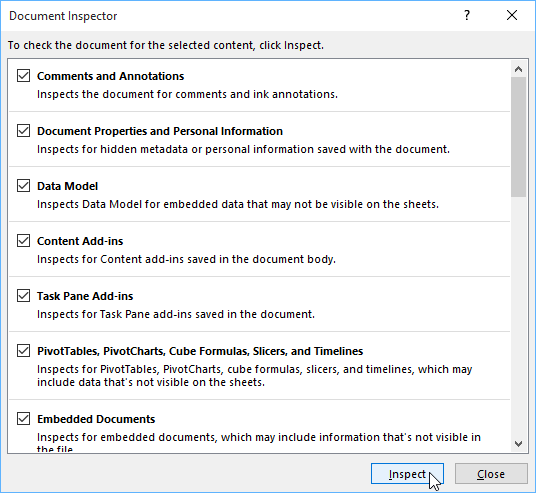
- In the Document Inspector window, all analysis categories are checked by default; just press Inspect.
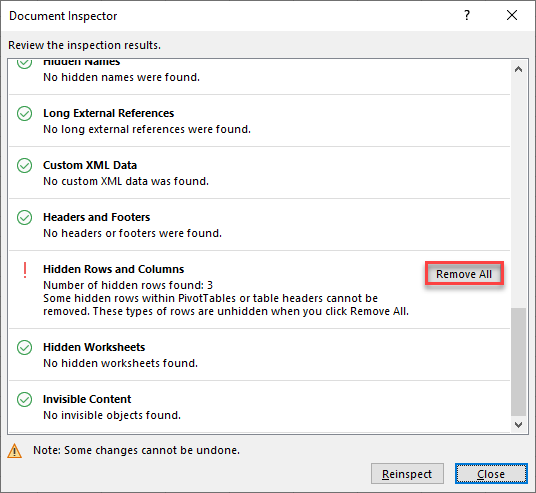
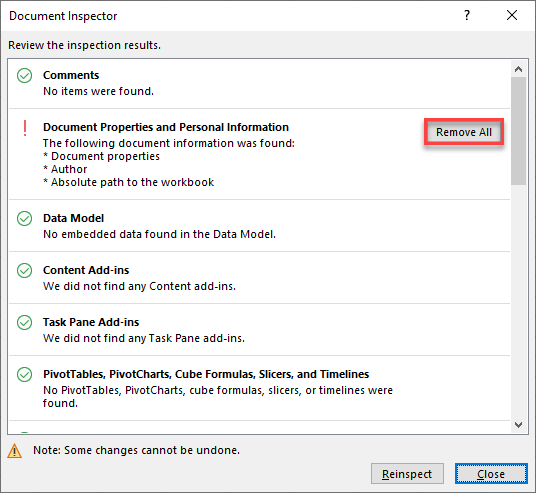
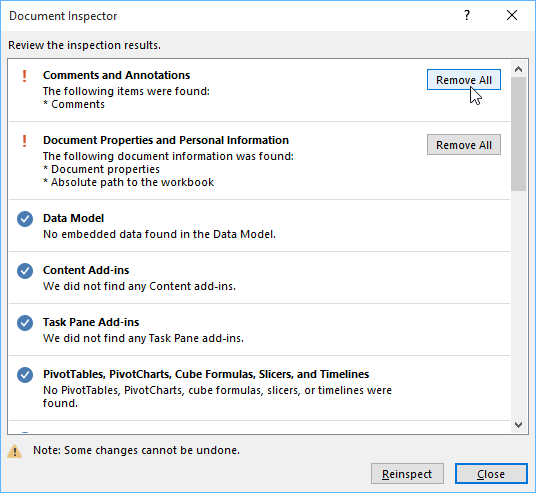
As you can see, there is an issue with Document Properties and Personal Information. If you want to delete them and protect your workbook before sharing, click Remove All.
Also, there is a warning for Hidden Rows and Columns (because Rows 3–5 were hidden on this sheet). To resolve this, click Remove All.
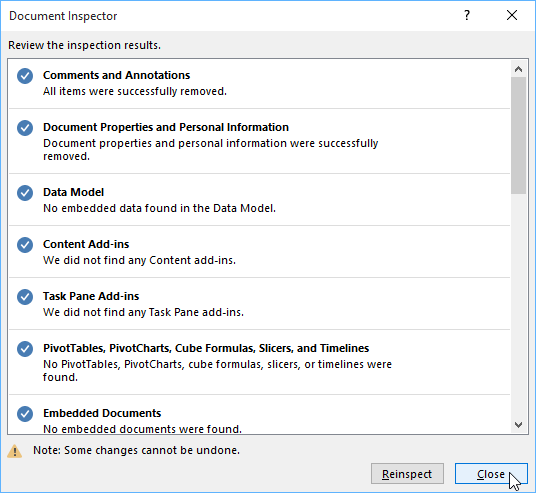
As a result, your personal information is removed from the file, and all hidden rows are now displayed.
Be aware when using the document inspector. When resolving issues, it will usually delete data to solve problems, and these changes can’t be undone.
The full list of content included in file inspection is:
- Comments
- Document Properties and Personal Information
- Data Model
- Content Add-ins
- Task Pane Add-ins
- PivotTables, PivotCharts, Cube Formulas, Slicers, and Timelines
- Embedded Documents
- Macros, Forms, and ActiveX Controls
- Link to Other Files
- Real Time Data Functions
- Excel Surveys
- Defined Scenarios
- Active Filters
- Custom Worksheet Properties
- Hidden Names
- Long External References
- Custom XML Data
- Headers and Footers
- Hidden Rows and Columns
- Hidden Worksheets
- Invisible Content
Когда вы отправляете книгу Excel кому-либо (или размещаете ее в Интернете), было бы хорошо проверить ее в самый последний раз перед сохранением с помощью Инспектора документов. Он проверяет следующие типы содержимого.
- примечания и аннотации;
- свойства документа и личные данные;
- пользовательские XML-данные;
- верхние и нижние колонтитулы;
- скрытые строки и столбцы;
- скрытые листы;
- невидимое содержимое.
Для открытия диалогового окна Инспектор документов (рис. 179.1) выберите Файл ► Сведения ► Поиск проблем ► Инспектор документов.

Рис. 179.1. Используйте Инспектор документов для выявления скрытой информации в книге
При нажатии кнопки Проверить Excel выполняет поиск в книге тех элементов, которые выбраны в диалоговом окне. Если какие-либо пункты были найдены, вы можете удалить их все. К сожалению, этот инструмент оставляет желать лучшего. Например, он не предоставит вам никакой конкретной информации и не создаст отчет, который бы содержал подробные данные. Но это лучше, чем проверка всех элементов вручную.
По теме
Новые публикации
To use Document Inspector:
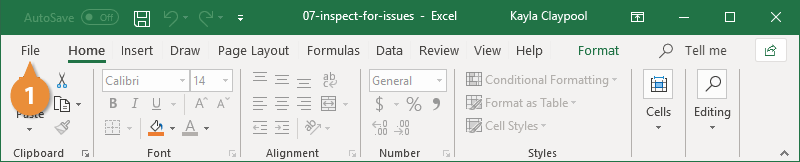
- Click the File tab to access Backstage view.
- From the Info pane, click Check for Issues, then select Inspect Document from the drop-down menu.
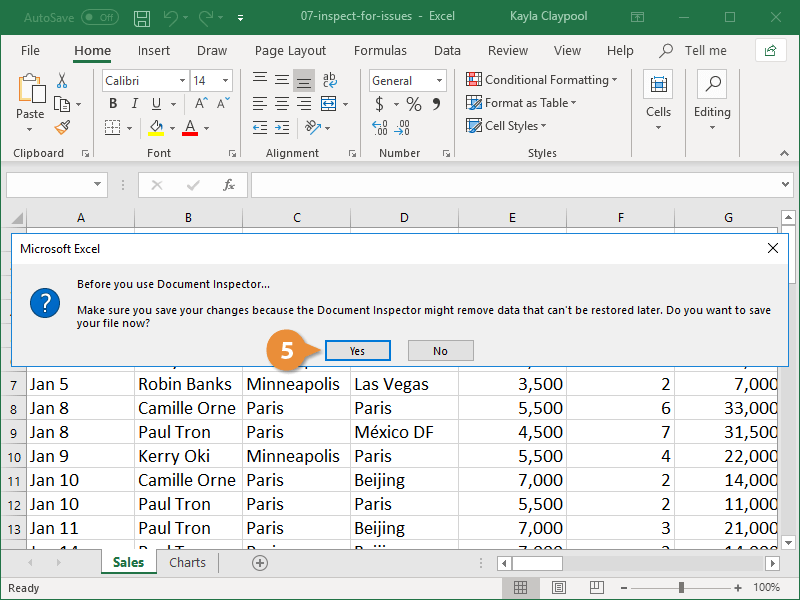
- You may be prompted to save your file before running Document Inspector.
- Document Inspector will appear.
- The inspection results will appear.
Contents
- 1 What is inspect workbook in Excel?
- 2 How do I turn off document inspector in Excel?
- 3 How do I inspect hidden properties in Excel 2016?
- 4 How do I check for issues in Excel?
- 5 How do I make a Word document anonymous?
- 6 How do you add draft to document properties in Excel?
- 7 How do I use Document Inspector in Excel for Mac?
- 8 Why would you need to use the Document Inspector?
- 9 Why is my Excel document not saving?
- 10 How do I show hidden data in Excel?
- 11 How do I find properties in Excel?
- 12 How do I view active content in Excel?
- 13 Where is Excel name manager?
- 14 How do I find 508 compliance in Word?
- 15 What is the accessibility checker?
- 16 How do I remove the author in Excel?
- 17 Can you see who created a Word document?
- 18 How do I anonymize tracked changes in Word?
- 19 How do I add tags to document properties?
- 20 How do I add tags in Excel?
What is inspect workbook in Excel?
This tool can locate hidden information about you, your organization, or about the workbook that you may not want to share with others. To do so, choose Office> Prepare> Inspect Document. Click Inspect, and Excel displays the results of the inspection and gives you the opportunity to remove the items it finds.
How do I turn off document inspector in Excel?
Please try to go to File in the upper left hand corner, then Options > Trust Center > Trust Center Settings > Privacy Options > Document Inspector and un-check the check box that says “Document Properties and Personal Information”, then hit OK.
How do I inspect hidden properties in Excel 2016?
To open the Document Inspector, click File > Info > Check for Issues > Inspect Document. The Excel Document Inspection window shown below opens up. Click Inspect to identify hidden content, and then click Remove All to remove the item of your choice.
How do I check for issues in Excel?
How to Inspect for Issues in Excel
- Click the File tab.
- Click Info.
- Click Check for Issues.
- Click Inspect Document.
- Click Yes. There’s a variety of items you can check for within your workbook.
- Check the box for the items you want to inspect.
- Click Inspect.
- Click Remove All next to the Items you want to remove.
How do I make a Word document anonymous?
Under the File menu select Prepare for Sharing. Click on the Check for Issues icon. Click on Inspect Document icon.
Creating an anonymous word document
- Under the File menu, select Properties.
- Under the Summary tab, remove all of the identifying information from all of the fields.
- Save the document.
How do you add draft to document properties in Excel?
- Click the File tab.
- Click Info.
- Click the View and edit database properties link at the top of the page.
- Click the Custom tab. In the Name box, type a name for the custom property, or select a name from the list.
- Click Add, and then click OK.
- Click the File tab again to return to your workbook.
How do I use Document Inspector in Excel for Mac?
To use Document Inspector:
- Click the File tab to access Backstage view.
- From the Info pane, click Check for Issues, then select Inspect Document from the drop-down menu.
- You may be prompted to save your file before running Document Inspector.
- Document Inspector will appear.
- The inspection results will appear.
Why would you need to use the Document Inspector?
The Office Document Inspector is an important tool for anyone who shares or sends out Office documents. It helps prevent legal troubles and personal embarrassment. Office documents can have all sorts of hidden information in them; things that you might not intended to send to others.
Why is my Excel document not saving?
Possible reasons why documents don’t save. Select the tab that applies to you, or go to the “Quick resolution” section. If you cannot save a workbook when you run Microsoft Excel in Windows Safe mode, the problem may be caused by a third-party add-in or by a file from one of the Excel startup locations.Exit Excel.
How do I show hidden data in Excel?
Click the Design tab. Click Select Data in the Data group. Click the Hidden And Empty Cells button (at the bottom). Select the Show Data In Hidden Rows And Columns option.
How do I find properties in Excel?
View document properties
- Click on the File tab. You switch to the backstage view.
- Choose Info from the File menu. The Properties pane is shown on the right-hand side.
- Click on Properties to open the drop-down menu.
- Choose ‘Show Document Panel’ from the menu.
How do I view active content in Excel?
Press Ctrl+G, the shortcut for the Go To dialog, then click Special > Objects > OK. This will select all objects on the active worksheet. for a reference to another workbook, such as [Budget.
Where is Excel name manager?
To open the Name Manager dialog box, on the Formulas tab, in the Defined Names group, click Name Manager. One of the following: A defined name, which is indicated by a defined name icon.
How do I find 508 compliance in Word?
To run the Accessibility Checker:
- On the ribbon, click the File tab.
- Click Check for Issues, and then click Check Accessibility. Note:
- The Accessibility Checker pane will open and display any issues with the document. From here, you can resolve any issues that appeared during the process of checking for accessibility.
What is the accessibility checker?
The Accessibility Checker verifies your file against a set of rules that identify possible issues for people who have disabilities. Depending on how severe the issue is, the Accessibility Checker classifies each issue as an error, warning, or tip. Error.
If you share a document with other people, you can remove personal information, such as author name and company, that Office automatically adds to a document. On the Word menu, click Preferences. Under Privacy options, select the Remove personal information from this file on save check box.
Can you see who created a Word document?
To view properties for an open document in Word, click the File tab and click on Info. On the right side of the window, the document properties are listed, including the Last Modified date, the date the document was Created, the Author, and the number of Words in the document.
How do I anonymize tracked changes in Word?
Making Sure Changes and Comments are Anonymous
- Click the Office button.
- At the left side of the screen choose Prepare | Inspect Document.
- Make sure all the available check boxes are selected.
- Click Inspect.
- Use the controls in the dialog box to get rid of any identifying information.
- Click the Close button when done.
How do I add tags to document properties?
How to Add Tags Using Windows Explorer
- Open Windows Explorer and find the Word document.
- Right-click the file and choose Properties.
- Go to the Details tab.
- In the Tags text box, enter the keywords.
- Select OK to save the tags and close the dialog box.
How do I add tags in Excel?
RECOMMENDED FOR YOU
- Open File Explorer and select the file you want to tag.
- On the View tab, click Details in the Panes group to open the Details pane.
- Enter the appropriate Tags (Figure F).
- Click Save.
Excel has several features that help you make sure workbooks look and work the way you want them to before you distribute them to others.
Excel comes with many options that help you prepare a workbook for distribution.
Inspect a Workbook
Check the workbook for hidden information, such as personal information; custom XML data; and other hidden or embedded information. This hidden information has the potential to reveal details about your organization or about the workbook itself that you might not want to share publicly. You can remove this hidden information before you share the workbook with other people.
- Click the File tab.

- Click Info.
- Click Check for Issues.
- Click Inspect Document.

- Click Yes.
There’s a variety of items you can check for within your workbook. Look through the list and identify the hidden content you want to inspect.
- Check the box for the items you want to inspect.
- Click Inspect.
- Click Remove All next to the Items you want to remove.
- Click Close.


The hidden data is removed from the workbook and will not been seen by others.
Accessibility Issues
The Accessibility Checker looks for anything that people with disabilities might find difficult to read. It even tells you why you’d want to fix the detected issue.
- Click the File tab.
- Click Info.
- Click Check for Issues.
- Click Check Accessibility.
- Click an item in the Accessibility Checker pane.
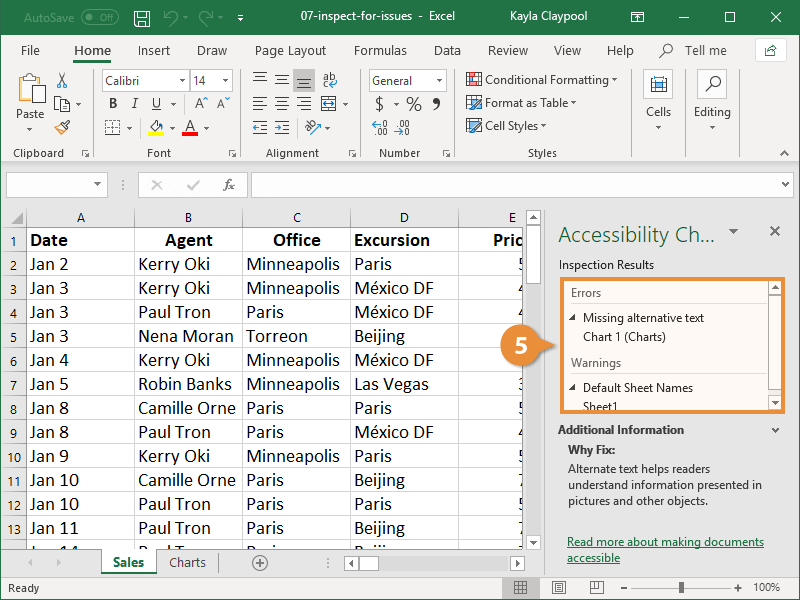
Excel jumps to the sheet with the problematic object and selects it so you can easily make changes.
Compatibility Issues
If you’ll be sharing your workbook with others who have an earlier version of Excel, you’ll want to run the Compatibility Checker to detect any information that may not be available to those individuals.
- Click the File tab.
- Click Info.
- Click Check for Issues.
- Click Check Compatibility.
Excel 2019 has some features that aren’t available in earlier versions of the software. The Compatibility Checker identifies these and lets you know what will happen to the worksheet elements if the file is opened in another version of Excel.
- Click OK.

FREE Quick Reference
Click to Download
Free to distribute with our compliments; we hope you will consider our paid training.
Lesson 26: Inspecting and Protecting Workbooks
/en/excel2016/track-changes-and-comments/content/
Introduction
Before sharing a workbook, you’ll want to make sure it doesn’t include any spelling errors or information you want to keep private. Fortunately, Excel includes several tools to help finalize and protect your workbook, including Document Inspector and the Protect Workbook feature.
Optional: Download our practice workbook.
Watch the video below to learn more about inspecting and protecting workbooks.
Document Inspector
Whenever you create or edit a workbook, certain personal information may be added to the file automatically. You can use Document Inspector to remove this information before sharing a workbook with others.
Because some changes may be permanent, it’s a good idea to save an additional copy of your workbook before using the Document Inspector to remove information.
To use Document Inspector:
- Click the File tab to access Backstage view.
- From the Info pane, click Check for Issues, then select Inspect Document from the drop-down menu.

- You may be prompted to save your file before running Document Inspector.

- Document Inspector will appear. Check or uncheck boxes, depending on the content you want to review, then click Inspect. In our example, we’ll leave everything selected.
- The inspection results will appear. In our example, we can see that our workbook contains comments and some personal information, so we’ll click Remove All on both items to remove this information from the workbook.
- When you’re done, click Close.

Protecting your workbook
By default, anyone with access to your workbook will be able to open, copy, and edit its content unless you protect it. There are many different ways to protect a workbook, depending on your needs.
To protect your workbook:
- Click the File tab to access Backstage view.
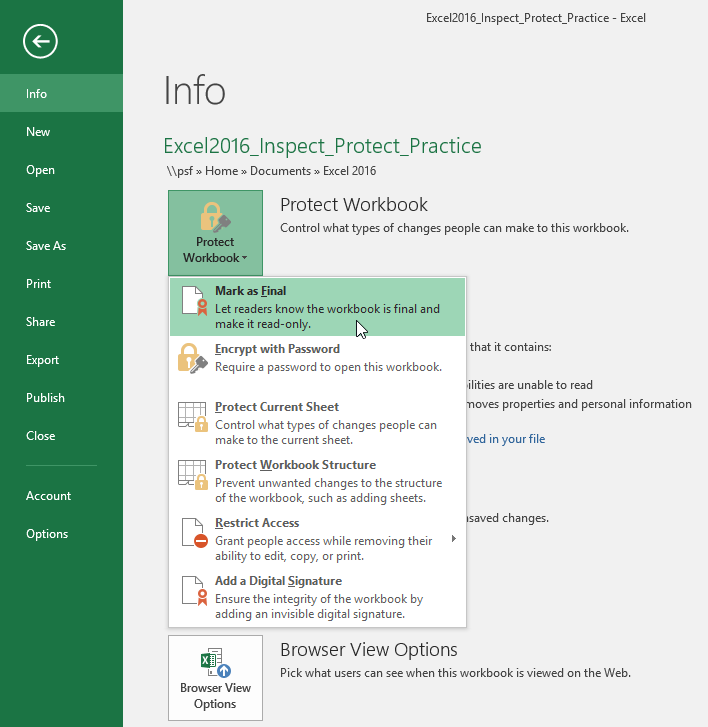
- From the Info pane, click the Protect Workbook command.
- In the drop-down menu, choose the option that best suits your needs. In our example, we’ll select Mark as Final. Marking your workbook as final is a good way to discourage others from editing the workbook, while the other options give you even more control if needed.
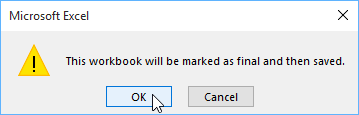
- A dialog box will appear, prompting you to save. Click OK.
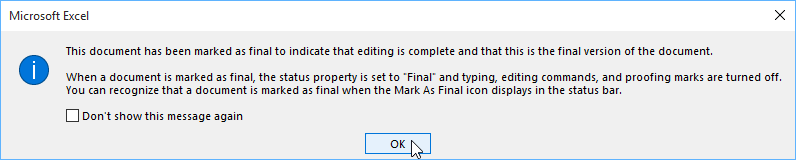
- Another dialog box will appear. Click OK.

- The workbook will be marked as final.
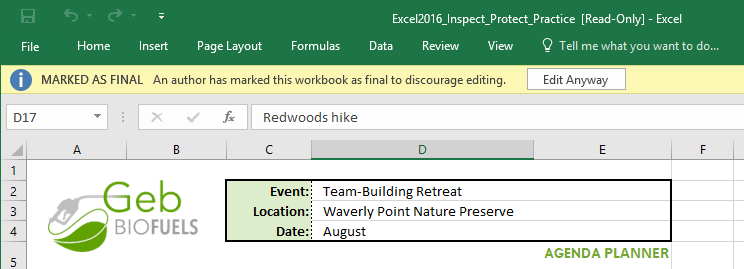
Marking a workbook as final will not prevent others from editing it. If you want to prevent people from editing it, you can use the Restrict Access option instead.
Challenge!
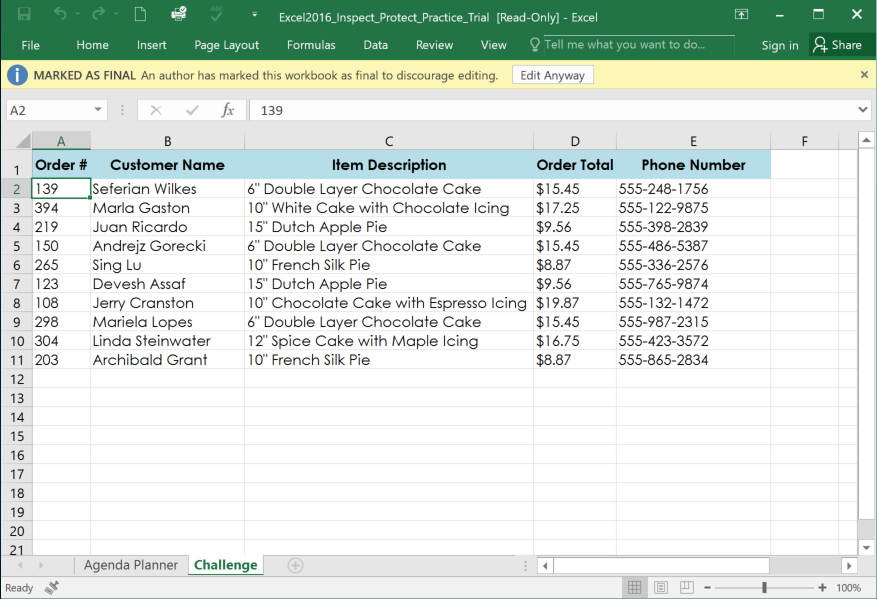
- Open our practice workbook.
- Use Document Inspector to check the workbook and remove anything it finds.
- Protect the workbook by Marking As Final.
- When you’re finished, your workbook should look something like this:

/en/excel2016/intro-to-pivottables/content/