
Word for Microsoft 365 Word 2021 Word 2019 Word 2016 Word 2013 Word 2010 Word 2007 More…Less
You can insert the current date, or the date and time, into a Word document as plain text or as a field that updates automatically.
Insert today’s date
If you don’t need the date to update automatically, you can insert the current date as text.
-
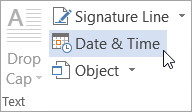
On the Insert tab, in the Text group, click Date & Time.

-
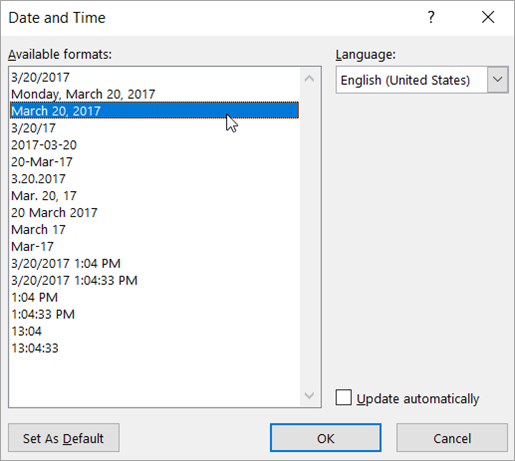
In the Date and time dialog box, select the format you want and click OK.
The date is inserted as text.
Insert a date that updates automatically
If you’d like the date to be updated every time someone opens the document, you can insert the date as a field.
-
On the Insert tab, in the Text group, click Date & Time.
-
In the Date and time dialog box, select the format you want.
-
Select the Update automatically check box.
The date is inserted as a field and will update automatically.

Edit or update a date field
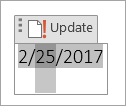
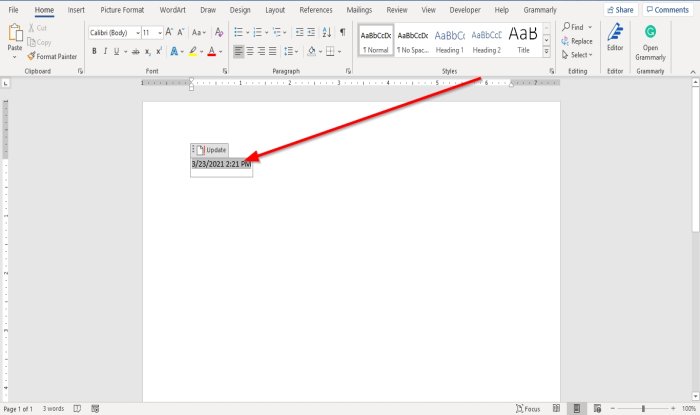
If you selected Update automatically when inserting the date, you’ll see a faint gray box when you rest your mouse pointer over the date. This means you’ve inserted a field that you can change or update.

-
To edit the date, click the gray box, type a new date, and then click outside the box.
-
To change the date back to the current date, click the date field and click Update.
Note: If you manually change the date and then save and close your document, the next time the document is opened, Word will show the current date.
Need more help?
Want more options?
Explore subscription benefits, browse training courses, learn how to secure your device, and more.
Communities help you ask and answer questions, give feedback, and hear from experts with rich knowledge.
Insert the Current Date in Word Documents Using Fields
Article by: Avantix Learning Team | Updated November 8, 2021
Applies to: Microsoft® Word® 2010, 2013, 2016, 2019 or 365 (Windows)
You can insert today’s date into a Word document as a static date or as a dynamic date field that updates when a document is opened or printed. Word picks up the current date from the system date and the default formatting from your computer’s regional settings.
If you insert the Date field (or several other date fields), when you close, save and open the document, the date will be updated. If you want to manually update a date field, right-click it and choose Update Field from the drop-down menu.
Recommended article: How to Add or Remove Page Breaks in Microsoft Word
Inserting the current date using the Date & Time command
The most common way to insert the current date as a field in a Word document is to use the Date & Time command in the Ribbon. Date fields are entered in content controls in Word.
To insert the current date as a field using the Date & Time command:
- Click in the document where you want to insert the date:
- Click the Insert tab in the Ribbon.
- Select Date & Time in the Text group. The Date and Time dialog box appears.
- Click the date in the format that you want.
- Select the Update automatically check box to insert a dynamic date field.
- Click OK. Word will insert the Date field in a content control.
The Date and Time dialog box appears as follows:

Inserting the current date using a keyboard shortcut
To insert the current date using a keyboard shorcut, press Alt + Shift + D to insert the Date field in a content control. This will insert the Date field which will update automatically. This is not a shortcut for the Date / Time dialog box and is not affected by settings in the dialog box.
Inserting other date fields
You can also insert the Date, CreateDate, PrintDate and SaveDate fields into Word documents. The PrintDate field will update when the document is printed.
To insert the PrintDate field or one of the other date fields:
- Position the cursor where you want to insert the date.
- Click the Insert tab in the Ribbon.
- In the Text group, click Quick Parts. A drop-down menu appears.
- Select Field. A dialog box appears.
- Select Date and Time from the Categories drop-down list. Select PrintDate or one of the other date fields in the Field Names list.
- Under Field Properties, choose a date format.
- Click OK. The date field will be entered in a content control.
The Insert Field dialog box appears as follows with Date and Time fields:

If you want to update a date field (if it doesn’t appear to update), right-click the field and select Update Field from the drop-down menu.
Changing the formatting of a date field
If you have inserted date fields, you can also change the formatting of the field:
- Right-click the field. A drop-down menu appears.
- Select Edit Field. A dialog box appears.
- Under Field Properties, select a date format.
- Click OK.
Fields can be inserted in the main document or in headers and footers.
Subscribe to get more articles like this one
Did you find this article helpful? If you would like to receive new articles, join our email list.
More resources
How to Generate Random Text in Word
How to Insert a Watermark in Word (like DRAFT)
How to Hide Paragraph Marks in Word (or Show Them)
How to Show or Hide White Space in Word Documents
How to Superscipt or Subscript in Word (with Shortcuts)
Related courses
Microsoft Word: Intermediate / Advanced
Microsoft Excel: Intermediate / Advanced
Microsoft PowerPoint: Intermediate / Advanced
Microsoft Word: Long Documents Master Class
Microsoft Word: Styles, Templates and Tables of Contents
Microsoft Word: Designing Dynamic Word Documents Using Fields
VIEW MORE COURSES >
Our instructor-led courses are delivered in virtual classroom format or at our downtown Toronto location at 18 King Street East, Suite 1400, Toronto, Ontario, Canada (some in-person classroom courses may also be delivered at an alternate downtown Toronto location). Contact us at info@avantixlearning.ca if you’d like to arrange custom instructor-led virtual classroom or onsite training on a date that’s convenient for you.
Copyright 2023 Avantix® Learning
Microsoft, the Microsoft logo, Microsoft Office and related Microsoft applications and logos are registered trademarks of Microsoft Corporation in Canada, US and other countries. All other trademarks are the property of the registered owners.
Avantix Learning |18 King Street East, Suite 1400, Toronto, Ontario, Canada M5C 1C4 | Contact us at info@avantixlearning.ca
Во время работы с документами офисной программы, часто необходимо отображать текущую дату и время в Ворде. Вставлять их вручную не очень удобно, потому что впоследствии может возникнуть необходимость в изменении этих параметров.
Как написать время в Ворде? В текстовом редакторе Microsoft Office Word имеются инструменты для вставки в документ текущих значений или автоматического обновления даты и времени, вставленных ранее, до текущих значений.
Содержание:
- Как вставить текущую дату и время в Ворде
- Как в Ворде вставить дату и время по умолчанию
- Вставка даты и времени для создания, сохранения и печати документа
- Вставка даты или времени с помощью горячих клавиш
- Изменение значений поля даты
- Удаление даты и времени из документа Word
- Выводы статьи
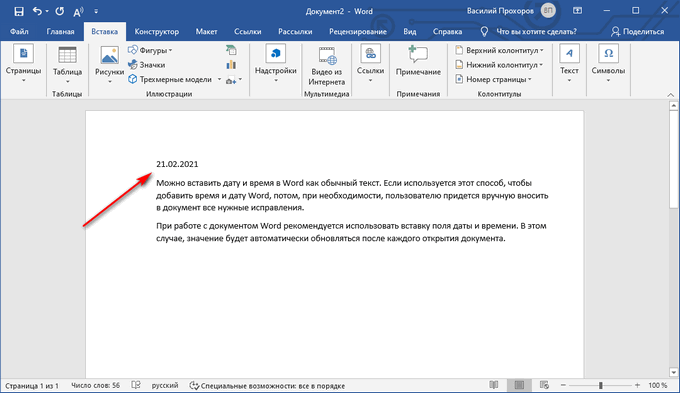
Можно вставить дату и время в Word как обычный текст. Если используется этот способ, чтобы добавить дату и время Word, потом, при необходимости, пользователю приходится вручную вносить в документ все нужные исправления.
При работе с документом Microsoft Word рекомендуется использовать вставку поля даты и времени. В этом случае, значение будет автоматически обновляться после каждого открытия документа.
В инструкциях этой статьи для вставки времени и даты в Ворде используется текстовый редактор Word 2019. В версиях Word 2016, Word 2013, Word 2010, Word 2007 выполняется похожий алгоритм действий.
Как вставить текущую дату и время в Ворде
Сначала разберем по шагам, как происходит вставка даты и времени Word.
Пройдите шаги:
- Откройте документ Word.
- Щелкните по месту в документе, подходящему для установки значений даты и времени.
- Войдите во вкладку «Вставка».
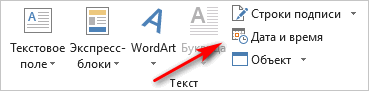
- В группе «Текст» нажмите на кнопку «Дата и время».
- Откроется новое окно, в котором нужно выбрать подходящие параметры для отображения формата дату или времени.
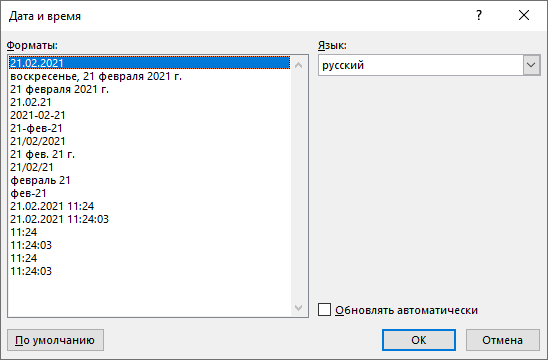
В поле «Форматы» представлены различные типы записей, подходящие для русского языка: несколько форматов даты, даты и времени, только времени. Доступны всевозможные варианты дат с использованием числа, месяца, года, дня недели, и времени в часах, минутах и секундах. Чаще всего используется самый распространенный формат: «ДД.ММ.ГГ» (дата, месяц, год).
В поле «Язык» по умолчанию выбран язык интерфейса текстового редактора. В нашем случае — русский.
Чтобы при каждом открытии документа, происходило обновление временных значений, поставьте флажок в пункте «Обновлять автоматически». Программа будет самостоятельно обновлять дату, соответствующую текущему значению, ориентируясь на календарь операционной системы Windows на компьютере.
Если галка отсутствует в поле «Обновлять автоматически», то введенные значения в документе не изменятся, потому что они вставлены обычным текстом, а не в специальном поле.
- Для сохранения изменений нажмите на кнопку «OK».
- В окне документа Word отобразятся текущие значения времени в выбранном формате.
Как в Ворде вставить дату и время по умолчанию
Очень часто необходимо вставлять одинаковые значения даты и времени в едином формате во всех документах Word, используемых на данном компьютере. В этом случае, нужно задать этот формат по умолчанию.
Выполните следующие действия:
- В открытом документе перейдите во вкладку «Вставка».
- Щелкните указателем мыши в том месте документа, где необходимо отображать значения текущего времени.
- Нажмите на кнопку «Дата и время», которая находится в группе «Текст».
- В окне «Дата и время» задайте подходящие параметры времени и даты.
- Нажмите на кнопку «По умолчанию».

- В окне с предупреждением нажмите на кнопку «Да».

- Чтобы подтвердить выбор параметров, в окне «Дата и время» нажмите на кнопку «OK».
Вставка даты и времени для создания, сохранения и печати документа
Сейчас посмотрим на вставку полей с форматами даты при помощи функции экспресс-блоков.
Пройдите последовательные шаги:
- В открытом документе MS Word перейдите во вкладку «Вставка».
- В группе «Текст» нажмите на кнопку «Экспресс-блоки».

- В выпадающем меню нажмите на пункт «Поле…».
- В окне «Поле», в разделе «Выберите поле», в «Категории:» выберите «Дата и время».
- В поле «Поля:» нужно указать один из вариантов: «CreateData» (дата создания), «PrintDate» (дата печати), «SaveData» (дата сохранения).
- В разделе «Свойства поля», в поле «Форматы даты:» задайте подходящее значение.
- Нажмите на кнопку «OK».

Вставка даты или времени с помощью горячих клавиш
В Word существует способ вставки даты или времени при помощи «горячих» клавиш, не используя интерфейс параметров приложения.
Выполните следующее:
- Щелкните в том месте документа, куда нужно вставить дату или время.
- Нажмите на сочетания клавиш:
- «Alt» + «Shift» + «T» — вставка времени в заданном по умолчанию формате.
- «Alt» + «Shift» + «D» — вставка даты в формате по умолчанию.
При использовании этого способа, вставленные значения времени станут обновляться автоматически при каждом открытии документа.
Изменение значений поля даты
При использовании автоматического обновления значения даты, пользователю может понадобиться внести изменения. Чтобы задать новую дату необходимо сделать следующее:
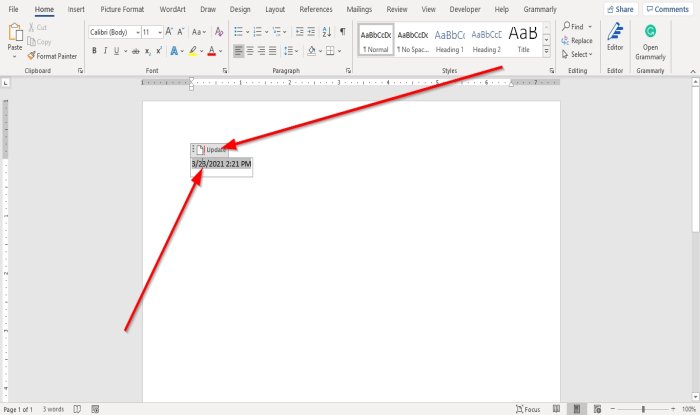
- В открытом документе подведите указатель мыши к дате, поле с датой окрасится в серый цвет.
- Щелкните по дате курсором мыши, вокруг поля даты появится прямоугольник.
- Выше этого поля откроется команда контекстного меню «Обновить».

- Введите новую дату, а затем щелкните мышью вне прямоугольника.
В данном документе Word появится новая дата.
Удаление даты и времени из документа Word
Если отображение значений даты и времени больше не понадобились, их можно удалить из документа. Сделать это очень просто:
- Выделите в документе Ворд поле или текст с датой.
- Затем нажмите на клавишу «Del» (Delete).
- Сохраните изменения перед закрытием документа Word.
Выводы статьи
В процессе работы в текстовом редакторе Microsoft Word пользователю может понадобиться добавить в документ дату и время. Сделать это можно обычным текстом, который не будет больше обновляться, пока его не изменят вручную, или использовать для вставки значения специальное поле. В этом случае, можно задать автоматическое обновление данного параметра при каждом открытии документа Word.
Похожие публикации:
- Как убрать пустую страницу в Ворде — 6 способов
- Конвертируем DOCX в DOC — 7 способов
- Как поставить длинное тире в Ворде — 6 способов
- Как сделать подпись в Word — 3 способа
- Как перевернуть страницу в Ворде

In this article, I am going to show you how to choose Text Box and add Date or time in Microsoft office word 2016. Choosing Text Box in your document helps you. To Insert some vital information about a specific part of your report. By inserting this information, you can focus on that part of your document. Adding these kinds of Text boxes often used in a newspaper or magazines. For getting attention on important news. The position of the Text box can be everywhere, and you can put it according to the need of your document. Then insert your essential message within the Box. Here First, you can use some ready Text boxes, or you can draw a new one in your document. Then save that one in Text Box Gallery. Now at first, I am explaining choosing Text box later Adding date or time.
#1. Choose Text Box – the Ready Boxes
First of all, to a select Text box, we are going to Insert tab on Text group. Through this group, we have seven options which are depended on your Text in your documents. I will explain each of them, but now in Textboxes, we have some ready ones that have the deferent design for deferent positions in your documents. To select them, click on them and determine the location and sizes? Then insert your text.

Ready Tex Box
#2. Draw a Text Box Anywhere in Your Word Document
Here in this step, you don’t have to use the Text box, which is already created by Microsoft Company. But you can make and draw your Text box according to the size of your extra information. And it’s a great way to bring your favourite Text box anywhere of your document that you want. To create a new Text box go to Text box and select the second option and draw it anywhere of your document, then write your information.

Draw a New Tex Box
#3. Add Date or Time In Your Word Document
Adding date or time in your document helps you to determine the specific time of creating that document. It may help you to save time creating the document. To the current time and date of creating your document just click on Date and Time. Then select Format of showing your date and time and your language than the type of your date according to your location. If you want to update the location just tick mark the update and click OK.

Add Date & Time
Conclusion
Inserting a Text box helps you to focus on a specific and important point of your document. Through to Text box, you can write and share a short message for your self or for those who use your documents. Adding time and date helps you to give a date for a part of your document if it’s a historical document. Not just historical documents but in every kind of document, you can use date or time that you need. Here I explained how to insert a Text box or add date and time in your documents. Thanks for being with us.
Ali Rafi’ee
Ali Rafayee is newly working in WiKigain as a writer. He is specialist in Microsoft office Currently He is studying mechanical engineering at Poly-technical University of Saint Peters-burg Russia.
Fields are placeholders that use codes to display bits of text that can be changed automatically. They can display all sorts of information, and you’ll often use them in your documents without realizing it.
Insert a Date and Time Field
A Date and Time field is one of the most common field types used in Word and is a good example of how fields work.
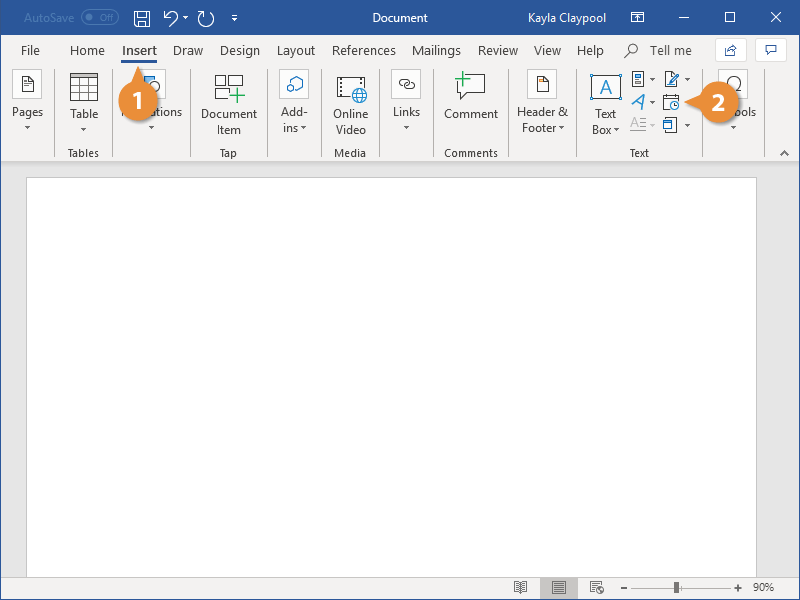
- Click the Insert tab.
- Click the Date and Time button.

- Select a date format.
- Check the Update automatically check box.
If the Update automatically check box isn’t checked, the date will be inserted as static text.
If it is checked, the date will be inserted as a field that can be updated automatically to reflect the current date.
- Click OK.

The date and time field is inserted. By default, the field displays the current date and/or time in the selected format.
View and Edit Field Codes
At first glance, a field will display what it’s configured to, such as a date, page number, or author name. Behind the scenes there’s a hidden code that controls what information is displayed.
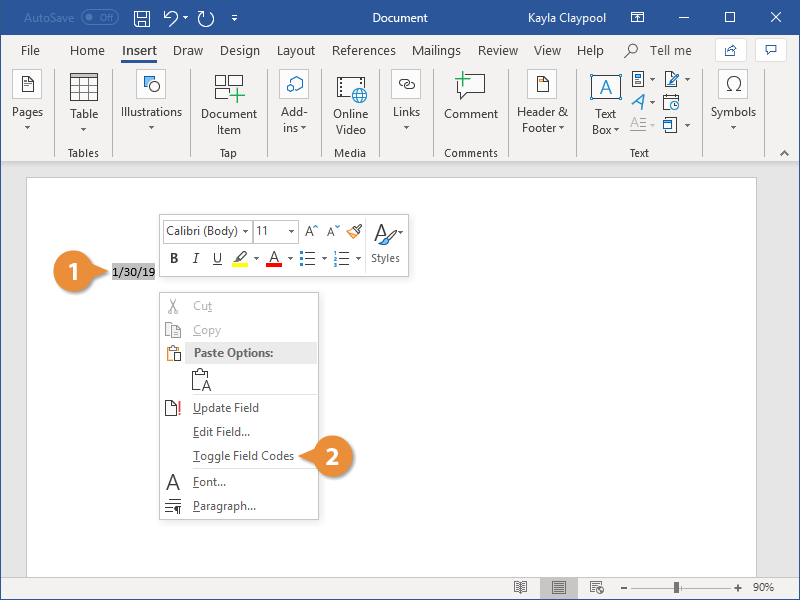
- Right-click a field.
- Select Toggle Field Codes.
Now, you can see the hidden code that tells Word to display the content of the field.
Most fields will include a code for the type of field, as well as an additional code that controls the formatting of the data in that field; for example, how the date in a field is formatted.
- Edit the field code.
By editing the field code manually, you can change the formatting of the data in a field, or even change the type of field (provided that you know the exact code to use).
- Click Update.
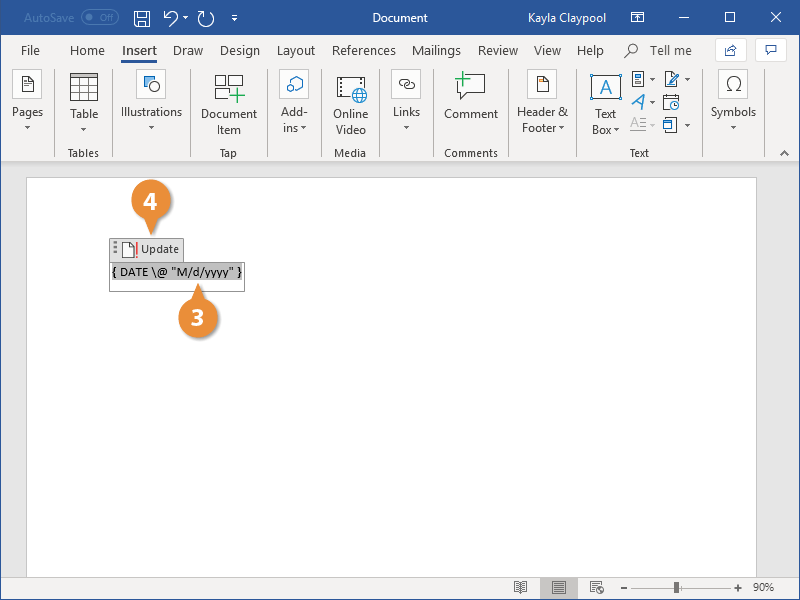
The field code is updated, and the field codes in the document are toggled again to show the results.
Add Other Types of Field
There are plenty of field types that you can add to a document. While some have their own buttons on the ribbon to add them directly (such as date and time or page numbers), you can also browse field types in the Field dialog box.
- Click the Quick Parts button on the Insert tab.
- Select Field.
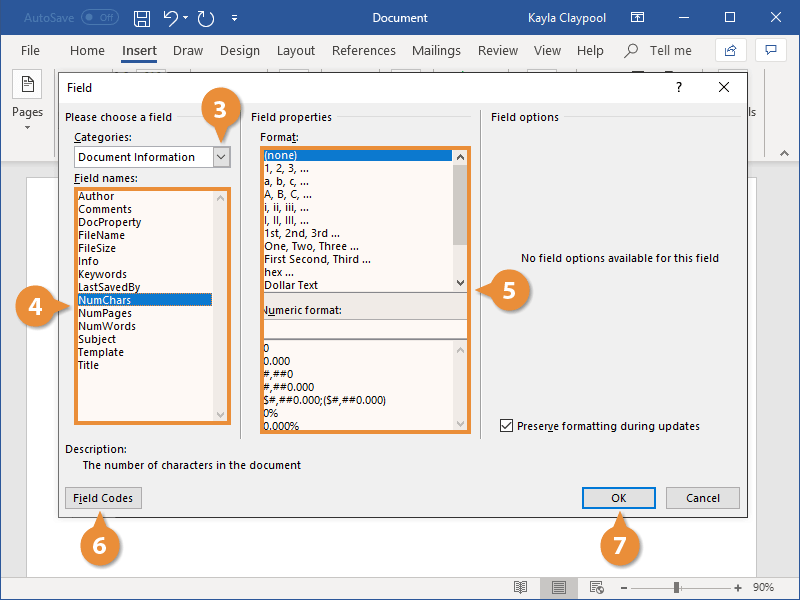
The Field dialog box opens. Different fields are listed in the left column, with the ability to narrow them down by category.
- Select a field category by clicking the Categories list arrow and selecting one.
- Select a field from the list.
When a field is selected, field properties will appear in the next column, with some fields also displaying a field options column.
- Customize the field properties and options (optional).
- Click the Field Codes button (optional).
The field properties and options are replaced with a text box displaying the field code. You can switch back and forth to see how changing the field properties and options will affect the field code.
- Click OK.

The field is inserted in the document.

FREE Quick Reference
Click to Download
Free to distribute with our compliments; we hope you will consider our paid training.
Download PC Repair Tool to quickly find & fix Windows errors automatically
In Microsoft Word, the user can insert the current date or date and time as text or fields that can update automatically by using the date and time feature. In this tutorial, we will explain how to insert the current date, insert a date that updates automatically and how to edit or update a date field. This feature in Word instantly adds date and time to your document.

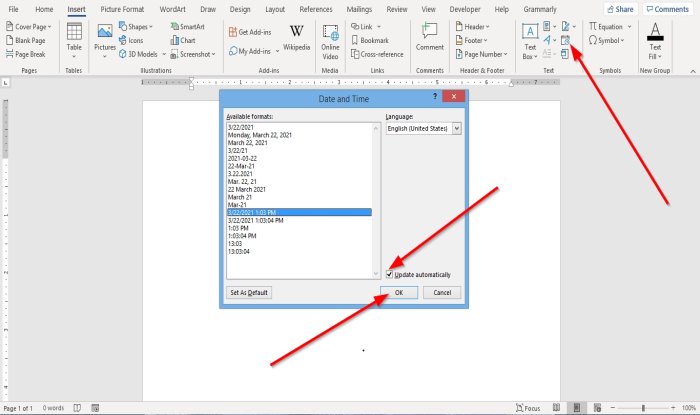
- On the Insert tab in the Text group, click the Insert Date and Time button.
- A Date and Time dialog box will open.
- Inside the dialog box, insert the date and time format you want.
- Then, click OK.
- The date and time format you chose will appear in the document.
How to insert a date in Word that updates automatically
- On the Insert tab in the Text group, click the Insert Date and Time button.
- A Date and Time dialog box will open.
- Inside the dialog box, once you choose a date and time format.
- Select the Update Automatically check box.
- Then, click OK.
- The Date and Time are inserted as a field and can update automatically.
If you save the document with a Time and Date format, every time you open the document, the date and time will change automatically.
Read: How to Mark a Document as Final in Word.
How to edit or update a date field in Word
Once you choose to select Update Automatically in the Date and Time dialog box and click OK, you will notice that it will turn grey whenever you place the cursor on the date and time.
To edit the date and time, click on the grey box, change the date and time, and then click outside the box.
To change the date back to the current date, click the date field, then click Update.
It changes back to the current date.
I hope this helps; if you have questions, please comment below.

Shantel has studied Data Operations, Records Management, and Computer Information Systems. She is quite proficient in using Office software. Her goal is to become a Database Administrator or a System Administrator.
In the following article, we will talk about 3 different ways to insert date or time into your Word document.
It happens quite often that you have to work on a Word document for several days. Chances are each time, you may have to type date or time in the document manually to mark your operation. Certainly, typing by yourself all the time may not be a huge task. Yet, there are clever tricks to help you smooth your work and find out more capability of Word as well.
Method 1: Insert a “Date Picker Content Control”
At the very beginning, you have to know that by default, Word does not place “Developer” option on the “Menu Bar”. Thus using this way requires you to add “Developer” option to the “Menu Bar” first. And as for how to add it,please read another article: How to Insert Background Music into Your Word Document
- First and foremost, click “Developer”.
- Then click “Date Picker Content Control” in “Controls” group.

- Now click the drop-down button on the control.
- Next you can see the calendar. Just click “Today”.

- Then go to click “Properties” in “Controls” group.

- Now the “Content Control Properties” dialog box pops up. Type a name in the “Title” text box. For instance, here we type “Date”.
- Next, choose a display style.
- At last, click “OK” to save the change.


Next time, when you finish working on this document, just click the drop-down button on the control and always choose “Today”, so you can update it.
Method 2: Use Keyboard Shortcuts
Way to Insert a Date:
- Firstly, press “Alt+ Shift+ D” to get a date.
- Then click the date.
- Click “Update” or press “F9” to update the date.


Way to insert Time
- Still firstly press “Alt+ Shift+ T” to get the time.

- Click it.
- Press “F9” to update.

Method 3: Use “Date& Time” Option
- First of all, click “Insert”.
- Then click “Date& Time” option in “Text” group.

- Now in “Date and Time” dialog box, choose a display style first.
- Next, check “Update automatically” box.
- Finally, click “OK”.

- To update it, you have to click it first.
- Then click “Update” or press “F9” to carry out the performance.


How to Stop Update
In case you finish your document and don’t need to update time and date, you can absolutely stop it by using following solutions:
For method 1:
- First thing, right click the date.
- Then choose “Remove Content Control” option.


And for method 2 and 3, you just press “Ctrl+ Shift+ F9”.
Comparison of 3 Methods
| Methods | Advantages | Disadvantages |
|
Insert a “Date Picker Content Control” |
1. You can pick any date from the drop-down calendar instead of inputting manually.
2. The date picked is always valid. 3. DON’T need to remember any keyboard shortcuts. 4. More controls when inserting the date . |
1. Not convenient since we need to switch to “Developer” section and select the control accordingly.
2. Can only insert a date, not time. 3. Cannot update to current date automatically. |
| Use Keyboard Shortcuts | 1. Very convenient since we can insert with keyboard shortcuts.
2. Can insert both date and time. 3. The date/time inserted by Word is always valid. 4. Can update to current date automatically or press “F9” to update manually. |
1. Only used for inserting the current date/time.
2. User may modify the date/time manually and input invalid date/time. 3. Need to remember keyboard shortcuts. 4. No control on the date/time displayed unless we use complex field codes. |
| Use “Date& Time” Option | 1. Can insert both date and time.
2. The date/time inserted by Word is always valid. 3. Can update to current date automatically or press “F9” to update manually. 4. More controls when inserting the date and time. |
1. Only used for inserting the current date/time.
2. User may modify the date/time manually and input invalid date/time. 3. Not convenient since we need to switch to “Insert” section and select the “Date & Time” accordingly. |
Recover Lost Word Files
It’s not uncommon to lost data while working with Word yet it’s certainly not a pleasant experience, but fear not. Nowadays we have so many powerful recovery tools to repair word. So just choose one to get your file back.
Author Introduction:
Vera Chen is a data recovery expert in DataNumen, Inc., which is the world leader in data recovery technologies, including excel recovery and pdf repair software products. For more information visit www.datanumen.com
I’m sure you have been asked to fill an online form, and you have to enter your birth details or details on your bank card and passport (when it expires). You can do this in Microsoft Word using the following easy steps.
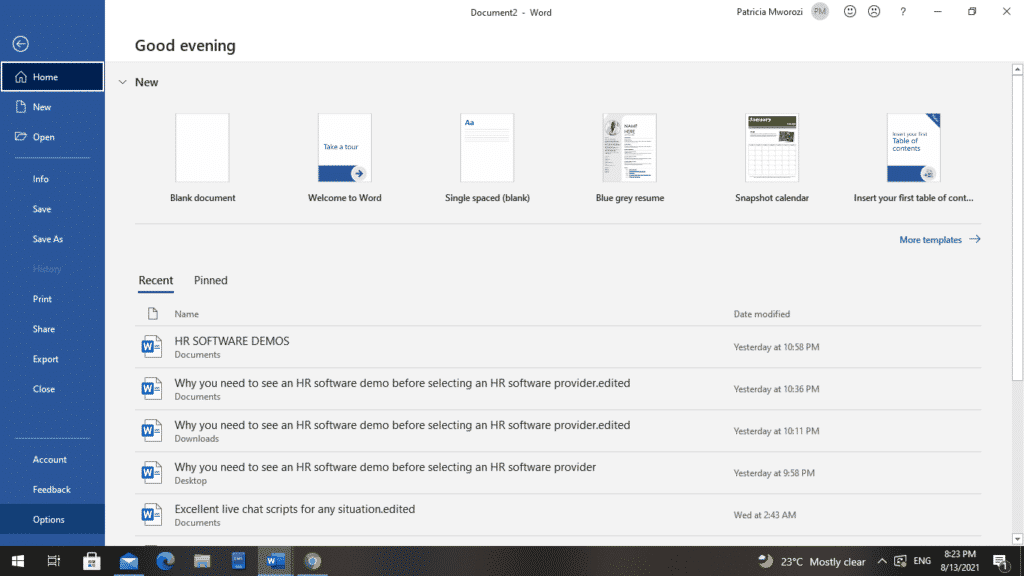
- Go to the ‘File’ tab on the Ribbon.
On it, select ‘Options’ at the bottom of the vertical list that appears.
- A Word Options dialog box will appear.
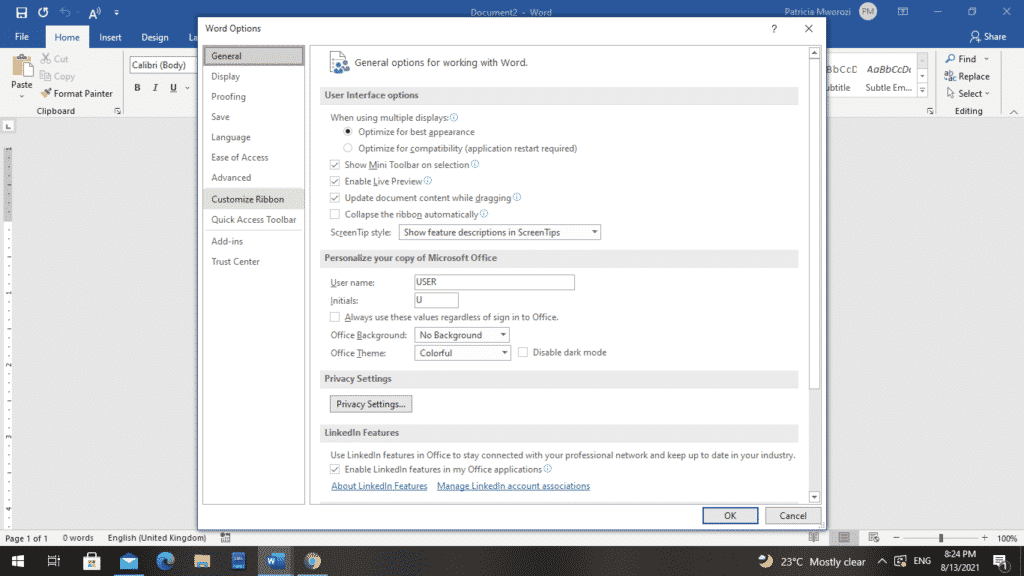
On the vertical list at the extreme left of your screen, choose ‘Customize Ribbon.’
- Another dialog box will appear.
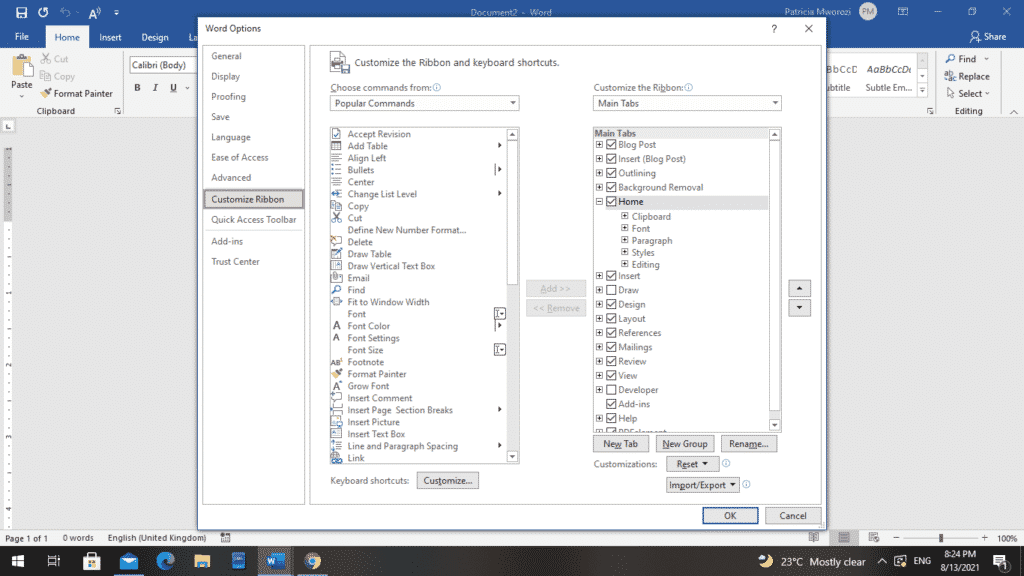
This is the ‘Customize the Ribbon and keyboard shortcuts.’ Under the second column titled, ‘Customize the Ribbon,’ check the box next to ‘Developer.’
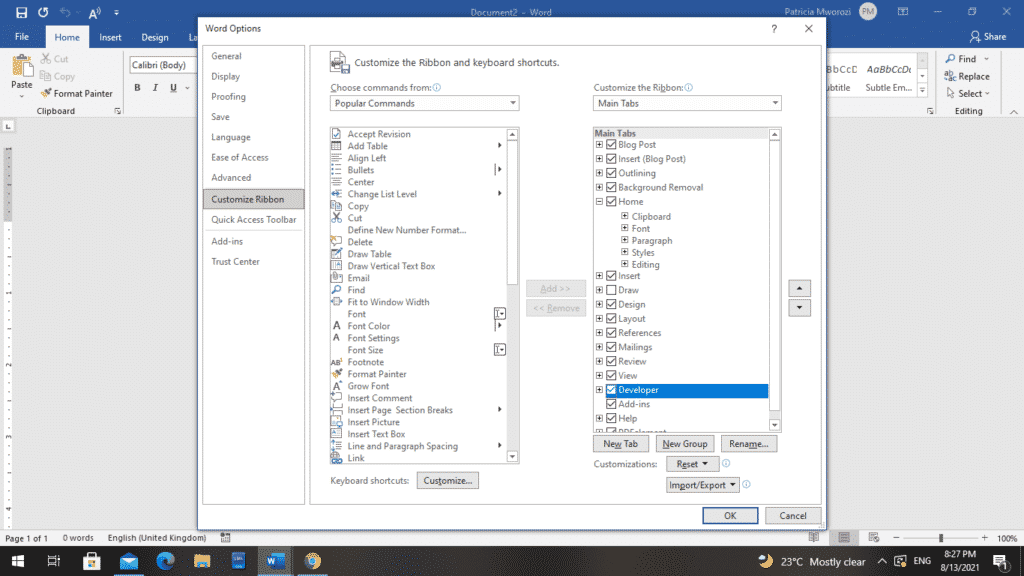
- Click OK.
- Go back to the Ribbon.
You will notice that the ‘Developer’ tab has been added to the Ribbon.
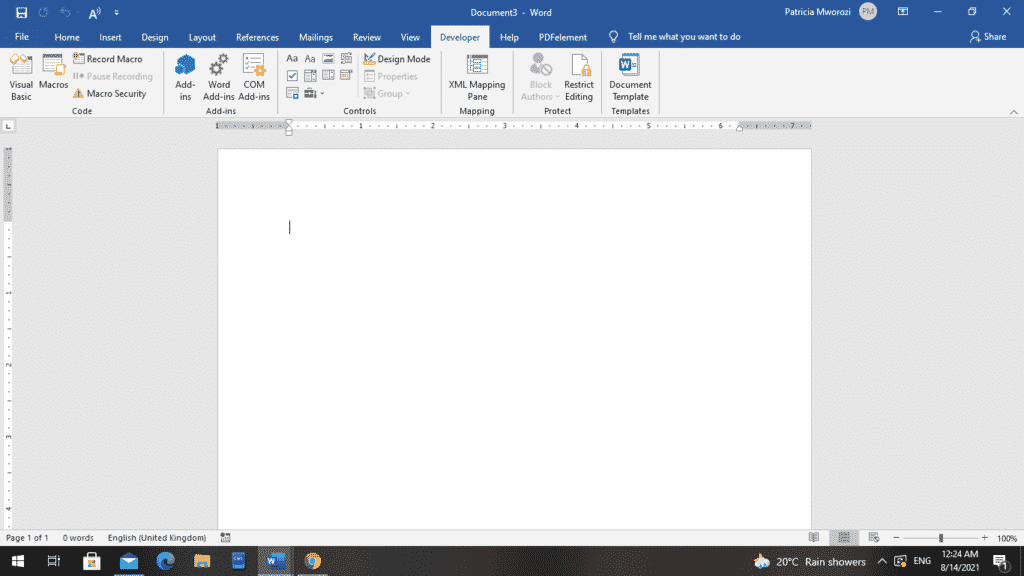
- Place the cursor where you want the Date Picker Content Control to be inserted in the document.
- Go back to the ‘Developer’ tab on the Ribbon.
There are several options to choose from. First, select the ‘Date Picker Content Control.’ It is under ‘Mailings; second row, fourth column. Suppose you want to be sure that you have selected the right control. Leave the cursor on it: ‘Date Picker Content Control’ will appear.
- You will notice a ‘Control Picker’ with ‘Click or Tap To Enter A Date’ in the document.
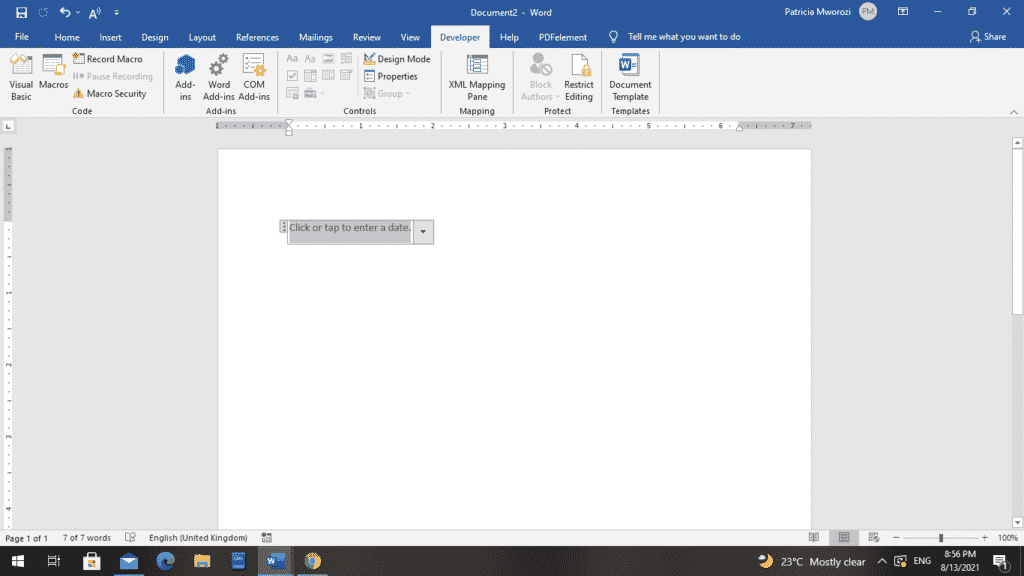
- With the ‘Control Picker’ still selected, click ‘Properties’ on the Controls area of the Ribbon on the Developer tab.
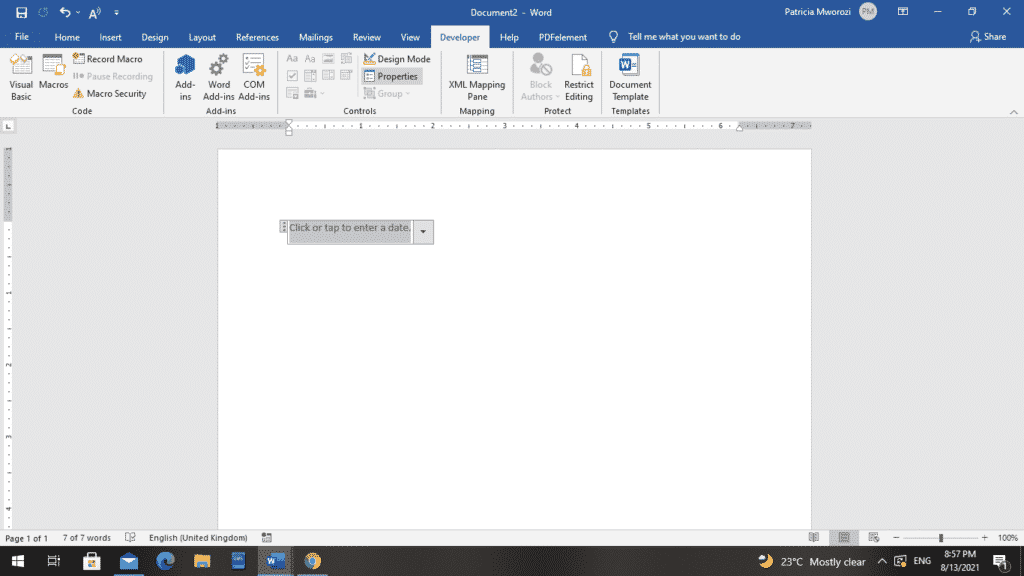
- When you do this, the Content Control Properties dialog box appears.
There is a selection of modifications you can make. However, our interest is the ‘Date Picker Properties’ section.
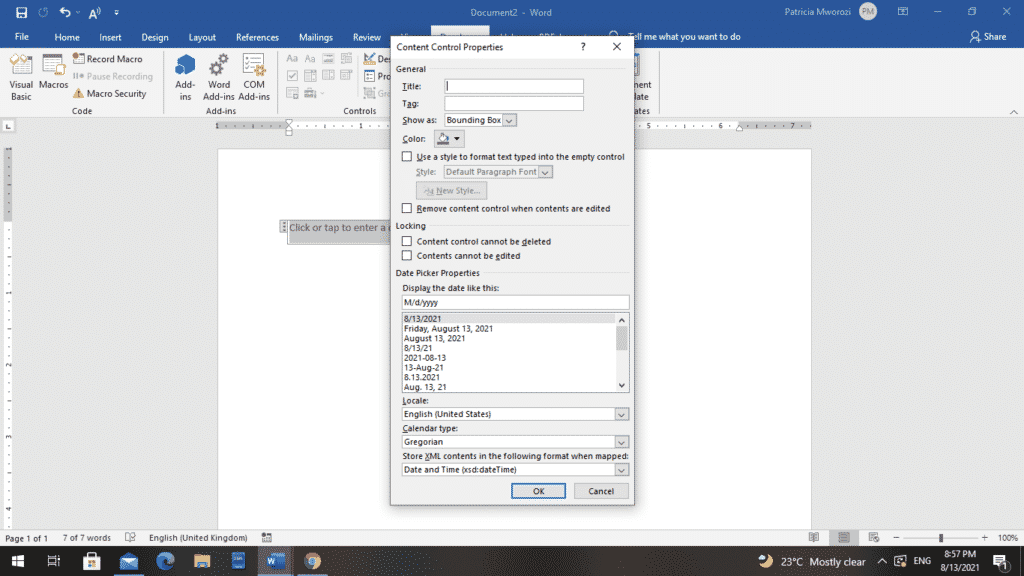
Below are the modifications you can make:
- Display The Date Like This: Here, choose the format that you want your date to appear in. For example, M/DD/YY
- Locale: We select the Locale Settings needed according to where we are located. For example, English (United States)
- Calendar Type: Choose the type of calendar you want, for example, Gregorian.
- Store XML Contents In The Following Format When Mapped
- Once you are done making your changes, click OK.
- Now, you will be able to see the Date Picker Control that you have curated.
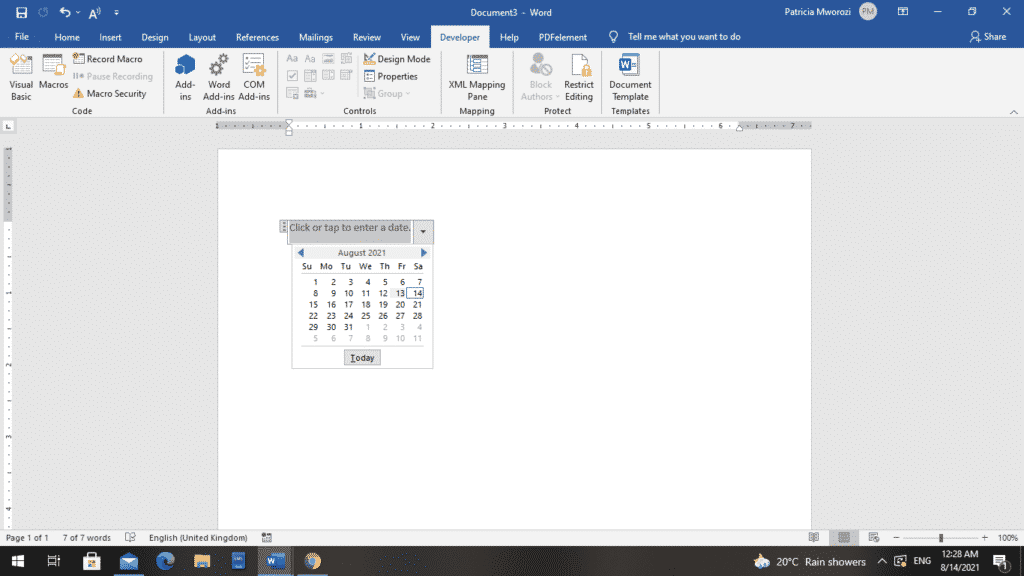
- Finally, you can press the arrow at the right of the Date Picker Control, where the Calendar appears, so you can select the specific date you want.
Are you tired of emailing your friend back and forth while you work on a script? Do you want a tool that helps you work on the same document, without opening too many tabs or several emails?
Simul Docs is the tool for you.
Simul Docs is a collaborative tool that can help you do all of the above under one roof. It can even be more than one person, as long as they get Simul Docs too.
Simul Docs allows you to compare different versions of the same document so you can see where modifications have been made. The best part about this is that even if you forgot to turn on tracked changes, Simul Docs will still document every single change you made to a document when you were offline.
The first step is downloading Simul Docs. After writing your first draft in Microsoft Word, upload it to Simul Docs. This will automatically make it the first version. Now, another colleague can open it and make their edits. This will create another version different from the first. Every time another person opens a version and makes edits, a new version is created, with the latest changes.
Additionally, you are able to add comments to the documents, so your colleague can see what changes you want made, what they thought about your edits and anything else they deem relevant.
If another co-worker is supposed to include their input, but they do not have Simul Docs. All you have to do is download the document or forward it by email. Alternatively, you can upload it to any storage software like one drive, and once their changes have been made, they can forward it to you once again, and you can open it in Simul Docs.
Once all the necessary edits have been made, you can save the final version containing all the modifications with one click.
As you can see, all this can be done seamlessly under one roof: collaborating on a document, editing the document and comparing different versions.
Visit simuldocs.com and simplify group edits today.