
When you’re working on a long, complicated document, you can collapse everything except the part you want to focus on. Or, if you think you might be overloading your readers with too much information, you can display summaries and leave it to your readers to open the summary and read the details if they want.
The ability to collapse and expand content in your document is based on its outline level. You can quickly add an outline level and make part of your document collapsible by adding a heading using Word’s built-in styles.
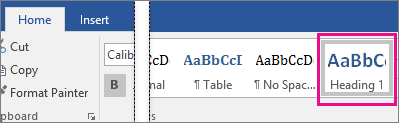
After applying the heading style, you’ll see a small triangle when you move your cursor over the heading. Click the triangle to collapse the body text and subheadings below it.

Tip: If you’re working on a touch device, tap to place your cursor in the heading to see the triangle.
Click the triangle again to expand that part of the document.
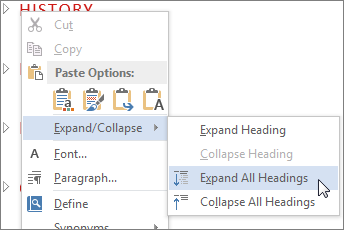
To collapse or expand all the headings in your document, right-click the heading and click Expand/Collapse > Expand All Headings or Collapse All Headings.
When you close and reopen a document, the headings will be expanded by default. If you want the document to open with the headings collapsed, follow these steps.
-
Place your cursor in the heading.
-
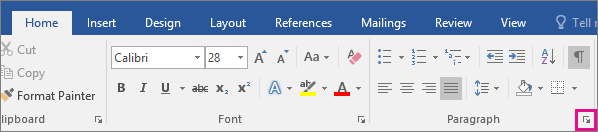
On the Home tab, click the arrow in the Paragraph group.

-
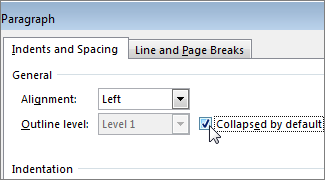
In the Paragraph dialog box, click the checkbox next to Collapsed by default.
-
Click OK.
When you’re working on a long, complicated document in the Word desktop application, you can collapse everything except the part you want to focus on. Unfortunately, this feature isn’t in Word for the web yet.
If you have the Word desktop program, you can click Open in Word to open your document in Word and collapse or expand parts of the document there, but those sections will be expanded when you view your document in Word for the web.

After opening your document in Word, collapse or expand parts of a document there. Then, press Ctrl+S to save your document to its original location.
When working on a long and complicated document, you can hide everything except the text you want to focus on. Or, if you think there are too much information to display, you can display titles only and leave it to others to open them and read the details if they want. This function in Word is named Expand and Collapse. Just follow these steps below and you can achieve it.
1. Select all the titles in your document.

2. Go to Home tab, click Heading 1 in the Styles group.

3. The font size of all titles has been enlarged as below, now you select all text.

4. Right-click and here comes an option box, click Expand/Collapse and select Collapse Heading.

5. The detailed information have been collapsed, simply click the arrow next to each title, then you can expand them when you want to view the text again.

Copyright Statement: Regarding all of the posts by this website, any copy or use shall get the written permission or authorization from Myofficetricks.
Have you ever thought to collapse the content of page 2 to page 1 in word? If you don’t know it, I will guide to collapse text in Word automatically. Follow these steps below to do it.
Another stinging problem when composing or editing documents here. When presenting text, the content of the text shows up a few lines through the new page, if left as is, it sure will not look very nice. Yes, and it will cost another sheet of paper. Or, if it’s 2-sided printing, it might be really disturbing for anyone.
You may think, oh okay, we can sit and fix it. I agree, but there is a faster way to edit rather than doing it manually that I think you’ll probably want to try, using Shrink One Page in Word.
Here I present you a document. As you can see, there are just a few words in the second page. I think it’s a waste of paper to print the document with 2 pages. So what I can do here is to collapse the content of page 2 to page 1.

First we need to enable the Shrink One Page feature in the Customize Quick Access Toolbar.
1: Click the drop-down arrow at the Customize Quick Access Toolbar and choose More Commands…
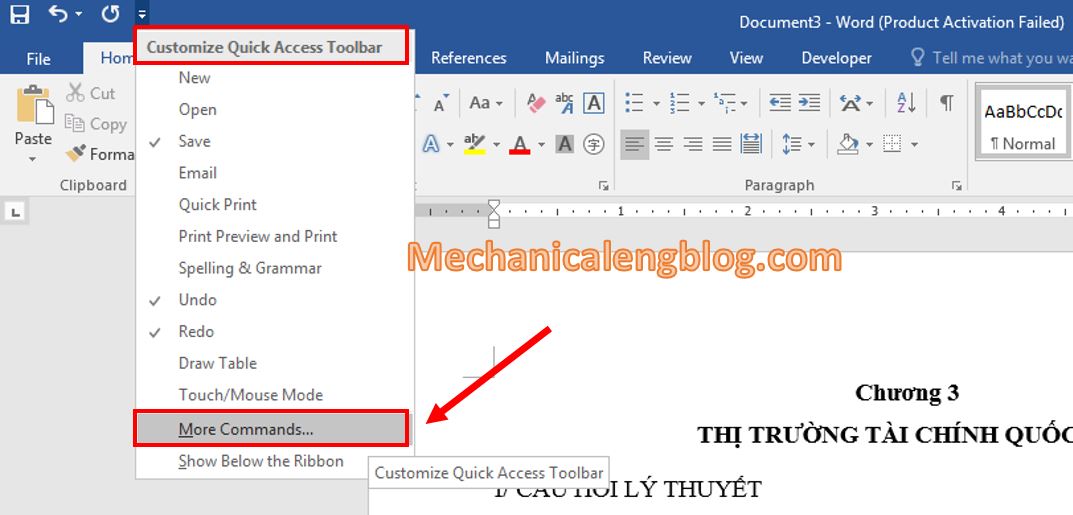
2: Appear the Word Options box, in the Choose commands from, choose All Commands.

3: Go to Separator, you can press the first letter S to quickly find it, then scroll down and look to the Shrink One Page feature.
Next, click Add button to add the function Shrink One Page to the frame in the right. Then click OK to complete the setup.

4: Now the Customize Quick Access Toolbar has appeared the Shrink One Page tool, click on the tool to begin aligning until you are satisfied.
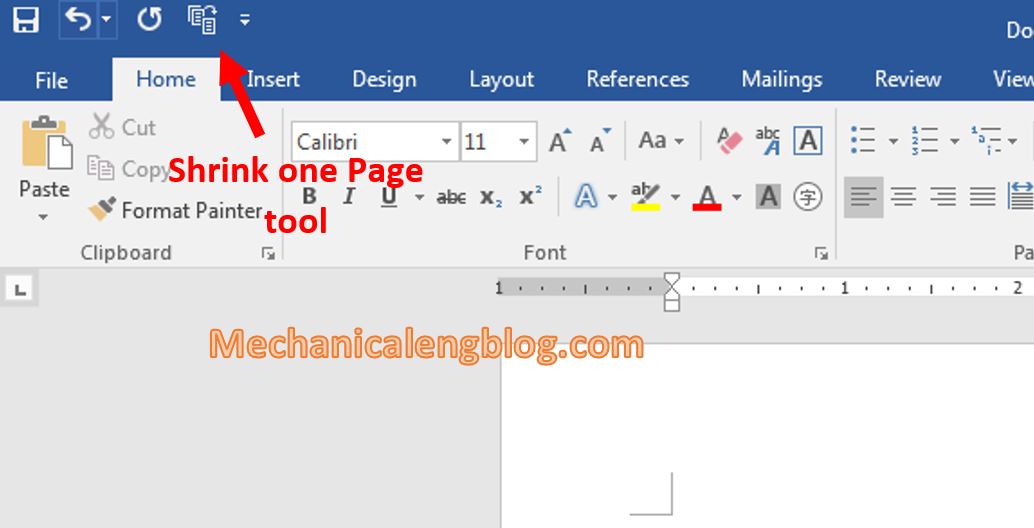
As you can see the document now can be displayed in just one page.

CONCLUSION
In fact, the essence of using the Shrink One Page tool is to shrink the font size, reduce line spacing, paragraph spacing, and align the text to fit the content without losing the text’s proportions. Although it is useful to prevent paper waste, but some kinds of for long documents, you should not abuse this function. If it is too small, it may cause difficulty for readers.
Anyway, through this article, you already know how to shrink text in Word with the Shrink One Page feature. Practice a lot and apply a lot to your life and work. Wish you success and thank you.
-hhchi
Reader Interactions
Microsoft Word 2013 is one of the most productive tools available to us today, in which a plenty of changes has been made since its inception!
As the numbers of users increase so is the requirement of new features too. Recently, some users globally demanded to add a feature with which they can expand or collapse text in Microsoft Word.
Expanding and Collapsing Text in Word 2013
If you remember, Microsoft Word 2010 lacked this feature and it was a bit tricky to perform this task. So, the users were always required to end up using Macros to accomplish such tasks, which still was not that refined as required. So, the users required something real quick that would enhance the productivity and should be simple to do.
Luckily, the developers of Microsoft Office 2013 incorporated this feature for expanding and collapsing the text on a single click, which is super easy to use. This feature accomplishes your needs in a well refined way.
First of all, the user is required to type any text by simply adding any heading to it. After this, simply select the heading style and apply it to the same heading. Here is the list of steps that need to be followed:
Select the heading -> click Home -> click Paragraph tools (Paragraph Settings)
Leading to this, a new window will open up in which you simply need to enable the option “Collapsed by default”. This option is available in the General section.
So, if you do not wish to continue with the same feature anymore, you can disable the same by following the above mentioned super easy steps. There are a plenty of other things that can be done with the help of this option and for having more refined look.
In this article, we are going to offer you 2 smart ways to collapse or expand parts of your Word document.
Every now and then, have you wonder how wonderful it would be if you can collapse a certain range of document to view two nonconsecutive parts? The good news is there is this built-in feature in Word 2013 and versions later.
If you have Word 2013 or version later, you may refer to this link to know more about the function: https://support.microsoft.com/en-us/office/collapse-or-expand-parts-of-a-document-701786e0-95e2-40bf-bfe5-f0233cd3520c
However, if you are using Word 2010 or versions earlier, there is no such luck. For this reason, we found 2 solutions you can adopt in versions prior to Word 2013.
Method 1: Collapse or Expand a Single Part of a Document
- First off, select the text you want to collapse.
- Next click “Insert” tab.
- Then click “Bookmark” in “Links” group to open the “Bookmark” dialog box.
- Enter a bookmark name in the text box and click “Add” to create a bookmark for the selected content.

- Now press “Alt+ F11” to open the VBA editor.
- Next click “Normal” and then the “Insert” tab.
- Choose “Module”.

- Double click on module to open the coding area on the right side and paste the following codes:


Sub CollapseOrExpandTheSelectedText1()
  ActiveDocument.Bookmarks("Introduction").Range.Font.Hidden = _
    Not ActiveDocument.Bookmarks("Introduction").Range.Font.Hidden
End Sub
Notes:
- You can change the macro name to whatever you want to call it.
- The “Introduction” refers to the bookmark name. Make sure it is as same as the name you entered in step 4.
- Click “Save” to save the macro.

- Next put insertion pointer near the bookmark but never inside it. For instance, we place it at the line above the selected text.
- Then press “Ctrl+ F9” to insert a field.
- Inside the field, enter the bellowing codes:

MACROBUTTON CollapseOrExpandTheSelectedText1 Introduction
Notes:
- The “CollapseOrExpandTheSelectedText1” is the macro name in step 8.
- The “Introduction” is the label you want to show on the button.


- Now press “Alt+ F9” and you shall see the button.
- Double click on the button to either expand or collapse the text.


Method 2: Collapse or Expand Multi-part of a Document
If you apply method 1 to create several buttons to collapse or expand contents, you can use the following method to show or hide the texts in batches.
- Repeat from step 5 to 8 in method 1.
- Then to collapse all texts, paste this macro there:
Sub CollapseAllSelectedTexts()
  Dim objBookmark As Bookmark

  For Each objBookmark In ActiveDocument.Bookmarks
    objBookmark.Range.Font.Hidden = True
  Next
End Sub
To expand all texts, you will need this one:
Sub ExpandAllSelectedTexts()
  Dim objBookmark As Bookmark

  For Each objBookmark In ActiveDocument.Bookmarks
    objBookmark.Range.Font.Hidden = False
  Next
End Sub
- Next click “Run” or hit “F5”.
Besides, you can take step 10 to 14 in method 1 to create buttons in the document to expand or collapse all texts at once.
Cope with the Consequences of Word Failure
Word fails from time to time. And there are consequences. Some of them are fine while others can get you busy in recovering the data back. If the latter is your case, you’d better choose a doc recovery tool to help you with the business.
Author Introduction:
Vera Chen is a data recovery expert in DataNumen, Inc., which is the world leader in data recovery technologies, including xlsx damage and pdf repair software products. For more information visit www.datanumen.com