
The anchor is a symbol that sometimes appears when you insert an image, or a SmartArt, or a drawing into a Word document.
By default, the anchor will only appear when you insert a picture, clipart, or SmartArt and then ‘Wrap text.’
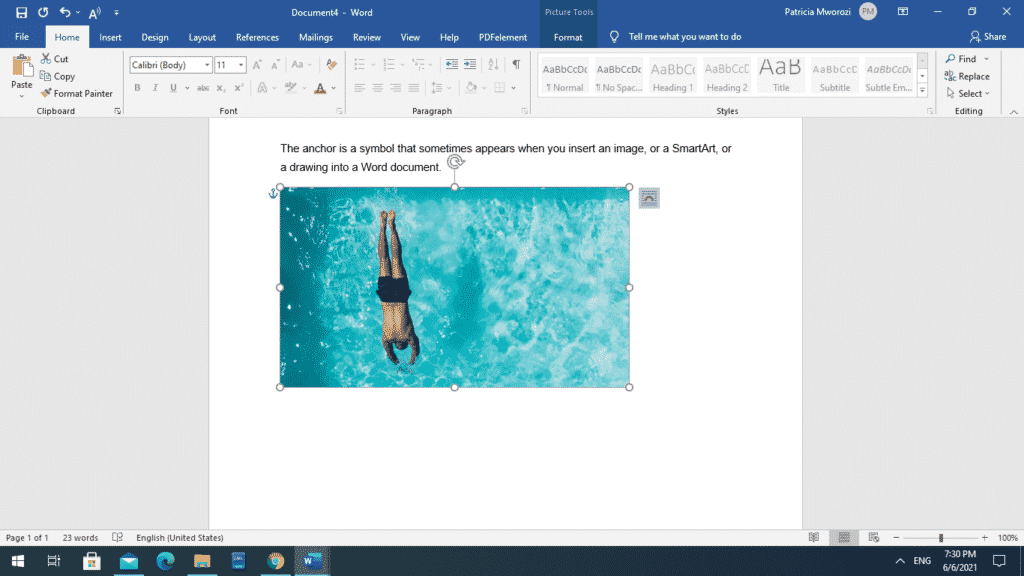
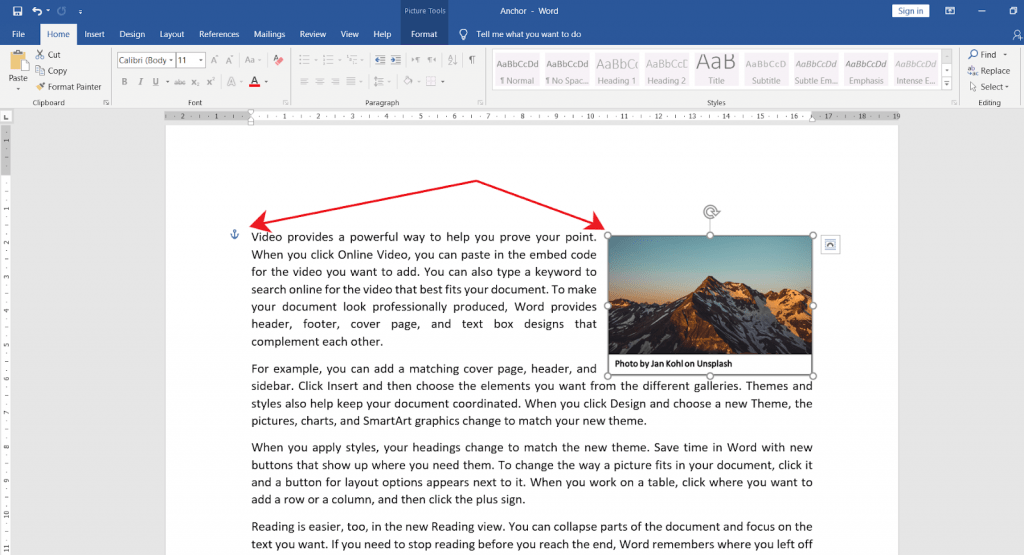
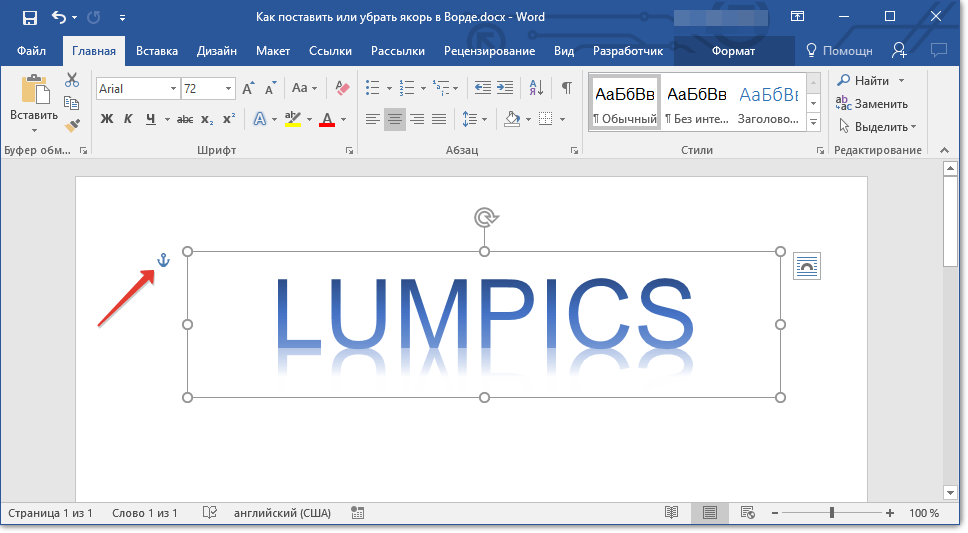
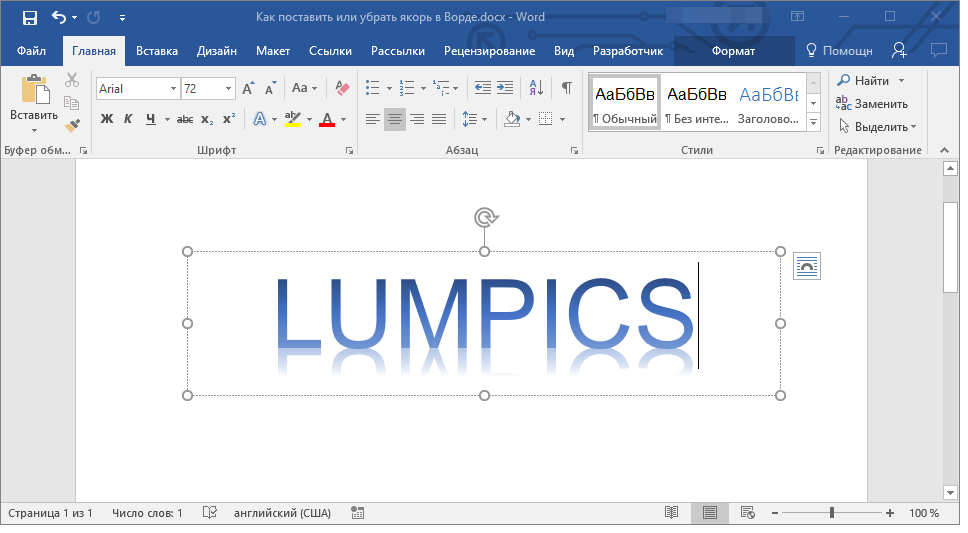
In Word say 2013, you have the option of wrapping text in a specific way. When you wrap the text, an anchor will appear next to the image. Now, if you put the clicker on that anchor, a description will appear, letting you know that this picture is anchored to the text at this specific location or paragraph in the document. Now, if you were to try to move this paragraph, this picture would move with it.
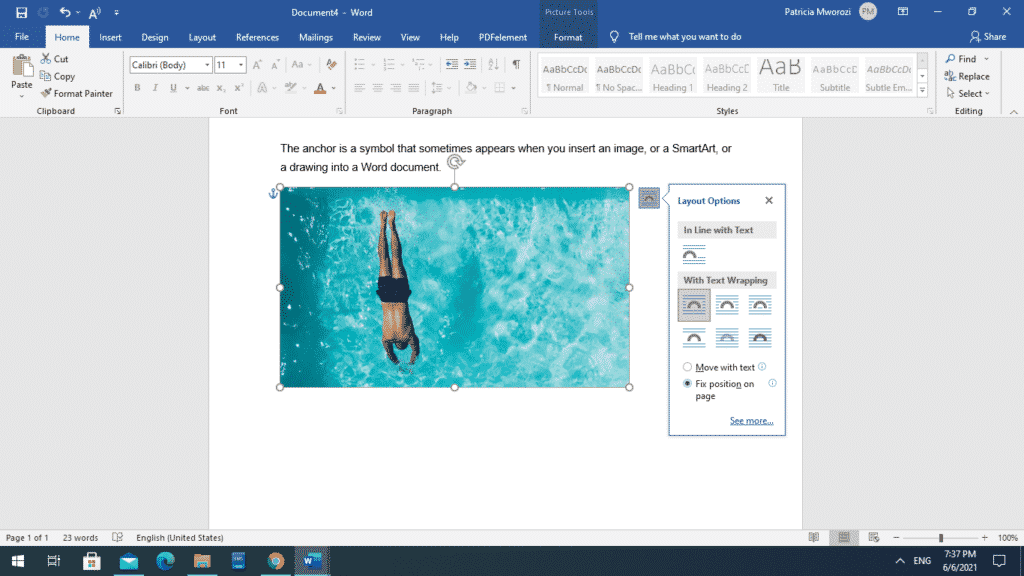
Suppose you want to keep the picture fixed to one location or position. You can click it, and wrapping options will appear. Here, you can pick ‘Fix position on page.’ If you were to try moving the paragraph (put the cursor at the beginning of the section and press enter), the picture would no longer move with the paragraph.
If you were to move the paragraph to another page, the picture would move too, but to the exact location on a new page.
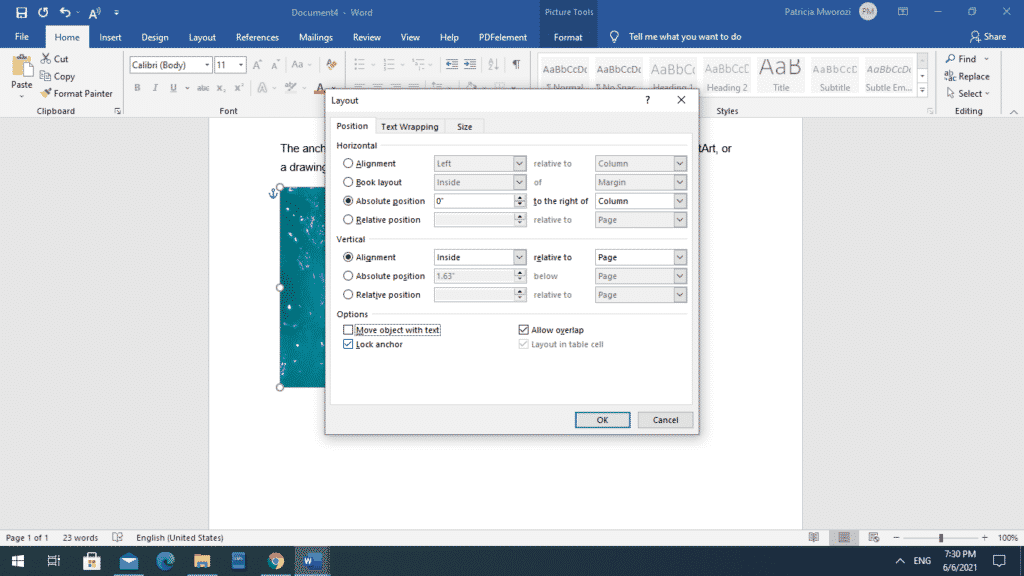
You also have the option of locking the anchor
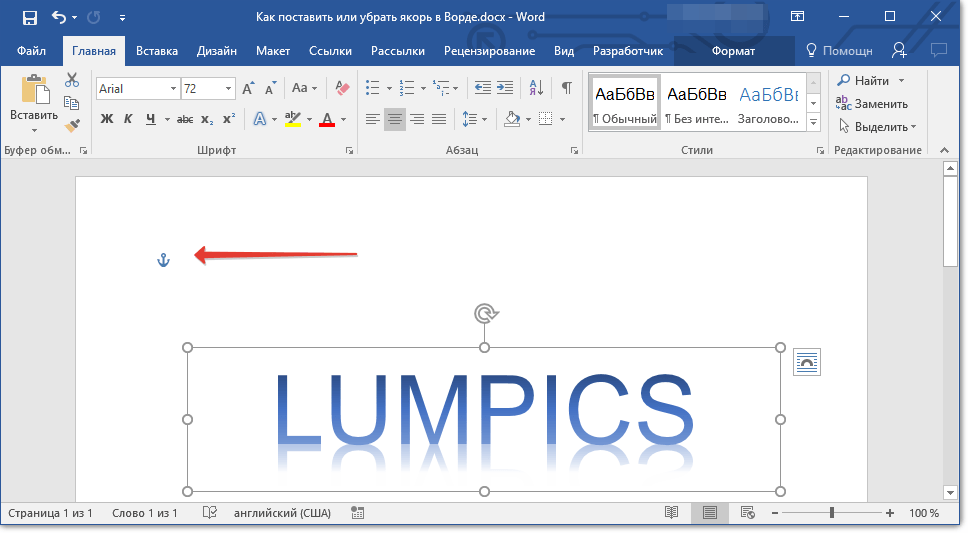
Locking the anchor means that even if you keep changing the position of the image, it stays anchored to a specific paragraph. You will also notice that the anchor symbol will remain to the left of the start of the paragraph, regardless of the picture’s position.
When you unlock the anchor, the picture is no longer anchored to a specific location or paragraph and will remain next to the image.
Removing the anchor
1. Open Word
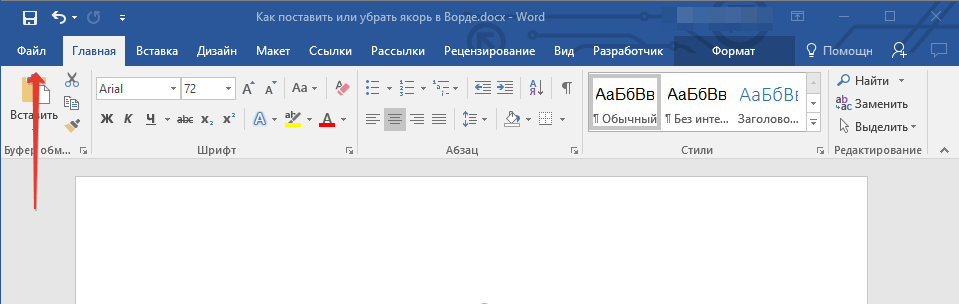
In the top left corner, go to ‘File.’
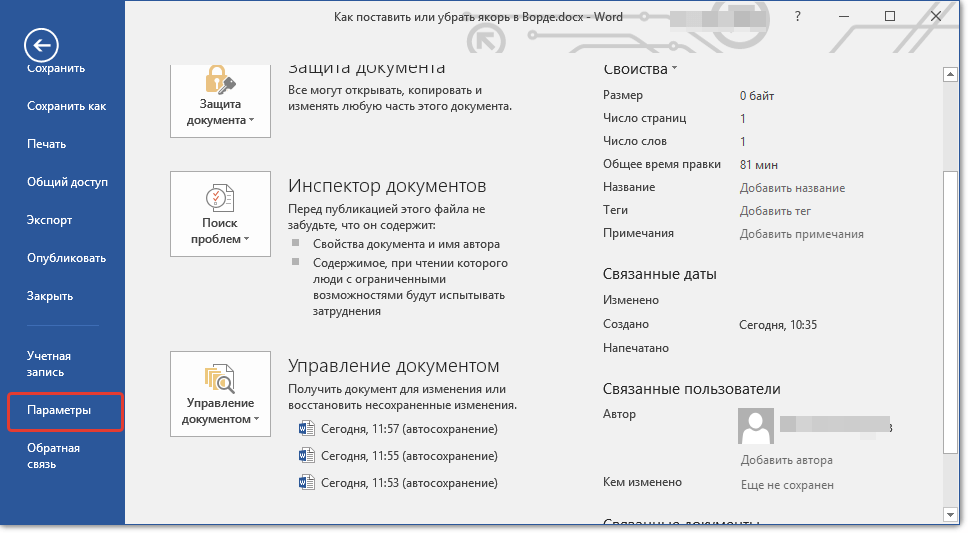
2. Go to ‘Options’
When you go to ‘File,’ a list will appear. Go to options at the bottom.
3. Go to ‘Display’
A pop-up window will appear. Go to ‘Display.’

Under ‘Always show these formatting marks on the screen,’ uncheck or make sure the option ‘Object Anchors’ is unchecked.
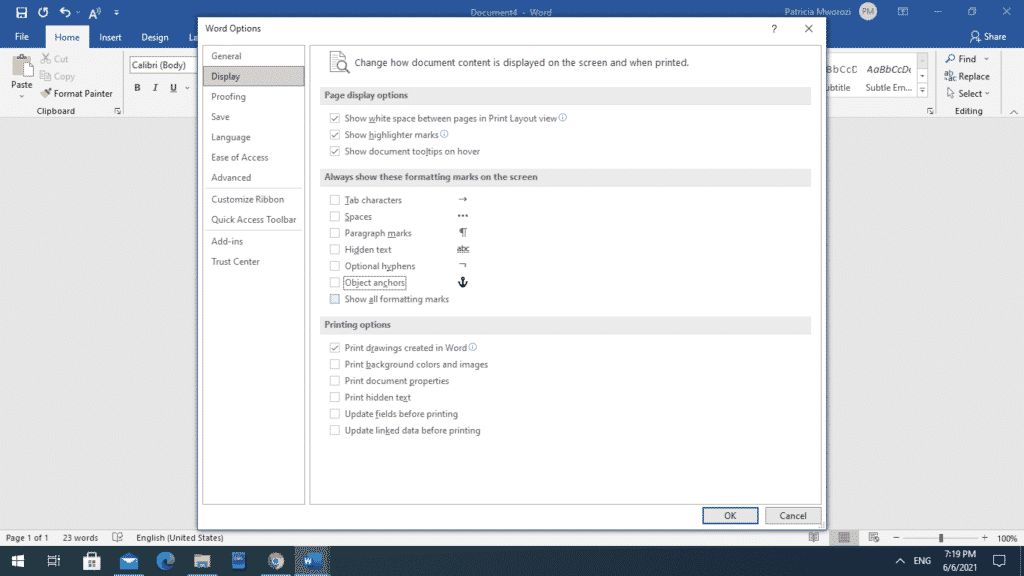
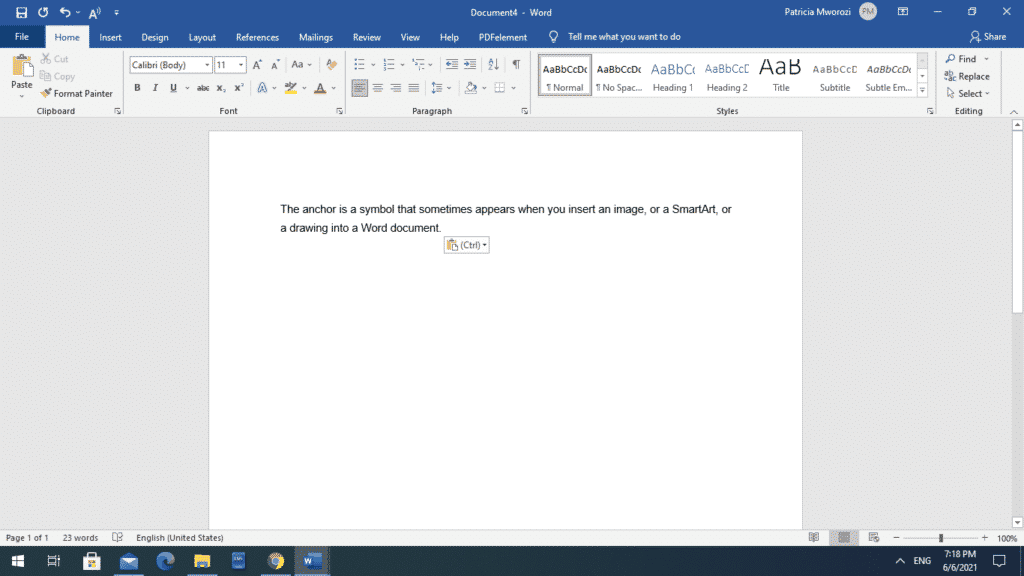
Now, when you insert an image or object, the anchor will not appear.
Do you want to work faster on a piece or article by teaming up with a colleague but cannot find a collaborative tool?
Simul Docs is the answer for you. You will feel like you and your groupmates are seated next to each other, conversing and working on the same paper from the same laptop simultaneously.
The first step is downloading Simul Docs then you can get started.
After writing your first draft in Microsoft Word, upload it to Simul Docs. This will automatically make it the first version. Now, another colleague can open it and make their edits. This will create another version different from the first.
Sometimes, you might be in a rush and forget to turn on tracked changes so your modifications can be updated. You have nothing to worry about. Simul Docs automatically records these edits regardless of your online or offline status.
Since it is a collaboration, a bonus feature is the ability to add comments to the document. If you want a colleague to review the changes by a specific time, or any other instructions, you can let them know in the comment section. They have the option of either accepting or rejecting your suggested edits.
Additionally, you and your groupmates can work on the document at the same time. There’s no need to lazy around waiting for someone else to make edits.
Suppose another co-worker is supposed to include their input, but they do not have Simul Docs. Maybe they are not tech-savvy. All you have to do is download the document or forward it by email. Alternatively, you can upload it to any storage software like one drive, and once their changes have been made, they can forward it to you once again, and you can open it in Simul Docs.
Once all the necessary edits have been made, you can save the final version containing all the modifications with one click.
Also, Simul Docs keeps all versions of the edited document in case you want to go back to them. It does not mean that as a new version is created, an older one is deleted.
Simul is the most convenient collaborative tool yet. Centralising your written project avoids mishaps like losing your work or losing its original format.
Visit simuldocs.com and prepare your group projects without the usual hassle and bustle.
2 Ways to Anchor an Image in MS Word
- Anchor to move with text
- Anchor to fix position on page
Method 1: Anchor to Move with Text
The first method guides you on how to associate an image to your desired text or paragraph. Once an image is anchored to text, you can Once you accomplish this method, the image will be anchored to the text and you can easily move them at once to any part of your document.
Follow the steps below to achieve it.
Step 1: Open the document that contains the image you need to anchor.

Step 2: Ensure that the MS Word program displays Object Anchors.
Click the File tab on the ribbon to display the start screen.
From the start screen, click the Options command.
This will display the Word Options dialog box.
From the dialog box, navigate to the Display section and make sure to tick the Object Anchors checkbox.
Apply your setting by clicking the OK button.

Step 3: Apply text wrapping to the image you need to anchor.
When you insert a picture to your document, it’s configured to be in line with text objects by default. You need to apply text wrapping to it so that it will be placed on a layer over the text objects.
There are various ways you can achieve this.
The simplest way is through the Layout Options shortcut.

Click the image and notice that an icon will appear on top of it.
Move your mouse pointer over the icon to confirm if it’s the Layout Options.
Click it to display the list of text wrapping options you can choose from. From the list, select your preferred option.
Step 4: Move the selected image to your desired paragraph.
Before you anchor an image, make sure that it’s situated on the section where you want it to be anchored.
To do this, simply drag an image and drop it to your preferred section.

Step 4: Apply Move with text command.
Once the image is in place, click the Layout Options and choose the Move with text option.
Apply the setting by clicking the close button of the Layout Options.

Step 5: Finalize anchoring the selected image.
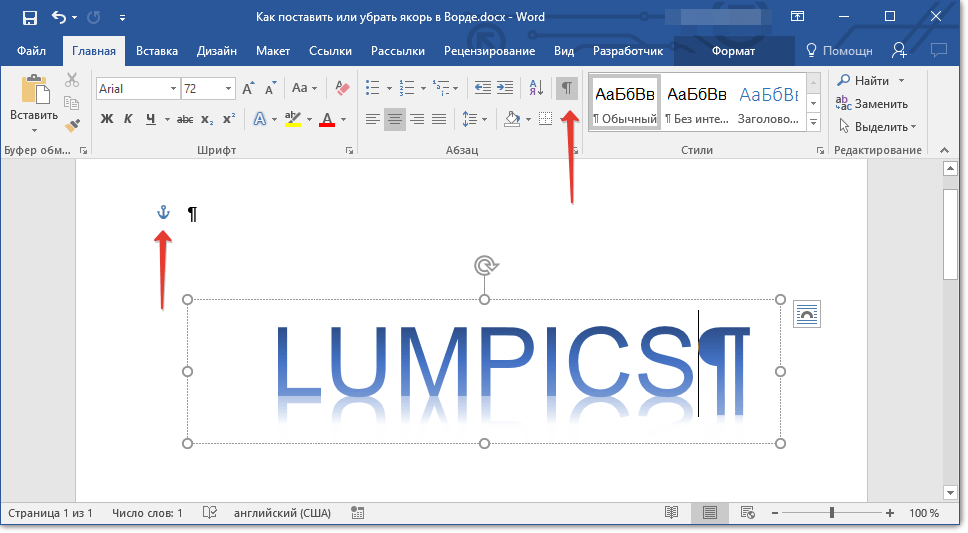
You might notice the anchor symbol in your selected image. This serves as your guide to know what paragraph is associated with it.
You can change where it’s associated by simply dragging and dropping the anchor symbol to the appropriate paragraph.
Method 2: Anchor to Fix Position on Page
Instead of locking an image to a text, you might need to anchor it to a specific position on your page. You can easily achieve this by following the steps in this method.
Step 1: Find and open the document that contains the image you will anchor.
Step 2: Enable the Object Anchors option.
Just like the first method, you need to ensure that object anchor are displayed by default.
The setting can be enabled on the Display section of the Word Options dialog box.
Tick the Object Anchors checkbox and apply the setting by clicking the OK button of the dialog box.
For your reference, the image is shown again below.

Step 3: Change the layout of the selected image through text wrapping.
To anchor your selected image, ensure that it’s placed on a different layer over the text elements in your document.
To achieve this, click the Layout Options to display the list of available text wrapping options.
Choose the option that suits your needs and click it. The same image in the first method is shown below for your reference.

Step 4: Position the selected image to your desired area on the page.
Ensure that the image is placed on the area where you want it to be anchored.
You can achieve it by dragging and dropping the selected image to the area.
Step 5: Finalize anchoring the image by applying the Fix position on page command.
With the image already in the appropriate area, click the Layout Options to display a list of available commands.
From the list, choose the Move with text option.
Click the close button of the Layout Options to apply your setting. You have successfully anchored your image to your preferred area.

Conclusion
We hope you found this article helpful!
Якорь в MS Word — это некий символ, отображающий место объекта в тексте. Он показывает, где объект или объекты были изменены, а также оказывает влияние на поведение этих самых объектов в тексте. Якорь в Ворд можно сравнить с петлей, расположенной на тыльной стороне рамки для картины или фото, позволяющий закрепить ее на стене.
Урок: Как перевернуть текст в Word
Один из примеров объектов, с которыми будет отображаться якорь — это текстовое поле, его границы. Сам же символ якоря относится к разряду непечатаемых знаков, а его отображение в тексте можно включить или отключить.
Урок: Как убрать непечатаемые знаки в Ворде
По умолчанию отображение якоря в Word включено, то есть, если вы добавите объект, который “фиксируется” этим знаком, вы его увидите даже если отображение непечатаемых знаков будет отключено. Кроме того, параметр отображения или скрытия якоря можно активировать в настройках Ворда.
Примечание: Положение якоря в документе остается фиксированным, как и его размер. То есть, если вы добавили в начало страницы, к примеру, текстовое поле, а затем переместили его в конец страницы, якорь все равно будет находится в начале страницы. Сам же якорь отображается только тогда, когда вы работаете с объектом, за которым он закреплен.
1. Нажмите кнопку “Файл” (“MS Office”).
2. Откройте окно “Параметры”, нажав на соответствующий пункт.
3. В появившемся окне откройте раздел “Экран”.
4. В зависимости от того, нужно ли вам включить или отключить отображение якоря, установите или снимите галочку напротив пункта “Привязка объектов” в разделе “Всегда показывать знаки форматирования на экране”.


Урок: Форматирование в Ворде
Примечание: Если вы уберете галочку напротив пункта “Привязка объектов”, якорь не будет отображаться в документе до тех пор, пока вы не включите режим отображения непечатаемых знаков, нажав на кнопку в группе “Абзац” во вкладке “Главная”.
На этом все, теперь вы знаете, как в Word поставить или убрать якорь, точнее, как включить или отключить его отображение в документе. Кроме того, из этой небольшой статьи вы узнали, что это за символ и за что он отвечает.
Еще статьи по данной теме:
Помогла ли Вам статья?
 Please Note:
This article is written for users of the following Microsoft Word versions: 2007, 2010, 2013, 2016, 2019, and Word in Microsoft 365. If you are using an earlier version (Word 2003 or earlier), this tip may not work for you. For a version of this tip written specifically for earlier versions of Word, click here: Understanding Object Anchors.
![]()
Written by Allen Wyatt (last updated December 7, 2021)
This tip applies to Word 2007, 2010, 2013, 2016, 2019, and Word in Microsoft 365
Objects can be placed in your document in two ways: either inline or floating. Inline objects are those that reside on the same layer as your text and are positioned within the stream of text that surrounds the object. Floating objects are those that are placed on a layer over the text. The thing that indicates essentially where a floating object is located in relation to the text in your document is referred to as an object anchor.
If you click an object so that it is selected, and if the object is truly a floating object, and if you are looking at the document in Print Layout view, then you can possibly see the object anchor on the screen. (That’s a lot of «ifs,» I know.) (See Figure 1.)
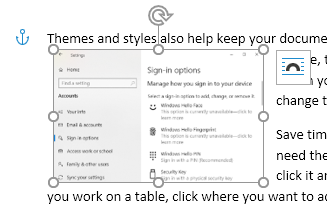
Figure 1. An object anchor shows up as a small boat anchor.
I say «possibly» because object anchors are not always visible. In other words, you can control the display of the anchors. (More on that in a moment.) If you select a graphic object in your document and you see a boat-anchor icon appear in the left margin of the document, then you know you have the display of object anchors enabled. If you select an inline object, then there is no object anchor to see. Why? Because inline objects are anchored to the place within the text where they were inserted. In other words, they are treated like any other character in the text itself.
If you want, you can modify whether Word displays object anchors or not. You can change this setting by following these steps:
- Display the Word Options dialog box. (In Word 2007 click the Office button and then click Word Options. In Word 2010 or later versions, display the File tab of the ribbon and then click Options.)
- Click Display at the left side of the dialog box. (See Figure 2.)
- To view object anchors, make sure the Object Anchors check box is selected.
- Click on OK.
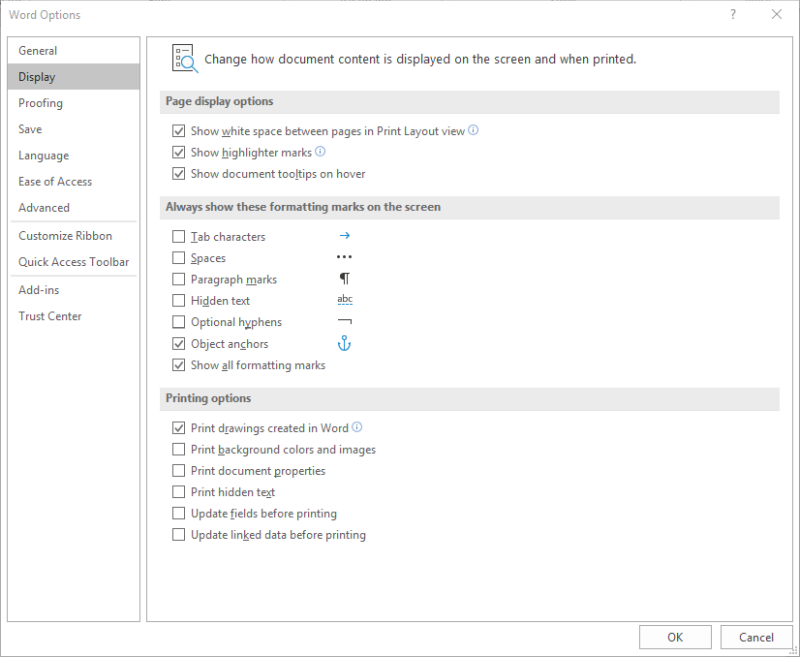
Figure 2. The Display options of the Word Options dialog box.
Object anchors are used to specify the paragraph with which an object is associated. Why is that important? Because it can affect the positioning of the object within the document. In order to see how this works, you need to display the settings that allow you to position the object. Follow these steps if you are using Word 2007 or Word 2010:
- Right-click a floating object. Word displays a Context menu for that object.
- Choose the Format Picture option. Word displays the Format Picture dialog box.
- Make sure the Layout tab is selected.
- Click the Advanced button. Word displays the Advanced Layout dialog box.
If you are using Word 2013 or a later version, then the steps are a bit different because Word uses different Context menus:
- Right-click a floating object. Word displays a Context menu for that object.
- Choose the Size and Position option. Word displays Layout dialog box.
- Make sure the Position tab is selected. (See Figure 3.)
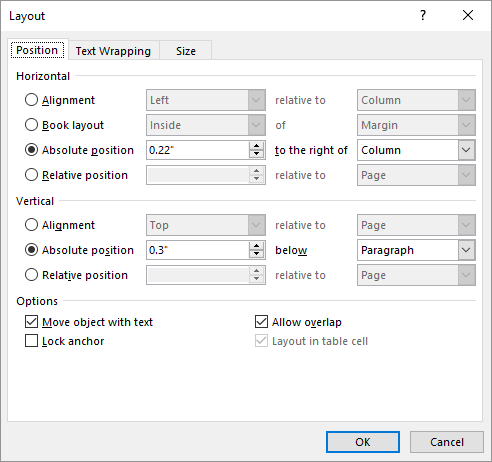
Figure 3. The Position tab of the Layout dialog box.
Note that these steps will only work if you are working with a floating object; again, inline objects don’t allow you to adjust their positioning relative to an object anchor. (Object anchors only exist for floating objects.)
Regardless of the version of Word you are using, the dialog box you see includes a plethora of controls that specify the positioning of the picture. One thing you can set is the vertical position of the picture in relation to the paragraph to which it is anchored. Thus, seeing the object anchor helps you to understand the positioning of the picture.
In addition, the Advanced Layout dialog box (Word 2007 and Word 2010) and the Layout dialog box (later versions of Word) allow you to select a check box named Lock Anchor. This option causes Word to paginate your document so that the object (the picture) is always on the same page as the object anchor. This is the best way to ensure that a floating picture is on the same page as the paragraph that describes what is in the picture.
WordTips is your source for cost-effective Microsoft Word training.
(Microsoft Word is the most popular word processing software in the world.)
This tip (8229) applies to Microsoft Word 2007, 2010, 2013, 2016, 2019, and Word in Microsoft 365. You can find a version of this tip for the older menu interface of Word here: Understanding Object Anchors.
Author Bio
With more than 50 non-fiction books and numerous magazine articles to his credit, Allen Wyatt is an internationally recognized author. He is president of Sharon Parq Associates, a computer and publishing services company. Learn more about Allen…
MORE FROM ALLEN
Character Frequency Count
Word collects a wide range of statistics about your documents, but one of the things it doesn’t collect is how many times …
Discover More
Changing Caption Numbering Styles
Using Word’s captioning feature can be a great boon for automatically numbering certain elements in your documents. It …
Discover More
Switching Editing Location
Excel allows you to edit the contents of a cell in two places—the cell itself or in the Formula bar. If you want to …
Discover More
Steps
-

1
Open your Word document. Double-click the file to open it in Word.
- Another way to open the document is to open Word (in the Windows menu on a PC or the Applications folder on a Mac), click File, click Open, then double-click the file.
-
2
Enable anchor labeling. This will help you keep track of where your anchors are set.
- Click the File menu.
- Click Options.
- Click Display.
- Check the box next to “Object anchors.”
- Click OK.
Advertisement
-
3
Insert the image you wish to anchor. If you’ve already inserted your image, just scroll down to it now. Otherwise, here are a few different ways to get an image into your document:
- Click Picture on the Insert tab, then select the image.
- Drag an image to the document.
- Copy an image from somewhere else on your computer, then press Ctrl+V (Windows) or ⌘ Cmd+V (macOS) to paste.
-
4
Right-click the image. A menu will appear.
- If you don’t have a right mouse button, hold down Ctrl as you click with the left button.
-
5
Click Size and Position…. This brings you to the “Position” tab.
-
6
Set the image’s absolute position. This defines where the image will be anchored. You’ll have a section for both horizontal and vertical absolute positions drop-downs.
- Horizontal: Select a distance from the first drop-down, and then select a relative page element. For example, to anchor the image 1” to the right of a column, select 1” and Column from the menus.
-
Vertical: This is the same principal, but defines how far below a page element the image will be anchored. For example, to anchor an image 1” beneath the paragraph where it’s anchored, select 1″ from the first drop-down, and Paragraph from the second.[1]
-
7
Click Text Wrapping.
-
8
Select a wrapping option. You can wrap text around an anchored image with every option except «In line with text.” Choose any option other than that.
-
9
Click OK. You should now see an anchor icon above the image’s top-left corner, meaning the image is now anchored to its position.


Advertisement
Ask a Question
200 characters left
Include your email address to get a message when this question is answered.
Submit
Advertisement
Thanks for submitting a tip for review!
About This Article
Thanks to all authors for creating a page that has been read 146,052 times.